Keep Writer Revisions Visible When Exporting to DOCX
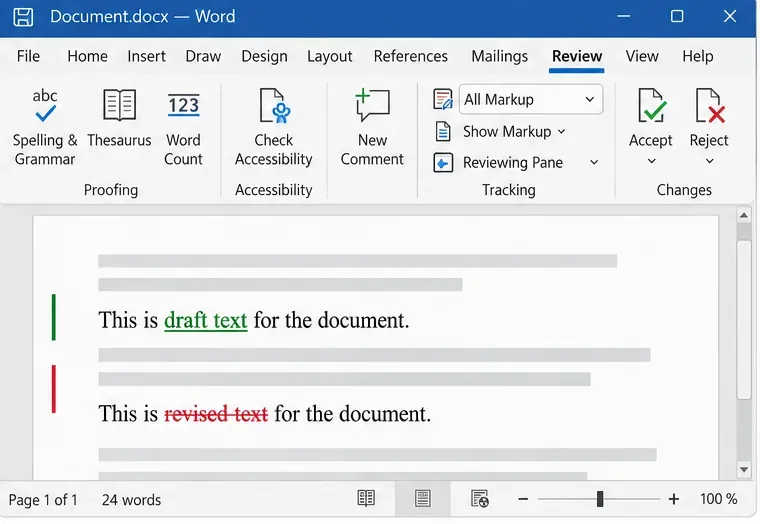
Track edits in Writer, preserve an editable ODT source, and check the exported DOCX in Word before sharing it.
Your computer after using for a long time will certainly have junk files, temporary files, access history, download files, files left after software deletion ... A lot of junk files will resulting in a large amount of computer space, and will make your computer work slower.
Clean Master will help you completely eliminate those troubles to regain "style" for your computer. This application has been trusted and used by many mobile device users, with Clean Master on your computer, you will have features such as cleaning up computer junk files, speeding up your computer, solving system errors. Security system, update, backup, restore drivers with just a few clicks ...
So how to use Clean Master on computers, the following article will guide in detail how to use Clean Master on computers to help you clean the system, speed up the computer, and make your computer You run more stable. If your computer does not have a Clean Master, please see how to download and install through the article How to download and install Clean Master on your computer.
Clean Master for PC Clean Master for Android
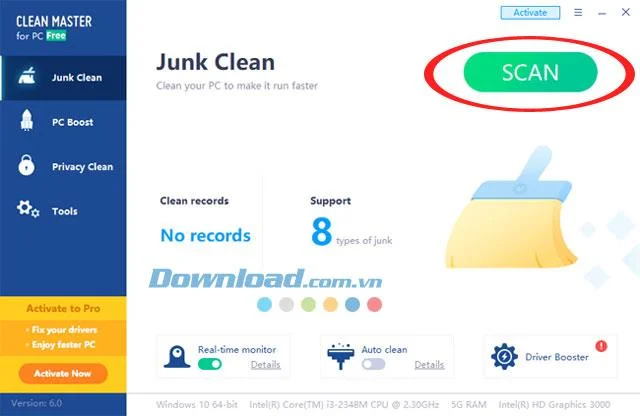
Step 1: Start Clean Master up, right at the Junk Clean section , click Scan to scan all junk files on your computer.
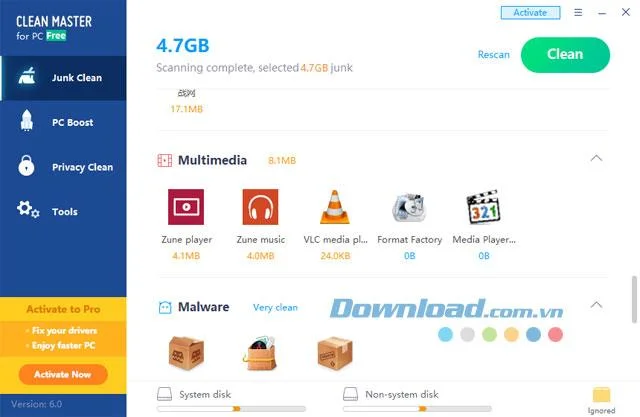
Step 2: The files that take up the most space on your computer are in Windows, below are junk files of browsers, then the software, multimedia ...
This junk file will mainly be temporary files, activity logs, update logs, cache ...
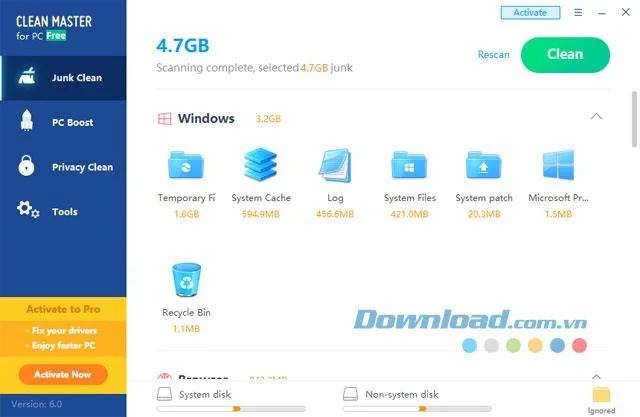
Each individual item will have the amount of garbage files occupied on the system, click each item if you want to see details of how they are taking up space.
For example, here I choose the Temporary Files , which are temporary files of Windows, explain more clearly, temporary files are junk files of some programs after they are completed, this is often the ideal place for viruses to hide.
So the advice for you is to regularly delete these temporary files, to prevent viruses can "hide" into these temporary files and damage your computer system. Make your data more secure. Click Clean to delete the temporary file.
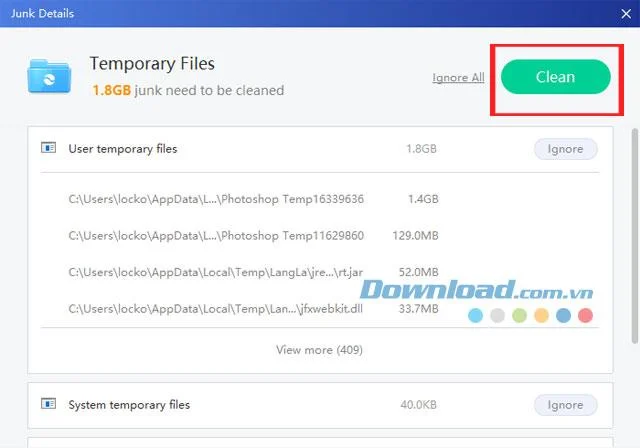
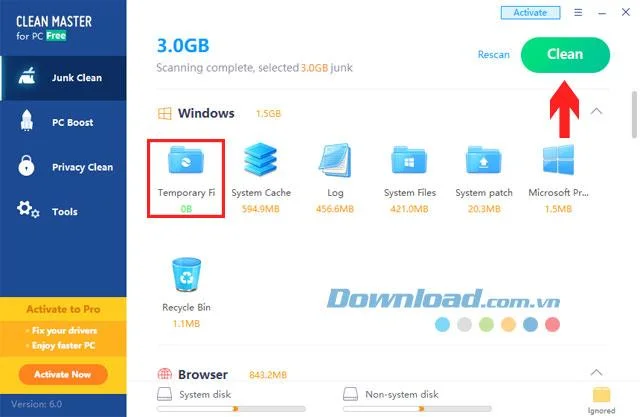
Step 3: Go out now, you will see the temporary file directory will be completely cleaned up, similar you can do with other items such as System Cache (system cache), system logs (Log) ...
Or click Clean to delete all the junk files on the system.
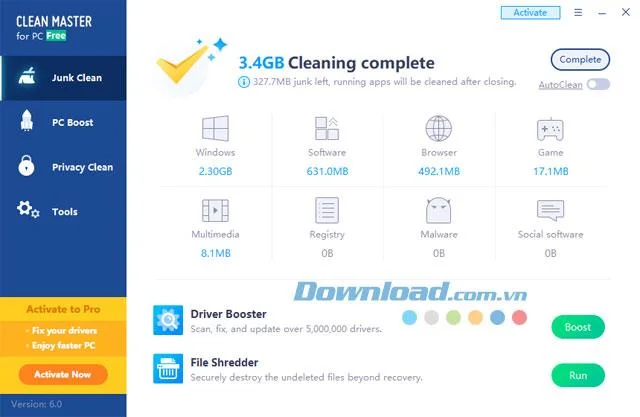
Finally, the amount of junk files that have been cleaned up on the computer system, along with details of the deleted space of each item such as Windows, software, browser, game ...
Step 1: Switch to the computer speed up section, this section will help you improve the operating speed and computer startup speed. Click Scan to perform.
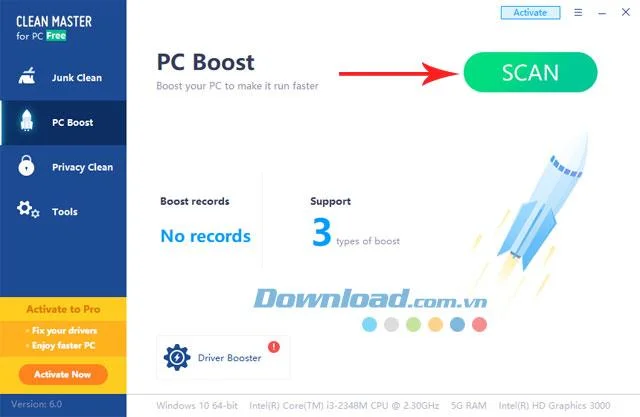
Just like on the Junk Clean section , you can click on each item to see the applications that Clean Master detects and list which applications need to be "freed up".
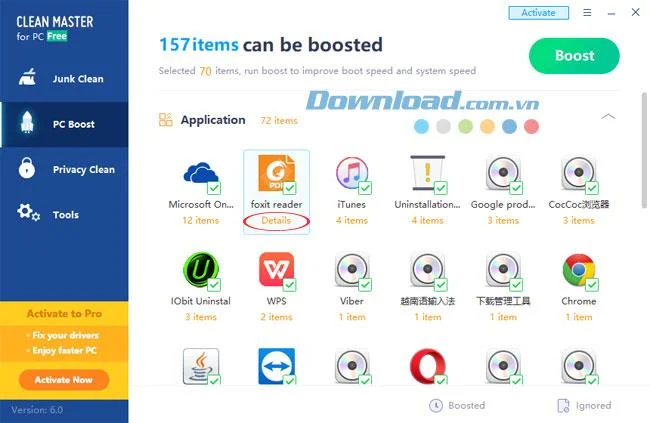
Step 2: Select the Plugin running in the background of that application to turn off by the Boost All button .
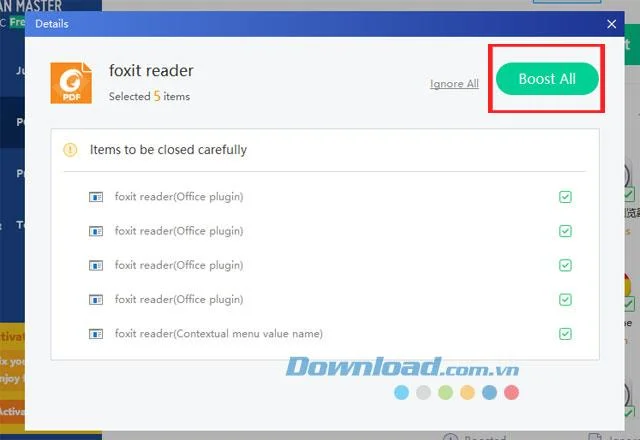
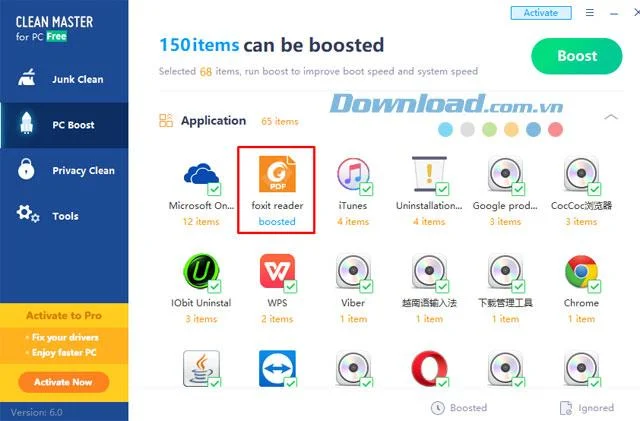
Then the application, the software has removed the Plugin , in this list you can check the applications you want Boost, click Boost to accelerate computer performance.
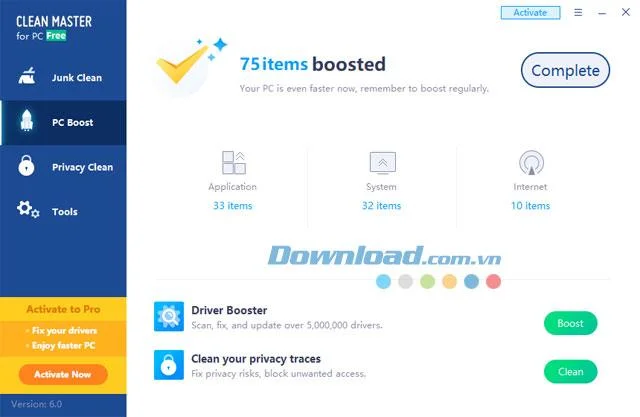
Then is a summary of the applications that have been boosted to speed up, including applications, file systems ...
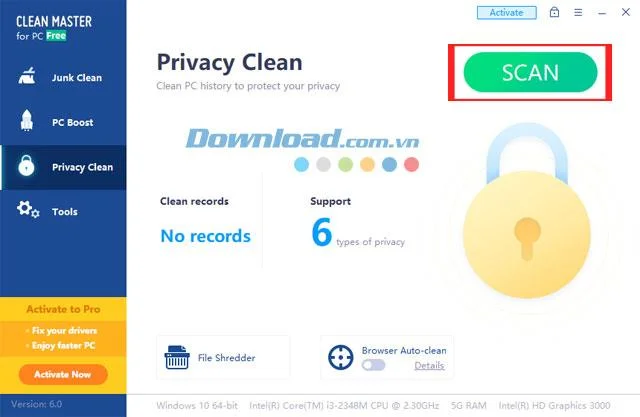
The Privacy Clean tab will allow you to check and resolve security issues from the system, and applications that use the Internet connection. Click Scan to perform a system check.
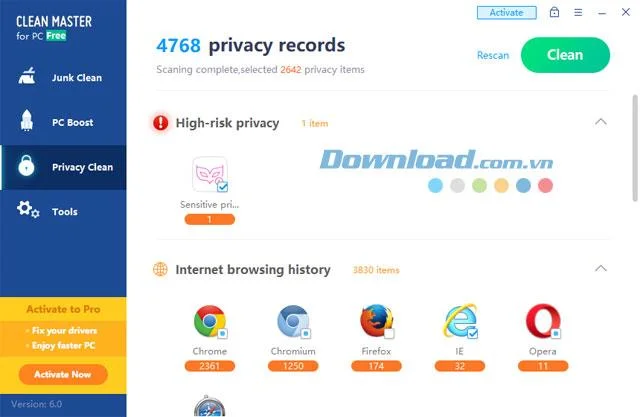
The checking process will take place right after that, there will be data of the times you visit websites, application usage times, times of saving application usage tasks ... Click Clean to perform clean up all the tasks.
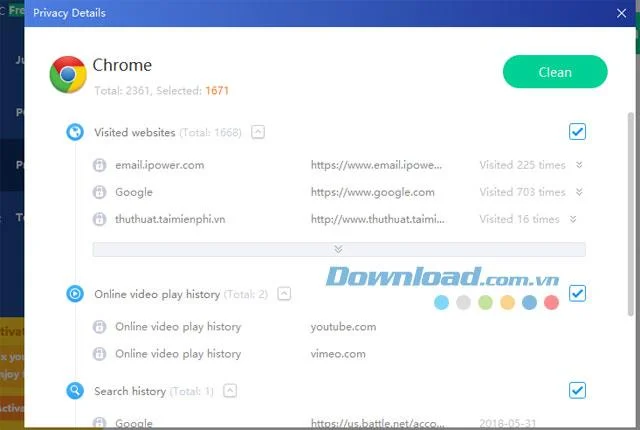
Or if you want to select an app separately, the software you want to delete the access log, click the app and click Clean.
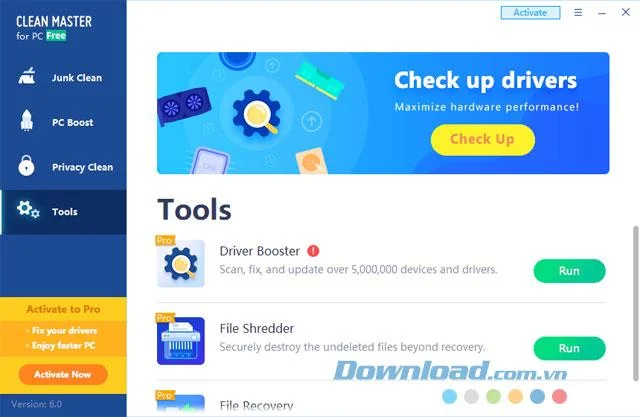
Finally, the Tools section, in this section you will have 3 tools, which are:
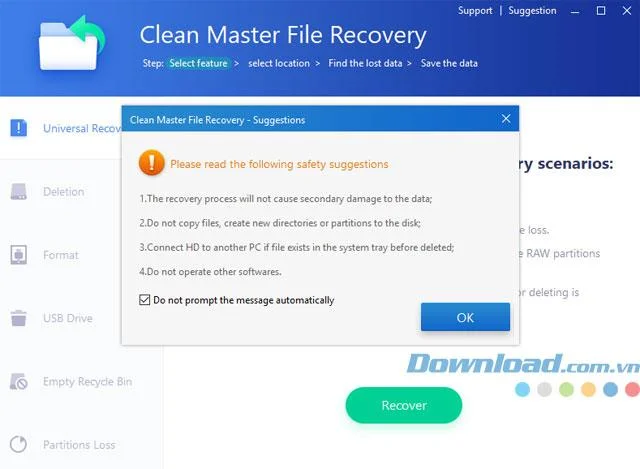
Let's start with File Recovery , in here you will have tools like:
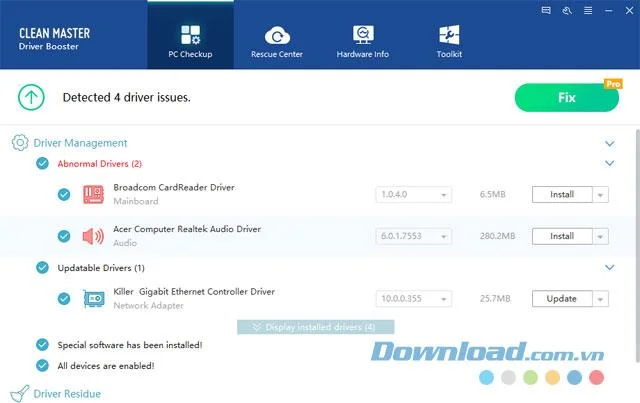
Continue to Driver Booster , the first will be the PC Checkup section where this tool will help you manage and update the latest drivers, just click Install to Clean Master to install the driver automatically for you.
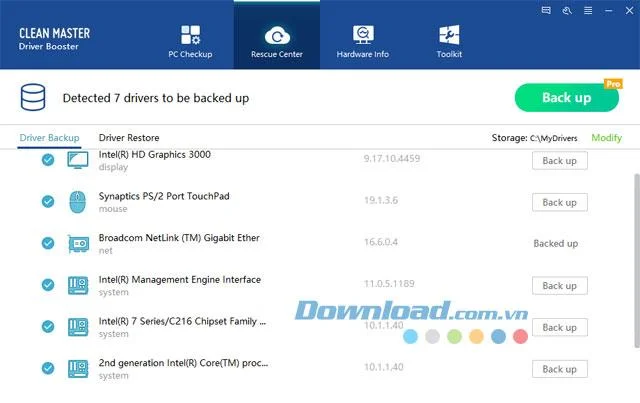
Go to the Rescue Center , you will be back up the existing drivers on your computer, click Back up to back up the existing drivers, this will help you to restore the driver of each hardware. whenever they have a problem.
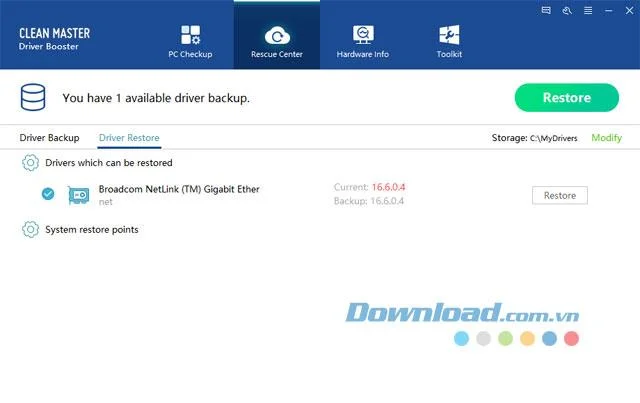
Then you want to restore the Driver, you just need to click on Driver Restore next to Driver Backup below and select Restore to restore the driver.
The other two items are Hardware Info , which will allow you to see your entire computer hardware, RAM capacity, CPU name, capacity and hard drive name ...
The Toolkit section will allow you to check the computer's audio and network connectivity problems.
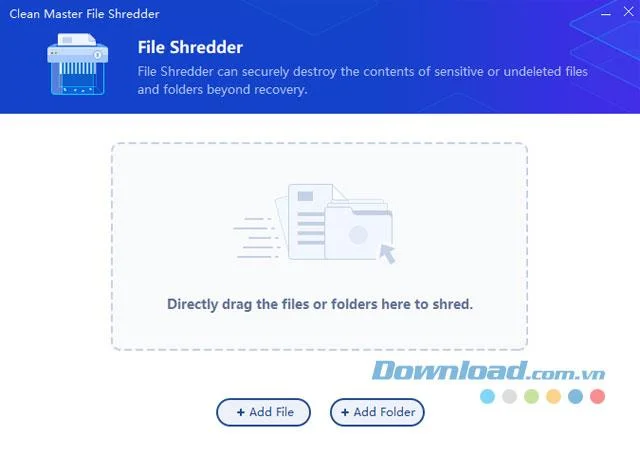
In this section, you have to upgrade to the new version to use, File Shredder will allow you to safely discard files that have not been deleted outside the recovery process.
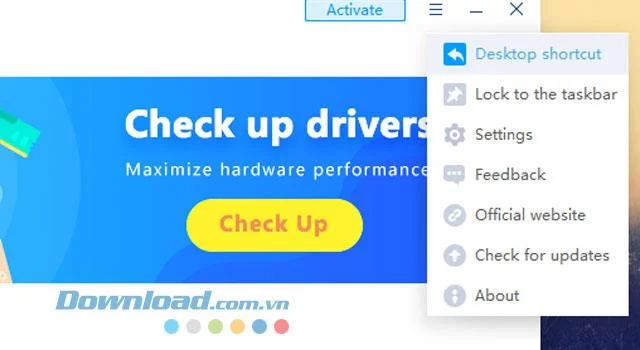
Finally, there are a few small options in the application settings, you can create Clean Master's Shortcut on the desktop, edit the language, set the auto-scan mode, check the new version ...
Above is the tutorial of how to use Clean Master on your computer, you can see above in addition to the main feature of cleaning junk files, cleaning up the system, deleting system junk files, Clean Master also supports system protection. system, driver test, driver update, driver backup and recovery, data recovery ...
Although the free version of Clean Master is limited to a number of features, users can still control problems on their computer.
In addition to Clean Master, you can refer to other computer system optimization software such as CCleaner , Advanced SystemCare ... Refer to the article Top best computer optimization software.
Track edits in Writer, preserve an editable ODT source, and check the exported DOCX in Word before sharing it.
Follow SUSE’s SP7 procedure to enable FIPS mode, reboot safely, verify the active policy, and check whether your compliance requirement calls for validated modules.
Compare YaST and cryptsetup for a new encrypted SLES data volume, choose LUKS1 or LUKS2, and verify unlock and mount behavior safely.
Create, refine, and verify a least-privilege AppArmor profile on SLES 15 SP7, with a clear note on SLES 16’s SELinux default.
Set up RMT on SLES 15, mirror entitled repositories, and verify HTTPS registration and package access from a test client.
Connect SLES 15 to AD with YaST’s SSSD-based logon management, then verify directory lookup, domain login, and Kerberos tickets.
Set up the right Live Patching path for SLES 16.0 or 15 SP7, apply eligible kernel fixes, and confirm what is active without confusing it with a reboot-required kernel update.
Load a custom SLES 15 kernel module without disabling Secure Boot. Match the running kernel, sign the .ko file, enroll a MOK key, and verify loading.
SLES 15 SP5 can migrate online to SP6, but each node must reboot. Use a tested rolling upgrade or blue-green cutover to keep workloads reachable.
Use SUSE’s supported STIG profile to scan SLES 15, test remediation, review remaining findings, and retain assessment evidence.








