How to fix missing Language bar on Windows 10
Language bar disappeared on Windows 10? Follow these solutions.
For some reason, your Windows 10 computer lost Admin rights, every time you open an application on the screen you receive an error message. So how to restore lost Admin rights, please refer to the article below of WebTech360.
Option 1: Get back lost admin rights in Windows 10 via Safe Mode
Step 1 : Log in to the current Admin account that you have lost administrative rights to.
Step 2 : Open the PC Settings control panel and select Accounts.
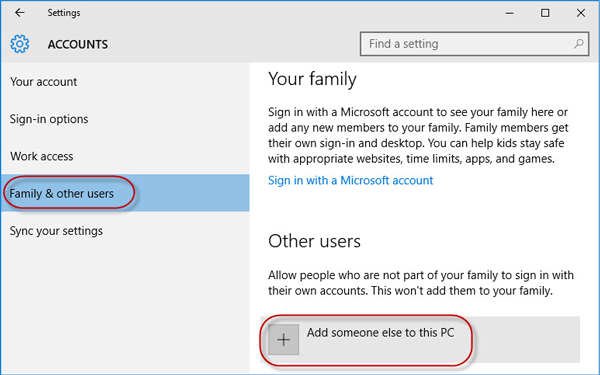
Step 3 : Select Family & other users , then click Add someone else to this PC .
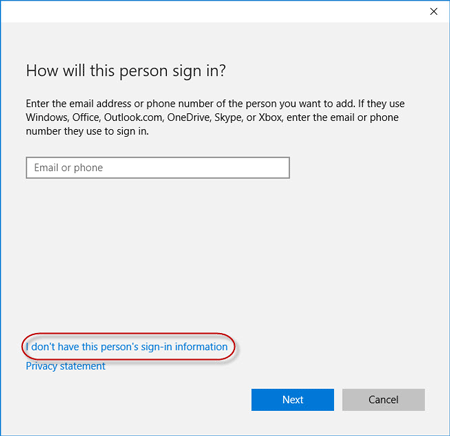
Step 4 : Click I don't have this person's sign-in information .
Step 5 : Click Add a user without a Microsoft account.
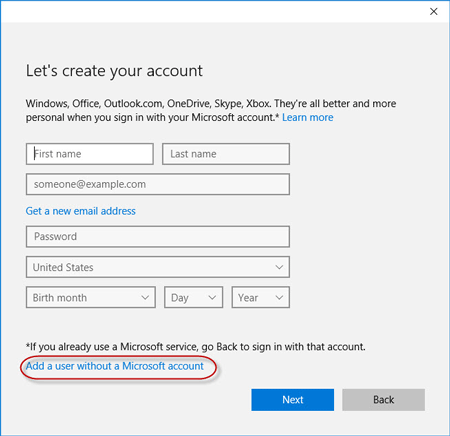
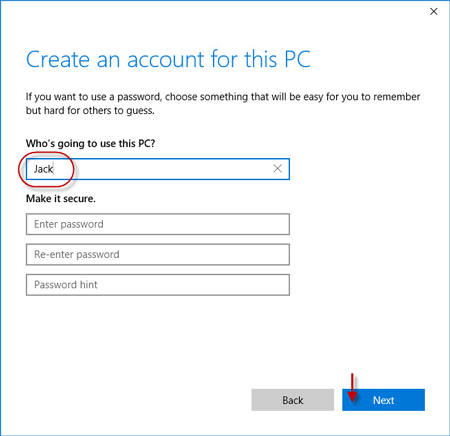
Step 6 : Enter a username, then click Next. This will add a new local account on your PC.
Step 7 : Press Win + R to bring up the Run dialog box , type cmd and press Enter.
Step 8 : After the Command Prompt window opens , type shutdown /r /o and press Enter.
Step 9 : After Windows 10 restarts to the "Choose an option" screen , click Troubleshoot > Advanced options > Startup Settings . Then click Restart.
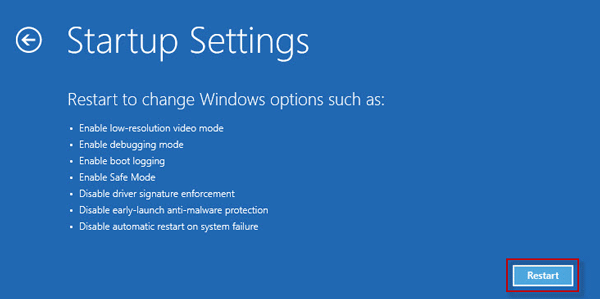
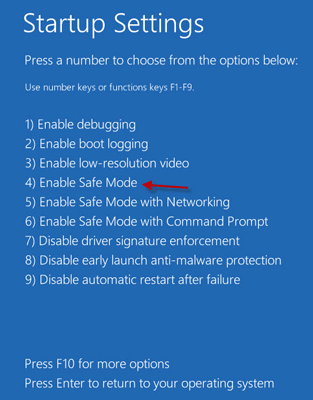
Step 10 : On the Startup Settings screen , press the number 4 key to enable Safe Mode .
Step 11 : After Windows 10 starts in Safe Mode, open Control Panel . Go to User Accounts > Manage another account , select the new local account you added in step 6, and then click the Change the account type link . Select Administrator and click Change Account Type to change the account from a standard user to an admin.
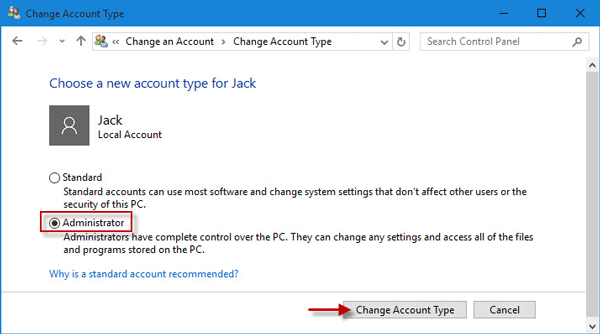
Step 12 : Restart your PC to get Windows 10 out of Safe Mode and back to normal mode. Log in to Windows 10 with the new admin account. Now, you have regained administrator rights in Windows 10 and can delete the Admin account that you lost administrator rights to.
Option 2: Modify account settings from Registry Editor
1. Open Settings .
2. Then, go to “Update and Security” settings .
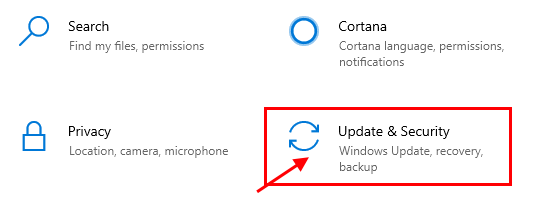
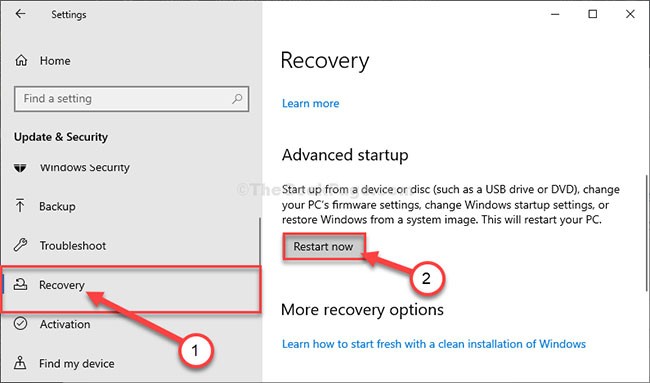
3. Then click "Recovery".
4. Then, under “Advanced Startup” section , click “Restart Now”.
5. The next step is to click on “Troubleshoot”.
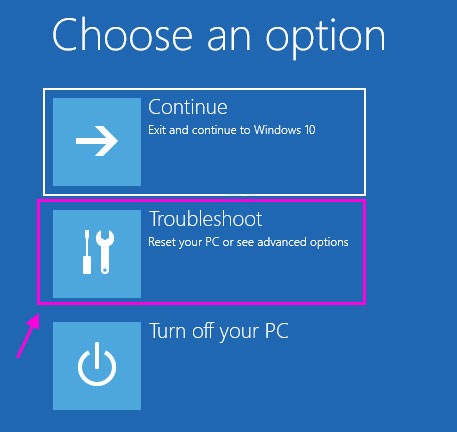
6. To see more available options, you have to click on "Advanced options".
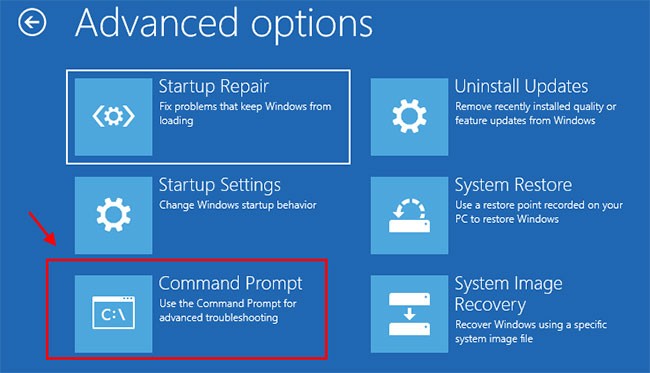
7. You need to access “Command Prompt”. So click on it.
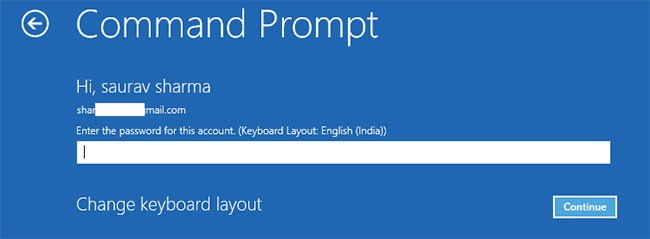
8. Set your account password to access the CMD terminal. Click “Continue”.
9. In the Command Prompt window, type or copy "regedit" and press Enter to open the Registry Editor on your computer.
NOTE: You will need to create a backup of the Registry. Once you have opened the Registry Editor, you will need to click File and then select Export from the menu bar.
10. In the Registry Editor window , select the "HKEY_LOCAL_MACHINE" branch to highlight it.
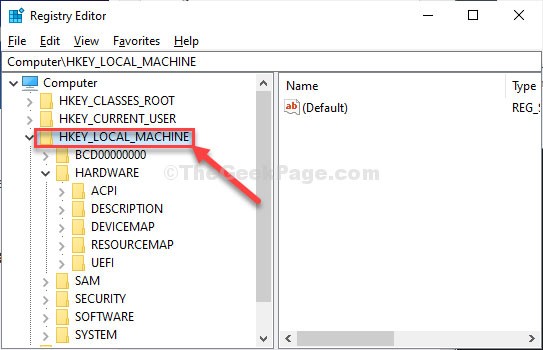
11. Now, click on “File” from the menu bar and then click on “Load Hive”.
12. In the Load Hive window , navigate to this location:
system root drive > Windows > System3213. In the System32 folder , double-click the “config” folder .
14. In the Config folder , scroll down to find and select the “SAM” file.
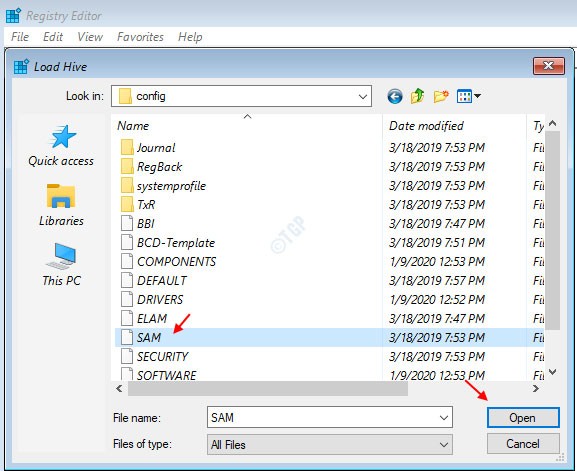
15. Now, click Open to load the hive in the registry branch..
16. You need to provide a name for the hive.
17. Name the key “REM_SAM”. Click OK.
18. In the Registry Editor window, on the left side, navigate to this location:
HKEY_LOCAL_MACHINE\REM_SAM\SAM\Domains\Accounts\Users
HKEY_LOCAL_MACHINE\REM_SAM\SAM\Domains\Accounts\Users\000001F4
0001F4
19. Now, in the same window, on the right hand side, double click on the binary value “F” to modify it.
20. In the Edit Binary Value window , go to the line “00000038".
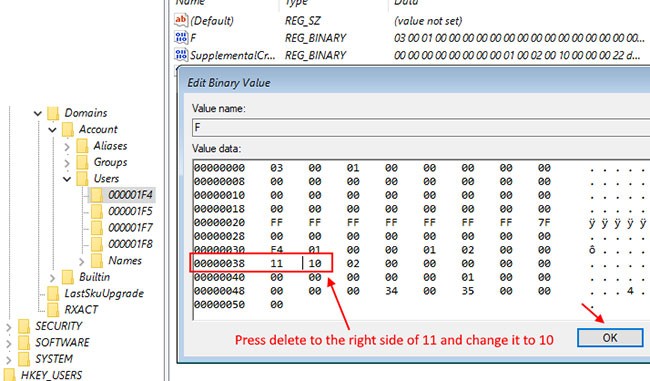
21. Place your cursor just to the right of “11” and press Delete from your keyboard.
22. Now, type “10” to change the value.
23. Finally, click OK to save the changes on your computer.
Close the Registry Editor and Command Prompt windows.
24. Back in the Choose an Option window , click Turn off your PC to turn it off.
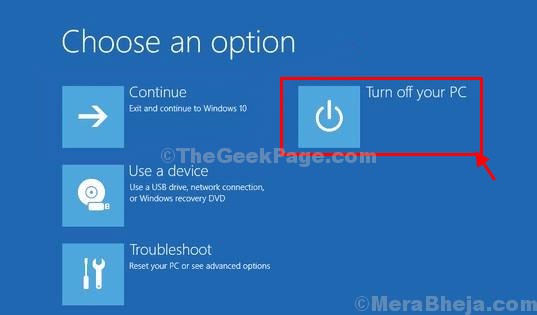
Restart your computer.
After restarting your computer, you will have administrative rights to your account again.
Note:
Try to open the “SAM” file , you may see this error message “The process cannot access the file it is being used by another process” or “File is in use” message .
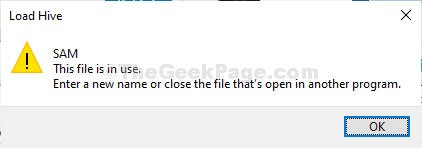
To resolve the issue, follow these steps:
1. In the Registry Editor window, select the "HKEY_LOCAL_MACHINE" branch to highlight it.
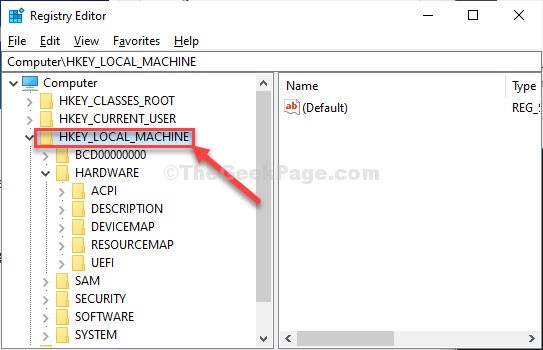
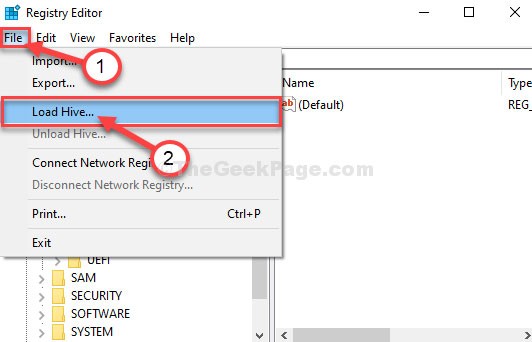
2. Now, click on “File” from the menu bar and then click on “Load Hive”.
3. Now, click on “Look in:” to open the drop-down menu.
Note : You are facing trouble because you are selecting the “BOOT (X:)” drive from which CMD is running.
4. Select the system root drive on your computer (for this computer, it is the “Local Disk (D:)” drive , usually Local Disk (C:) ) and then click “Open”.
5. Now, scroll down and double-click on the “Windows” folder.
6. Similarly, scroll down, find the “System32” folder and access it.
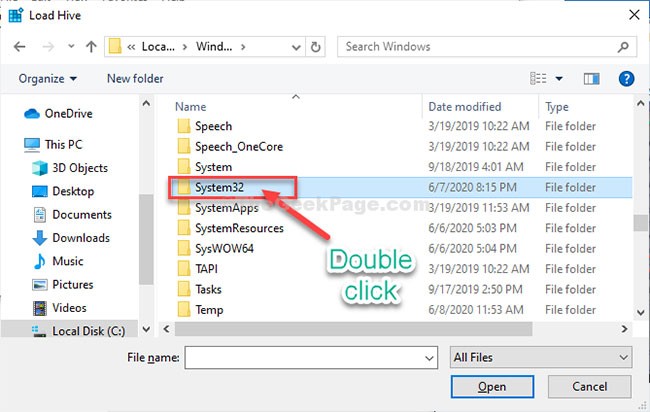
7. Now, double click on the “Config” folder to access it.
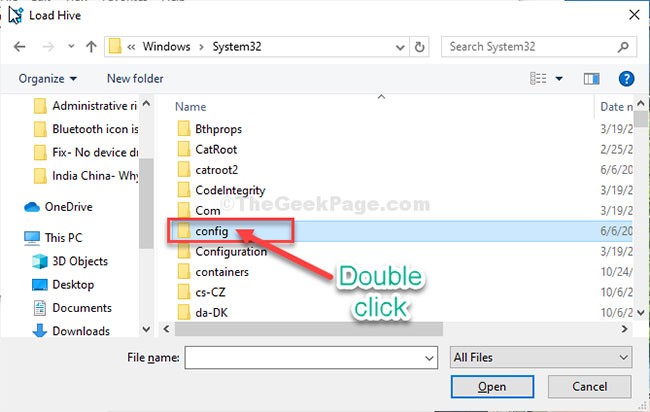
Then follow the remaining instructions (from step 13) to modify the binary value and resolve the issue.
Option 3: Get back lost Admin rights on Windows 10 using iSumsoft Windows Password Refixer tool
To use this option, you need to borrow a PC that you can access as admin.
Step 1 : On another PC that you can access with admin rights, download and install iSumsoft Windows Password Refixer .
Step 2 : Launch this tool and follow the steps to burn it to USB and create a bootable drive.
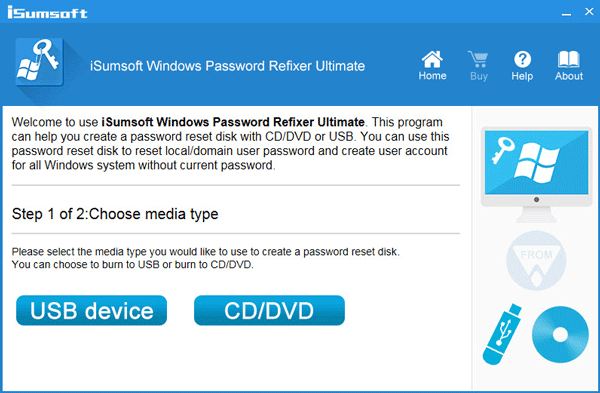
Step 3 : Connect the bootable USB drive to the Windows 10 PC on which you have lost admin rights and set the PC to boot from USB.
Step 4 : After the " Windows Password Refixer " screen appears, click Add User . Then, enter the username in the dialog box and click OK. This will add a new local user with admin rights on Windows 10.
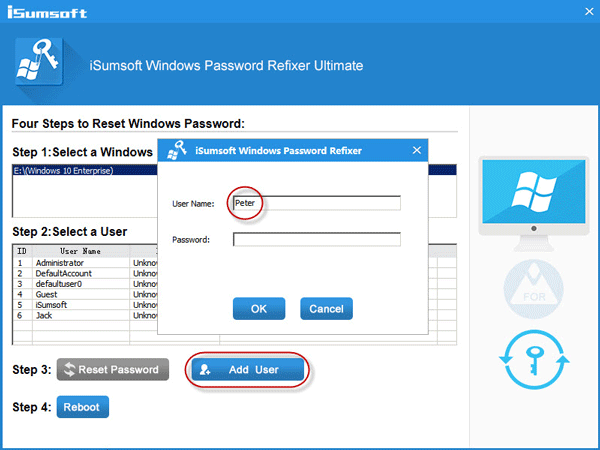
Step 5 : Click Reboot and exit the bootable USB drive to restart your PC. The new admin account will appear on the Windows 10 login screen. Log in there and you have regained admin rights.
See more articles below:
Good luck!
Language bar disappeared on Windows 10? Follow these solutions.
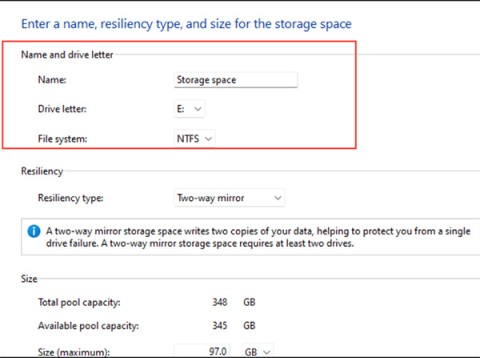
Pooling multiple drives with Storage Spaces in Windows 11 allows users to protect files from drive failure while consolidating storage into a single, easy-to-manage virtual drive.
To prevent users from locking their Windows 10 computer, follow the steps below to disable the Lock Screen in Windows 10.
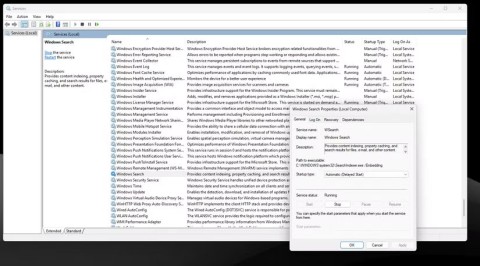
Turning off a few of these services can save you a significant amount of battery life without affecting your daily usage.
From performance monitoring to quick system tweaking, these built-in utilities are as useful as ever.
Error code 0x80004005 is a type of unknown Windows error, whose cause is related to a number of different issues.
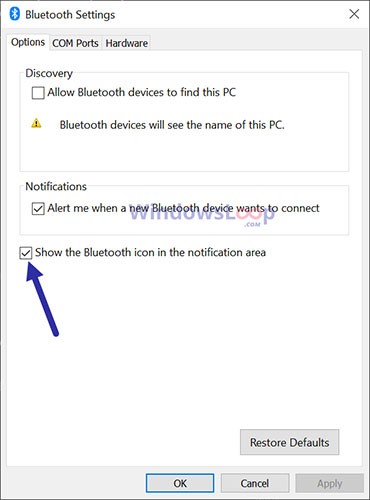
If you can't find the Bluetooth icon on the taskbar, follow the steps below to show the missing Bluetooth icon on Taskbar in Windows 10.
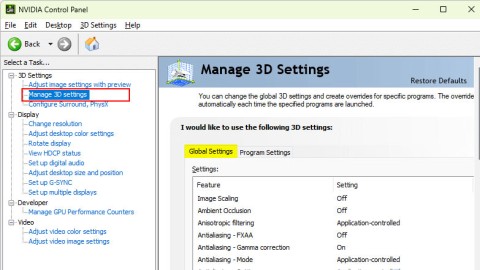
Clearing the NVIDIA Shader Cache will reset the system, forcing it to rebuild with new data. Here are instructions for clearing the NVIDIA Shader Cache.
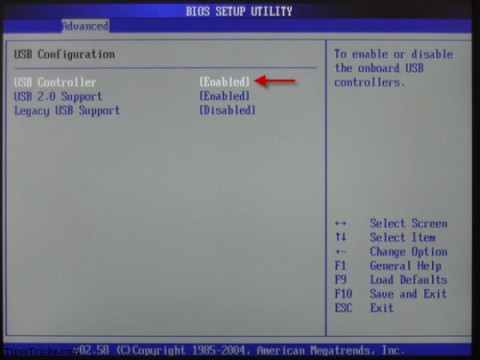
Unlocking USB ports in BIOS is not difficult. However, how to lock computer USB ports? Let's find out with Quantrimang.com!
Being blocked online can be frustrating, whether it's a forum lockout, a game ban, or a temporary IP restriction. The good news is that you don't always need a VPN to get around these restrictions.
When your computer crashes, seeing how everything is running can help you troubleshoot. And when everything is working, this information can also help you optimize your system.
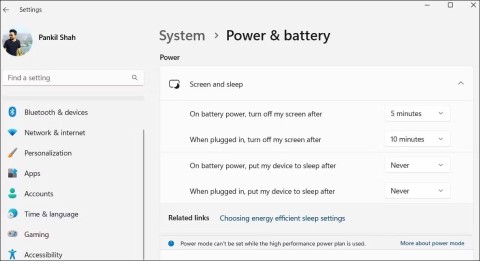
Windows laptops aren't known for their battery life, at least not without some tweaking. But these tips will help your laptop last all day without having to find a power outlet.
Windows 10/11 includes a hidden Administrator account that you can use to manage all the important data on your computer. Let's see how to enable or disable the built-in Administrator account on Windows 10/11!
System Service Exception or SYSTEM_SERVICE_EXCEPTION is one of the BSOD errors (blue screen of death errors). System Service Exceptions errors occur quite commonly and continuously.
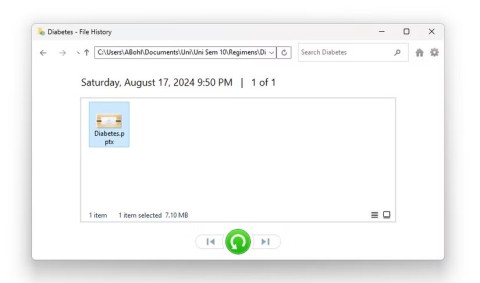
In the following article, we will present the basic operations to recover deleted data in Windows 7 with the support tool Recuva Portable. With Recuva Portable, you can store it in any convenient USB, and use it whenever needed. The tool is compact, simple, easy to use with some of the following features:
