Sometimes, a slow Internet connection makes it difficult to access the network. So how to solve this problem? Please install Auslogics BootSpeed to speed up Internet connection now through the article that Download.com.vn would like to share below.
Download Auslogics BootSpeed
Instructions for installing Auslogics BootSpeed
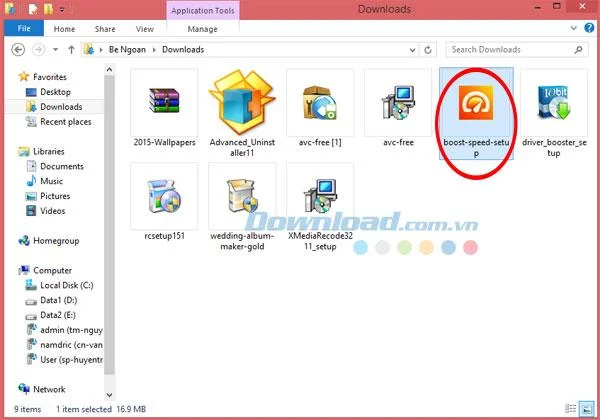
After successfully downloading Auslogics BootSpeed, click on the icon of the program to install.
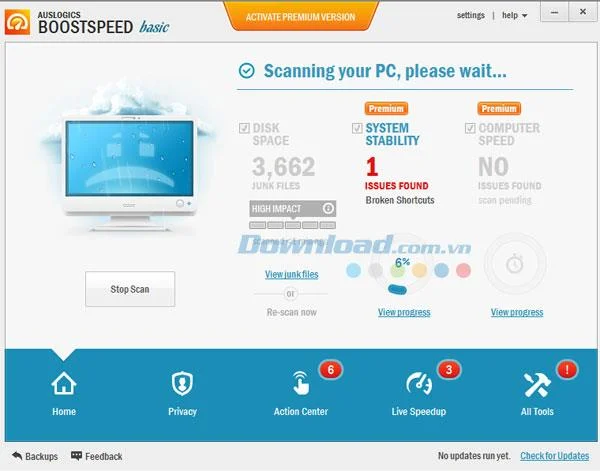
Then you will see the main interface of the program as below:

There, you can view junk files, stability issues, speed issues, and so on.
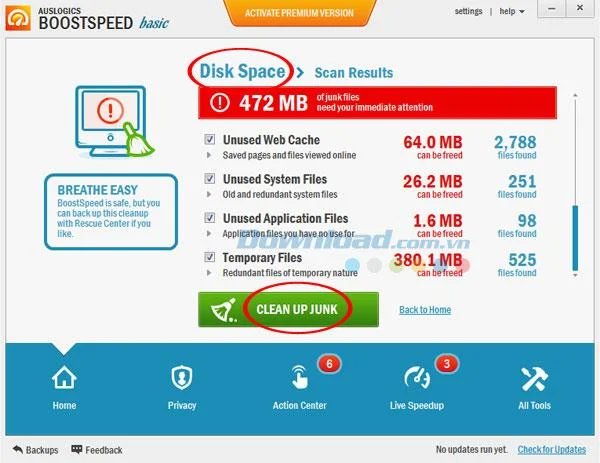
If you want to see the disk space used, please click the Disk Space button . Here, you can track the following information:
- Web cache files are no longer used
- Old and redundant system files
- Application files are no longer in use
- Temporary file

Then, click Clean Up Junk if you want to clean out all junk files.
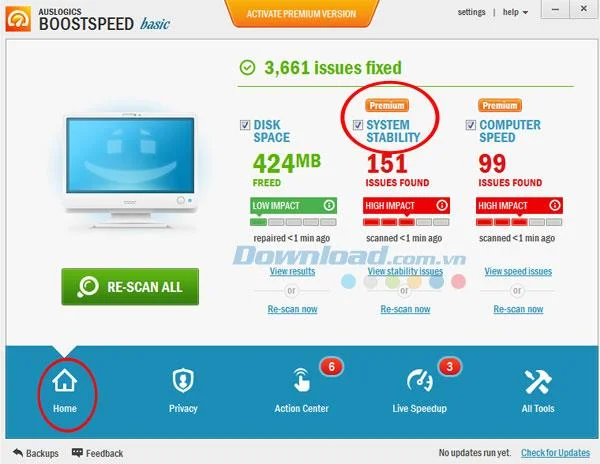
Click the Home icon to return to the main interface and select System Stability to view issues related to system stability. Note, this feature is only available in the Premium version .
- Broken Shortcuts - Registry shortcuts for missing items
- Help Files - Items related to help files are invalid
- Missing Software - Items left behind by uninstalled software
- System Errors - Other common registry problems

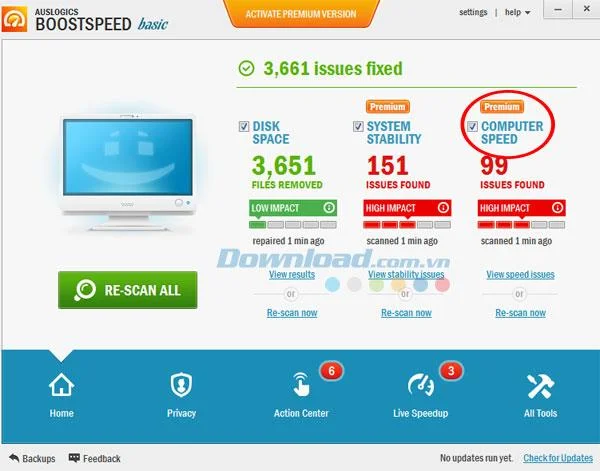
Or you want to find out how fast your computer is, click on the Computer Speed option .
- System Registry Issues - Issues related to system stability
- Shutdown Speed Issues - Settings that can increase the shutdown time
- Internet Speed Issues - Wrong settings may affect connection speed
- Windows Speed Issues - Some services may be wasting computer resources
Then, click Repair All if you want to repair all.

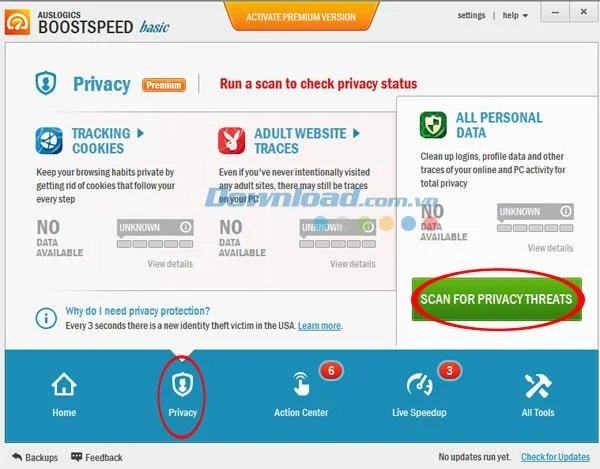
In addition, the program also gives users the ability to check their privacy when browsing the Internet. Click on the Privacy button in the bottom left corner of the window and click the Scan for Privacy Threats button on the right to check for privacy threats.

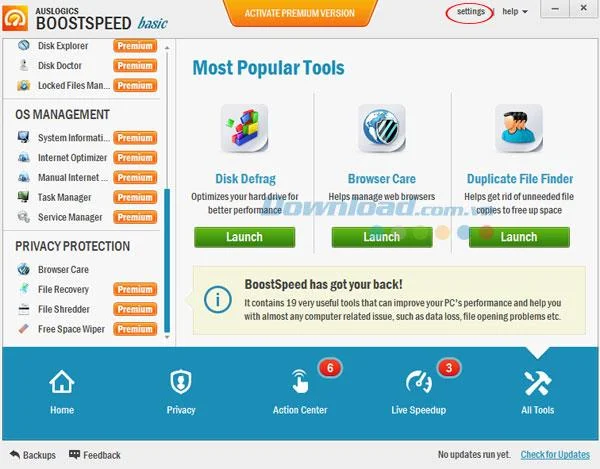
Besides, you can make a few tweaks if necessary when you press Settings.

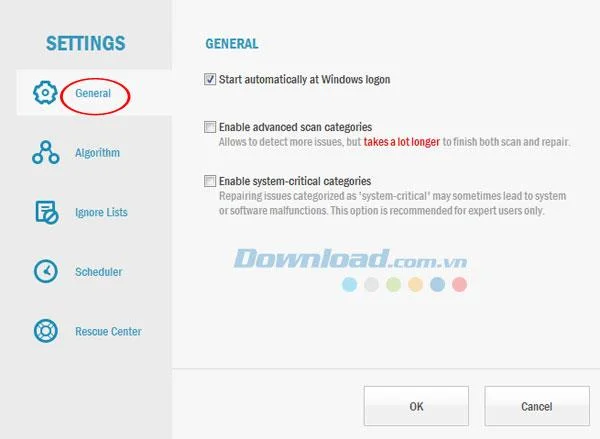
In the General section , you can choose to automatically start programs at the same time as Windows, activate advanced scanning items or some important items with the system.

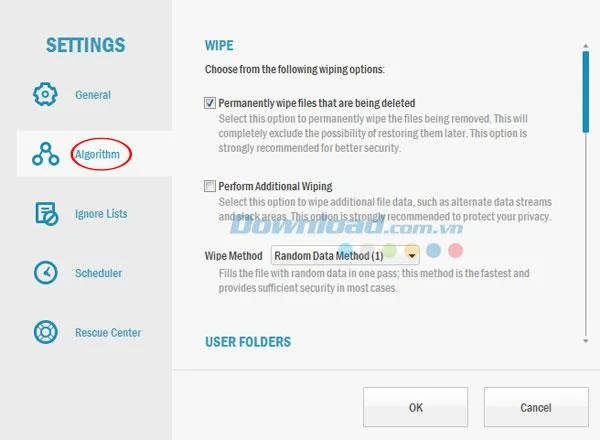
In the Algorithm section , select the appropriate cleanup mode:
- Permanently wipe files that are being deleted - Permanently wipe files that have been deleted
- Perform Additional Wiping - Perform additional cleaning modes
- Wipe Method: Method of deletion
User Folders : This list contains folders that will be permanently removed. Please do not add directories whose contents are important.

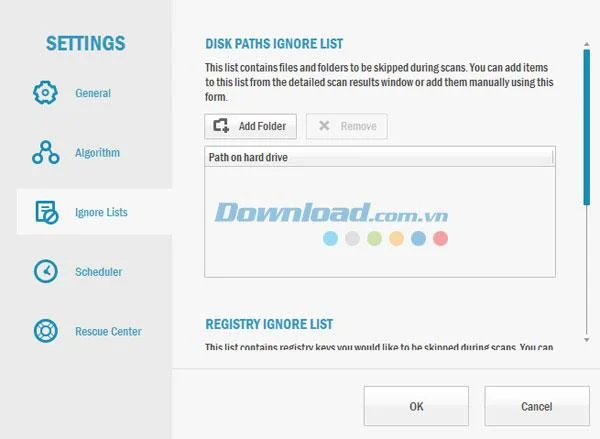
In the Ignore Lists section , select the folders and files to be skipped during the scan. You can add items to the Disk Paths Ignore List from the scan results window or add them manually using the form below.

Meanwhile, Scheduler tool , you can activate the computer maintenance mode automatically.
By doing all these tweaks, you can clean your computer and also significantly increase the speed of your Internet connection. Thanks to that, get a smooth and completely pleasant web surfing experience.
I wish you successful implementation!