Fix “No Bootable Device Found” After Installing Debian on UEFI

Fix Debian’s UEFI boot error by checking boot mode, the EFI System Partition, GRUB files, and firmware boot order—without reinstalling Debian first.
Imagine this: You're all set to access your important files on your trusty NAS drive, but when you open File Explorer in Windows 11, it's nowhere to be found. Frustrating, right? 😩 Don't worry—many users face this NAS not showing in Explorer issue, often due to simple network hiccups or configuration tweaks. In this guide, we'll walk you through proven, up-to-date troubleshooting steps to get your Windows 11 NAS drive back online quickly. By the end, you'll feel empowered to tackle it like a pro. Let's dive in and reclaim your storage! 💪
Before jumping into fixes, understanding the root causes can save you time and stress. Common culprits include:
Spot on? Great—now let's troubleshoot systematically. Follow these steps in order, and test after each one. You'll be back to browsing your files in no time! ⭐
First things first: Ensure your PC and NAS are on the same network. A quick ping test can confirm this.
cmd, and hit Enter to open Command Prompt.ping [NAS IP address] (replace with your NAS's IP, like 192.168.1.100—find it in your router settings or NAS admin panel).If pinging works but the drive still hides, move to mapping. Pro tip: Use a wired connection for stability if possible—it's a game-changer for troubleshooting NAS Windows 11 woes.
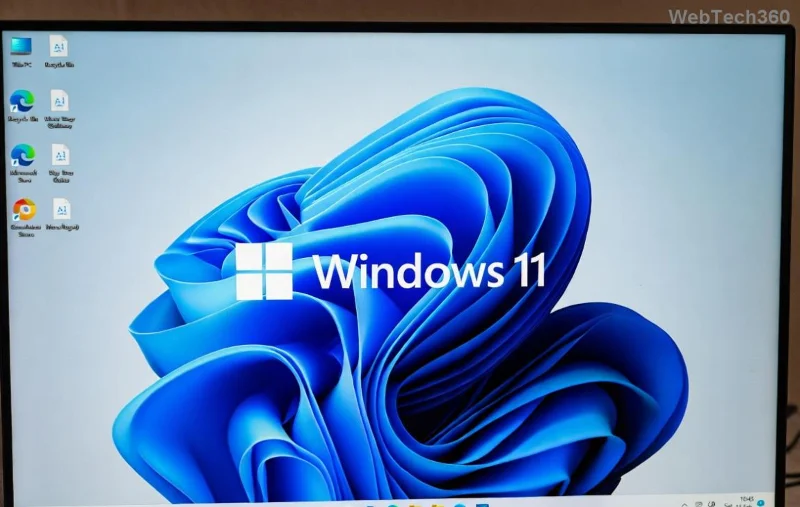
Often, the NAS drive not found in Explorer stems from it not being mapped. Windows 11 makes this easy—let's map it right now!
\\NAS-IP\shared-folder (e.g., \\192.168.1.100\Public).Still invisible? Ensure SMB 1.0 is enabled if your NAS requires it (though not recommended for security—update your NAS to SMB 3.0 instead). Head to Settings > Apps > Optional features > Add a feature > Search for "SMB 1.0/CIFS File Sharing Support" and install. But remember, for the latest Windows 11 builds, prioritize secure protocols to avoid vulnerabilities.
Sometimes, Windows 11 treats your network as public, blocking shares. Let's fix that.
Restart Explorer (Task Manager > Processes > Windows Explorer > Restart) and check again. This tweak resolves many fix NAS connection Windows 11 headaches. Feeling optimistic? You're halfway there! 😊
Firewalls are gatekeepers, but they can be overzealous. Let's ensure they allow NAS traffic.
| Firewall Type | Steps to Allow NAS | Common Ports |
|---|---|---|
| Windows Defender Firewall | Search for "Windows Defender Firewall" > Allow an app > Ensure "File and Printer Sharing" is checked for Private networks. | 445 (SMB), 139 (NetBIOS) |
| Third-Party Antivirus (e.g., Norton) | Open your antivirus dashboard > Firewall settings > Add rule for NAS IP on ports 445 and 139. | Same as above |
| NAS-Side Firewall | Log into NAS admin (e.g., via browser at its IP) > Enable SMB sharing and check firewall rules. | Verify NAS ports are open |
After adjustments, test access. If you're using VPNs, disconnect temporarily—they can route traffic away from your local NAS. For deeper dives, check Microsoft's official support: Microsoft Network Troubleshooting Guide.
Outdated components are sneaky villains in troubleshooting NAS Windows 11. Stay current!
Pro restart tip: After updates, reboot everything—PC, NAS, and router. This clears temporary glitches and often magically revives the drive. 🎉
If your map network drive Windows 11 still fails, try these power moves:
ipconfig /flushdns, then netsh int ip reset, and restart.regedit. Navigate to HKEY_LOCAL_MACHINE\SYSTEM\CurrentControlSet\Services\LanmanWorkstation\Parameters. Set EnableSecuritySignature to 0 (DWORD). Backup first!New-PSDrive -Name "Z" -PSProvider FileSystem -Root "\\NAS-IP\share" -Persist. This bypasses GUI issues.These should cover 95% of cases. If not, your NAS might need a factory reset or professional help—consider your model's support forum.
To keep things smooth, schedule weekly checks: Update firmware, map drives on login, and monitor network health with tools like Windows 11's built-in Network Troubleshooter (Settings > System > Troubleshoot > Other troubleshooters).
Bonus: Use apps like Synology Drive or QNAP's Qsync for seamless syncing, reducing reliance on manual mapping. You've got this—your files are just a fix away! If these steps worked for you, share in the comments below. What's your NAS brand? Let's build a community of smooth operators. 👏
Stay connected and frustration-free. Happy troubleshooting! 🌟
Fix Debian’s UEFI boot error by checking boot mode, the EFI System Partition, GRUB files, and firmware boot order—without reinstalling Debian first.
The Outlook Inbox Repair Tool fixes corrupted PST files quickly so you can recover emails and restore normal Outlook function. Follow these exact steps to run scanpst.exe without data loss.
Get the Adobe PDF Installer Offline to install Acrobat Reader on any PC without needing internet during setup. Follow these exact steps for the full standalone package.
Learn how to Chromecast from laptop to TV with this step-by-step guide. Stream browser tabs, videos, or your full screen from Windows or Mac to your TV in minutes.
Learn how to edit an Adobe PDF file in Adobe Acrobat with precise steps for text, images, and layout changes. Make professional edits quickly and save time.
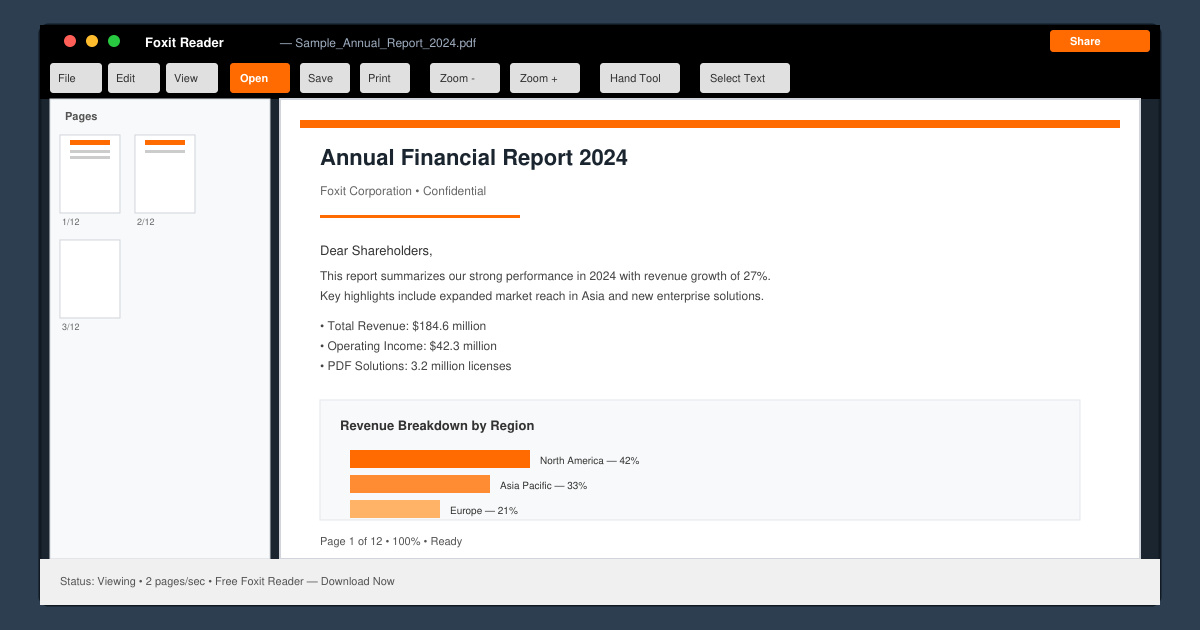
Get your Free Foxit Reader Free Download from the official source with this step-by-step guide that ensures a safe and quick installation for viewing PDFs.
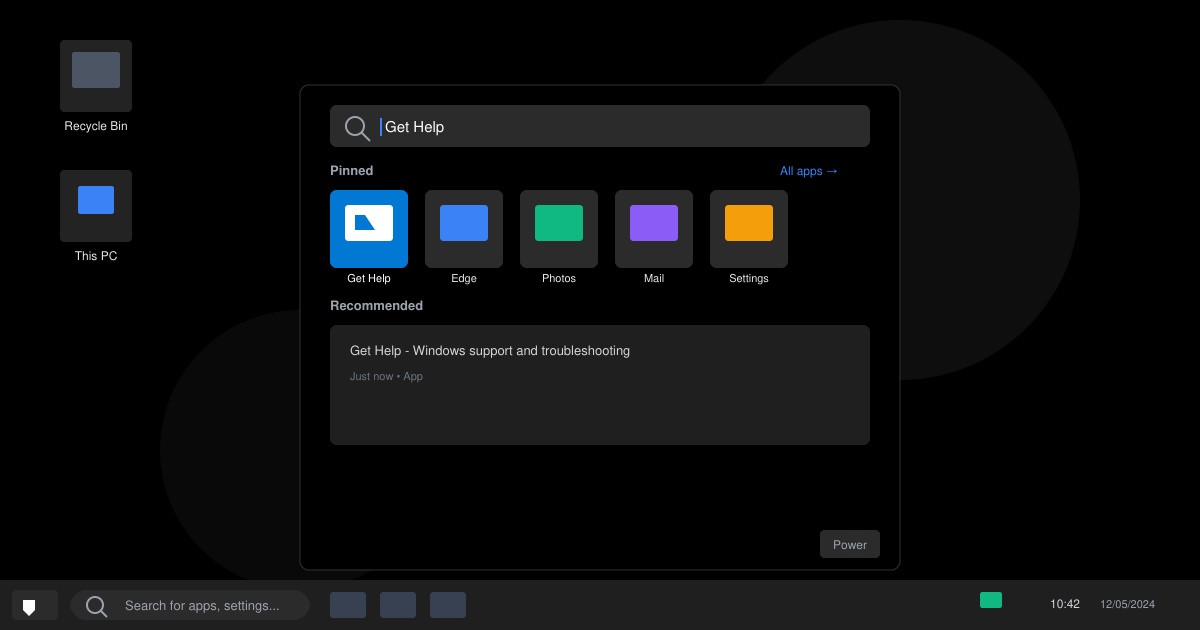
Learn how to get help in Windows 11 with built-in tools like the Get Help app and Quick Assist for fast, official support without third-party downloads.
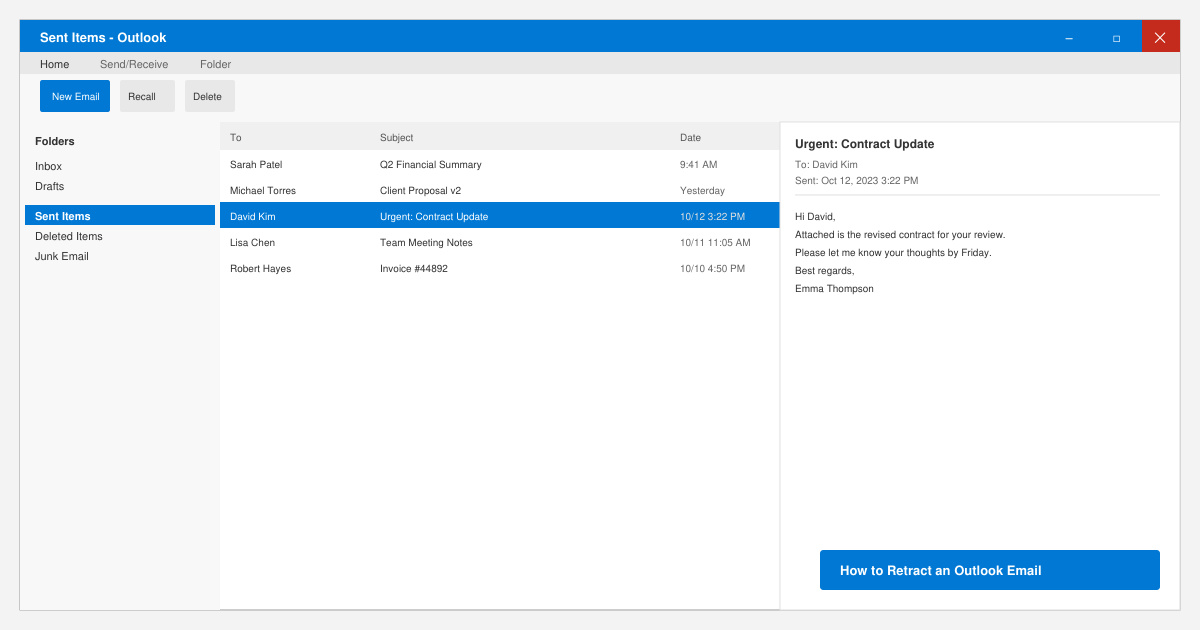
Learn how to retract an Outlook email in Microsoft Outlook when you need to correct a mistake before the recipient opens it. Follow these precise steps for Exchange accounts.
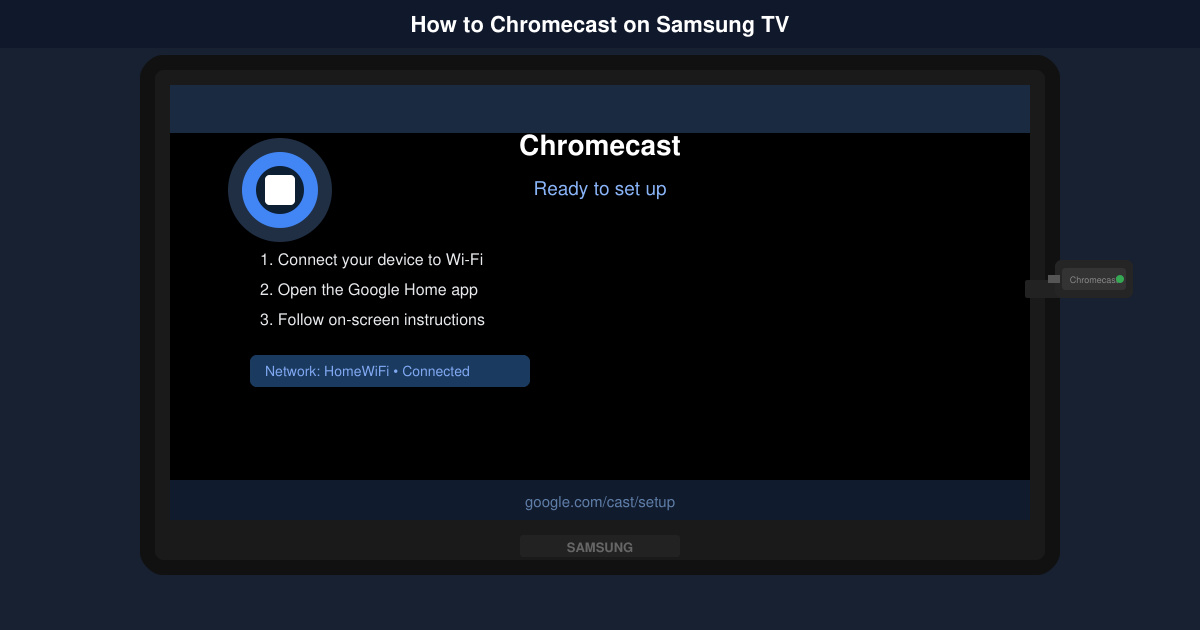
Learn how to Chromecast in Samsung TV by connecting a Chromecast device and streaming from your phone or computer in just a few minutes.
Get the official Adobe Acrobat DC Reader free download safely. Follow this step-by-step guide to install the latest version for viewing and editing PDFs on Windows or Mac.