Raise the CODE Container’s Memory Cap Without Guessing
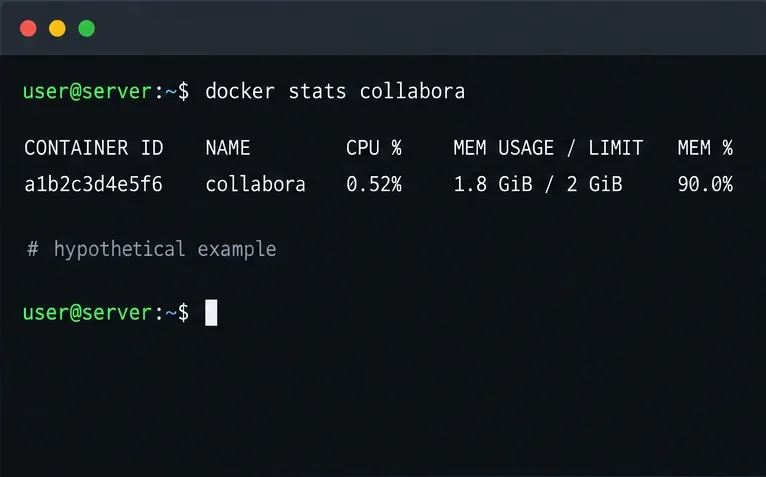
Check whether Docker is capping Collabora CODE, raise the Compose memory limit safely, and confirm the running container received the new cap.
Webex Meetings from the famous software company Cisco is a very powerful and professional application for use in online meetings . Recently, with the significant increase in online learning and working caused by the epidemic, Webex has been trusted and used by many people. Let's learn about how to register, install and use Webex in the following article.
Instructions for registering and installing Webex Meeting for online learning and meetings
Note: This is a guide to installing and using Webex software for PC.
First you need to download the Cisco Webex Meetings software version for PC.
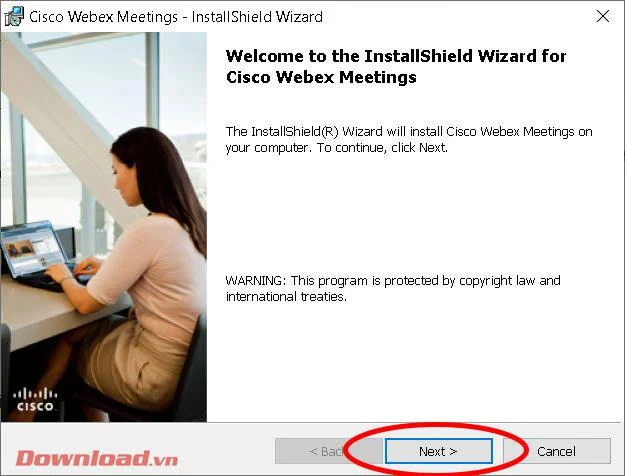
After downloading, run the downloaded file to open the installation window. Click the Next button .
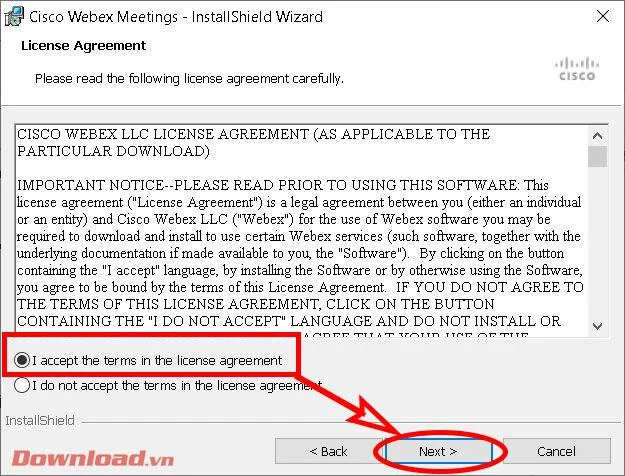
Check the line I accept the terms in the license agreement then click Next .
In the next window, click Install to proceed with the installation.
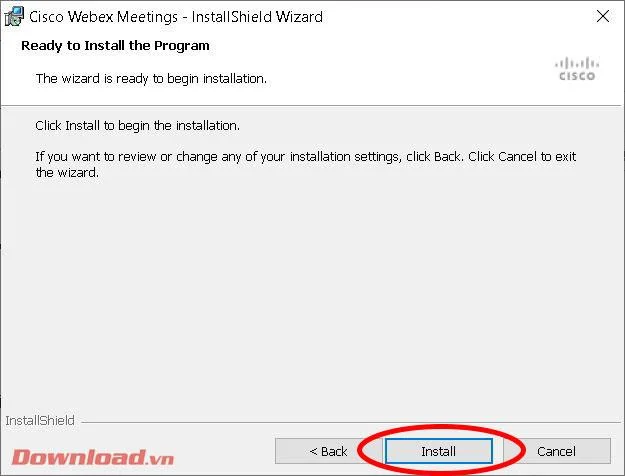
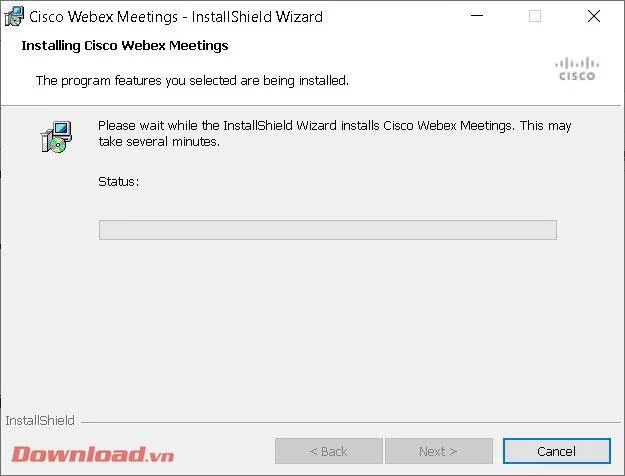
Wait a moment for the installation process to complete. If Windows displays a dialog box asking if you want to install the software, click Yes .
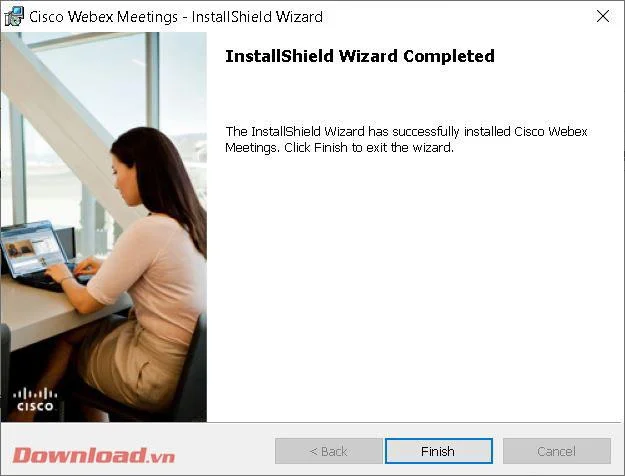
After successful installation, click the Finish button to close the window and start the Webex software immediately afterwards.
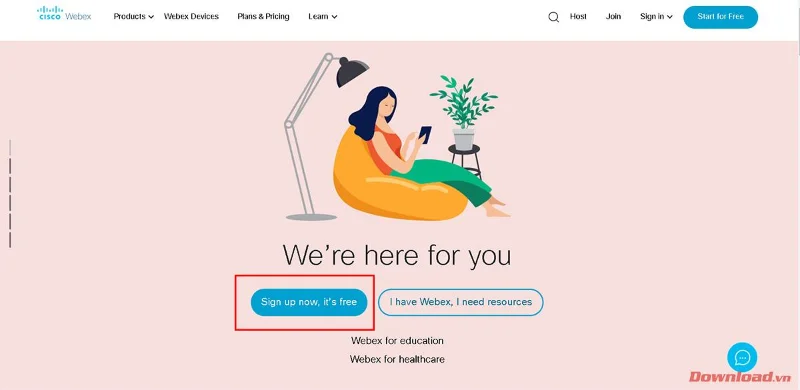
To be able to use Webex, you need to register for an account. Visit the application's homepage at: https://www.webex.com/ then press the Sign up now, It's free button .
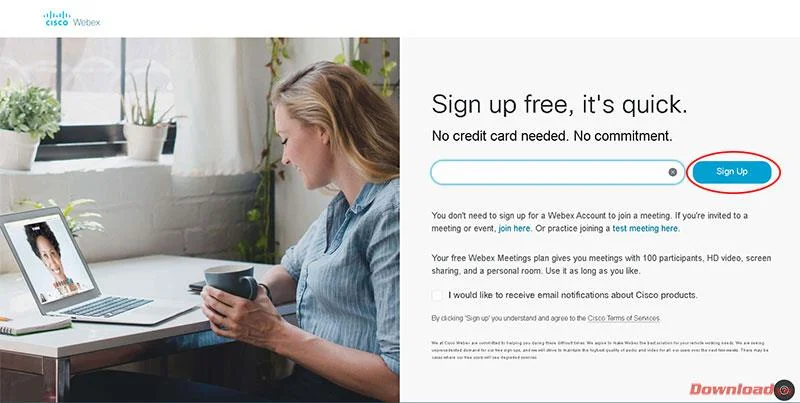
Enter your Email address in the blank box then press the Sign Up button next to it.
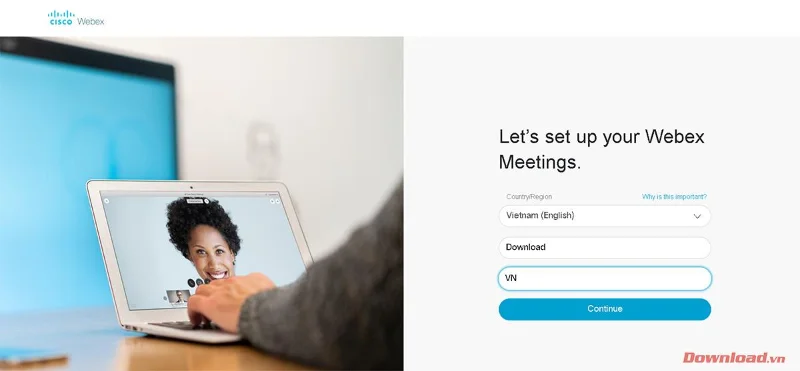
Select Country, language and fill in full name in the blank boxes then click Continue .
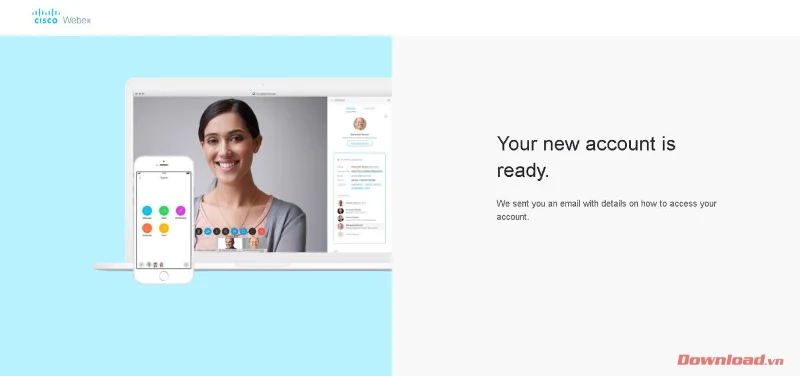
The system will send an email to your mailbox to confirm account creation.
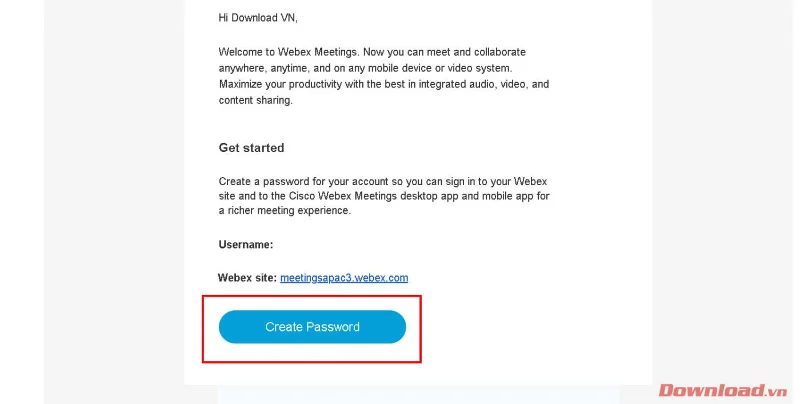
Check your Email sent by Webex, click the Create Password button at the end of the message.
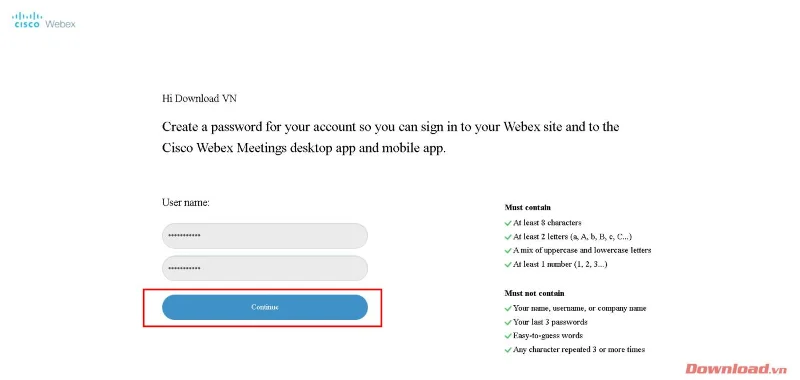
Next, you will be redirected to Webex's account management page to create a login password. Enter your password and confirm your password in the 2 blank boxes under User Name and click Continue to complete the account registration process.
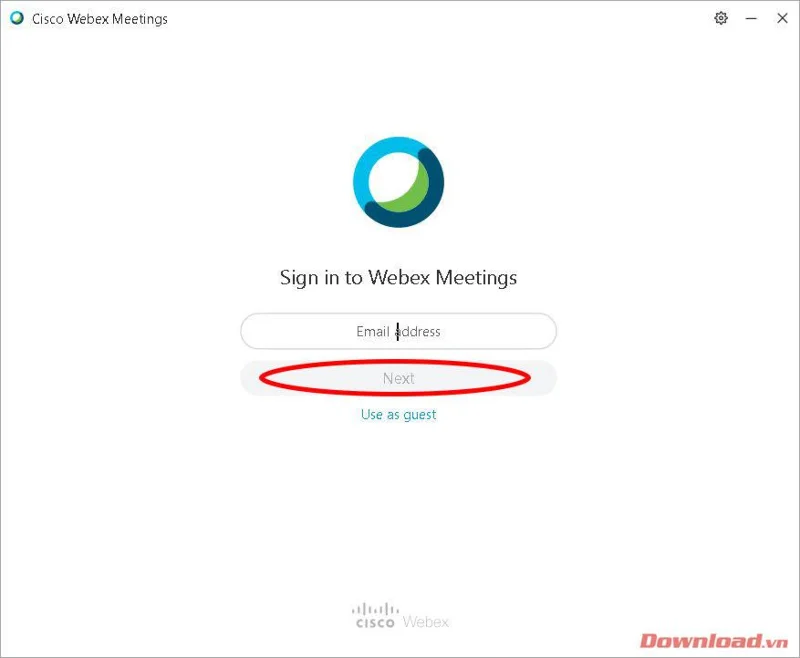
To create a classroom or meeting room, after opening the Webex software, enter the registered Email in the Email Address box then click Next .
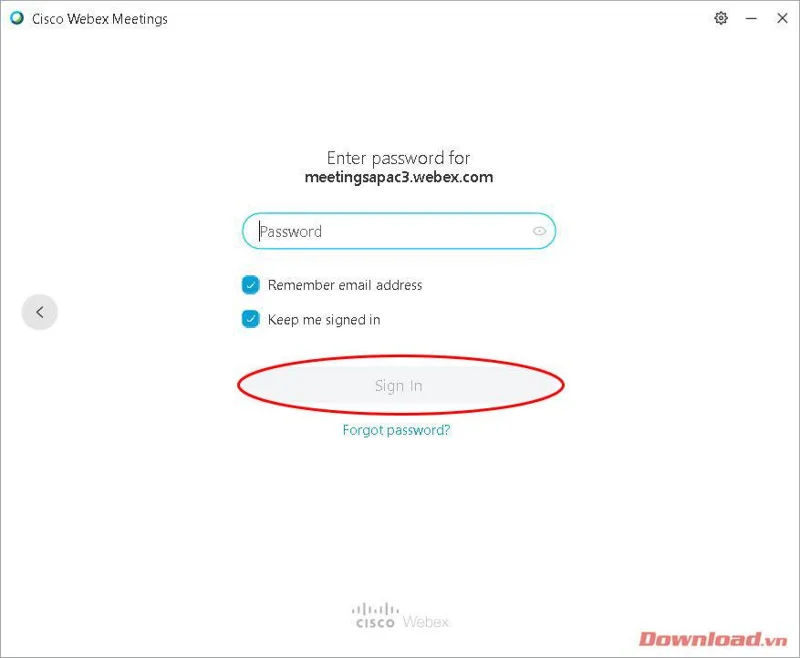
Next, enter your password in the Password box then press the Sign in button .
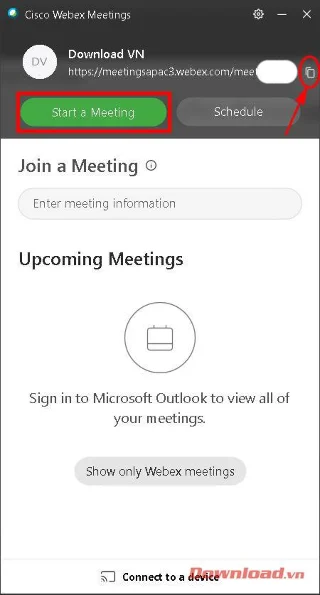
After successfully logging in, the main window of the software will appear. Click on the copy icon next to the room link as shown below to copy the link and send it to the participants. Then, press the Start a Meeting button to start a class/meeting.
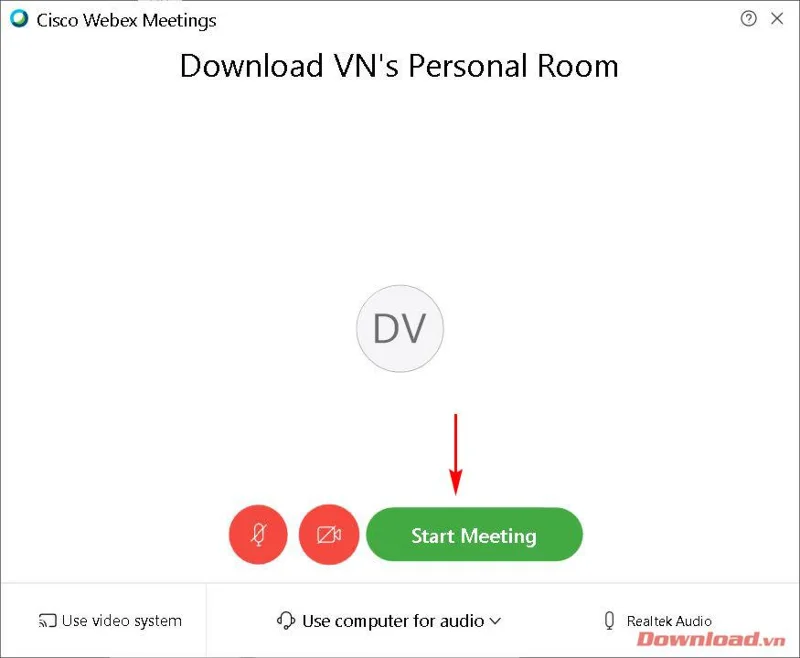
At this time, the user will be transferred to the personal meeting room to prepare for the meeting or study session. After turning off or on the sound and image with the corresponding button on the screen; Click Start Meeting .
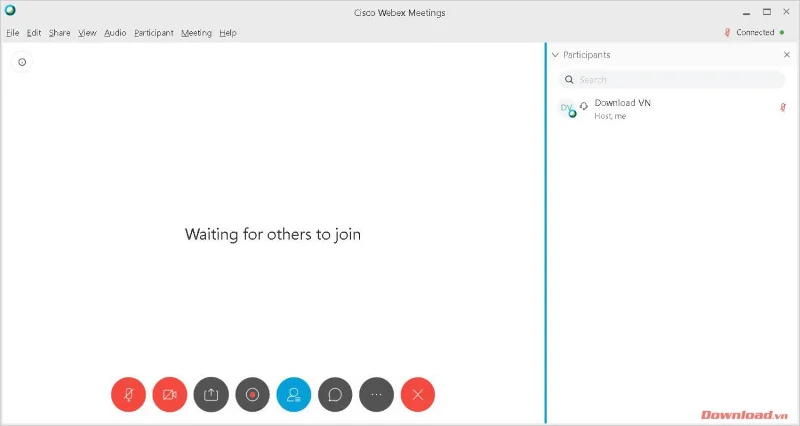
The classroom/meeting room window will appear as shown below. We can manage members participating in the room in the menu on the right hand side. The classroom interface is very friendly and easy to use with quite complete basic functions such as muting, turning off video, recording, uploading data files...
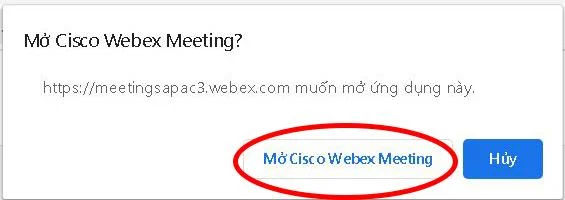
Joining a room After receiving the classroom link , click on it. At this point, you will be redirected to edit the browser window. Click Open Cisco Webex Meeting in the dialog box that appears to open the Webex software and enter the room.
Note: You need to install the Webex software to be able to join the room. If you have not installed it, the website will also ask you to download the file and install it. See the installation instructions at the beginning of the article.
So with just a few simple steps, you can create and join a classroom or meeting room to serve your online exchange needs.
Wishing you success!
Check whether Docker is capping Collabora CODE, raise the Compose memory limit safely, and confirm the running container received the new cap.
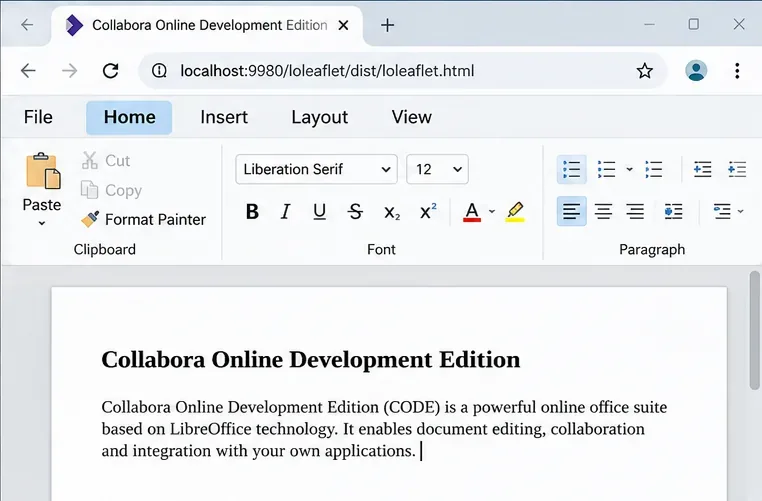
Simplify Collabora CODE with Compact or Tabbed mode and WOPI PostMessage controls to hide selected buttons, commands, and tabs safely.
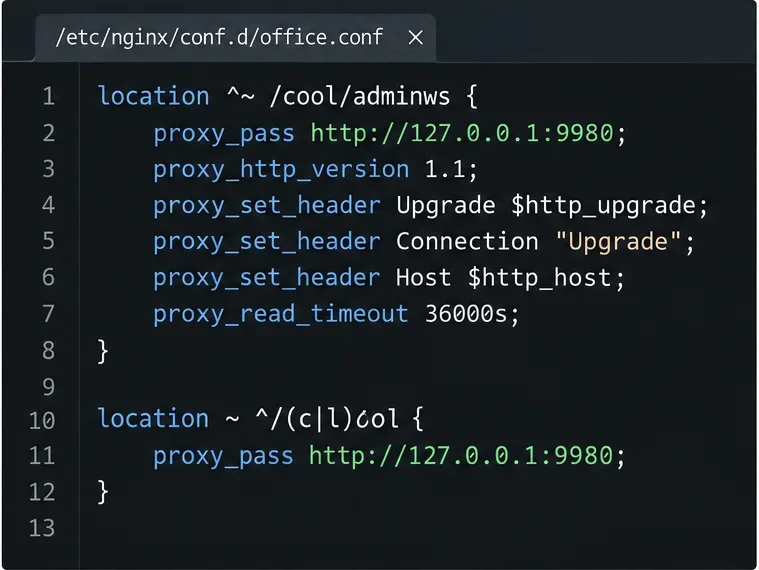
Put Nginx in charge of HTTPS for a Collabora CODE container, forward editing WebSockets correctly, and verify the public endpoint without exposing port 9980.
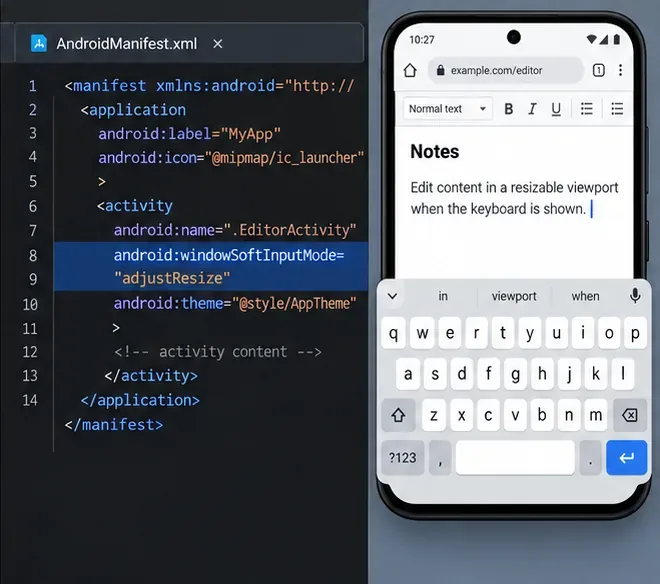
Troubleshoot a mobile browser keyboard covering text in Collabora Online, with quick workarounds and separate checks for browsers, embedded WebViews, and host pages.
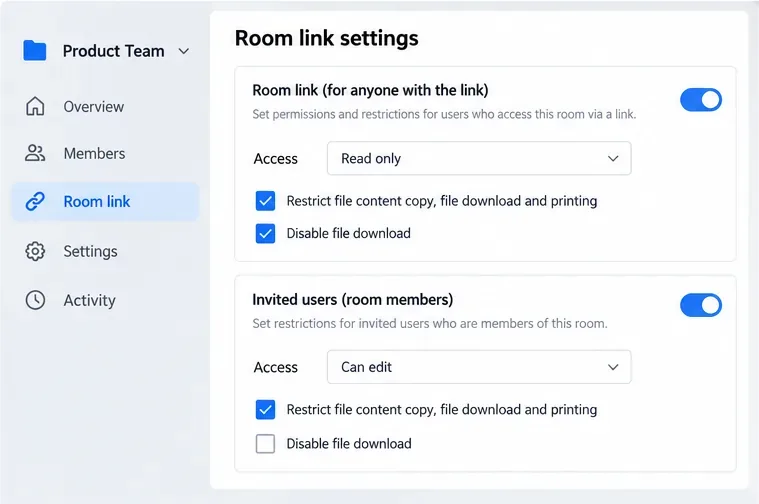
Set print and download limits for ONLYOFFICE links, room members, or Docs API sessions, then verify the restrictions from a recipient account.
Set a backup destination, schedule, Mail coverage, and retention limit in ONLYOFFICE Workspace, then verify the archive is ready to restore.
Start the Enterprise Docker Compose stack, persist its license and data, configure JWT safely, and confirm the editors are ready to integrate.
Use an ONLYOFFICE JavaScript macro to remove nonprinting characters and trim extra spaces from a defined spreadsheet range, with a safe review workflow.
Connect ONLYOFFICE DocSpace to Active Directory or OpenLDAP, import users and groups safely, map account fields, and schedule reliable synchronization.
Move portal data from Disk Default to a supported cloud storage provider, or relocate Docker data safely by changing its host volume mapping.