Set Default Storage Quotas by User Role in ownCloud oCIS
Assign byte-based storage limits to new ownCloud Infinite Scale users by role, with a proxy.yaml example and a safe verification checklist.
On the Windows 10 Creators Update , you have a completely new and free built-in application called Paint 3D, which allows you to freely create impressive works. Create 3D or 2D masterpieces, all possible with a digital pen or simply with your mouse.
You can also access an online 3D, Remix 3D community to remix models from within the Paint 3D application. The following article will share with you a few ways that you can start creating with Paint 3D.
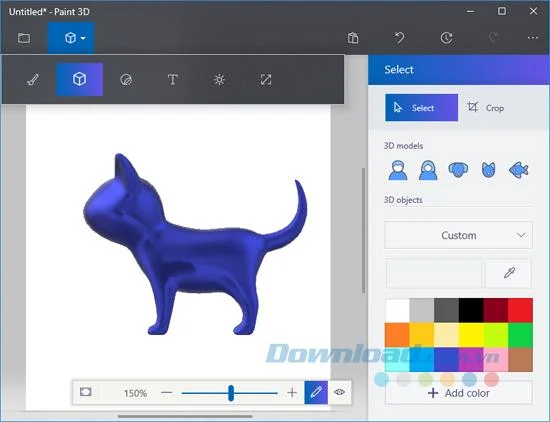
With models and 3D objects available, you can easily get started right away.
You can also personalize 3D objects with painting and color tools:
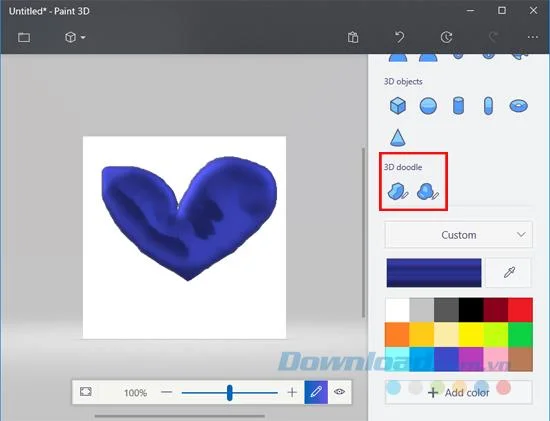
Sketch the drawing with the 3D doodle tool and wait a moment to turn it into 3D right away.
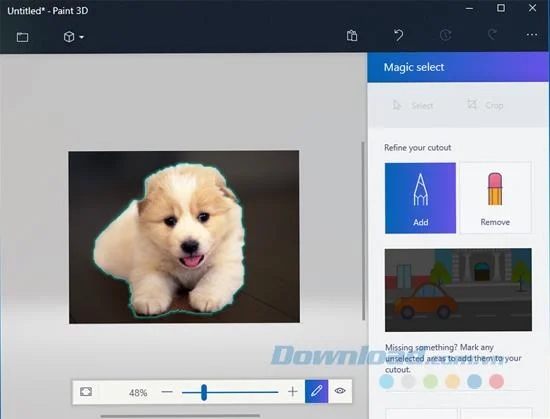
The Magic select tool allows you to cut the background of any image easily and turn it into a label to wrap or paste on 3D objects. You do the following:
Once completed, click on the green check mark and the selected area will display as a separate layer.
You'll love cutting your favorite parts from family photos, selfies with your best friends or your pet photos with Magic select , then use them as stickers to personalize your creations.
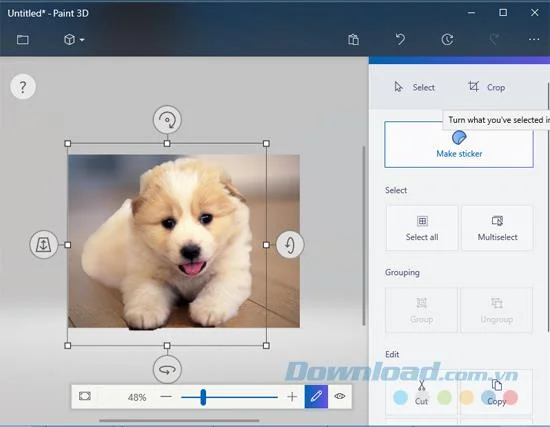
You can create this label by clicking on Make sticker .
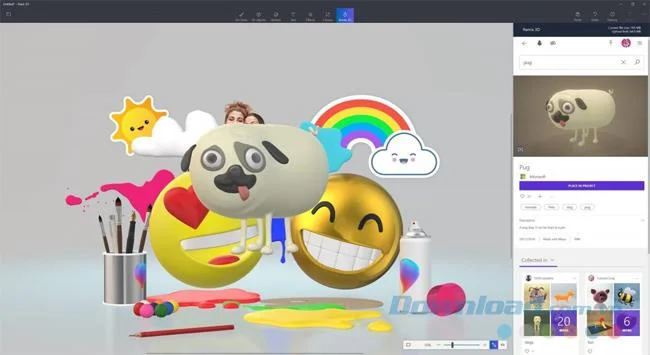
You can explore thousands of 3D models from the Remix 3D community that can help you bring your creativity to life.
You can even upload your own creations to contribute to the community and show off your 3D artwork.
Once you've finished your artwork, click on the toolbar and choose Effect to adjust a bit of lighting effects to your liking from Mist to Taffy .
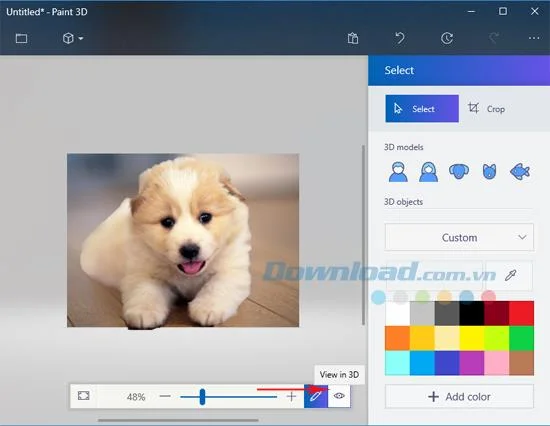
Finally, click on View in 3D with an eye icon at the bottom of the screen so you can interact and view your creativity from any angle.
Paint 3D is really an interesting tool, isn't it? Above are just 5 suggestions for you to start creating with Paint 3D only. You can learn and discover many more interesting things while using.
Assign byte-based storage limits to new ownCloud Infinite Scale users by role, with a proxy.yaml example and a safe verification checklist.
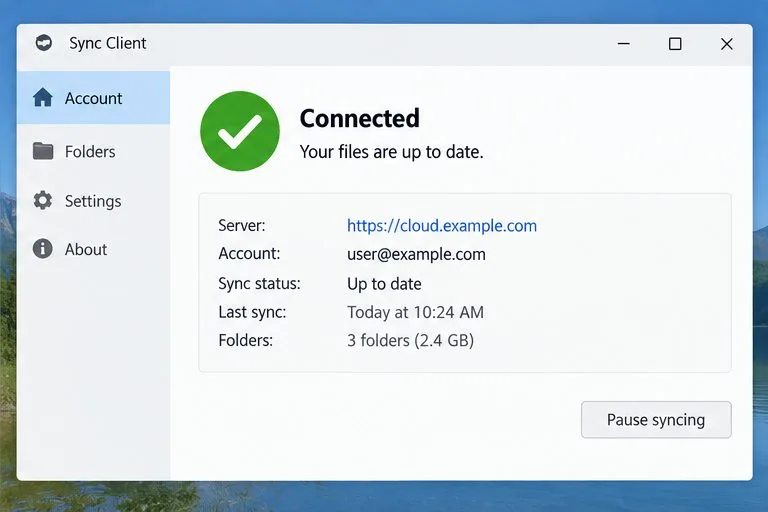
Restore ownCloud desktop syncing by checking the server hostname, certificate chain, private CA trust, and captive portal issues without disabling TLS verification.
Use the invalid-file report to identify mismatched core files or app signatures, restore the correct release files, and verify the integrity check safely.
Deploy ownCloud Infinite Scale from its official Compose example, configure domains and persistent storage, then verify TLS, containers, and first login.
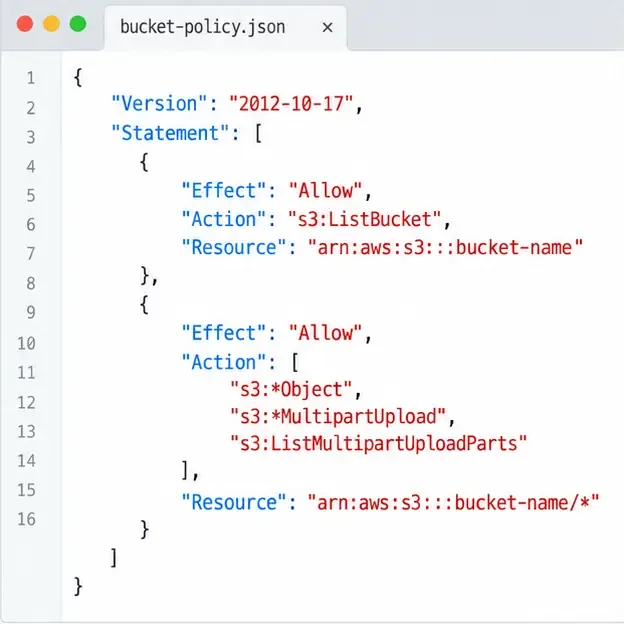
Set up the S3NG driver, bucket permissions, persistent metadata storage, and upload sizing so ownCloud Infinite Scale can store file contents reliably.
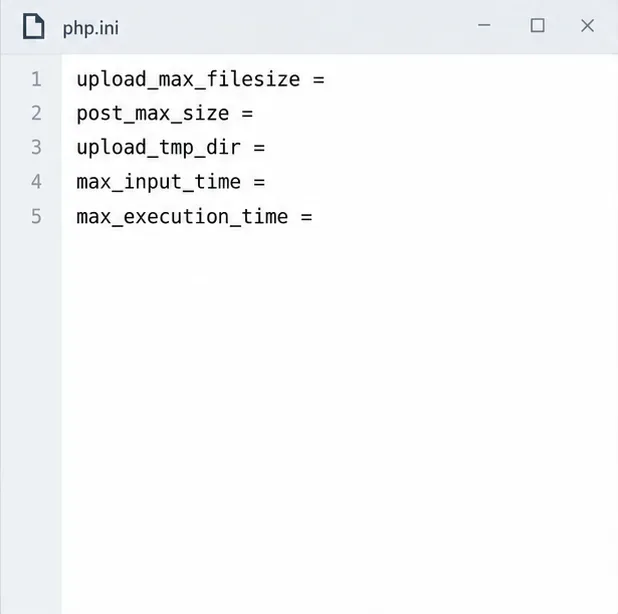
Find why an ownCloud Server upload stops near completion by checking file status, quota, temporary disk space, PHP limits, and proxy timeouts.
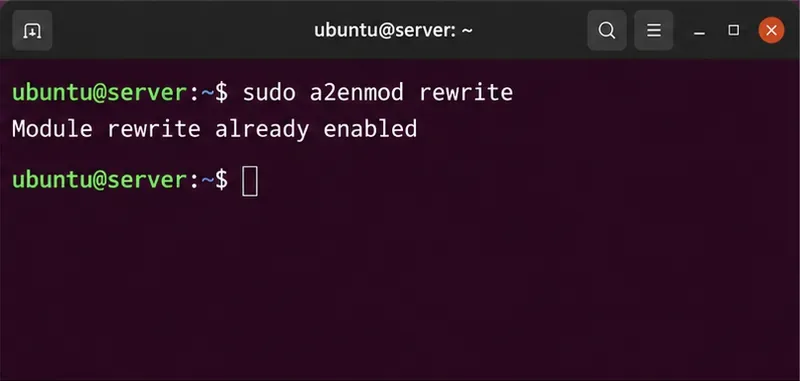
Set AllowOverride All only for ownCloud’s web root, validate the active Apache vhost, and reload safely to restore .htaccess rules.
Enable ownCloud’s Enterprise Auditing app, route admin_audit events to a protected log file, and confirm that real user actions are being recorded.
Align Keycloak’s realm issuer, web client, and user claims to let ownCloud Infinite Scale sign users in reliably across the web and mobile clients.
Transfer owned files and outgoing shares with ownCloud’s occ command, understand what stays behind, and verify access before deleting the old account.