After the arrival of a new download link for Edge browser was floating on a technology forum, today Microsoft has officially released a trial version of Microsoft Edge Chromium. The Edge web browser will switch to Google's Chromium core for better and faster support for constantly changing web standards. And users can also experience the store of extensions on Microsoft Store for Microsoft Edge browser like Firefox , Coc Coc or Chrome .
Microsoft has now released new Developer and Canary versions of Edge on the homepage. The Developer version will be updated weekly, promising to be more stable while the Canary version updates new features every day with potential for many errors. It can be seen that the new Edge browser interface is a mix of old version of Edge and Chrome. Below we will guide you to install more add-ons for the browser to have more interesting experiences on this trial version.
How to install extensions for the new Edge browser
Download Microsoft Edge Chromium
Step 1:
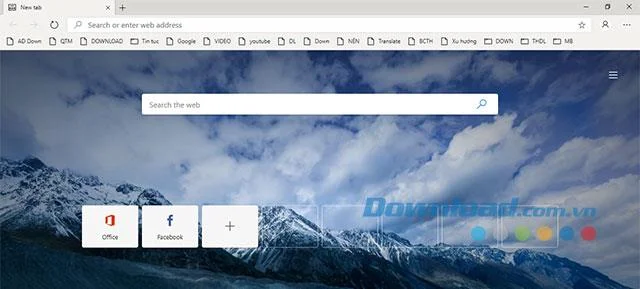
Download and install Microsoft Edge Chromium according to the download link above. Soon you open a browser to start experiencing the new Microsoft Edge interface.
Step 2:
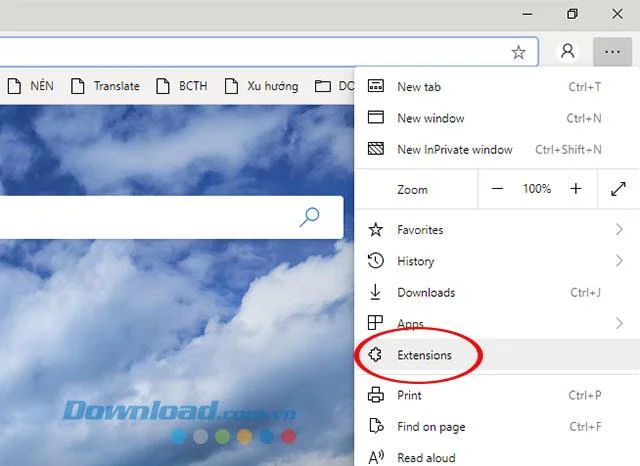
At the main interface of Microsoft Edge Chromium, click on the three dots (top right corner) -> Extensions .

Open an extension window on the Edge browser
Step 3:
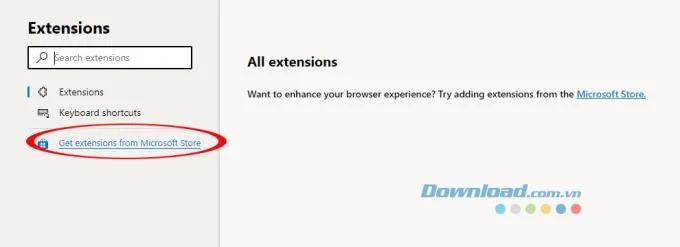
The Extensions window appears, click Get extensions from Microsoft Store.

Go to the Microsoft Store app store
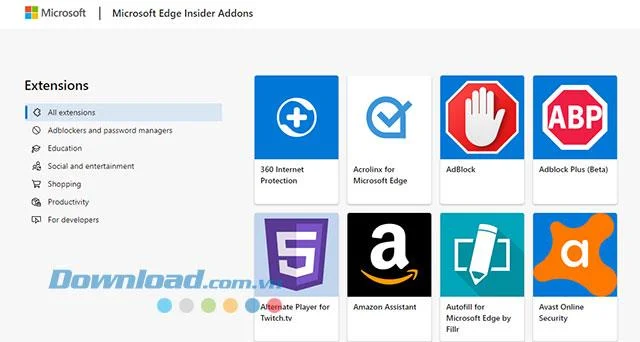
In Microsoft Edge Insider Addons interface will have all the extensions, you just need to select one utility - add the desired by clicking on the icon of the utility.

Extensions page interface on Microsoft Edge
Step 3:
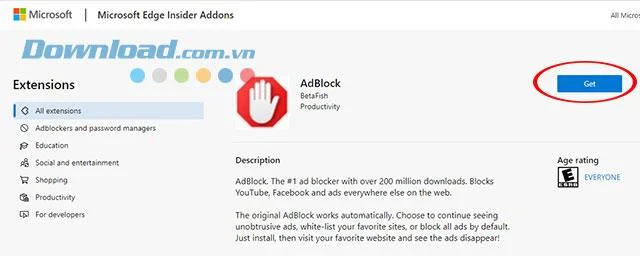
In the window introducing details about the extension, click Get to start the installation.

Get that gadget into a web browser
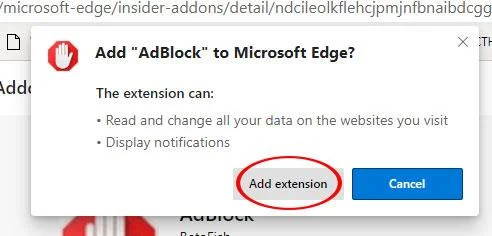
There will be a notice to confirm the add-on to the browser, select Add extensions to agree.

Confirm add on
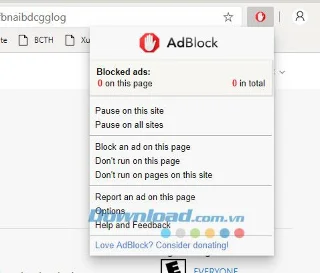
Next we will have to wait a bit longer for the system to process and add this utility to the Edge browser on your computer. Once completed, there will be a notice with the appearance of the add-on icon on the web browser.

Add-on displayed on the web browser
Install the new Microsoft Edge add-on from the Google Chrome Store
Step 1:
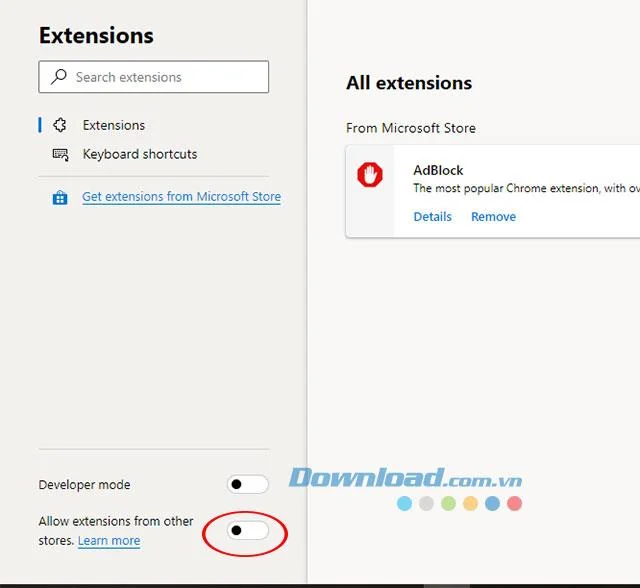
First, we need to allow Microsoft Edge to install additional external extensions not from the Microsoft Store by enabling the Allow extensions from other stores feature.

Allow adding external gadgets
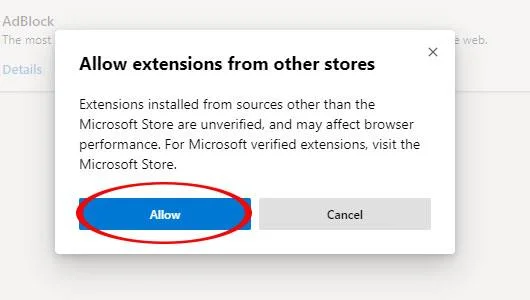
Immediately after enabling this feature, there will be a window confirming your permission to install additional utilities outside the official source, click Allow to agree.

Confirm adding extensions from other sources
Step 2:
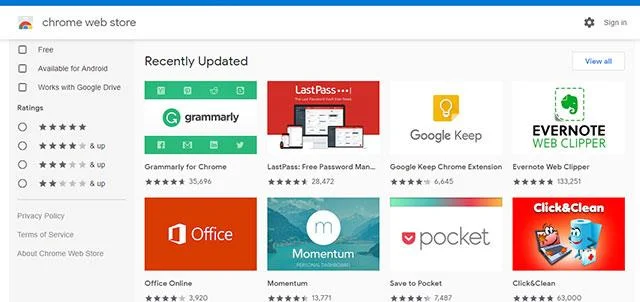
Visit the link to the Google Chrome Store: https://chrome.google.com/webstore/category/extensions
Here, select the extension you want to install by clicking the left mouse button to see a detailed introduction of the add-on.

Google Chrome Store interface on Microsoft Edge
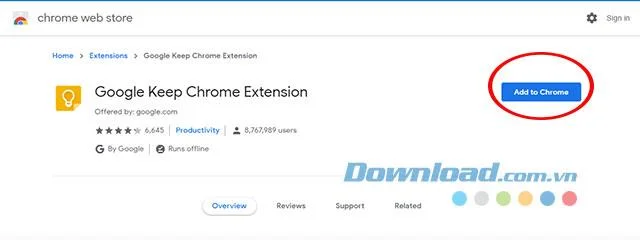
On the details page, click Add to Chrome and the subsequent installation steps will take place quite quickly similar to the operation when installing the extension on other web browsers .

Add new extensions to the browser
Above we have shown you how to add extensions on the new Microsoft Edge web browser. Hopefully adding gadgets will bring even more special functions to the Microsoft Edge Chromium experience.
You may be interested in: