Create Fillable PDFs from Forms in LibreOffice Writer
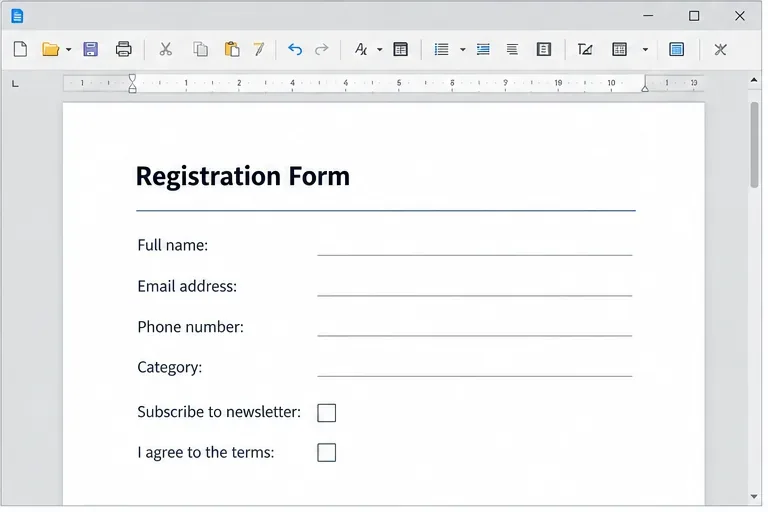
Add usable text fields, check boxes, and drop-downs in Writer, then export a PDF recipients can complete and save.
NoxPlayer (or former name Nox App Player, NOX) is one of the Android emulators that is being used quite a lot to play games. Therefore, copying data from a computer to Nox App Player is also something that computer users do when they want to exchange data between the emulator and a PC during use.
This article will guide you how to copy data from a computer to NoxPlayer to use the available data in the machine without searching or reloading again on the emulator but not sure that it has been effective as desire.
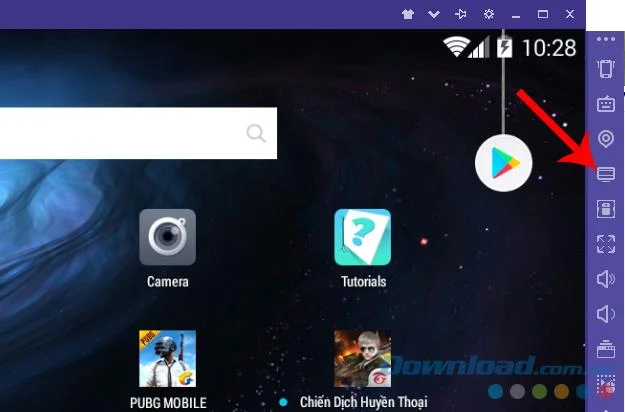
Step 1: You have downloaded and installed the Nox emulator on the computer, the interface will appear as below. Left click the My Computer icon to start setup for the emulator to receive data from the computer. However, if this is the first time, the emulator will display a message asking you to Root again.
Step 2: System Settings interface appears, select General settings and then tick the Root tab , then Save settings to save changes.
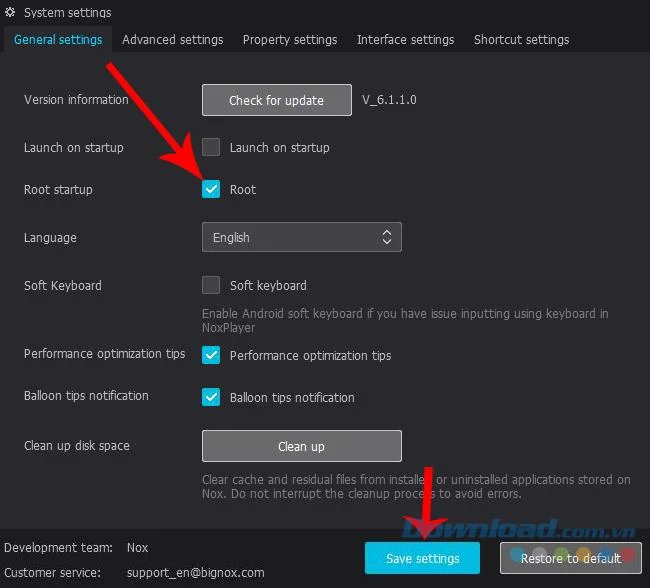
Root Nox App Player before copying data
Step 3: Notification requires a restart of the emulator to make this change. Select Restart now to agree.
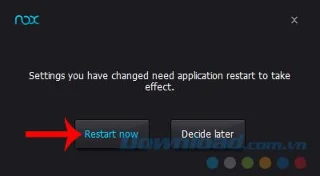
Step 4: Wait a few minutes for Nox App Player to restart, then you can start to proceed with copying data from the computer to this emulator in a simple way.
Open the Windows interface containing the data to copy, left-click, hold and drag it to the interface of NOX and release.
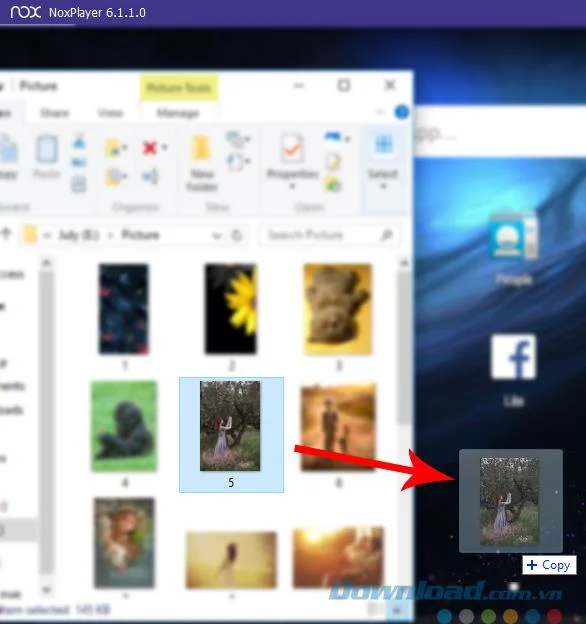
Drag the data to copy the image of Windows window into the simulator to perform
This is a common practice for copying data between a computer and an emulator .
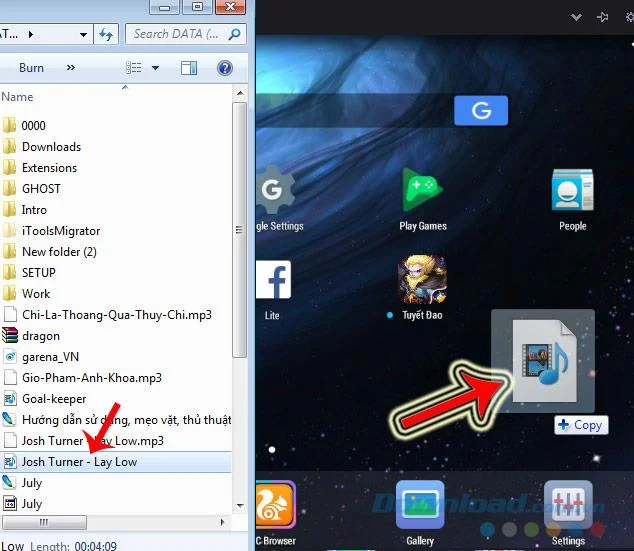
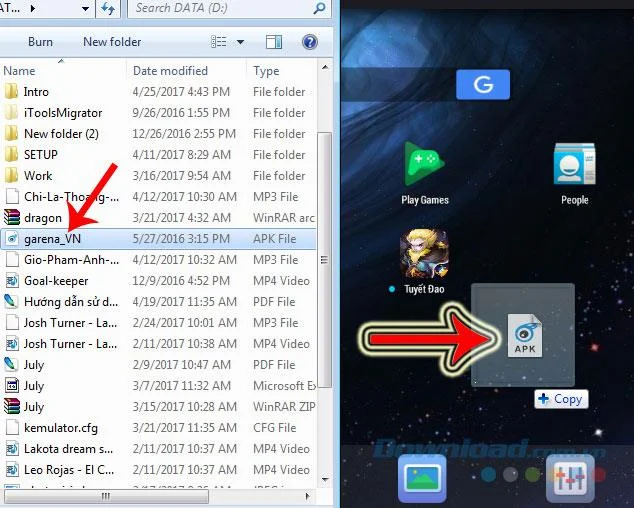
Whether the media data (photos, music, videos ...) or other installation files ( APK files ) can be used in this way.
Want to check if the data we have moved into the simulator successfully or not? Just left-click on the My Computer icon (step 1). Or you can use the shortcut CTRL + 4 , where 4 is the ordinal number indicating the location of the My Computer icon on the submenu (from the top).
However, the special thing here is, not all data is stored in the same location. Nox default divides data into 3 main types: Photos - Other data - APK .
Each data you successfully copy into the simulator will be saved in a corresponding folder.
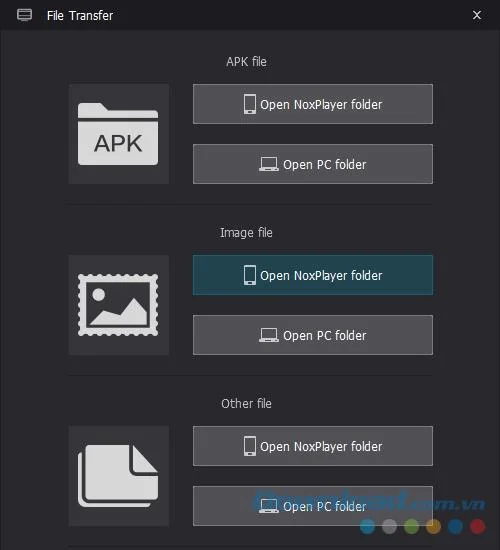
For example:
The image will be saved in the Image folder and you can left click on the Open NoxPlayer folder of Image file to go to the image storage location on the emulator.
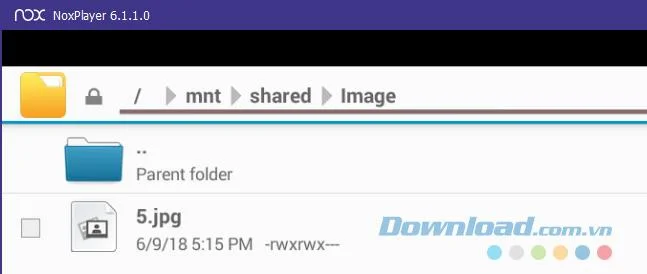
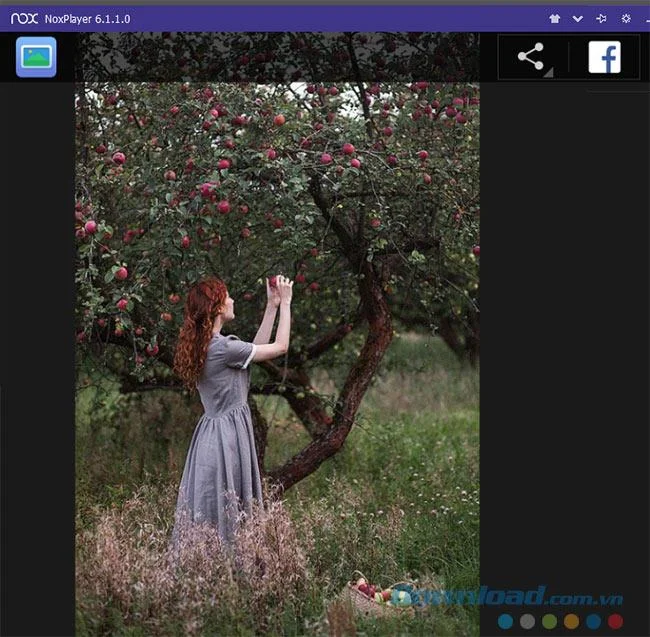
Left click on any image to display it, and use the options icons available there to manipulate.
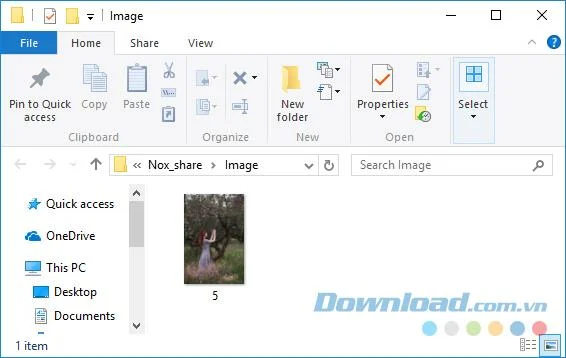
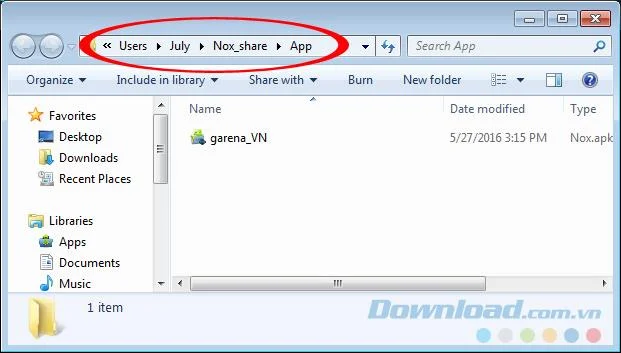
You can also remember and find the link:
C: \ / User / Computer Name / Nox_share / Image
In addition to photos, all other data such as videos, text, movies, music ... are stored in the Other folder together.
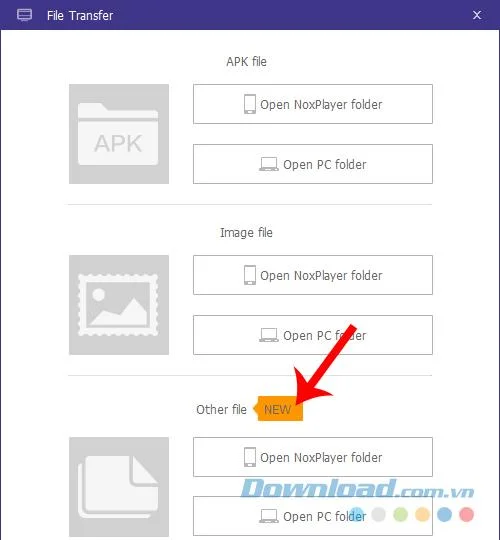
Select the Open NoxPlayer folder of the corresponding folder to view them on the emulator.
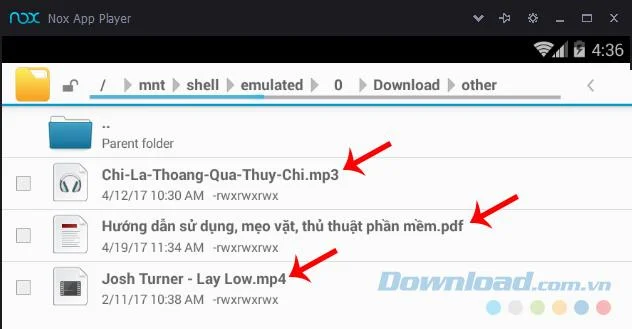
But in particular, the APK file when moved to the emulator in this way will be just like a normal data, not installed as when we installed the APK file for the Nox App Player emulator before.
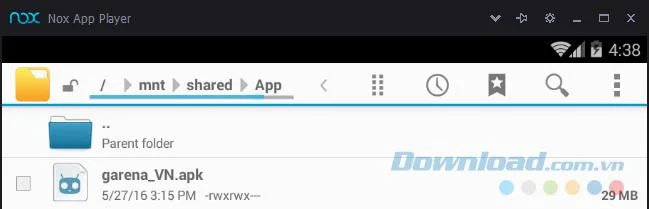
On the computer will also create similar folders on Nox (3 separate folders) to store this data. Specifically:
Hopefully, with the above detailed instructions, you can copy the data from your computer to Nox yourself to serve the work as well as have a better experience during using the Nox App emulator. This player . In addition to NoxPlayer, there are also some other popular Android emulation software such as BlueStacks , Droid4X or KOPLAYER that you can also experience.
I wish you successful implementation!
Add usable text fields, check boxes, and drop-downs in Writer, then export a PDF recipients can complete and save.
Fix missing or substituted fonts in LibreOffice Writer PDFs, choose the right export profile, and verify which fonts are embedded before sharing.
Convert a folder of Word documents to PDF with LibreOffice commands, handle nested folders safely, and verify the output before sharing.
Set a custom LibreOffice Writer template as the default so new documents open with your preferred styles and page layout.
Install a compatible Java runtime, enable it in LibreOffice, and troubleshoot an empty JRE list without changing unrelated settings.
Build a small LibreOffice container, convert office documents without a GUI, and verify PDF output while limiting host-file access.
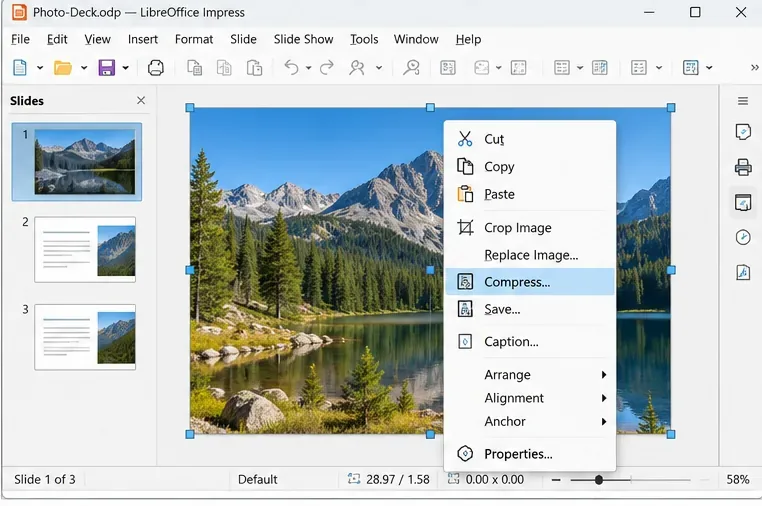
Reduce oversized LibreOffice presentation files by compressing embedded photos, choosing sensible image settings, and checking slide quality before sharing.
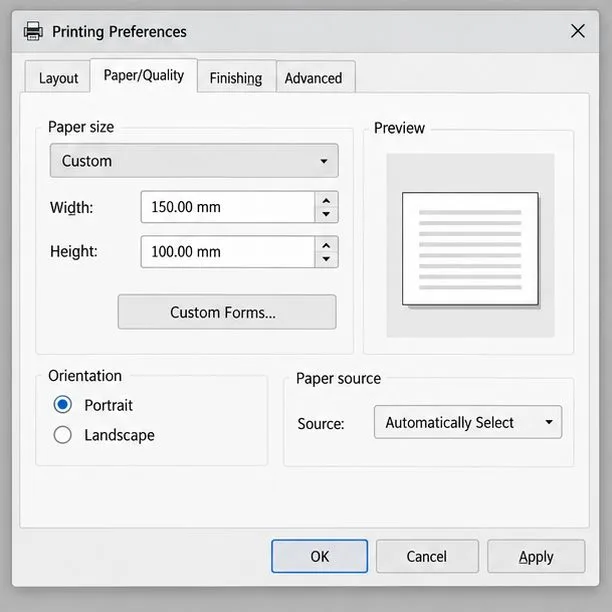
Match LibreOffice’s page dimensions to your printer, check printable margins, and correct scaling before printing a custom-size document.
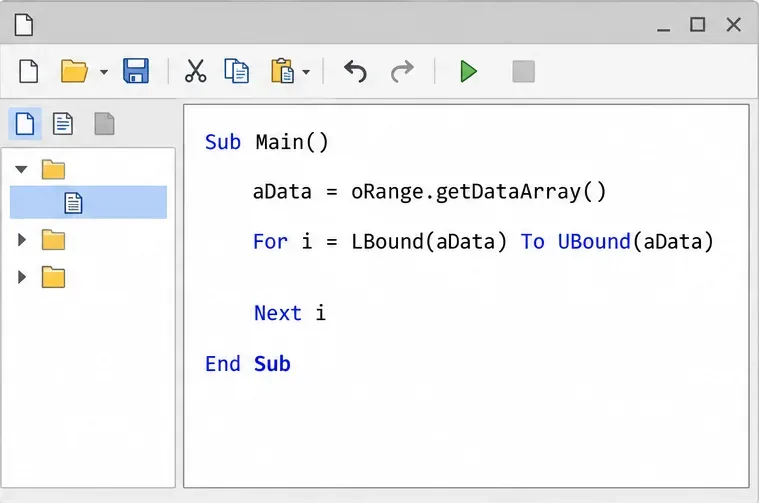
Replace repeated cell access with bulk range reads and writes, then benchmark the result and protect formulas in large Calc workbooks.
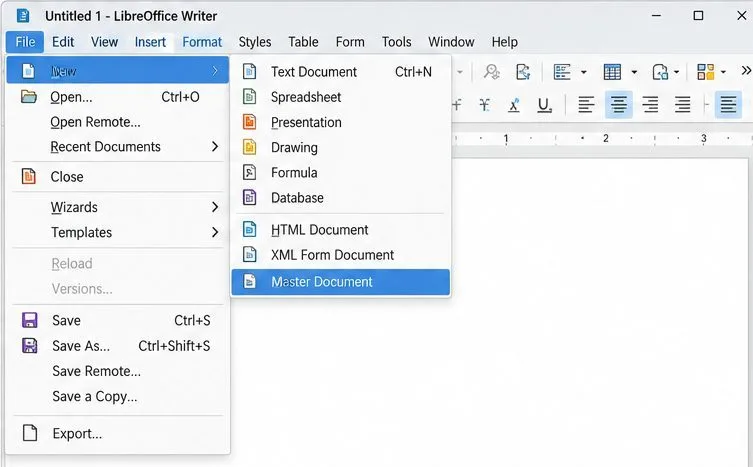
Split a long manuscript into chapters, assemble them in Writer, and keep styles, contents, and export checks consistent.