Set Up a Windows-Style XFCE Panel on Pardus Linux
Arrange Pardus XFCE as a familiar bottom taskbar with an app menu, pinned launchers, open-window buttons, and a system tray.
The " Cannot login " error on the Nox App Player emulator mainly occurs with newly created Nox App Player accounts that have not performed account activation (activated via email or on the emulator itself). And because you can not log in, you will not be able to download and install applications for Nox App Player like on other Android emulators.
Registering a new Nox App Player account will help users separate data and sync data on Nox into another account. This helps the process of using NAP , backup as well as manage personal data, work easier and more scientific.
Step 1: For users who create a new Nox App Player account , they often forget to deactivate this account. So when creating and starting to use in CH Play, an error message will appear as below. No matter how many times you try, you will not be able to log in.
The solution will be, left click on the green " here " at the bottom of the message.
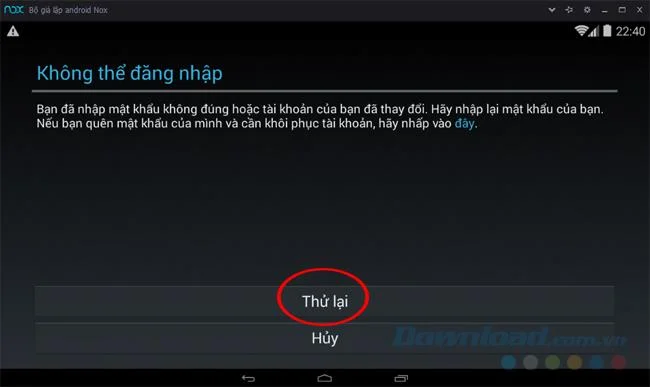
Step 2 : A small pop-up appears, select Browser and Always select or Only once to continue.
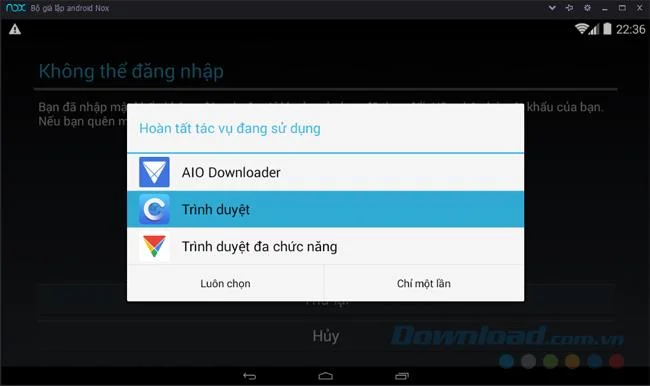
Select Browser to enter account activation
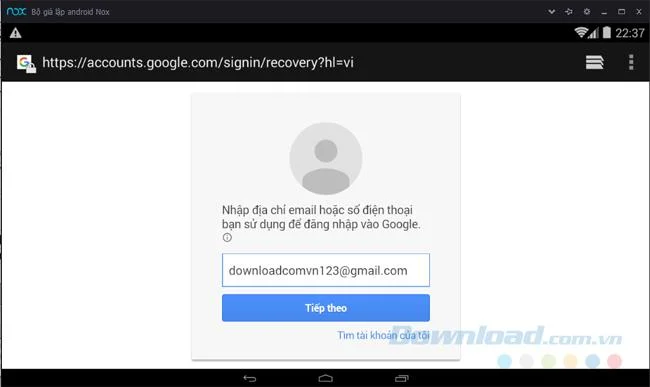
Step 3 : An interface like the one below appears, you enter the email address you just created or the login email has an error message in the blank box and then click Next .
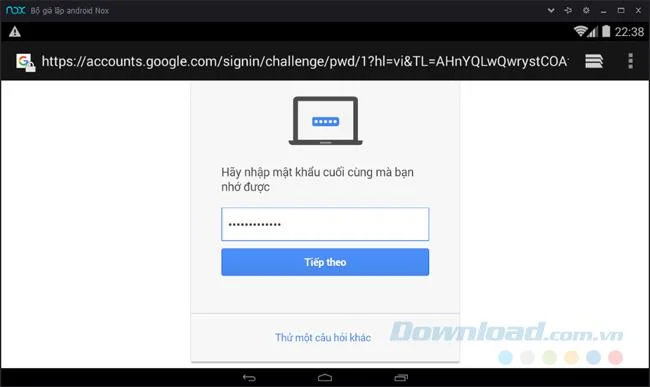
Step 4: What is the last password you remember or the password you created when registering this account? Fill and choose Next follow again.
Step 5 : Now you will be asked to enter a phone number for Nox App Player to send a verification code (you can do this in the Google password recovery setup step during the account creation process).
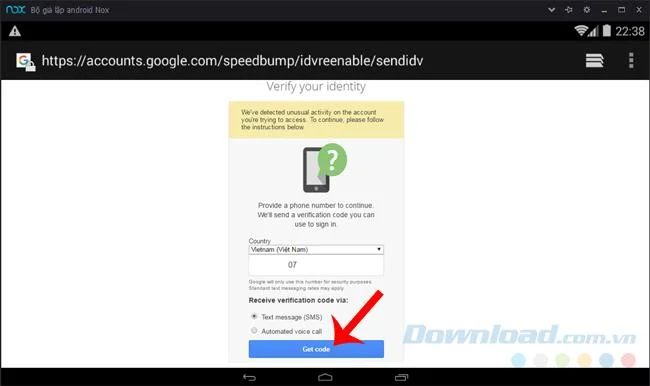
Enter the phone number you are using to receive an activation code
Step 6 : Enter the code you receive in the box below and then select Verify .
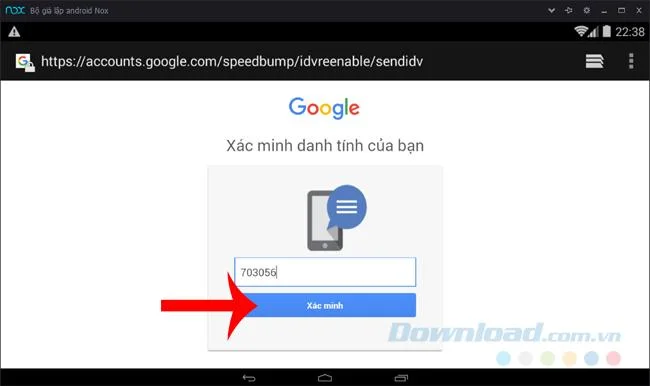
If successful, the emulator will notify and you can return to using this account to log in in CH Play as usual.
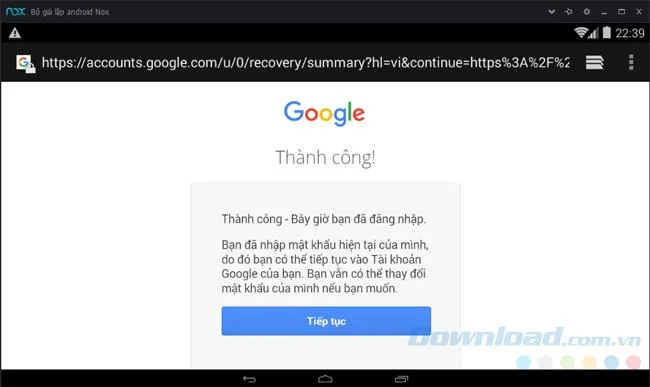
Successfully activated Nox App Player account
In addition, this can also be done right on the web browser, because sometimes performing on the emulator does not work. You also access the Gmail home page , login account and password are faulty.
Then a similar interface (picture below) will appear to enter the phone number.
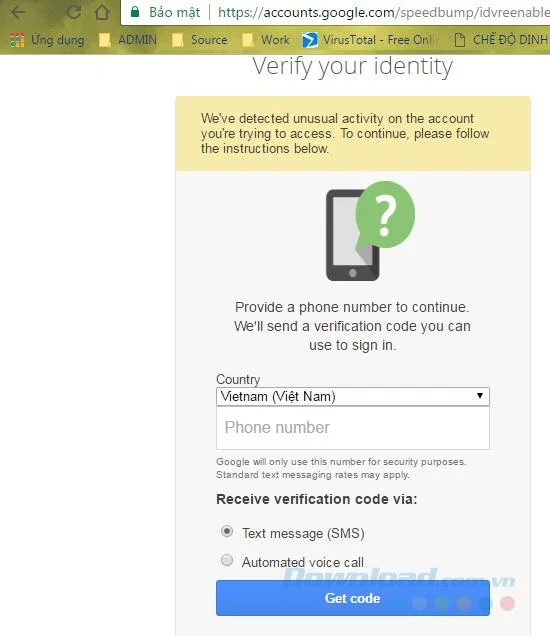
Select Get code to receive the code.
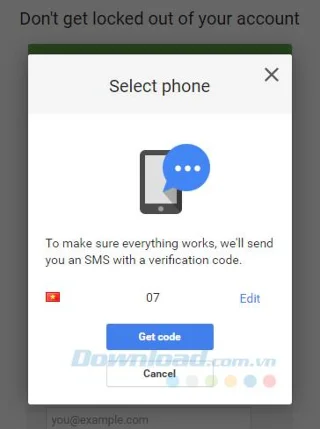
However, after entering the code, the next step is to add the phone number to the security information ( Recovery phone ).
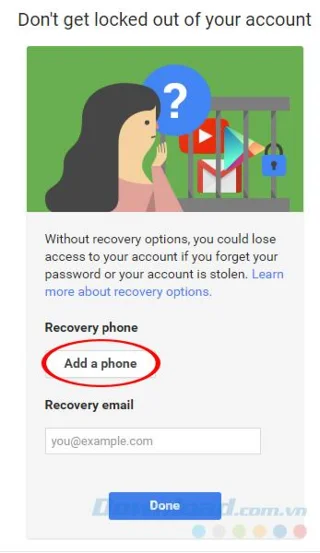
Finally, once you have logged into this email in your browser, it means that you have successfully activated your account and can use it on the simulator without errors.
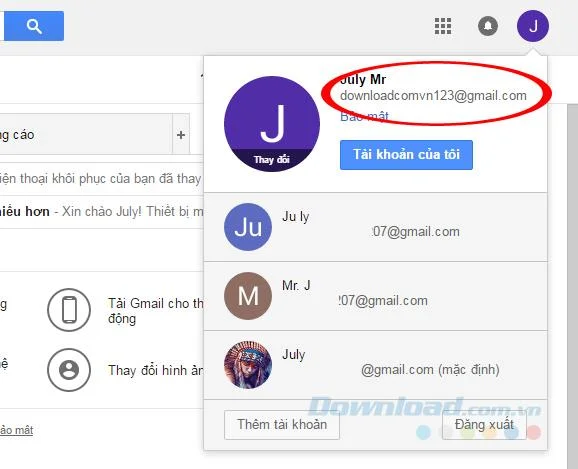
Activate successfully via web browser
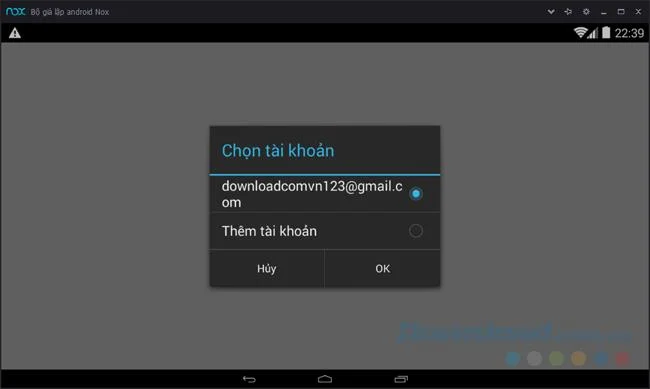
Step 7: Go back to Nox App Player, you try to log in again, this time will appear the account selection window as below. Tick the account to use and then OK .
Enter the password again, then select Sign In in the lower right corner of the screen.
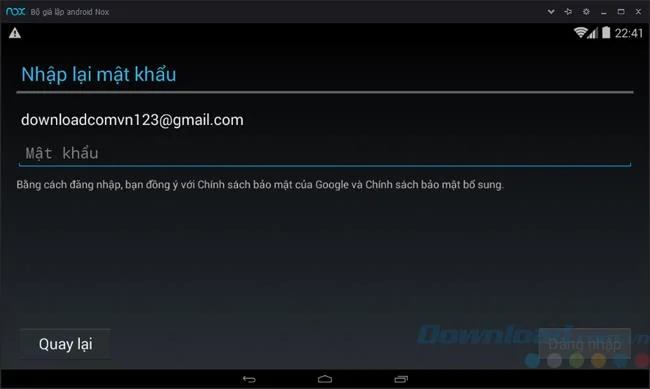
Select the account that has just been activated, enter your password and try logging in again
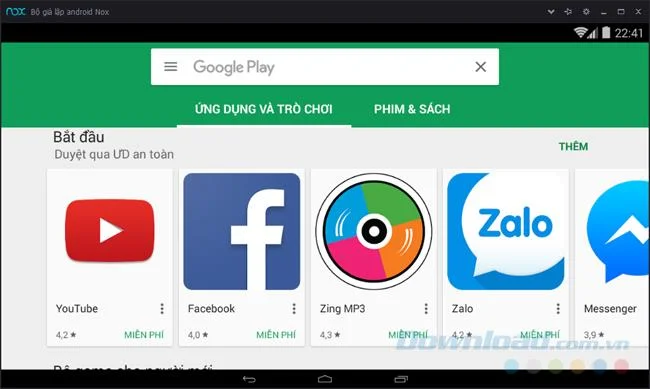
As a result, we have logged into the Google Play utility store, now download whatever you want.
If the above still does not fix the error, you can create another Google account outside, then log it in Nox App Player to ensure efficiency.
Related post:
I wish you successful implementation!
Arrange Pardus XFCE as a familiar bottom taskbar with an app menu, pinned launchers, open-window buttons, and a system tray.
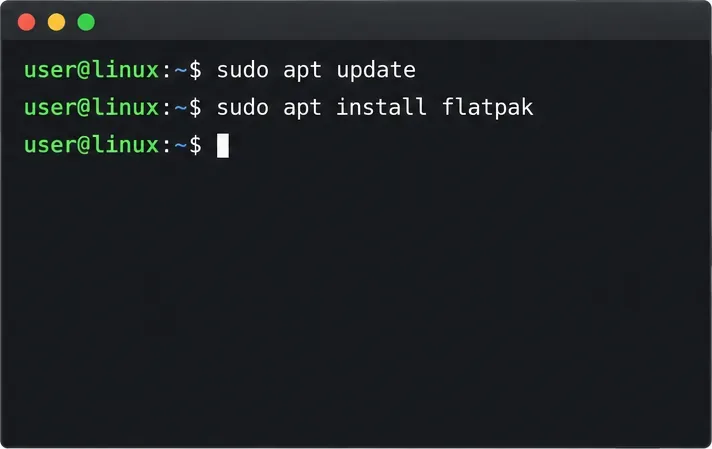
Check your Gooroom release and administrator rules, then follow the official Debian-based setup path for Flatpak or Snap without bypassing system controls.
Learn what Pardus Image Writer can do, how to prepare installation USB safely, and which tools fit custom live images or repeatable fleet deployments.
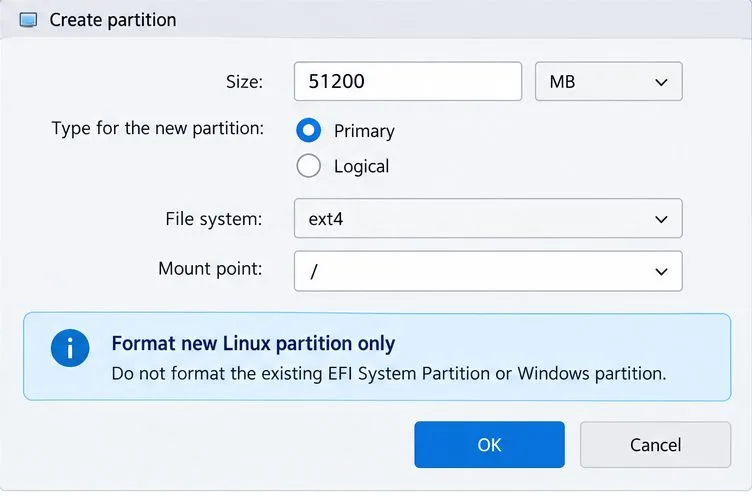
Install Pardus alongside Windows 11 by shrinking the Windows volume, using unallocated space, and preserving the existing EFI System Partition.
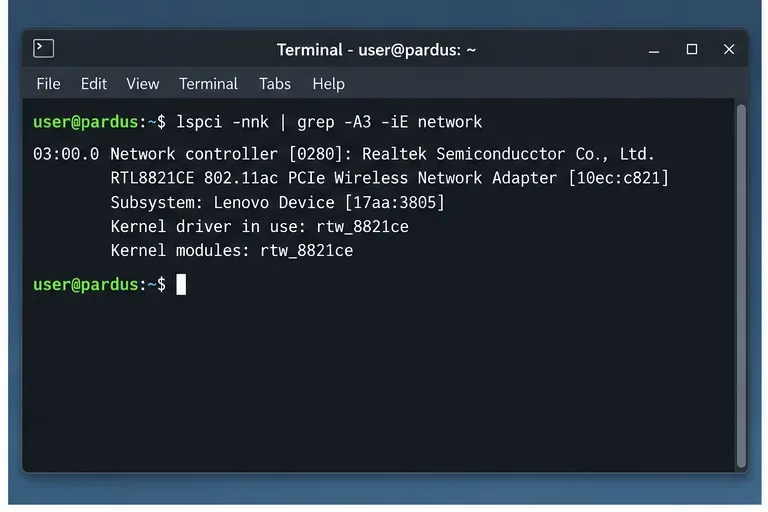
Identify the RTL8821CE, install Pardus-supported Realtek firmware, and verify the driver, Wi-Fi scan, and next troubleshooting step.
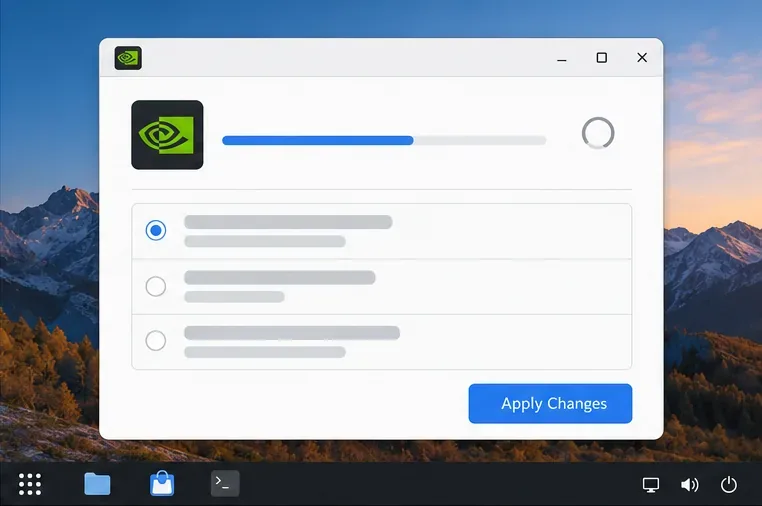
Use Pardus’s hardware-aware installer to enable the right NVIDIA driver, reboot safely, and verify the active kernel module.
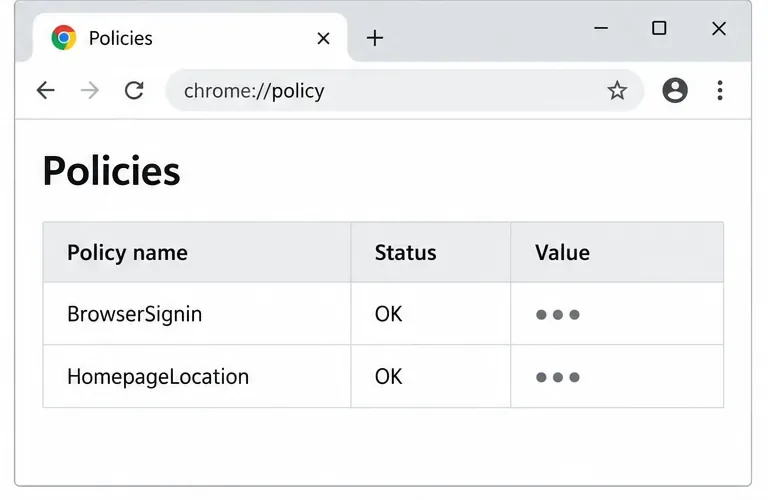
Install the official Chrome package safely on Gooroom OS, check compatibility, preserve device controls, and verify browser policies before use.
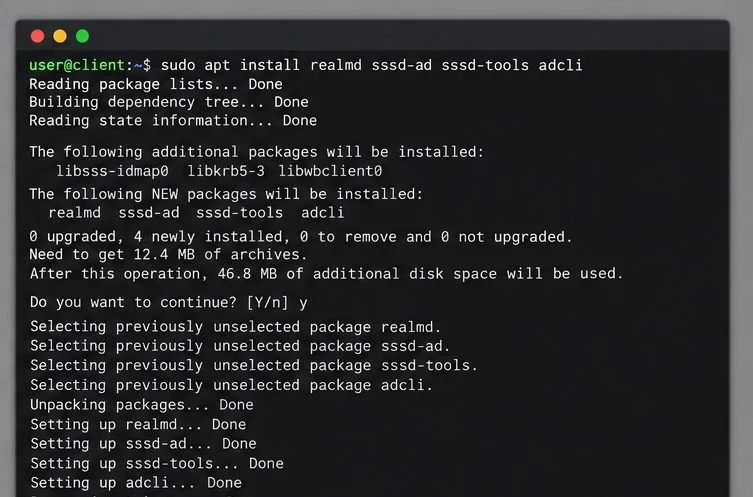
Prepare DNS and time, enroll Pardus with realmd and SSSD, and verify domain membership and user lookup before relying on AD sign-in.
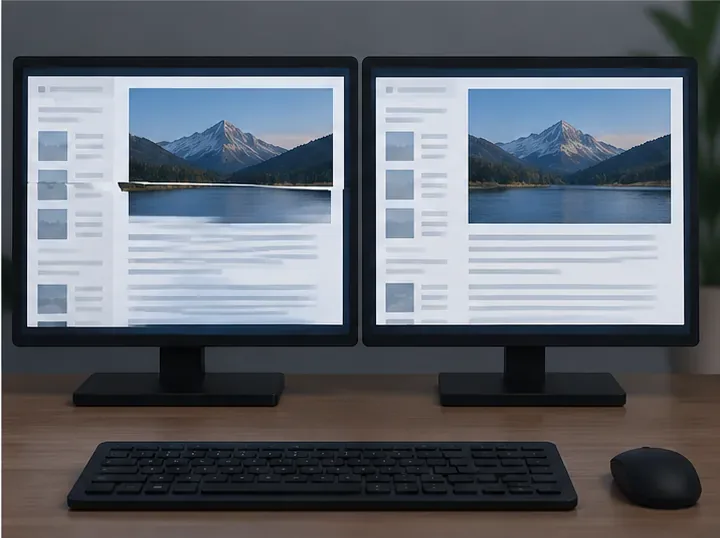
Reduce horizontal tearing in Pardus XFCE by checking your display session, enabling compositor synchronization, and applying Intel’s Xorg TearFree option only when the active driver supports it.
Add an OpenVPN profile to NetworkManager on Pardus, install the right plugin, protect credentials, and verify the VPN is active.