Speed Up Writer by Hiding and Compressing Document Images
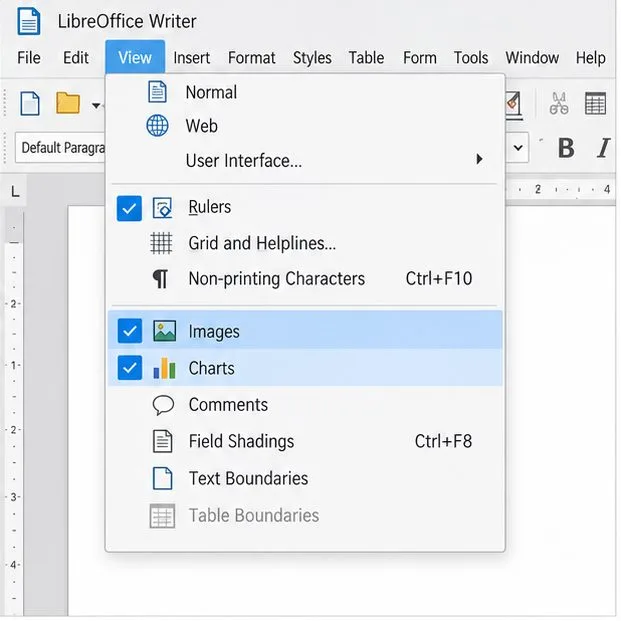
Make image-heavy Writer files easier to edit: test a reversible display setting, compress oversized pictures in a copy, and verify the saved layout.
NoxPlayer is one of the popular Android emulators on PC that helps users experience Android apps and games . In particular, backup and restore data is a very nice feature or useful. This feature helps you to reinstall Nox without losing all the data contained on it. The following article will guide you how to back up and restore data on NoxPlayer in 2 simple ways.
Download NoxPlayer for Windows Download NoxPlayer for Mac
First of all to back up data, we do the following:
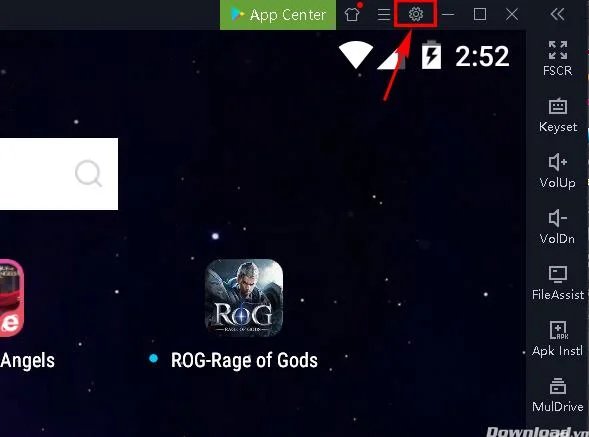
Step 1: Start NoxPlayer emulator, click on the gear image in the upper right corner of the window as shown below to enter the settings.
Step 2: In the Clean & Backup section, click Data backup .
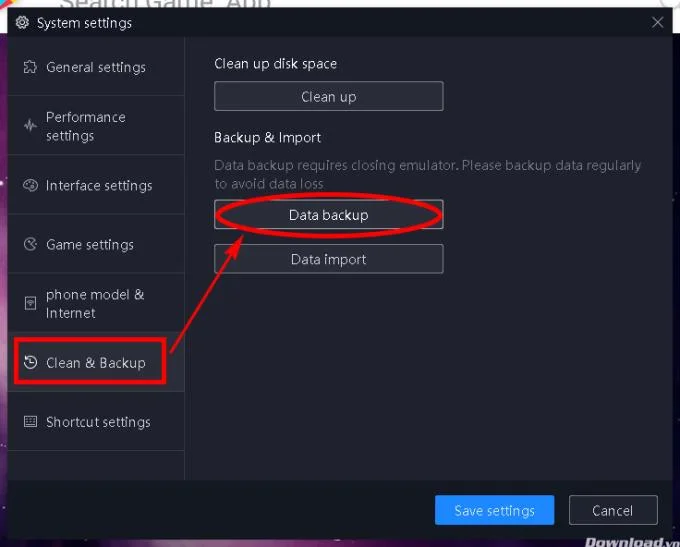
Step 3: The notification window will turn off the emulator to perform Backup, click Continue to backup .
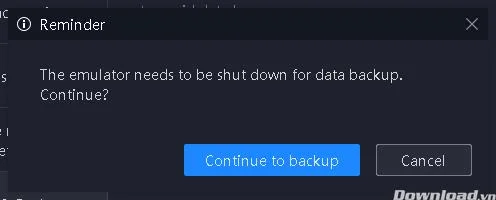
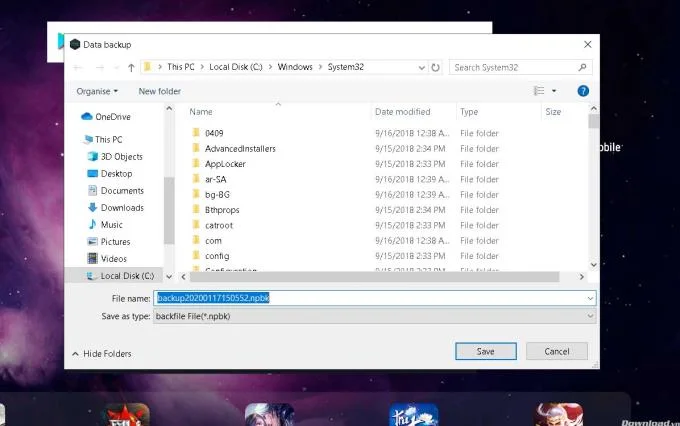
Step 4: Select a location, name the backup file; should be placed in easy-to-remember and easy-to-find locations.
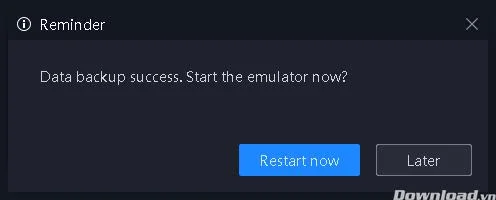
Step 5: After completing the backup process, a message on successful data backup will appear. Click Restart Now to restart the emulator immediately.
Next is the process of restoring backed up data on Nox. The steps are as follows:
Step 1: In the initial Settings window, we click on Data import instead of selecting backup.
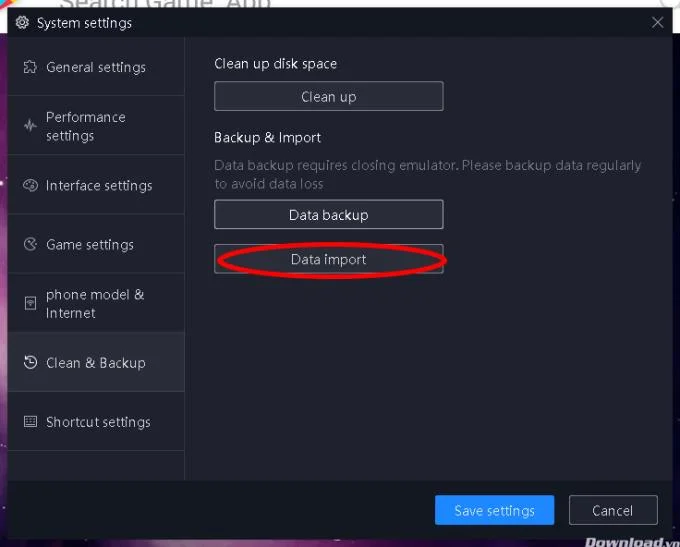
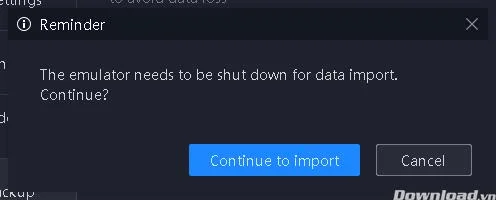
Step 2: A message pops up prompting you to turn off the emulator to restore data, click Continue to Import .
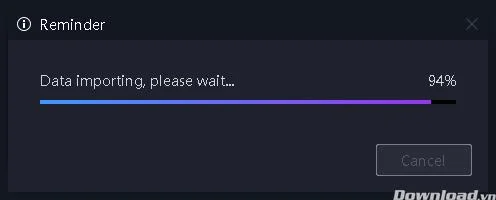
Step 3: Select the files to restore in the selection window, just like in the backup section. Wait a moment for the restore to take place, it will take a little longer than the backup. Once completed, the emulator will restart and you have completed the data recovery process from NoxPlayer.
You follow the steps below to backup and restore your data on Nox:
Step 1: Open the multi-user management panel by double-clicking the Multi-drive icon on the computer or the MultiPlayer button on the menu bar next to Nox.

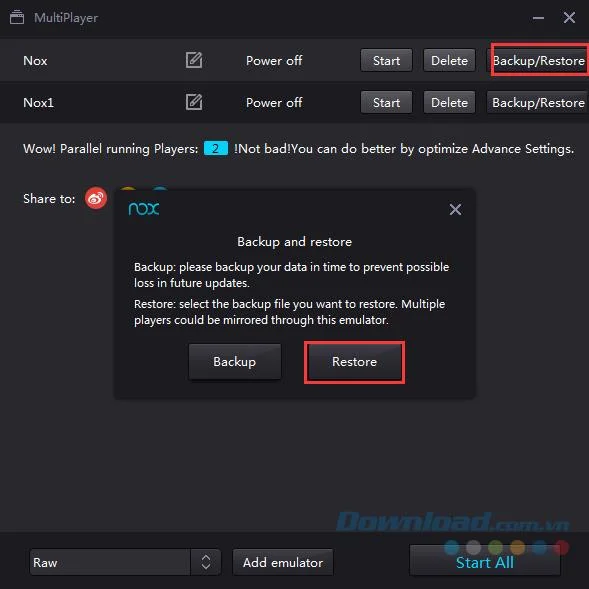
Step 2: In the MultiPlayer window , you will see Nox , Nox 1 , Nox 2 ... Click the Backup / Restore button of the case you want to backup and select Backup . The backed up file will be saved as a vmdk file .
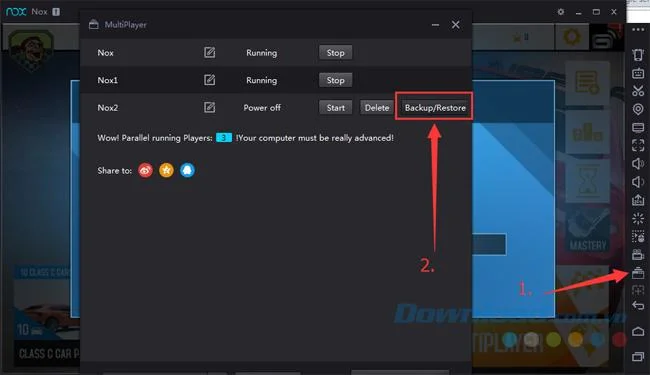
Note: The Backup / Restore button is only accessible when the Nox is not launched. If the case where you intend to back up is still running, click Stop first, then you will find the Backup / Restore button displayed.
Step 3: Select Ok when the backup is completed.
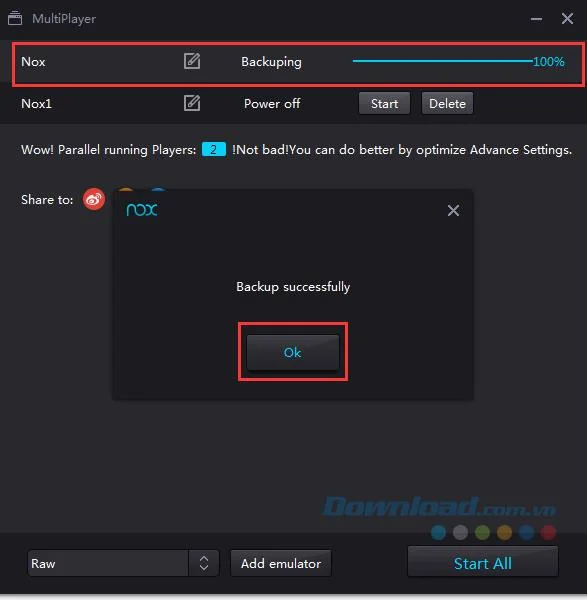
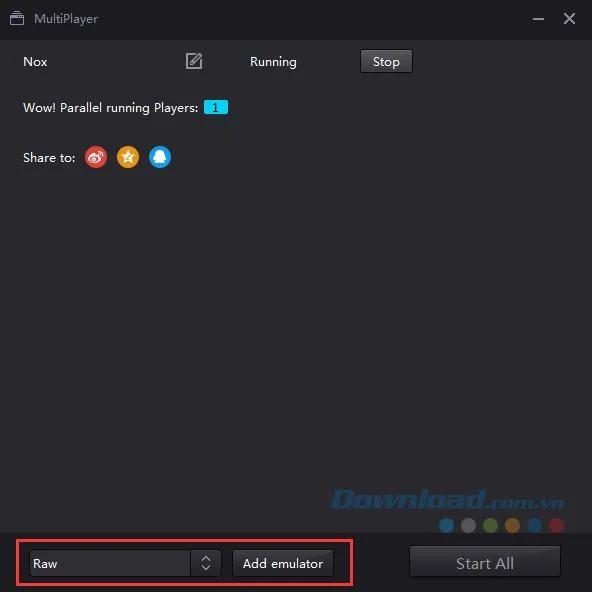
Step 4: Then you can choose to create a new instance in the existing Nox or in a newly installed Nox. You open the backup file containing the data you want to restore by clicking Add emulator.
Step 5: Click the Backup / Restore button and choose Restore.
So the backup and restore of your data on Nox is completed with just a few simple steps. Hopefully, the above article has brought useful information to you.
Good luck!
Make image-heavy Writer files easier to edit: test a reversible display setting, compress oversized pictures in a copy, and verify the saved layout.
Find out whether a slow launch comes from extensions, profile settings, or the system, then test the safest fix without losing LibreOffice data.
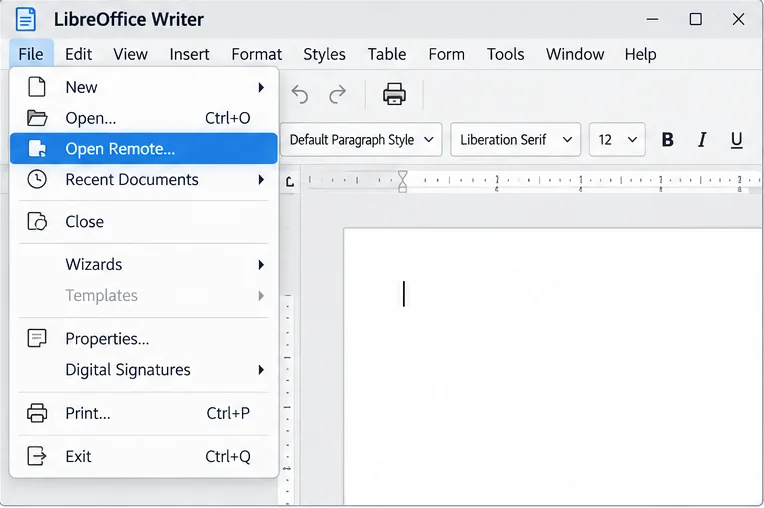
Connect LibreOffice to Nextcloud over WebDAV, save the server copy with Ctrl+S, and understand how AutoRecovery differs from cloud syncing.
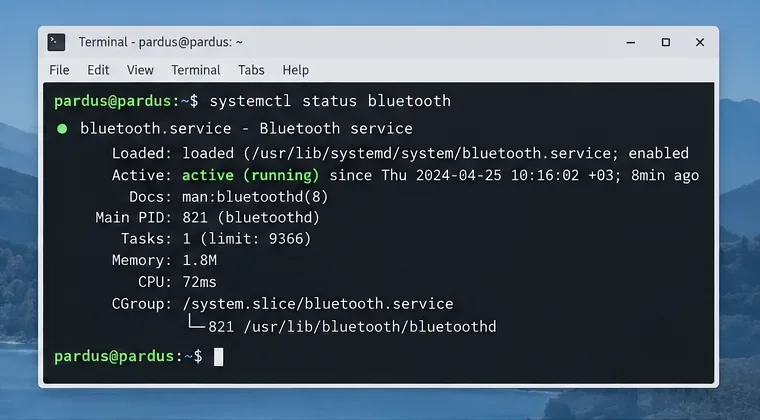
Find out whether Pardus 23 is blocking Bluetooth, missing BlueZ, or failing to detect adapter firmware, then confirm the controller works.
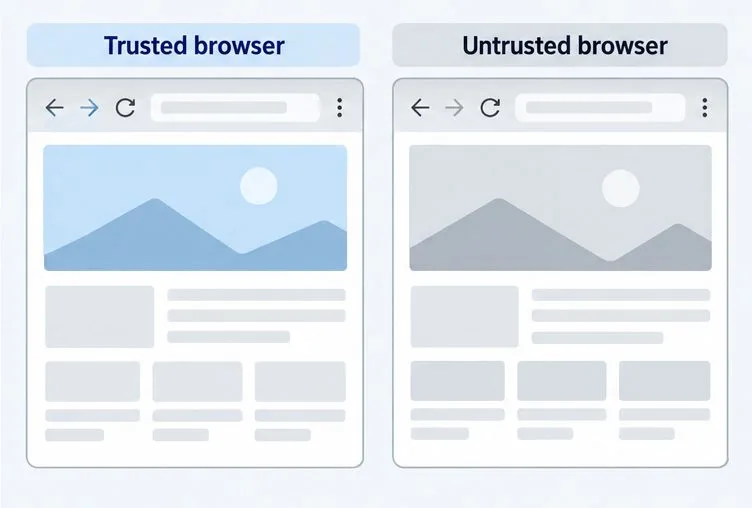
Learn how Gooroom separates trusted and untrusted browsing, what users can change, and how an administrator can safely update site policies.
Diagnose rotated, offset, or inconsistent touch input on a Harmonica OS tablet and choose a Linux calibration method that fits its session and driver.
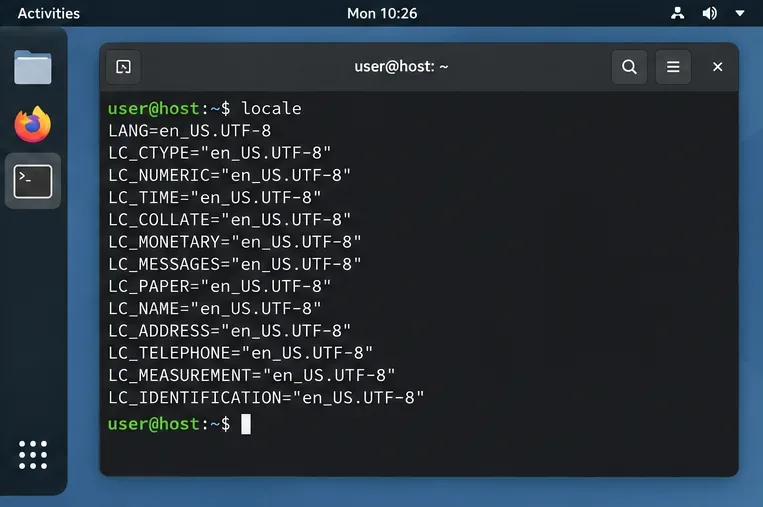
Switch Gooroom’s desktop session to English, verify the locale, and identify when untranslated Korean labels need an app update instead.
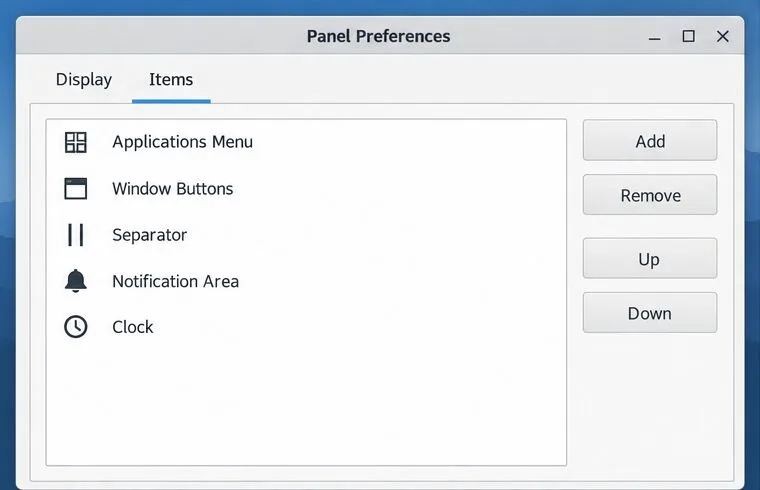
Arrange Pardus XFCE as a familiar bottom taskbar with an app menu, pinned launchers, open-window buttons, and a system tray.
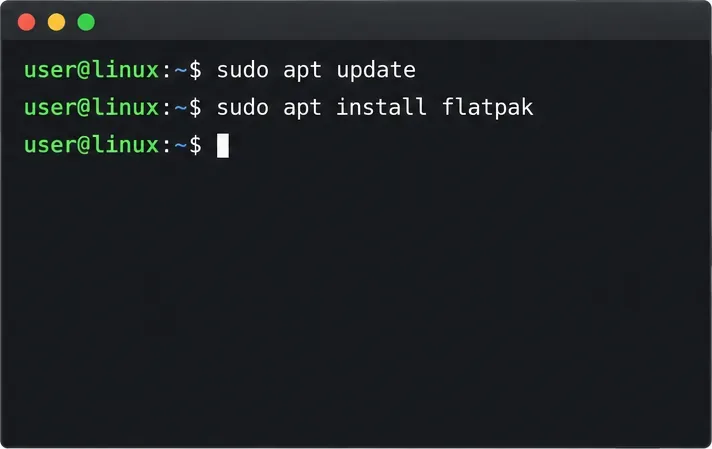
Check your Gooroom release and administrator rules, then follow the official Debian-based setup path for Flatpak or Snap without bypassing system controls.
Learn what Pardus Image Writer can do, how to prepare installation USB safely, and which tools fit custom live images or repeatable fleet deployments.