Clear Nextcloud’s File Locking Warning with Redis
Enable reliable Nextcloud file locking, choose the right Redis or Valkey backend, and verify the warning clears without risking concurrent file changes.
When Nextcloud’s admin page says its background jobs have not run recently, cleanup, notifications, and other scheduled tasks may fall behind. On a systemd server, the fix is usually to run Nextcloud’s cron.php as the web-server account from a systemd service, then schedule that service with an enabled timer. Nextcloud’s current Administration Manual provides a two-unit example; the paths and service account must match your installation.
Nextcloud background jobs run when cron.php is invoked. A systemd service defines the command to run; a timer starts that service on a schedule. If the service runs manually but the timer never fires, focus on timer activation. If the timer fires but the service fails, inspect its command, PHP environment, and permissions.
Confirm the actual Nextcloud directory and HTTP user before editing anything. This example assumes /var/www/nextcloud and www-data, common on Debian and Ubuntu. The account may be wwwrun, apache, or another user on different systems. Nextcloud requires running its command-line jobs as the HTTP user so file ownership remains consistent. See the Nextcloud occ documentation.
Test the same PHP executable and cron script you intend systemd to use:
sudo -u www-data /usr/bin/php -f /var/www/nextcloud/cron.phpReplace the account, PHP path, and Nextcloud path for your host. If the command reports a PHP error, missing extension, permission problem, maintenance mode, or database connection failure, solve that first; the timer cannot fix a failing command.
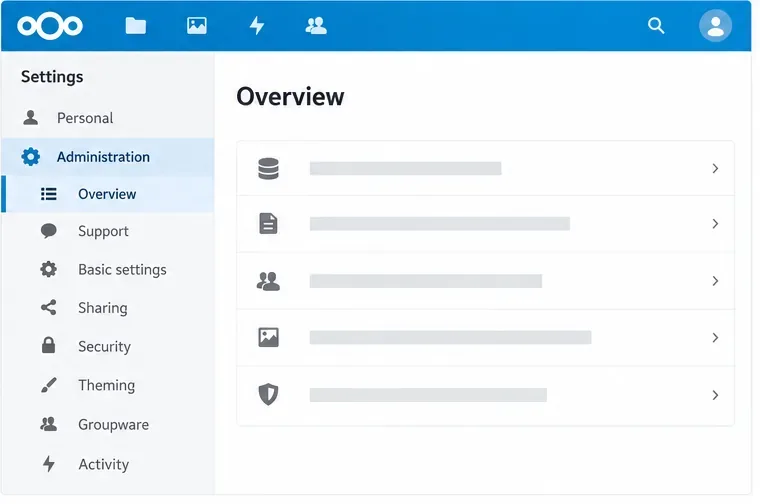
Open Administration settings → Basic settings → Background jobs and select Cron if it is not already selected. You can also run this command from the Nextcloud directory:
cd /var/www/nextcloud
sudo -E -u www-data php occ background:cron
Nextcloud notes that selecting Cron in the admin settings is not strictly required if cron.php is run from the command line, because the script sets the mode automatically. Setting it explicitly makes the intended production mode clear. Nextcloud recommends system cron for production; its background jobs documentation also documents systemd timers as an alternative scheduler.
Create or update /etc/systemd/system/nextcloudcron.service with the following contents. Use the full path to PHP so systemd does not depend on an interactive shell’s PATH.
[Unit]
Description=Nextcloud cron.php job

[Service]
User=www-data
ExecCondition=/usr/bin/php -f /var/www/nextcloud/occ status -e
ExecStart=/usr/bin/php -f /var/www/nextcloud/cron.php
KillMode=process
Change User to the web-server account and both paths to the matching PHP and Nextcloud locations. The condition checks that the instance is operating normally before running the job. If the condition fails, systemd may skip the service; check whether Nextcloud is in maintenance mode and inspect the journal before removing or changing the condition. Keep KillMode=process, as Nextcloud’s example uses it so external programs started by cron can continue after the cron process exits. The service unit does not need an [Install] section.
Create /etc/systemd/system/nextcloudcron.timer. This schedule starts five minutes after boot and then waits five minutes after each service activation:
[Unit]
Description=Run Nextcloud cron.php every 5 minutes

[Timer]
OnBootSec=5 min
OnUnitActiveSec=5 min
Unit=nextcloudcron.service

[Install]
WantedBy=timers.target
Reload systemd so it reads the unit files, then enable and start the timer in one command:
sudo systemctl daemon-reload
sudo systemctl enable --now nextcloudcron.timer
Enabling makes the timer start on future boots; --now starts it immediately. Do not enable the service itself as if it were a recurring timer. The timer is the unit that belongs under timers.target. Nextcloud’s current manual explains these interval settings and the required activation command; older versions of the manual included an obsolete install section for the service, so follow the current unit example instead.
Check the timer’s state and next scheduled run:
systemctl status nextcloudcron.timer
systemctl list-timers nextcloudcron.timer
The timer should show as waiting or active, and the listing should show a next activation time. Then inspect the service’s latest run:
systemctl status nextcloudcron.service
journalctl -u nextcloudcron.service --since today
A timer can be active even when each service run fails, so review both units. If the service is missing or systemd rejects the file, run systemd-analyze verify /etc/systemd/system/nextcloudcron.service /etc/systemd/system/nextcloudcron.timer, correct the reported syntax or path issue, then reload systemd again. If the service exits unsuccessfully, journal output often identifies an invalid PHP path, wrong user, failed condition, or Nextcloud runtime error. If the timer has no next run, verify the exact timer filename, run daemon-reload, and confirm it was enabled with systemctl is-enabled nextcloudcron.timer.
After the next timer activation, check the Nextcloud background-jobs status again. It should show a recent execution time rather than a stale warning. If the timer and service both report successful runs but the admin page still looks stale, check the instance’s logs and the PHP version used by the web server; command-line PHP may differ from the web runtime. This setup addresses systemd scheduling on a normal Linux host. Containerized and appliance installations may manage cron through their own service supervisor, so use that platform’s supported method instead of adding host units that cannot access the container’s files.
Enable reliable Nextcloud file locking, choose the right Redis or Valkey backend, and verify the warning clears without risking concurrent file changes.
Fix common Nextcloud scan findings with current updates, HTTPS and HSTS, precise reverse-proxy trust, and checks against the public server.
Back up Nextcloud’s files and MariaDB together, schedule encrypted Restic snapshots with cron, and verify recovery without risking the live server.
Configure Nextcloud SSE for the storage that needs it, protect encryption keys, and measure transfer and CPU impact before encrypting existing files.
Connect Nextcloud’s file search to Elasticsearch, index document contents, and choose a setup that fits your server and security needs.
Configure Nextcloud to remove deleted files after a defined retention period, schedule background jobs reliably, and avoid commands that purge every user’s trash.
Run Nextcloud’s OCC repair safely, preview the database changes, and check why the warning might remain.
Allow larger Nextcloud browser uploads by aligning PHP, Nginx or Apache, temporary storage, and timeout settings—and verify which limit is blocking the file.
Set the PHP memory limit Nextcloud actually uses, restart the right service, and confirm the 512 MB setting in Admin Overview.
Mount a compatible object-storage bucket in Nextcloud using its S3 backend, with the right endpoint, credentials, access scope, and verification steps.