This article applies to all TeamViewer users working on Mac OS X or macOS. Instructions on how to remove TeamViewer completely from the computer
General
To uninstall TeamViewer from your Mac, drag the TeamViewer application file to your Ttrash, it will leave its configuration files behind on the computer.
The correct way to uninstall TeamViewer running on Mac OS X or macOS is to use our built-in uninstall button from within the TeamViewer preferences, as explained below. This is available from TeamViewer version 9 and above, for both the Host module as well as the Full Version
📌Note: The QuickSupport and QuickJoin modules run without any installation, and as such will not contain the following steps. More information on all TeamViewer modules can be found here:
TeamViewer modules - TeamViewer Support
https://community.teamviewer.com/English/kb/articles/30163-teamviewer-modules
This article applies to all TeamViewer free users and customers with a Business, Premium, Corporate or Tensor plan. General TeamViewer is a software which can be used for remote access, online collaboration and digital networking. The software is available in different versions and…
Automatic Uninstallation via Preferences
1) Open the TeamViewer app and click the TeamViewer menu in the top-left corner, then click Preferences.
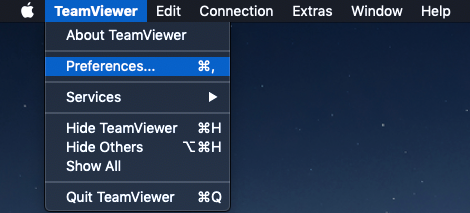
2) Go to the Advanced tab.
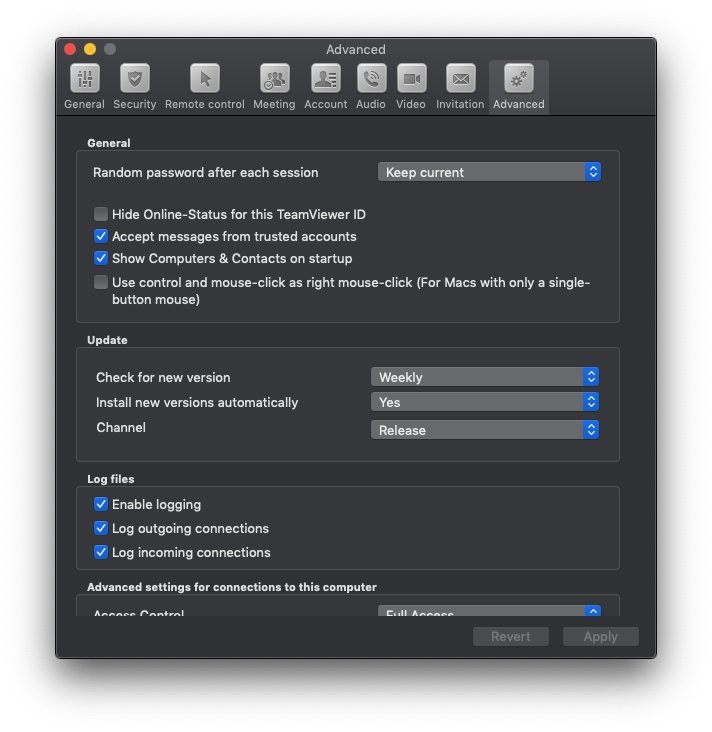
3) Scroll down to the very bottom and check Also delete configuration files, if that’s what you want.
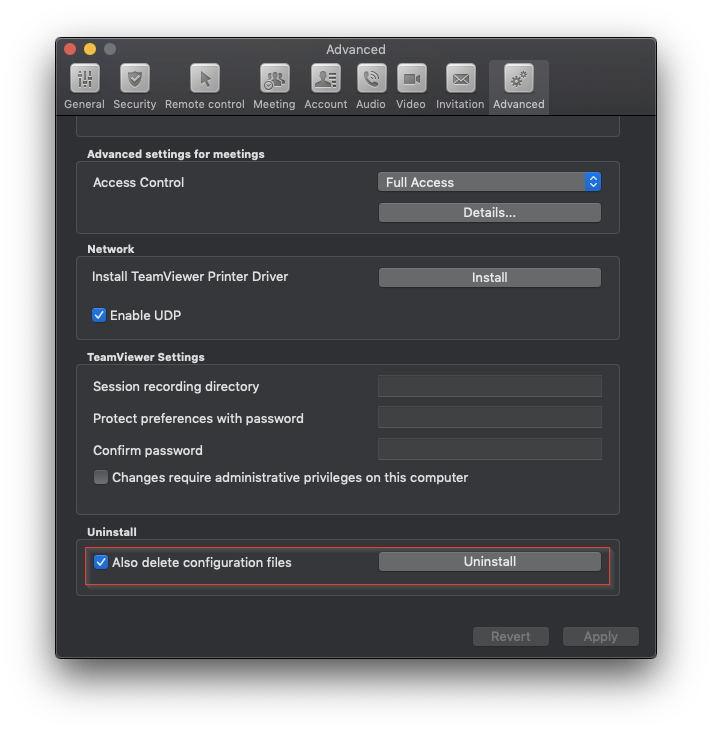
4) Click the Uninstall button.
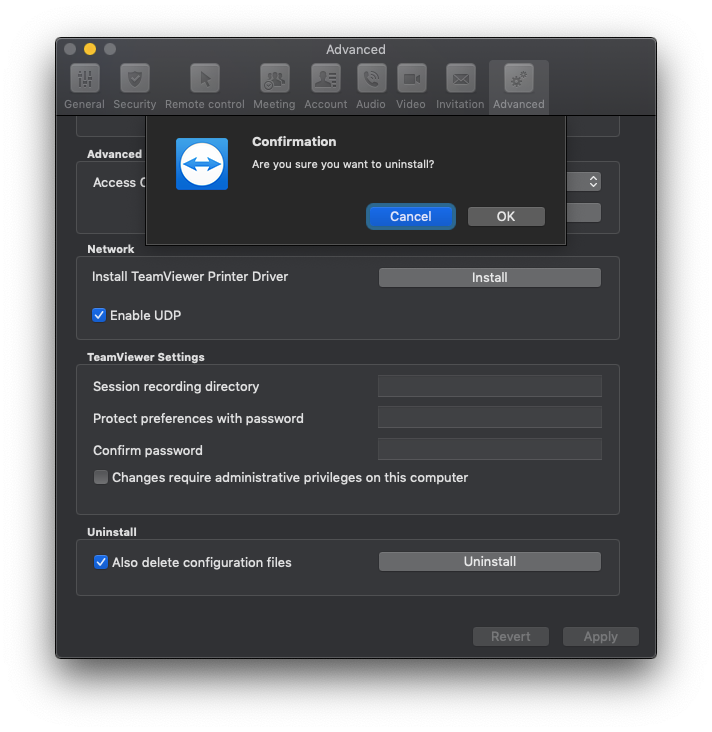
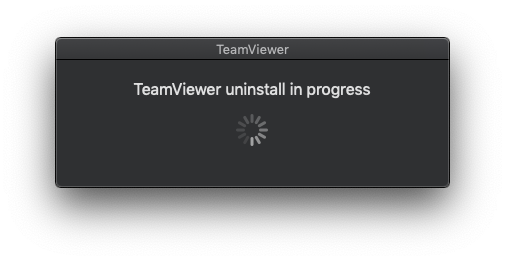
TeamViewer is now uninstalled.
Manual Uninstallation
Sometimes it’s not possible to uninstall TeamViewer using the automatic method described above, and you need to remove the app and all of its configuration files manually. Here’s how to do that:
First, remove the TeamViewer app: open Finder, go to the Applications folder, find the TeamViewer.app file, and drag it to the Trash.
Then you will need to manually delete the config files as follows:
1) Open a new Finder window and go to the User folder (hit Command + Shift + H).
2) If you're running OS X 10.9 (Mavericks) or higher, click the View menu and select Show View Options (or hit Command + J). Check the box for Show Library Folder, then close the View Options panel.
If you're running a version of OS X lower than 10.9, you'll instead need to open a terminal window and type the following command:
chflags nohidden ~/Library/
After doing the above, you should now see the Library folder appear inside the User folder.
3) Now navigate into Library, then into Preferences. Here, find and delete all “.plist” files which begin with "com.teamviewer". There may be several of them.
4) Go back to the User folder, and again click the View menu, select Show View Options, and uncheck the box for Show Library Folder for safety - it normally should not be shown.
5) Next, go to the Hard Drive device in Finder. It may be called "OS X" or "Macintosh HD" or “Hard Drive”. If it's not visible in the sidebar on the left, then click the Finder menu and select Preferences, then the Sidebar tab, and enable "Hard disks". Now you should see the hard drive device in the sidebar.
Click on this device, then navigate into Library, then Preferences. Once again search for any “.plist” files that begin with "com.teamviewer" and delete them.


