Keep ONLYOFFICE Spell Check on the Language You Choose
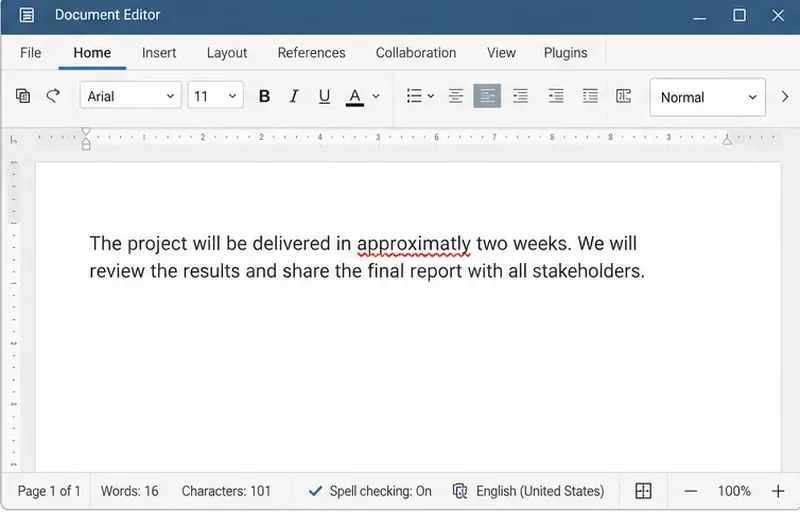
Set the proofing language for the whole document or selected text, confirm spell checking is active, and identify when a server dictionary is missing.
When installing Microsoft Outlook for the first time, the software automatically sets the text editor font and reads the message to Calibri or Arial. If this is not the font you like, you can adjust the font settings to suit your needs.
Specifically, Outlook allows users to change the default font to any favorite style. The vast web world has many free font download sources. Smaller, prettier, louder or common words - Outlook browses them all.
Microsoft Outlook Microsoft Outlook Online
Microsoft Outlook for Android Microsoft Outlook for iOS
To change the default font in Outlook 2016 and 2013:
1. Go to the File menu > Options .
2. Click or tap the Mail menu in the left corner.
3. Select the Stationery and Fonts button ...
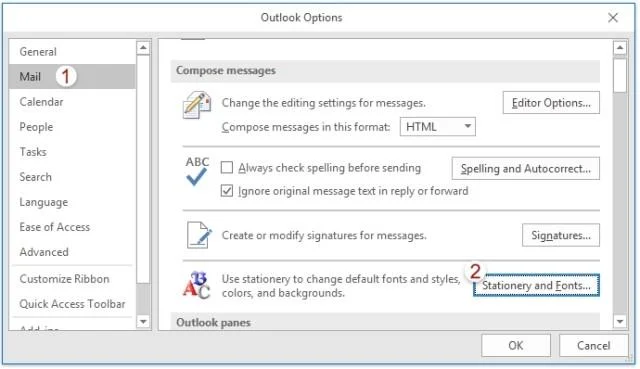
4. Open Font ... in the font section you want to change. You have the following options: New mail messages, Replying or forwarding messages, and Composing and reading plain text messages .
5. Choose your favorite font type, style, size, color and effect.
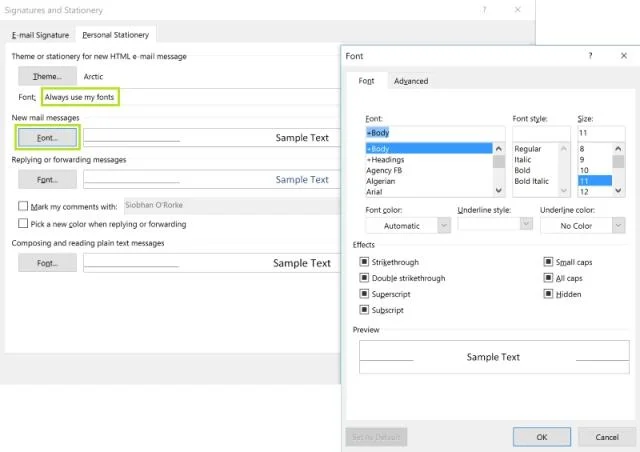
6. Select OK when done, then click OK twice to close the Signatures and Stationery window and options in Outlook.
1. Go to the Tools menu > Options ...
2. Select the Mail Format tab .
3. Click Fonts ... in Stationery and Fonts.
4. Use the Font button ... in New mail messages , Replying or forwarding messages , and Composing and reading plain text messages to select the desired face, size, and font style.
5. Click OK .
6. Click OK .
Note : If you set the default color for replying and forwarding tasks, but Outlook refuses to use it, try setting the default signature.
Set the proofing language for the whole document or selected text, confirm spell checking is active, and identify when a server dictionary is missing.
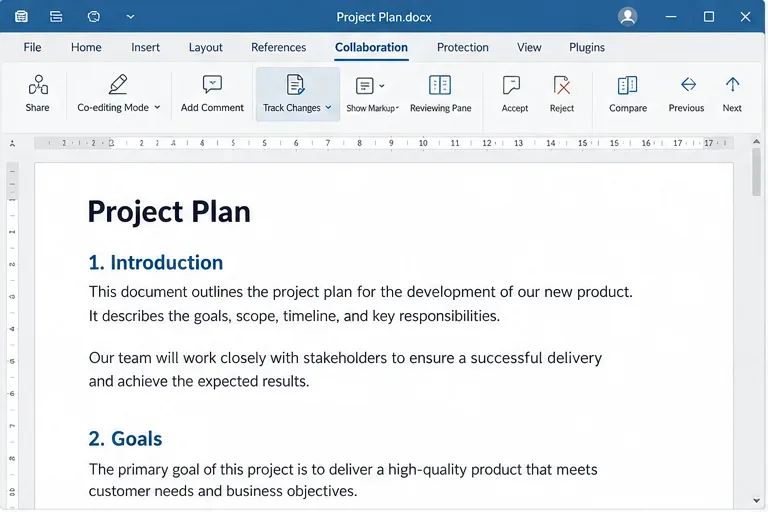
Enable persistent Track Changes for everyone in one ONLYOFFICE document, verify edits are recorded, and understand the limits of this setting.
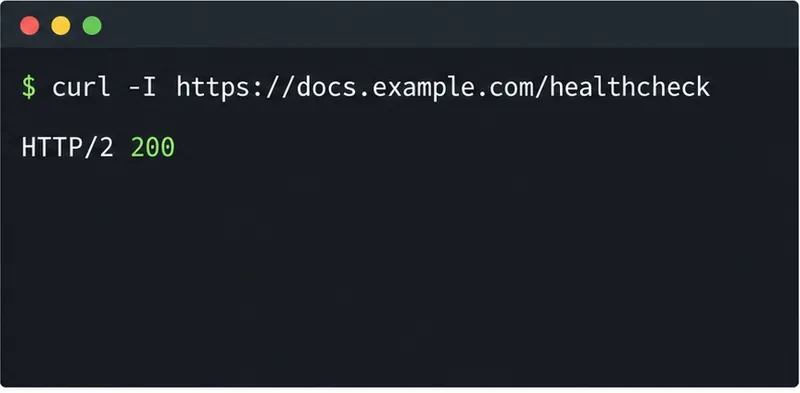
Find whether Nginx, Docker networking, or an internal ONLYOFFICE service is returning 502, then verify the corrected upstream and health check.
Diagnose failed ONLYOFFICE saves by checking the Nextcloud callback route, proxy redirects, and storage logs, then verify the edited file persists.
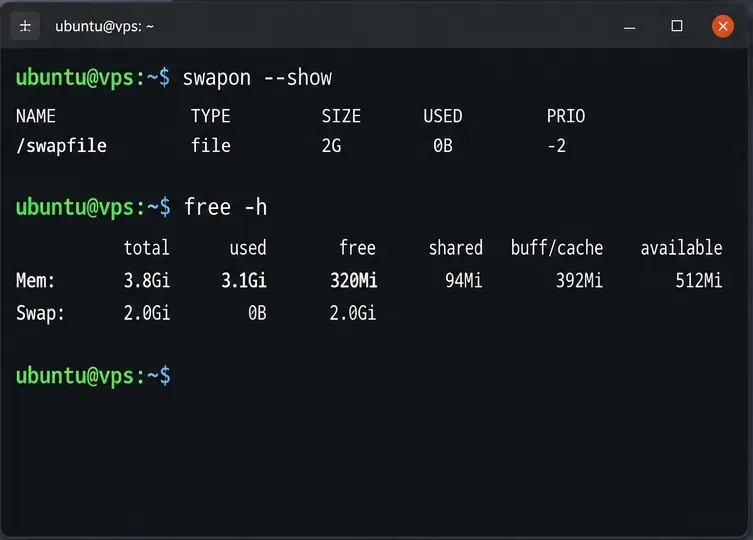
Find the cause of ONLYOFFICE memory crashes, check Docker limits, size VPS RAM correctly, add swap safely, and verify that documents open and save.
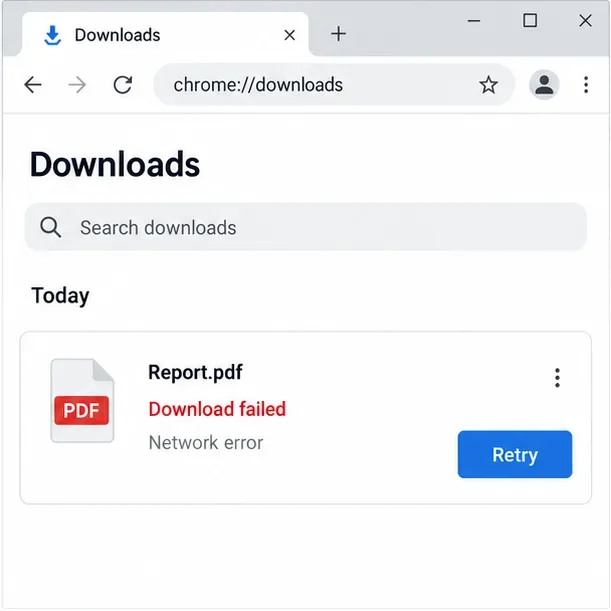
Separate browser download problems from server-side conversion errors and use the right log or access check to get your PDF export working.
Match the JWT secret used by ONLYOFFICE Docs and Nextcloud, apply it safely for Docker or Linux installs, and verify the connection without weakening authentication.
Install ONLYOFFICE Workspace Community on Ubuntu 24.04 with the official Docker script, check server requirements, skip Mail if needed, and verify the portal safely.
Configure matching JWT secrets for ONLYOFFICE Docs and its connector, with safe steps for Linux packages, Docker deployments, and verification.
Configure HAProxy HTTPS, forwarding headers, WebSocket timeouts, and health checks for ONLYOFFICE Docs, then verify editing and saves.