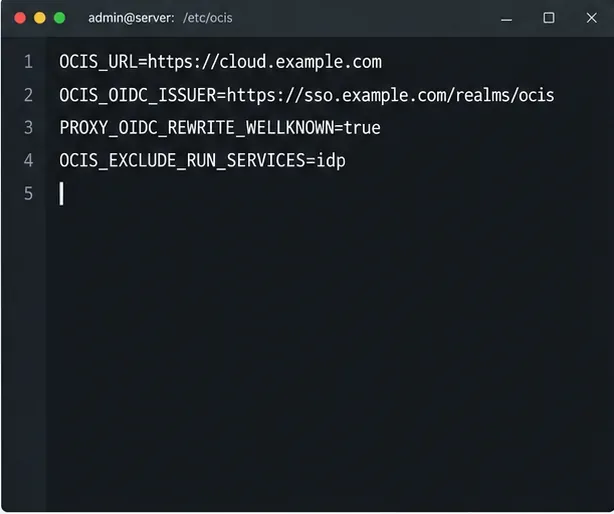
Set Default Storage Quotas by User Role in ownCloud oCIS
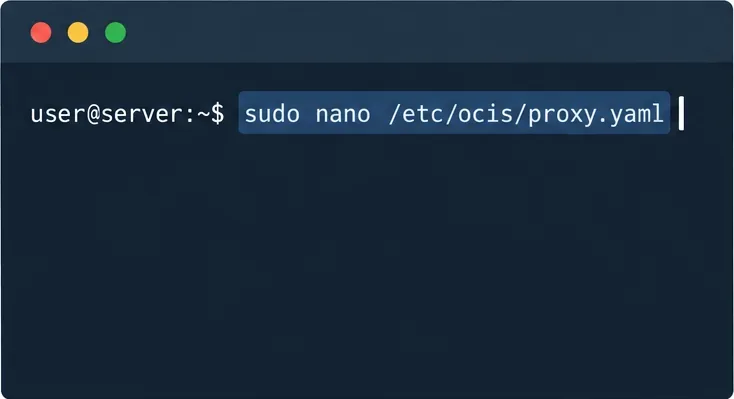
Assign byte-based storage limits to new ownCloud Infinite Scale users by role, with a proxy.yaml example and a safe verification checklist.
Facebook encourages users to use their real names, to easily regain accounts when unfortunately lost, temporarily locked. However, many people want to use nicknames . So invite you to follow the article below to still be able to use the nickname, but can regain your Facebook account in case of risks.
Facebook for iOS Facebook for Android
Step 1: Visit your Facebook profile, click the About tab . On the left hand side, select Details about you , then click Add nickname, birth name in the Other names section .

Step 2: In the Name type section , select Nickname , then name as you wish in the Name box . Then, select the Show at the top of the personal page , you can also choose the display mode for your nickname name such as Public, Friends or Only me. When finished editing, then click Save changes.
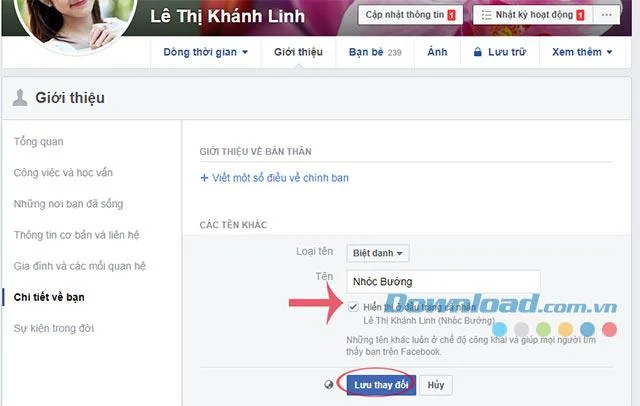
Step 3: Go back to your personal page, you will see your Facebook name with parentheses as in the image below:

Step 4: If you want to edit the Facebook nickname, in the Other names section , click the drop down arrow in Options , select Edit . If you want to delete that nickname, click the Delete button to finish.

So now you're free to put your favorite side names, nicknames on Facebook! Pretty simple, isn't it?
I wish you successful implementation!
Assign byte-based storage limits to new ownCloud Infinite Scale users by role, with a proxy.yaml example and a safe verification checklist.
Restore ownCloud desktop syncing by checking the server hostname, certificate chain, private CA trust, and captive portal issues without disabling TLS verification.
Use the invalid-file report to identify mismatched core files or app signatures, restore the correct release files, and verify the integrity check safely.
Deploy ownCloud Infinite Scale from its official Compose example, configure domains and persistent storage, then verify TLS, containers, and first login.
Set up the S3NG driver, bucket permissions, persistent metadata storage, and upload sizing so ownCloud Infinite Scale can store file contents reliably.
Find why an ownCloud Server upload stops near completion by checking file status, quota, temporary disk space, PHP limits, and proxy timeouts.
Set AllowOverride All only for ownCloud’s web root, validate the active Apache vhost, and reload safely to restore .htaccess rules.
Enable ownCloud’s Enterprise Auditing app, route admin_audit events to a protected log file, and confirm that real user actions are being recorded.
Align Keycloak’s realm issuer, web client, and user claims to let ownCloud Infinite Scale sign users in reliably across the web and mobile clients.
Transfer owned files and outgoing shares with ownCloud’s occ command, understand what stays behind, and verify access before deleting the old account.