
Deploy Shared Pardus Wallpapers and Policies with Lider Ahenk
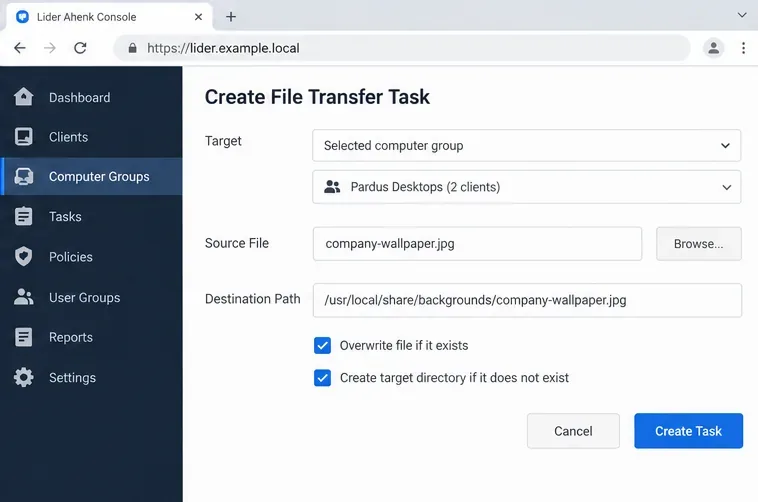
Distribute a custom wallpaper to Pardus clients, configure Xfce or GNOME desktops, and apply Lider Ahenk user policies with safe pilot checks.
BlueStacks also has "junk", and the BlueStacks cleanup will help this Android emulator to work better, smoother and more stable.
Garbage on BlueStacks can understand exactly the files, files left on this emulator after we install and remove them. However, just like on a computer, uninstalling applications on BlueStacks can only regain a portion of free space, the following article will guide you how to free up space on BlueStacks to help speed up this emulator when used to get the most out of it.
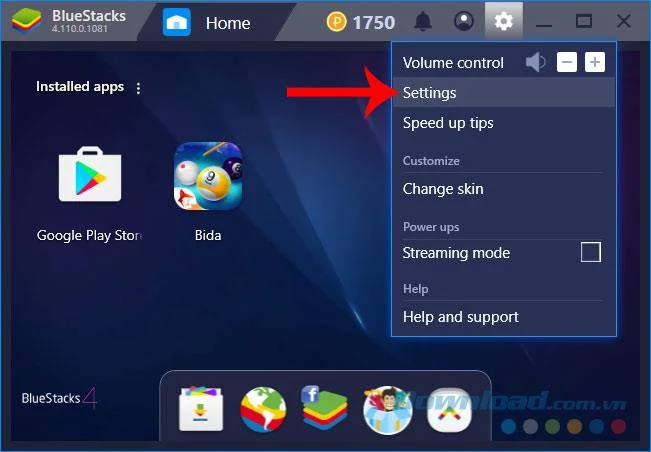
Step 1: You start up the BlueStacks emulator on your computer. From the main interface, left click on the Settings icon - Settings in the upper right corner of the screen as the image below.
Step 2: Left-click and select Settings - Settings .
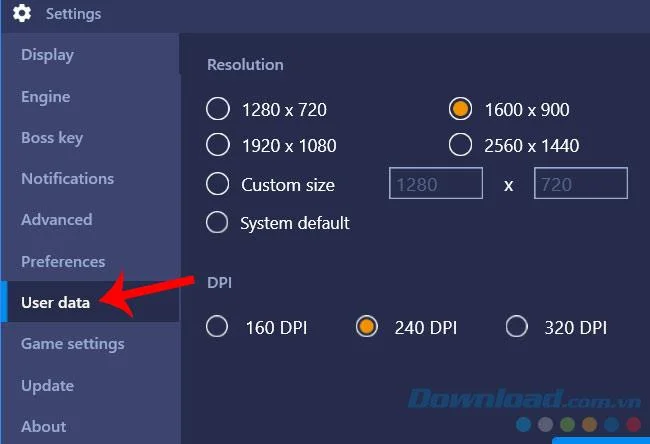
Step 3: Settings window appears, left-click on the item User data - User data .
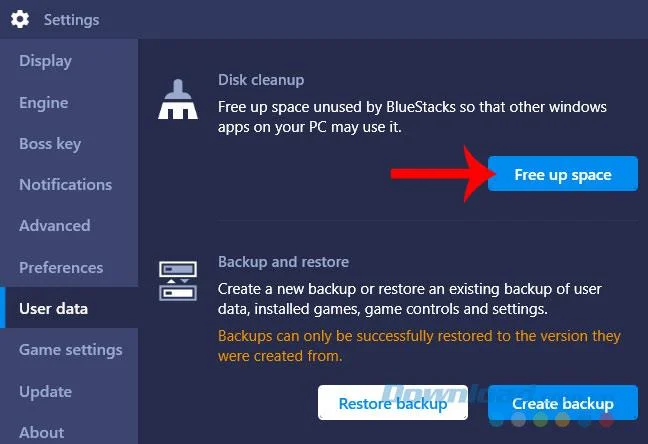
Step 4: Observe the display on the right and select Free up space - Free up space .
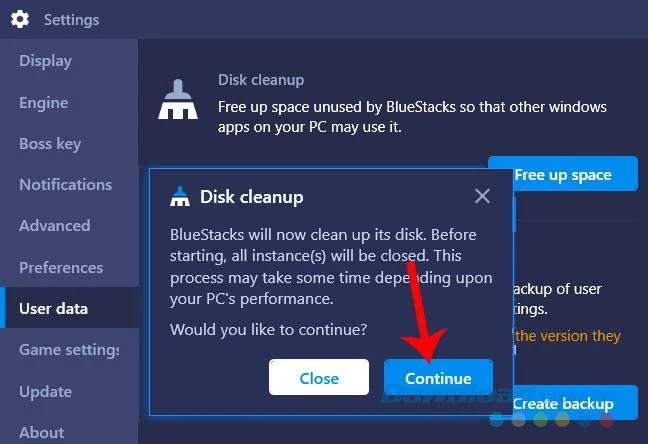
Step 5: At this time, a small message appears, select Continue - Continue to confirm the request.
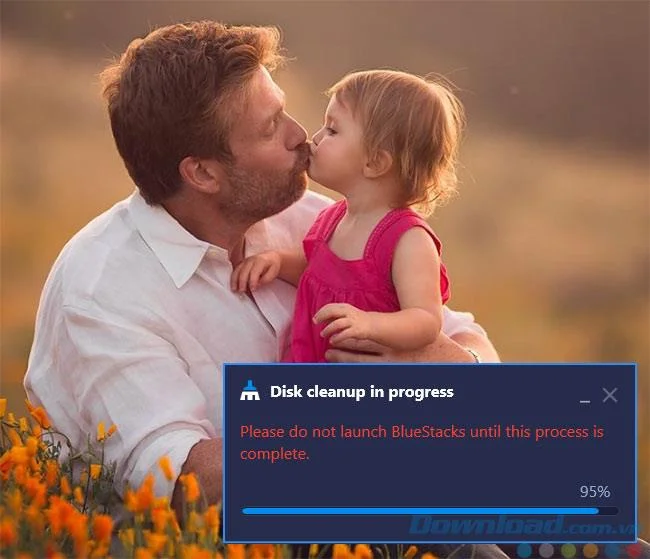
At this point, you will see a pop-up with a status bar showing the status of BlueStacks disk cleanup. This process may take several minutes or even longer, depending on your usage.
The more you use BlueStacks, the more you install - remove apps on BlueStacks , the longer this process will run.
Step 6: You can either leave that machine and go to work, or wait until the " Disk cleanup in progress " process is completed and left click on Launch .
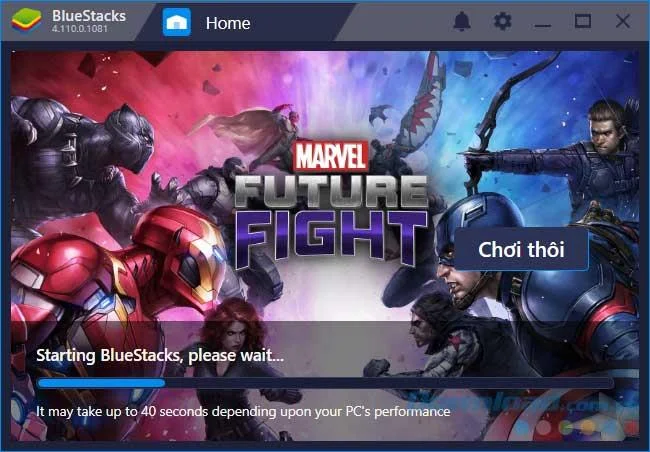
BlueStacks will automatically launch and you can use it as usual, pay attention to whether the emulator's working speed is improved or not?
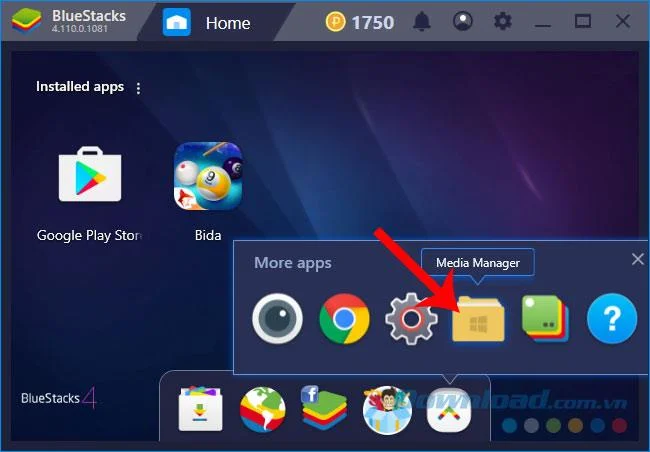
Another way you can do this is to start the BlueStacks Multi-Instance Manager (this icon appears next to the BlueStacks icon) or you can activate it from the BlueStacks main interface by:
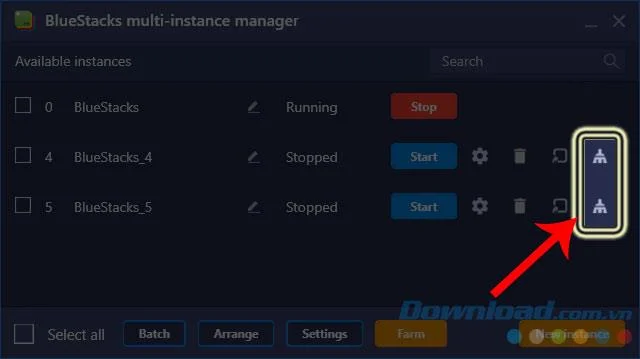
This is where you manage the settings and versions of BlueStacks that you currently have. Whether these versions are running or not running any data is the reason why the emulator is slow and inefficient.
You can click the broom icon to start cleaning up these versions. The interface will appear as above.
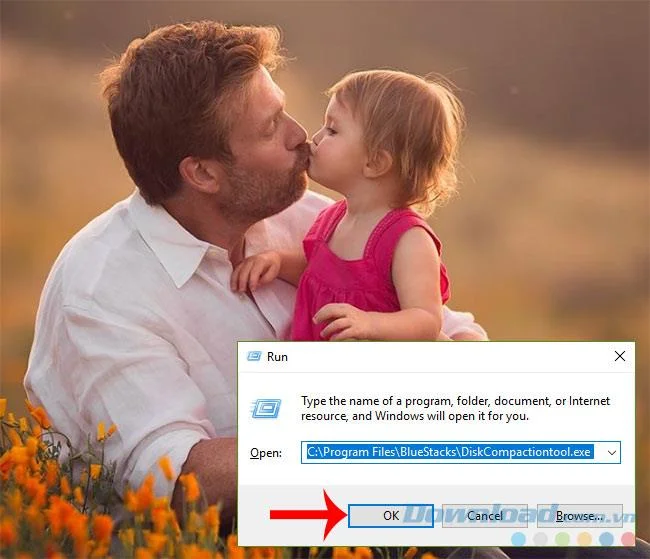
Or another way we can speed up BlueStacks faster, it is:
ATTENTION:
The path " C: \ Program Files \ BlueStacks \ DiskCompactiontool.exe " is not necessarily the same for every computer, but depending on where you install BlueStacks, you will choose the corresponding path there.
Distribute a custom wallpaper to Pardus clients, configure Xfce or GNOME desktops, and apply Lider Ahenk user policies with safe pilot checks.
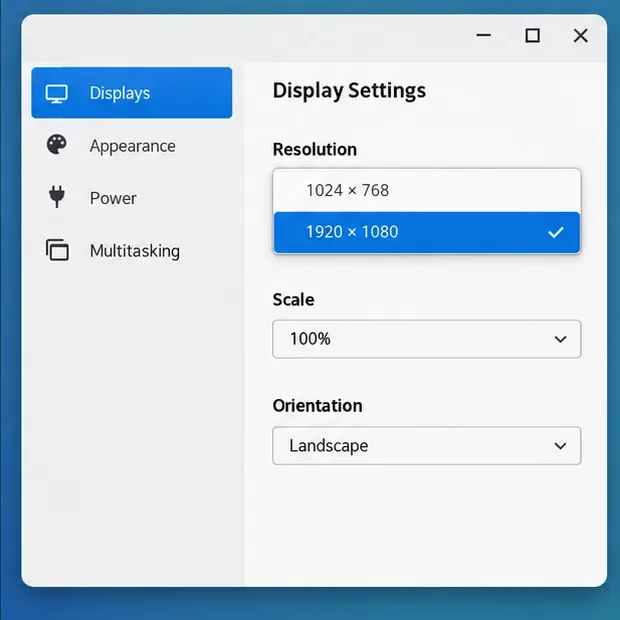
Fix a 1024 × 768 ceiling by checking SPICE, virtual video, the guest channel, and spice-vdagent—with safe checks when Pardus lacks a package candidate.
Set up the Lider server, configure its installer safely, register Ahenk endpoints, and verify a pilot before expanding central management.
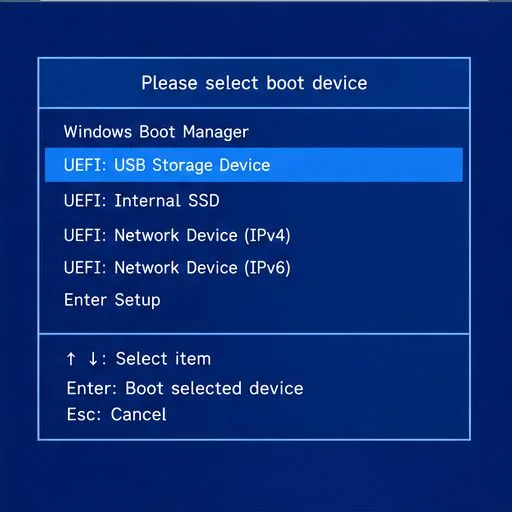
Download the official Pardus 23 desktop ISO, write it safely with Rufus, and boot a Windows PC into a temporary Live session.
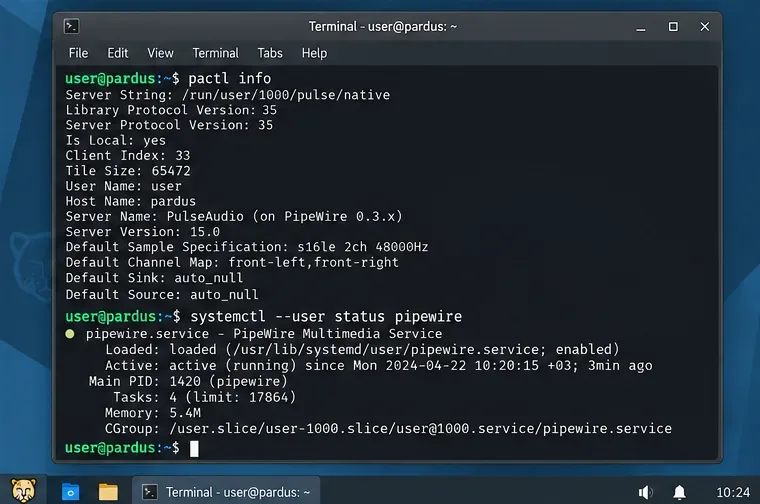
Find out why Pardus 23 cannot detect your sound card, then use targeted ALSA, firmware, and PipeWire or PulseAudio checks to restore playback.
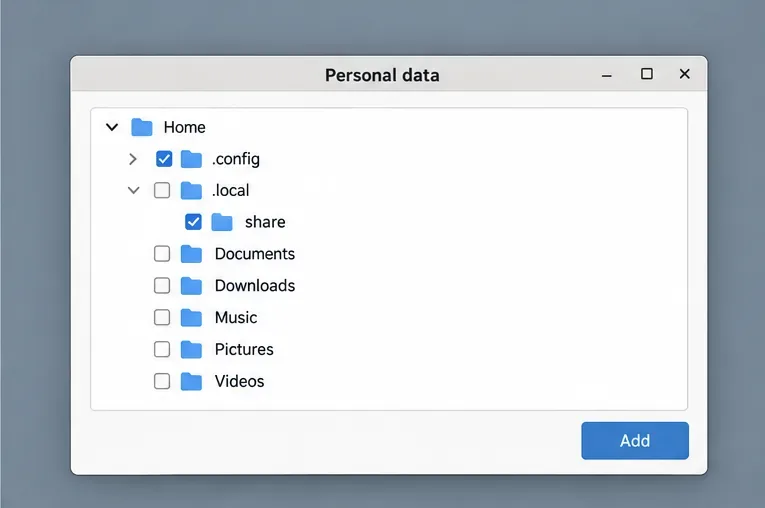
Save HamoniKR preferences to external storage, include hidden home folders, and choose a safe restore mode when moving to a fresh installation.
Install and configure xrdp on Pardus, choose the right Xfce session, restrict network access, and verify that remote login works.
Diagnose Pardus 23 APT connection failures, confirm the official yirmiuc sources, and restore apt update without bypassing package signature checks.
Configure printers on Harmonica OS using CUPS, compare driverless IPP with legacy drivers, and verify USB or network printing with a test page.
Use a recovery shell to set a new Harmonica OS root password, with checks for encrypted disks, read-only filesystems, and accounts that use sudo.