The aurora australis, or Southern Lights, can appear as a faint arc near the horizon or as moving curtains across the sky. Seeing it takes more than a strong space-weather forecast: you also need darkness, a clear view south, and cloud-free weather. Photographing it adds another choice: a dedicated camera gives more control, while a phone is lighter and easier to use but less flexible.
This guide compares those options so you can choose an approach that matches your location, equipment, and tolerance for waiting. No forecast or camera setting can guarantee a sighting. NOAA explains that its short-term aurora product estimates the aurora's location and intensity, while actual visibility also depends on local conditions and darkness.
Where should you go to see the Southern Lights?
Start with the southern part of the Southern Hemisphere and choose a site with an unobstructed view toward the south. Tasmania and New Zealand's South Island are practical choices for many travelers who already plan to visit those regions. More remote southern locations can offer darker skies, but reaching them may take more money, time, and preparation. An Antarctic trip may place you at very high southern latitudes, yet it is a specialized expedition rather than a simple viewing add-on.
There is a trade-off between access and darkness. A town is convenient for lodging and transport but may have enough artificial light to wash out a faint display. A remote beach, headland, or open field can improve the view, but only if it is legally accessible and safe to reach at night. Choose a known public site with a clear southern horizon, check access restrictions before leaving, and do not walk onto unstable cliffs or unfamiliar shorelines in darkness.
NOAA's viewing guidance says auroras are associated with an oval around the magnetic poles and that a bright display can sometimes be visible far from the oval when conditions are right. That makes the forecast a guide, not a promise. In the Southern Hemisphere, look toward the south if the aurora is not overhead.
When are your chances better?
You need astronomical darkness. Longer winter nights give you more hours to watch, while spring and fall equinox periods can be favorable for geomagnetic activity. These are tendencies rather than appointments: an equinox does not guarantee a storm, and a winter night can still be cloudy or quiet.
NOAA says auroral activity is often strongest around local midnight, roughly 10 p.m. to 2 a.m., and that activity can extend earlier or later during stronger events. Plan for a flexible window instead of arriving for a single scheduled minute. Give your eyes time to adjust to darkness, and keep phone-screen brightness low.
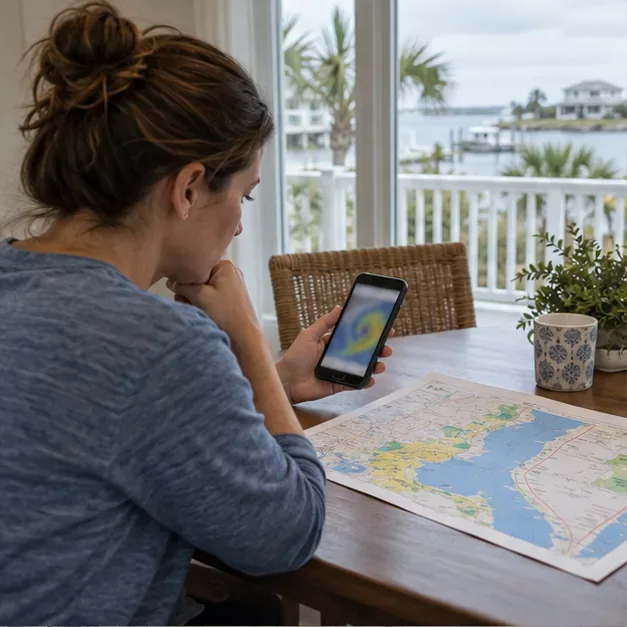
Check two separate forecasts. NOAA's 30-minute aurora forecast includes a Southern Hemisphere view and estimates location and intensity about 30 to 90 minutes ahead. It is useful for deciding whether to stay outside or move to a darker site, but it is not a local cloud forecast. For clouds, wind, rain, and temperature, check the national or regional weather service for the exact place you plan to visit. A strong aurora behind cloud is still hidden.
Read the forecast map as a probability and location aid, not a pass-or-fail Kp threshold. NOAA notes that the relationship between Kp and where auroras may be seen is approximate. A low value does not rule out a view if you are near the auroral oval; a high value cannot clear clouds or remove light pollution.
Which viewing and photography setup fits you?
| Setup | Best for | Trade-off |
|---|
| Naked-eye viewing | Enjoying motion, scale, and the experience without setup | Faint color may look gray or subtle to your eyes |
| Smartphone with night mode | Travelers who want a light, simple record | Results depend heavily on the phone; framing and exposure control may be limited |
| Interchangeable-lens camera and tripod | More control over focus, exposure, and foreground composition | Heavier, slower to set up, and requires practice in the dark |
For the simplest outing, bring a phone and a small support or tripod. Use the phone's dedicated night mode if available, set a short timer to avoid shaking it, and take a test frame. Computational night modes combine several exposures, so the result may brighten a scene more than it looked in person. This can help record a weak glow, though moving auroral curtains may appear softened.
Choose a mirrorless or DSLR camera if you want a higher degree of control, especially over shutter time and lens aperture. A wide-angle lens includes more sky and foreground; a longer lens isolates a section of the display but shows less context. A fast lens (one with a low f-number) can gather more light, but it may be larger and more expensive. Use the gear you already own before buying equipment for an event that cannot be scheduled.
How do you photograph the aurora with a camera?
1. Stabilize the camera and compose first
Mount the camera on a steady tripod. Compose a foreground—such as a distant ridge or shoreline—before the sky becomes active, and leave room in the frame for the aurora to move. Turn off flash. If your camera or lens has stabilization, follow the manufacturer's manual for tripod use because controls differ by model. A remote release or the camera's timer can reduce shake when pressing the shutter.
2. Focus manually on a distant light or star
Autofocus often struggles in a dark sky. Switch to manual focus, magnify a bright star in live view if your camera supports it, and adjust until the star is as small and sharp as possible. Do not assume the lens's infinity mark is perfectly accurate. Take a test frame and zoom in to check stars before the aurora becomes brighter. This is consistent with standard night-sky practice: stabilize the camera and focus carefully on a star before making a long exposure.
3. Begin with a flexible exposure
Use manual exposure as a starting point. Try a wide aperture your lens can produce cleanly, a shutter time around 2 to 8 seconds, and an ISO around 1600 to 6400. These are starting ranges, not fixed rules. A dim, slow arc may benefit from a longer exposure or higher ISO. Fast rays and rippling curtains often look more defined with a shorter exposure, even if the image is darker.
Review the result on the camera. If the sky is too dark, raise ISO or extend the shutter slightly. If the aurora looks like a flat, bright smear or stars are stretched, shorten the shutter. If bright colors lose detail, lower ISO or use a faster shutter. The camera's histogram can help reveal whether highlights are clipped, but the screen preview alone is not a reliable brightness reference in a dark environment.
4. Capture a short sequence and adjust as the display changes
Auroras change shape and brightness. Take a few frames at different shutter times rather than relying on one exposure, then repeat when the display changes. If your camera records RAW, it preserves more editing latitude; JPEG files are smaller and ready to share. Shooting both can be useful if storage and workflow allow. Keep a spare battery warm in an inside pocket, because cold conditions can reduce battery performance.
How can you improve the result without losing the experience?
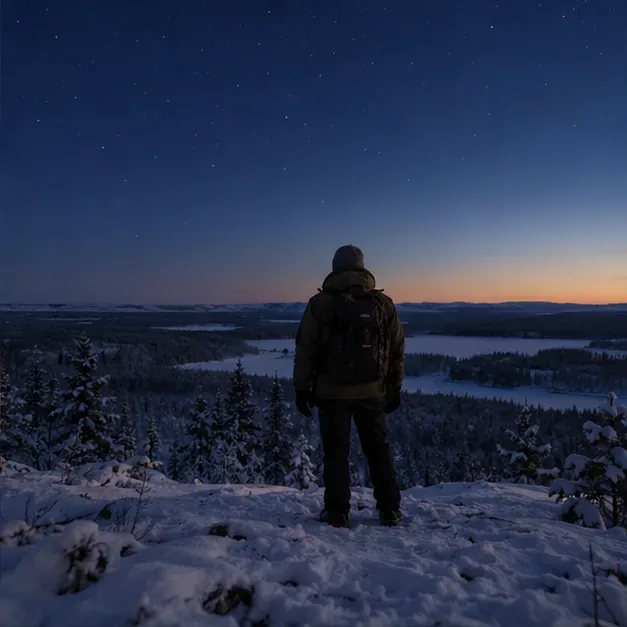
Use a wide composition for a sense of place, then make a tighter frame if the aurora forms distinct rays or folds. Include a person only when they can be safely placed in the foreground; a brief light on the subject may help, but too much can distract from the sky. Avoid shining a flashlight toward other observers or wildlife.
Let your eyes adapt and look up between exposures. A camera can record colors and faint light that your eyes do not register as vividly, especially during a long exposure. That difference is normal, not proof that either the photo or your observation is wrong. If the sky remains quiet, enjoy the stars and landscape rather than spending the entire night watching a screen.
Quick checklist before you leave
- Check the Southern Hemisphere aurora forecast and a local cloud forecast close to departure.
- Pick a dark public location with a safe, open view to the south.
- Charge your camera and phone; pack a spare battery, tripod, warm layers, and a dim red or low-brightness light.
- Set focus and framing before the display starts, then test and adjust exposures as it changes.
- Tell someone where you are going, check road and site access, and avoid isolated shorelines or cliffs you do not know.
The right approach depends on your priority. Choose naked-eye viewing if you want to stay present and travel light. Use a phone for convenience and a quick record. Bring a camera and tripod when you value framing and manual control enough to carry extra gear. In every case, darkness, clear weather, and patience matter more than owning the most advanced camera.