Ever feel like your shiny new Windows 11 PC is bogged down by unnecessary apps that came straight from the factory? You're not alone! Those pre-installed apps, often called bloatware, can eat up precious storage, slow down your system, and clutter your interface. The good news? Removing them is straightforward and can transform your experience into something sleek and personalized. In this guide, we'll walk you through the easiest, safest ways to uninstall pre-installed apps in Windows 11, helping you reclaim control and enjoy a snappier setup. Let's dive in and get your PC feeling like new! 😊
Why Bother Uninstalling Pre-Installed Apps in Windows 11?
Before we jump into the how-to, let's quickly cover the why. Pre-installed apps like Candy Crush, Xbox Game Bar, or even some Microsoft tools might not align with your needs. By uninstalling pre-installed apps in Windows 11, you can:
- 🆓 Free up disk space: Many of these apps take up gigs you could use for photos, videos, or important files.
- 🚀 Boost performance: Fewer background processes mean faster boot times and smoother multitasking.
- 🎨 Customize your Start menu: Ditch the clutter for a cleaner, more intuitive layout.
- 🔒 Enhance privacy: Some apps collect data you might not want.
It's empowering to take charge—imagine scrolling through your apps without the extras getting in the way. Ready to start? We'll cover multiple methods, from simple to advanced, so you can pick what suits your comfort level.
Method 1: Using the Built-In Settings App (Easiest for Beginners)
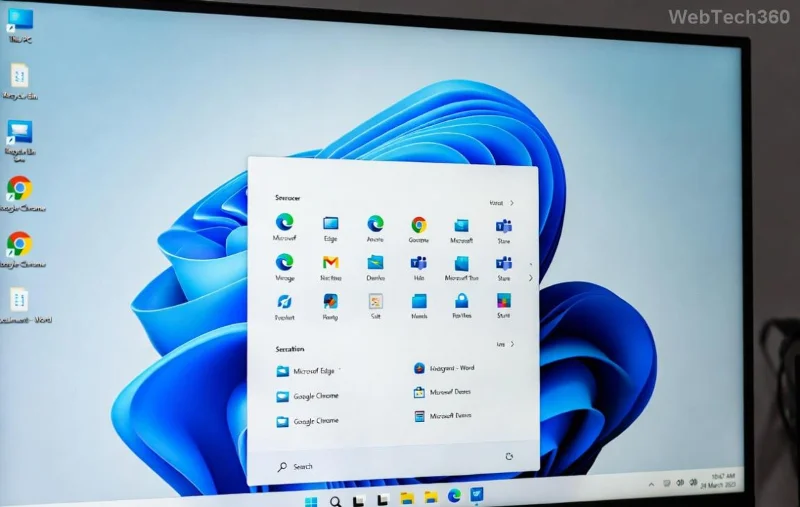
The most user-friendly way to uninstall pre-installed apps in Windows 11 is through the native Settings menu. No extra tools needed! This method works for most apps and is perfect if you're new to Windows tweaks.
- 👆 Click the Start button (Windows icon) on your taskbar or press the Windows key on your keyboard.
- Search for "Settings" and open the app—it's your control center for all things Windows.
- In the left sidebar, select Apps, then click Installed apps on the right.
- Scroll through the list or use the search bar to find the pre-installed app you want to remove (e.g., "Clipchamp" or "Weather").
- Click the three dots (...) next to the app, then choose Uninstall. Confirm the action, and poof—it's gone!
Pro tip: If an app is stubborn, restart your PC after uninstalling to ensure all traces are cleared. This method is quick and reversible for most apps, leaving you with that fresh-out-of-the-box feel without the bloat. Feeling accomplished already? Keep reading for more options if you need to tackle system-protected apps.
Method 2: PowerShell for Advanced Cleanup (Remove Stubborn Bloatware)
For those deeper cleans, PowerShell is your secret weapon. It lets you uninstall pre-installed apps in Windows 11 that Settings might not touch, like provisioned apps for new users. Don't worry—it's simpler than it sounds, and we'll guide you safely.
Warning: Only remove apps you're sure about. Stick to known bloatware to avoid breaking system features.
- Right-click the Start button and select Windows Terminal (Admin) or search for PowerShell and run as administrator.
- To list all installed apps, type this command and hit Enter:
Get-AppxPackage | Select Name, PackageFullName. This shows everything, including pre-installed ones.
- Spot the app you want (e.g., something like "Microsoft.BingWeather"). Copy its PackageFullName.
- Uninstall for the current user:
Remove-AppxPackage -Package "PackageFullName" (replace with the actual name).
- For all users (including provisioned):
Get-AppxProvisionedPackage -Online | Where-Object {$_.DisplayName -like "*AppName*"} | Remove-AppxProvisionedPackage -Online.
Success! Your system just got a turbo boost. If you're dealing with Microsoft Store apps, this method ensures they're gone for good. Curious about visual aids? Check out the screenshot below for a real-world example of the PowerShell interface in action.
![PowerShell command line for uninstalling pre-installed apps in Windows 11]()
Common Pre-Installed Apps You Can Safely Uninstall in Windows 11
Not sure which apps to target? Here's a handy table of common pre-installed apps in Windows 11 that many users remove without issues. These are typically safe to uninstall unless you use them regularly.
| App Name |
Why Remove? |
Safe to Uninstall? |
| Candy Crush Saga |
Game you might not play; takes up space |
Yes ⭐ |
| Xbox Game Bar |
Overlays for gaming; unnecessary for non-gamers |
Yes, if not gaming |
| Microsoft Solitaire Collection |
Basic games cluttering your menu |
Yes |
| Clipchamp |
Video editor; use alternatives like DaVinci Resolve |
Yes |
| Your Phone (Phone Link) |
Syncs with mobile; skip if not needed |
Yes |
| Weather |
Built-in widget; replace with browser extensions |
Yes |
This table should spark some ideas—start with one or two, and watch your PC lighten up. Remember, some apps like Cortana or Calculator are core to Windows, so leave them be to avoid hiccups.
Troubleshooting: What If an App Won't Uninstall?
Stuck on a pesky app? It happens! Here are quick fixes to keep your uninstall pre-installed apps in Windows 11 journey smooth:
- ❌ Error messages: Ensure you're running as admin. For Store apps, try the Microsoft Store's own uninstall option.
- 🔄 App reinstalls after update: Use PowerShell's provisioned package removal to prevent it.
- ⚠️ System apps: Apps like Edge can't be fully removed—disable them instead via Settings > Apps > Advanced options.
- 💻 Third-party tools: If needed, tools like PC Decrapifier can help, but stick to official methods first for safety.
If issues persist, a quick search or reset via Settings > System > Recovery can restore balance without losing data. You're almost there—your customized Windows awaits!
Final Tips to Maintain a Clean Windows 11
Congrats on making it this far! Now that you've mastered how to uninstall pre-installed apps in Windows 11, keep the momentum going:
- Regularly check for updates in Settings > Windows Update to stay current.
- Use Storage Sense (Settings > System > Storage) to auto-clean junk.
- For more tweaks, explore disabling startup apps in Task Manager (Ctrl + Shift + Esc > Startup tab).
Your PC should now run like a dream—faster, cleaner, and all yours. If you found this helpful, why not share your before-and-after story in the comments? We've got more Windows guides coming, so stick around for tips on optimizing battery life or enhancing security. Happy computing! 👏
For official Microsoft guidance on app management, check out their support page: Microsoft Support.