"Glyph" comes from Greek, meaning "carved". They are special characters outside the basic alphabet. Glyph can be a currency symbol, copyright mark, & ... Each font has its own glyph. You are free to create them in graphic design works with Adobe Photoshop CC.
How to use Glyph in Adobe Photoshop

Use glyph as a shortcut to decorate your graphic design project instantly. Just start with the appropriate font. You will see some cursive fonts alongside the most beautiful glyph. You can see the extended character set on Photoshop's Glyph palette or the Windows Character Map. Then open Adobe Photoshop CC.
1. Create the Text layer you want to work with.
2. Go to Windows> Glyphs and open the Glyphs panel .

3. You can work with the font of choice for the Text layer or choose a new font from the drop-down menu in the Glyph palette. Use the slider to increase or decrease the font size.
4. Select the Text layer and the letters you want to replace with glyph. Type, then select any character on the layer. When selecting a letter, Glyph Panel will automatically find that letter in the list.

5. Look closely at the special characters in the table and double-click the glyph you want to use to replace the desired letter.
6. Click the checkmark to complete the text.
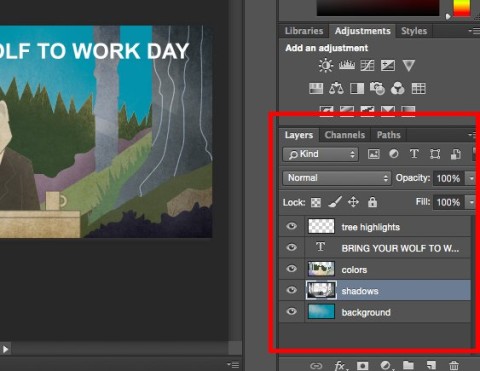
7. Right-click on the type layer to raster text. You can now treat it as a separate image layer.
8. You can use glyph alone or combine glyphs to create your own logo, emojis, borders, frames and other beautiful design elements for every project.
The Adobe support site will also help you dive into the details of glyph and how to work with them. Finally, just choose the best font and start creating.
Simple and easy right? If you want to fine-tune your work font style more, you can refer to the Comprehensive Word Handling Guide in Photoshop . Hope the article is helpful to you.


