Run ownCloud Background Jobs Reliably with a Systemd Timer
Replace on-demand job runs with a systemd timer that runs ownCloud’s supported occ system:cron command every 15 minutes.
7.1 sound is no longer a strange concept to users, as more and more headsets support this feature. In the following article, WebTech360 will guide you to install and experience an extremely good 7.1 sound emulation software from Razer called: Razer 7.1 Surround .
Instructions for emulating 7.1 sound for headphones with Razer Surround
First, download Razer 7.1 Surround software at the website: https://www.razer.com/71-surround-sound. Note, this software only supports Windows 10 64bit OS .
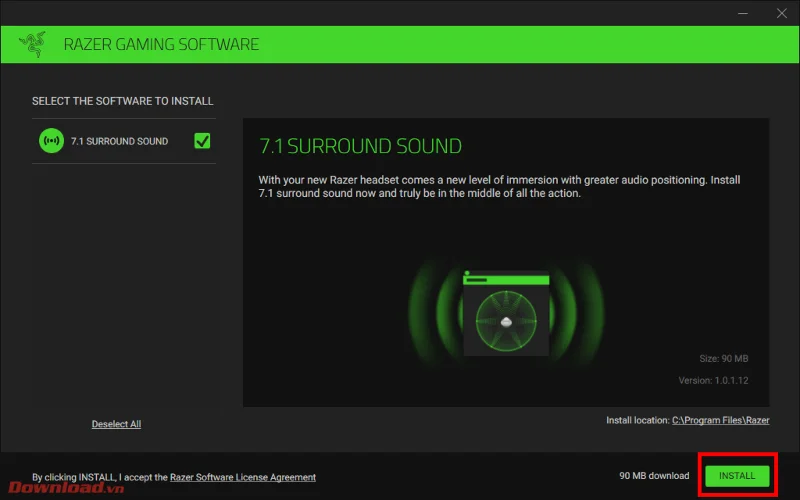
After downloading, open the installation file and select the Install button .
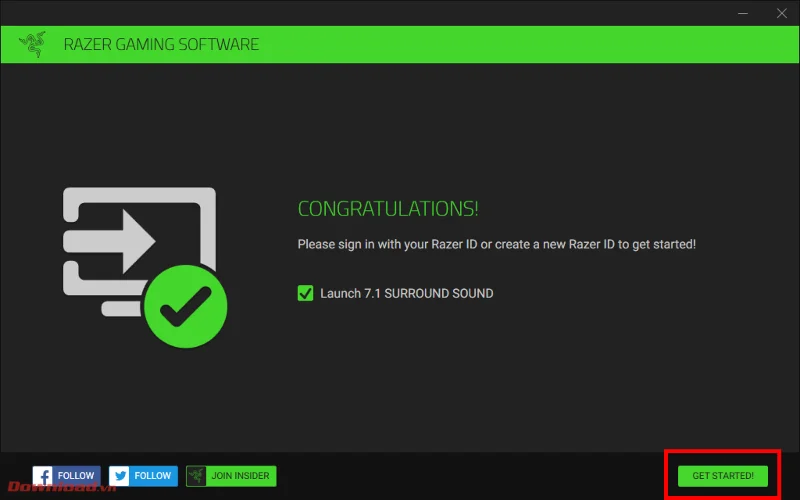
Wait a moment for the software to automatically install, then click Get Started . Remember to check the Launch 7.1 Surround sound box first.
The software will automatically open with the login window. To use Razer surround, you must log in with a Razer account. If you already have an account, click Log in and log in normally. If not, click Sign up .
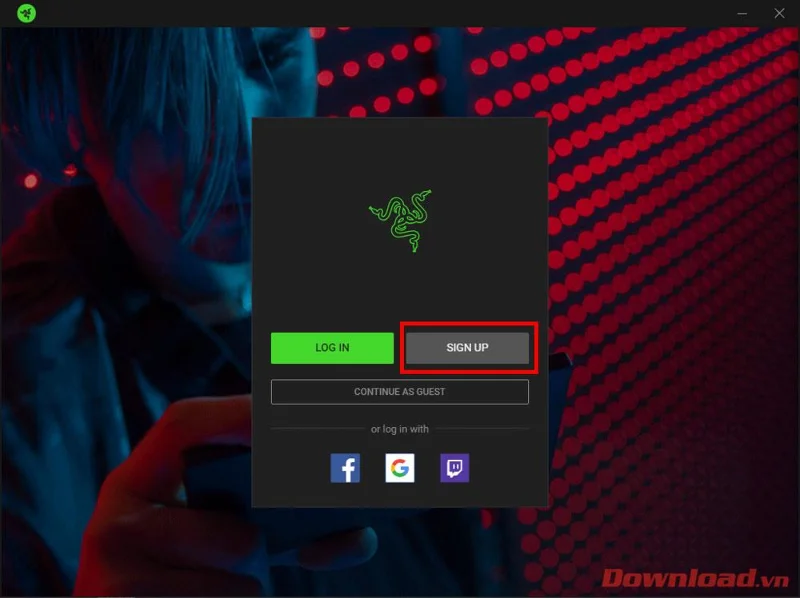
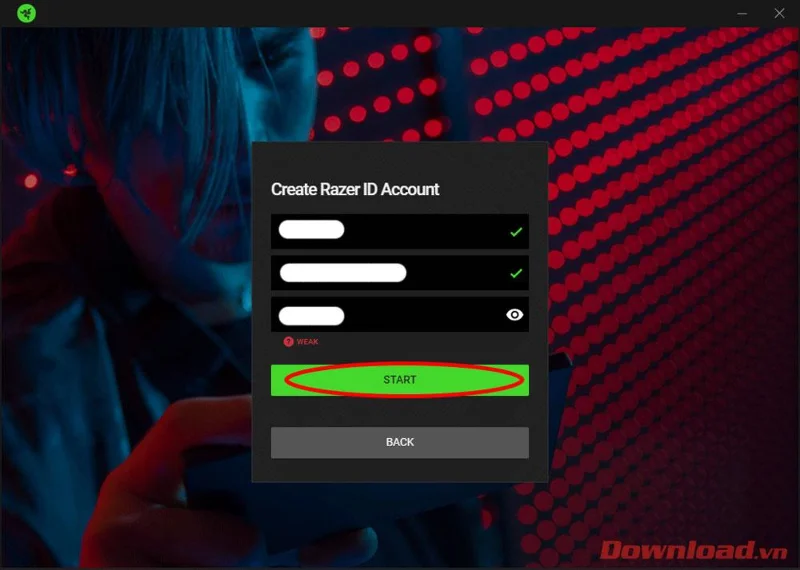
The registration dialog box appears, enter your name, email address and password into the 3 blank boxes then press the Start button .
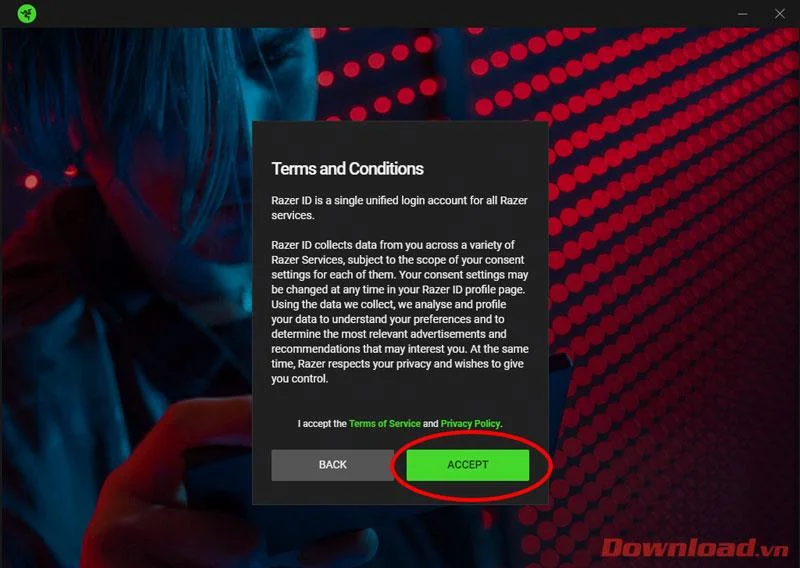
Continue pressing the Accept button .
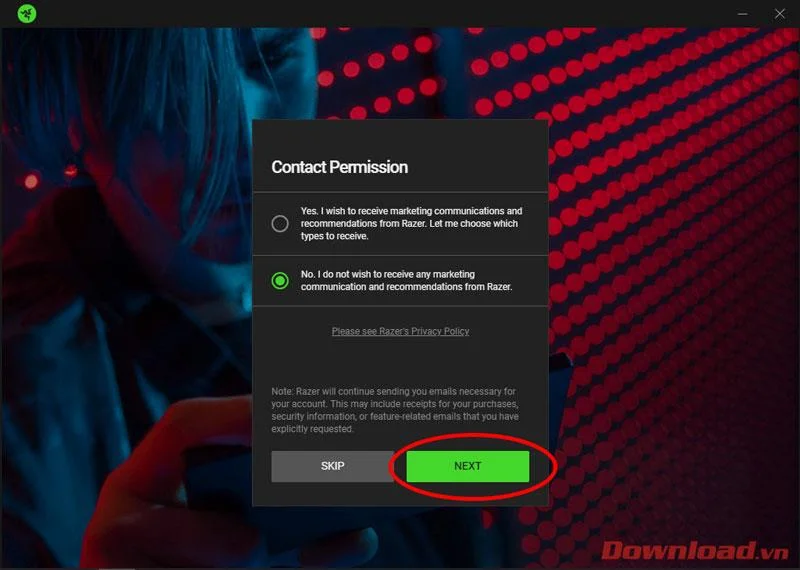
The Contact Permission dialog box appears asking if you want to connect to Razer's online services and notifications, select one of the two lines Yes or No then click Next .
Now, you need to log in again at the first login step. After successfully logging in, the software will automatically create a virtual sound card driver named 7.1 Surround Sound. You can check by clicking on the speaker button below the clock bar. We can also easily switch back and forth between the default and 7.1 sound systems.
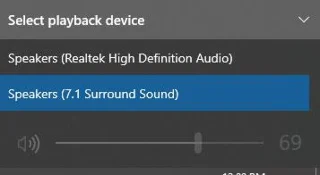
That's it, you can enjoy music or games with vivid 7.1 sound without having to own an expensive headset with Razer Surround Sound.
Wishing you success!
Replace on-demand job runs with a systemd timer that runs ownCloud’s supported occ system:cron command every 15 minutes.
Trace the WebDAV request through Apache, Nginx, or a reverse proxy, then confirm ownCloud sync works with an authenticated PROPFIND test.
Fix Nextcloud’s missing outgoing address warning by setting its canonical URL and checking DNS, HTTPS, and reverse-proxy routing from the server itself.
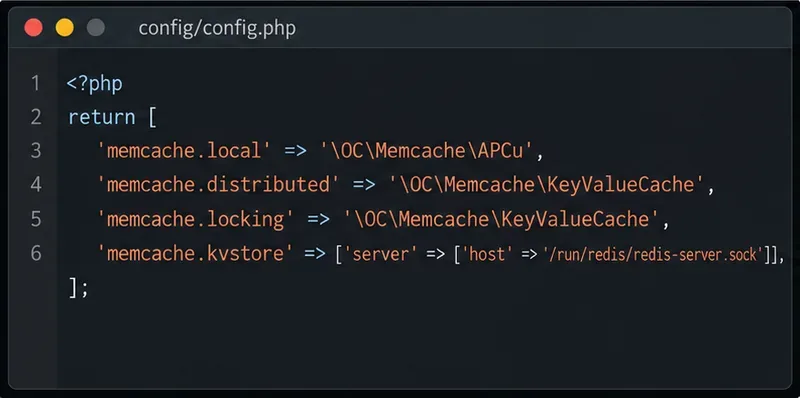
Configure APCu and Redis over a local Unix socket for Nextcloud caching and file locking, with steps for current and older Nextcloud releases.
Check Nextcloud’s cron mode, repair its systemd service and timer, and verify that background jobs run after startup and every five minutes.
Enable reliable Nextcloud file locking, choose the right Redis or Valkey backend, and verify the warning clears without risking concurrent file changes.
Fix common Nextcloud scan findings with current updates, HTTPS and HSTS, precise reverse-proxy trust, and checks against the public server.
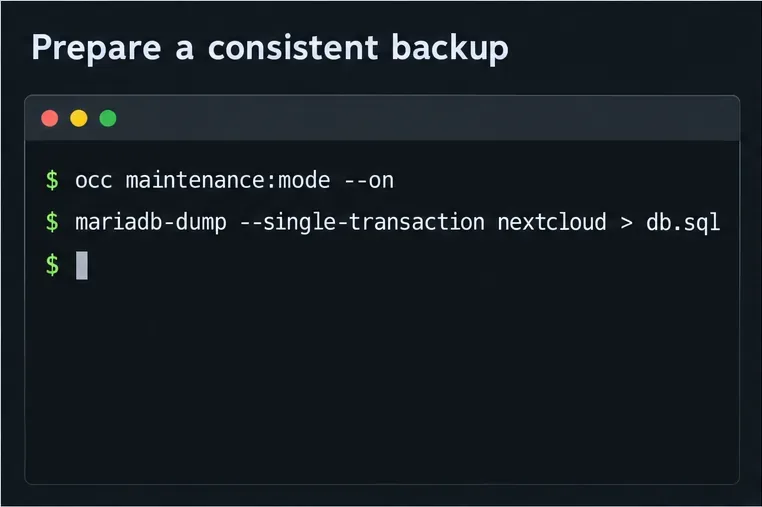
Back up Nextcloud’s files and MariaDB together, schedule encrypted Restic snapshots with cron, and verify recovery without risking the live server.
Configure Nextcloud SSE for the storage that needs it, protect encryption keys, and measure transfer and CPU impact before encrypting existing files.
Connect Nextcloud’s file search to Elasticsearch, index document contents, and choose a setup that fits your server and security needs.