Bluetooth Adapter Missing on Pardus 23? Start with These Checks
Find out whether Pardus 23 is blocking Bluetooth, missing BlueZ, or failing to detect adapter firmware, then confirm the controller works.
Red-eye error when taking pictures is quite common when taking photos in low light conditions using a flash. At this time, the pupils' pupils are reflected with the light of the flash causing the red eye. So how to overcome this phenomenon?
Rest assured , PhotoScape will help you fix red eye very quickly with just a few taps. Not only that, when using PhotoScape software you can easily change the brightness, darken the image size, format and many other interesting features. Please Download PhotoScape about to experience the exciting features that this software different to bring offline.
Please refer to the following article to know how to remove red eye effect, return the natural look for your favorite photos:
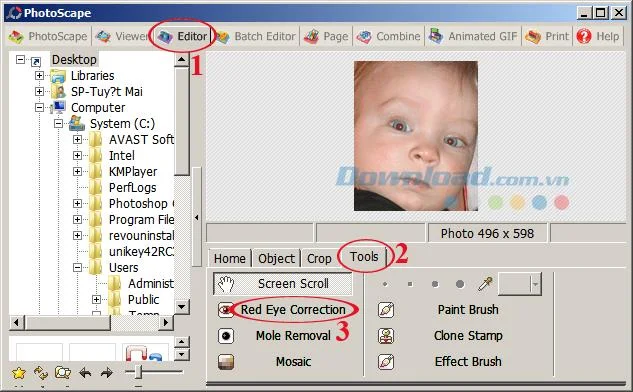
Step 1: Download PhotoScape and install it on your computer. Then open PhotoScape , on the main interface of the software click on the Editor tab to edit photos. Now, select the image you want to edit in the tree on the left of the screen, then click on Tools, select Red Eyes Corecttion as in the image below.
Step 2: Next, hold the left mouse button around the red eye area, then release the mouse button to remove the red eye effect.
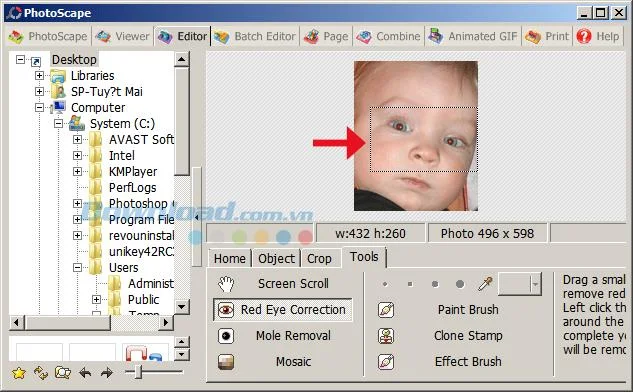
Step 3: After that, the red eye area will disappear as in the image. Next, click Save to save the last changed process.
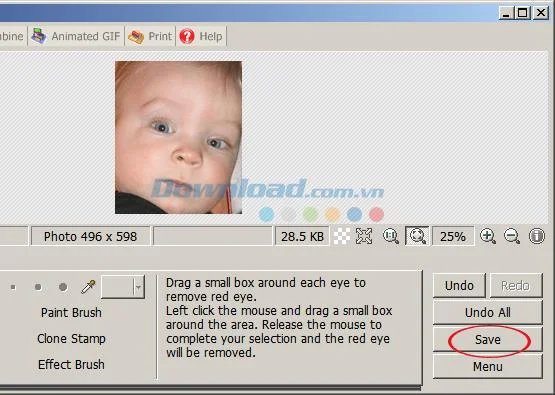
So, the red-eye effect has been removed simply, guys? In addition, you can also use Fotor to edit images or refer to some of the following free photo editing software: Paint.NET , GIMP
I wish you successful implementation!
Find out whether Pardus 23 is blocking Bluetooth, missing BlueZ, or failing to detect adapter firmware, then confirm the controller works.
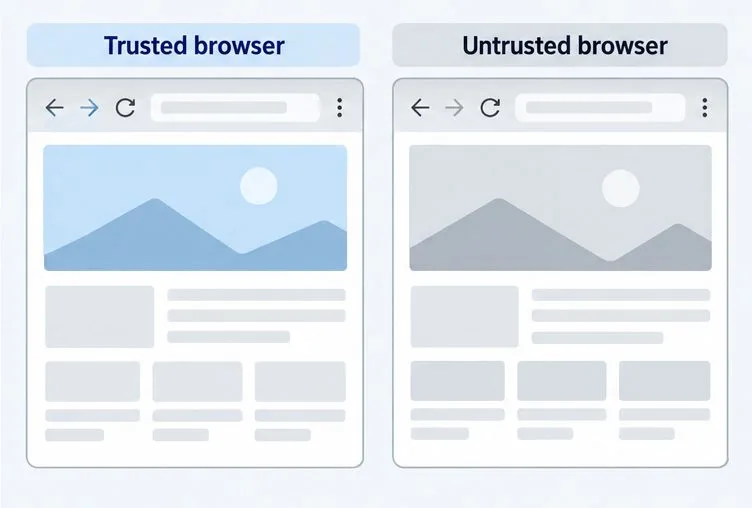
Learn how Gooroom separates trusted and untrusted browsing, what users can change, and how an administrator can safely update site policies.
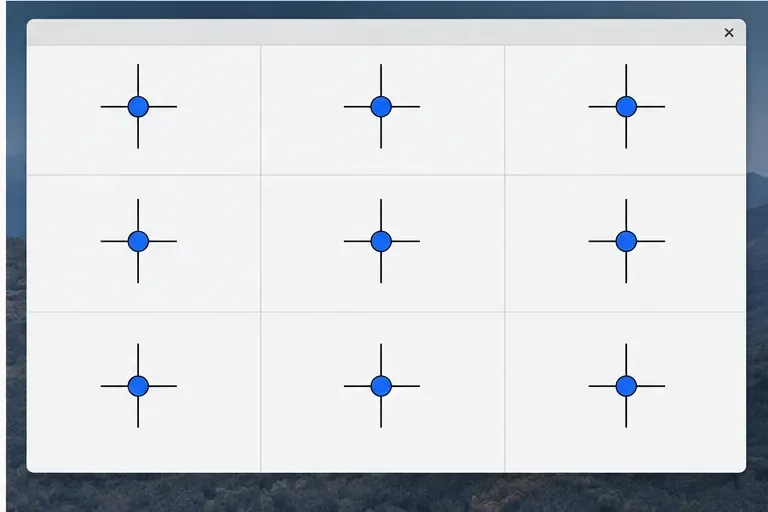
Diagnose rotated, offset, or inconsistent touch input on a Harmonica OS tablet and choose a Linux calibration method that fits its session and driver.
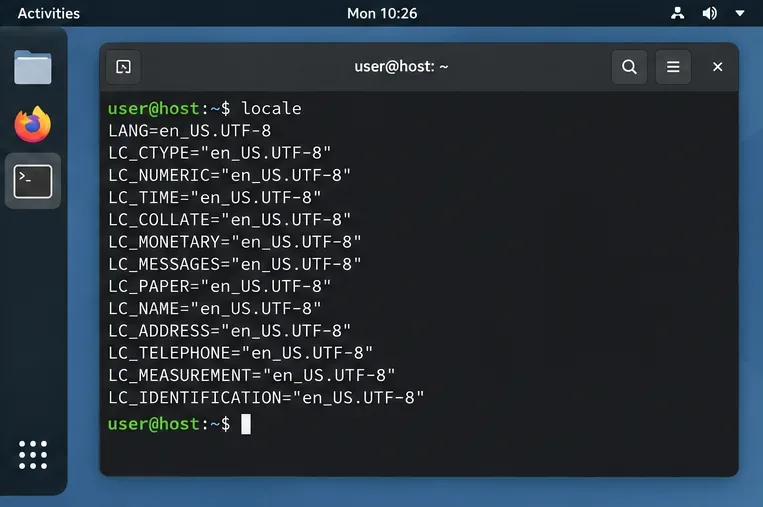
Switch Gooroom’s desktop session to English, verify the locale, and identify when untranslated Korean labels need an app update instead.
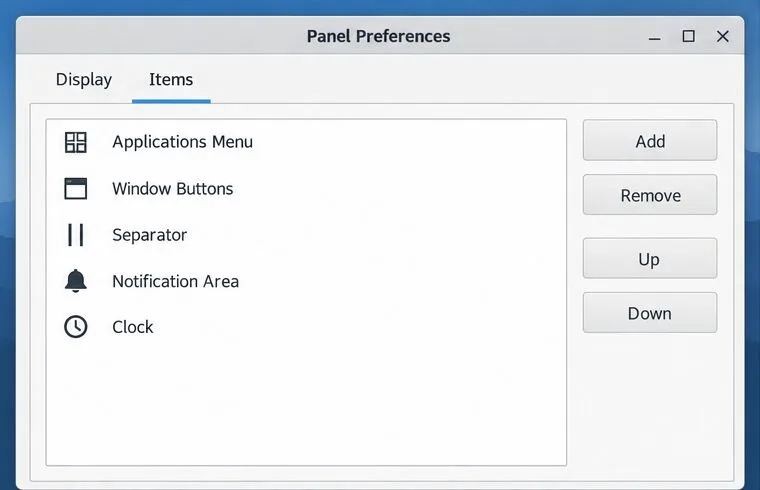
Arrange Pardus XFCE as a familiar bottom taskbar with an app menu, pinned launchers, open-window buttons, and a system tray.
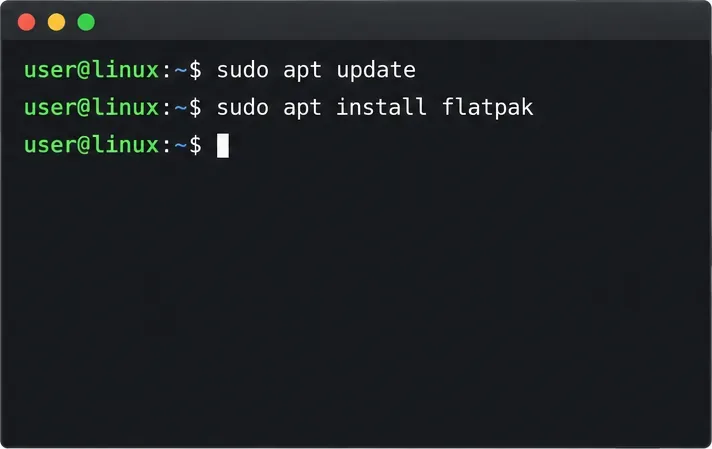
Check your Gooroom release and administrator rules, then follow the official Debian-based setup path for Flatpak or Snap without bypassing system controls.
Learn what Pardus Image Writer can do, how to prepare installation USB safely, and which tools fit custom live images or repeatable fleet deployments.
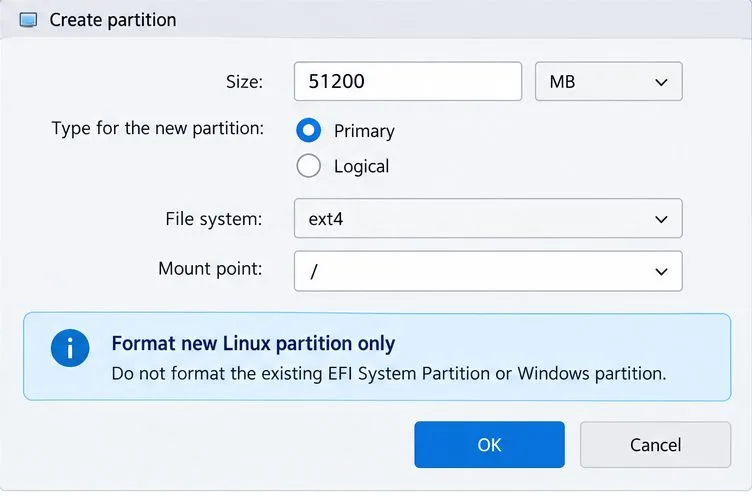
Install Pardus alongside Windows 11 by shrinking the Windows volume, using unallocated space, and preserving the existing EFI System Partition.
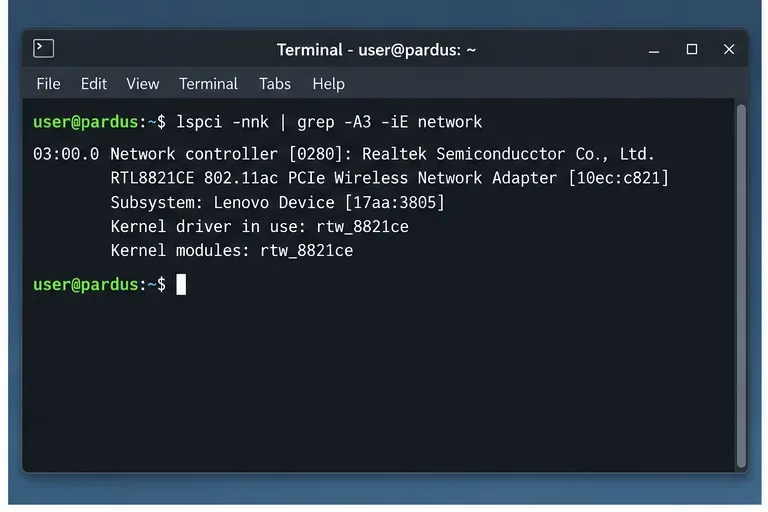
Identify the RTL8821CE, install Pardus-supported Realtek firmware, and verify the driver, Wi-Fi scan, and next troubleshooting step.
Use Pardus’s hardware-aware installer to enable the right NVIDIA driver, reboot safely, and verify the active kernel module.