Limiting the number of incorrect password login attempts in Windows 10 helps increase computer security. Here's how to limit the number of failed login attempts on Windows 10 .
How to limit the number of failed login attempts on Windows 10
Why should you set a limit on the number of failed computer login attempts?
If someone wants to access your computer, they can guess the device login password. This is really a threat to your data security "fence", especially when they break the password. To protect yourself against this threat, you can limit the number of times you log in with the wrong password to your PC. You can configure this setting via Local Group Policy Editor or Control Panel.
Limit the number of failed PC logon attempts via Local Group Policy Editor
If your PC runs Windows 10 Home Edition, first you need to learn how to access Group Policy Editor in Windows Home. On the other hand, for all Windows 10 versions, here's how to limit the number of incorrect PC login password attempts using Local Group Policy Editor:
- Press Windows + R key , type gpedit.msc > Enter to open Local Group Policy Editor .
- In the left navigation panel, go to Computer Configuration > Windows Settings > Security Settings > Account Policies > Account Lockout Policy .
- Click the Account Lockout Policy key . You will see the following 3 settings in the right-hand panel: Account lockout duration , Account lockout threshold and Reset account lockout counter after .
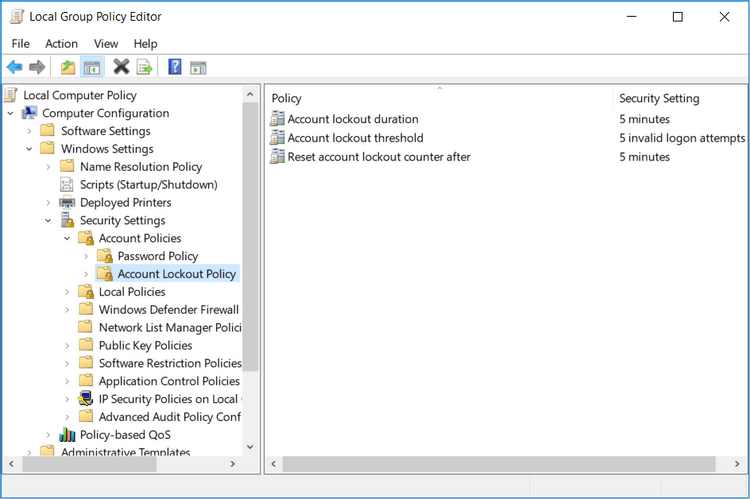
Setting the Account lockout threshold policy allows you to limit the number of failed computer logon attempts. That person will not have access to the locked account until you reset it or the account lock period expires.
To configure Account lockout threshold , you need to set a value from 1-999. This number will determine the number of incorrect password attempts allowed on the PC before locking the account. Setting the value to 0 will not lock the account no matter how many times someone enters the wrong PC login password.
- To configure this setting, double-click the Account lockout threshold policy setting .
- Select the desired account lock out level value in Account will lock out after .
- Click Apply > OK .
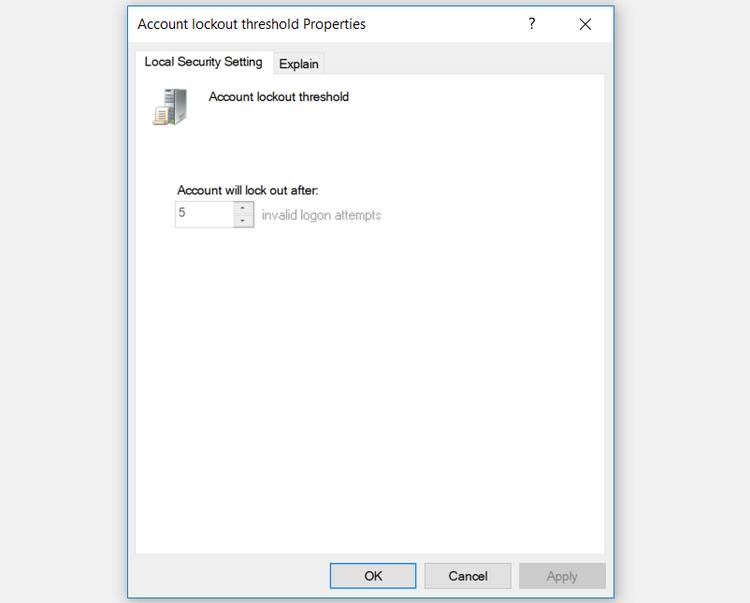
The Reset account lockout counter after policy setting helps you decide the number of minutes that pass before locking your account. However, you need to determine the threshold or number of failed login attempts to be locked first.
For example, you can set Account lockout threshold to 5 and Reset account lockout counter after to 5 minutes. Thus, the user has 5 attempts to log in with the wrong password within 5 minutes before the account is locked. You can choose between 1 and 99,999 minutes when configuring the Reset account lockout counter after policy setting .
- To configure this setting, double-click Reset account lockout counter after .
- Select the desired account lockout timer value at Reset account lockout counter after .
- Click Apply > OK .
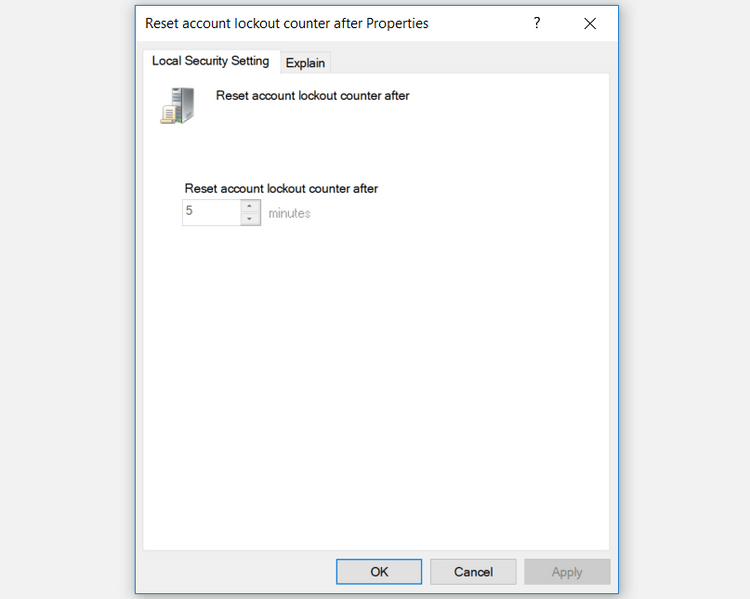
The Account lockout duration policy setting determines how long an account lockout remains before it is automatically unlocked. Similar to Reset account lockout counter , this setting requires you to select the Account lockout threshold value first.
For example, you can set Account lockout threshold to 5 and Account lockout duration to 5 minutes.
If someone enters the wrong password 5 times, your account will be locked for 5 minutes before it is automatically unlocked by the system. Depending on how long you want to lock your account, you can choose a value from 1 to 99,999 minutes. Additionally, you can select 0 if you want to lock your account until you unlock it yourself.
- To configure this setting, double-click Account lockout duration .
- Select the desired lock time in Account is locked out for .
- Click Apply > OK .
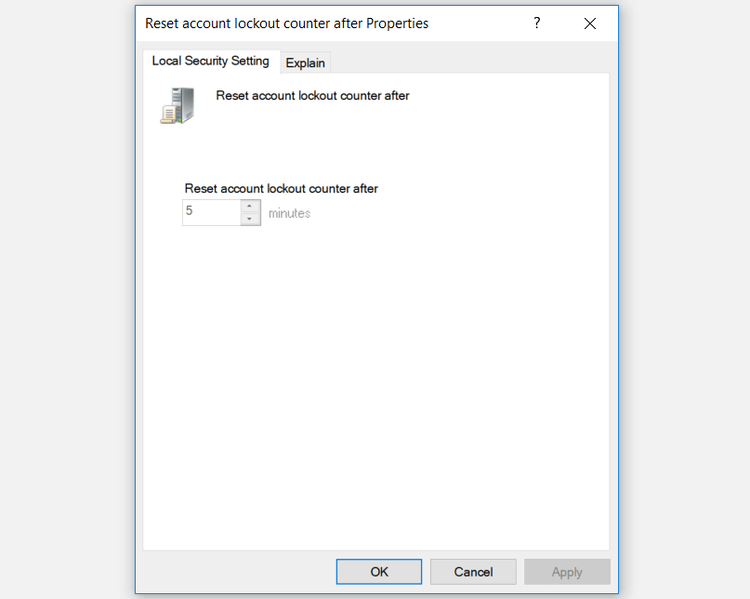
Once completed, close Local Group Policy Editor and restart your PC to save the changes.
Limit the number of failed login attempts via Command Prompt
Open Command Prompt as follows:
- Press Windows key + R and type CMD .
- Click Ctrl + Shift + Enter to open an advanced Command Prompt .
To configure Account lockout threshold , enter the following command into Command Prompt:
net accounts /lockoutthreshold:5
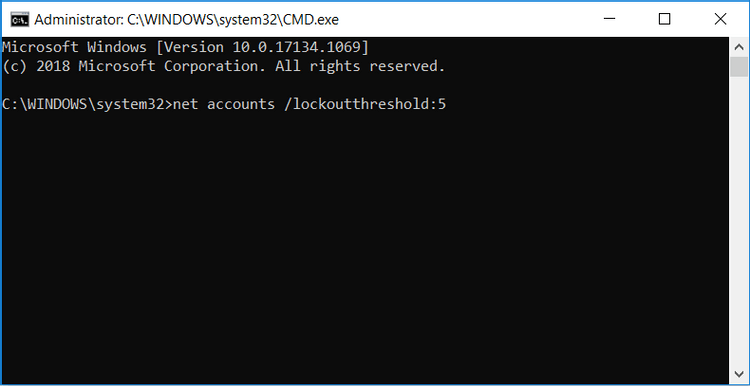
You can replace the value 5 in Command Prompt with any value from 1 to 999. This number will determine the number of failed PC login attempts allowed.
The account will automatically be locked if the user enters the wrong password and the number of times exceeds the allowed threshold. Alternatively, you can select 0 if you do not want to set an account lockout limit. Click Enter after selecting the value.
To configure Reset account lockout counter , type the following command into Command Prompt:
net accounts /lockoutwindow:5
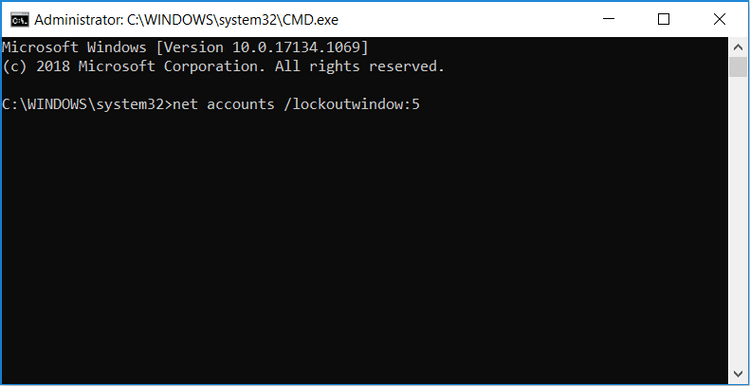
You can replace the value 5 with another number (from 1 to 99,999). This will determine the number of minutes before account lockout. Click Enter after selecting the value.
To configure Account lockout duration , enter the following command into Command Prompt:
net accounts /lockoutduration:5
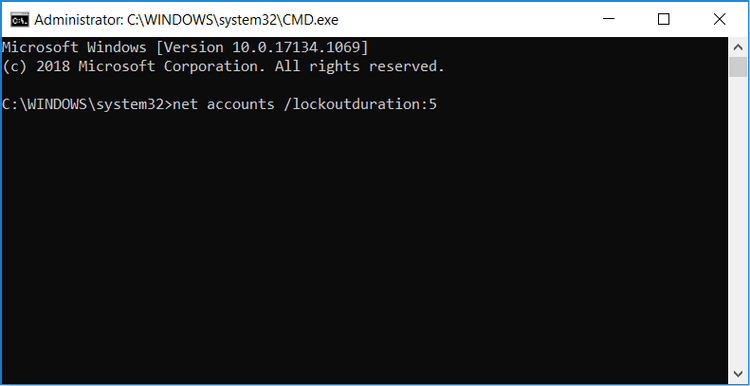
You can also replace 5 with another number, corresponding to the time the account is locked before being automatically reopened. If you select 0 , the account will only open when you manually unlock it. Click Enter after selecting a value.
Once completed, close Command Prompt and restart your PC to save changes.
Above is how to limit the number of times you log in with an incorrect password to your PC to increase computer security. Hope the article is useful to you.
