The best Android emulators for gaming
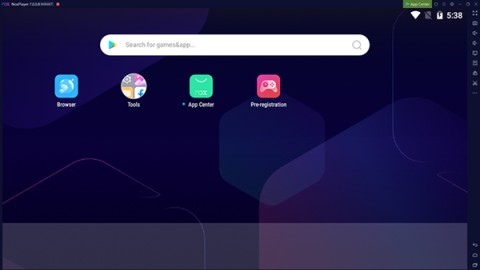
In this article, Quantrimang only gives a list of the best Android emulators for playing games.
If you want to put data from your computer into the BlueStacks emulator but don't know how, you can refer to the following tutorial from WebTech360.
BlueStacks is rated as one of the best Android emulators available today. Although it can be quite resource-heavy, the utility this software provides to users is undeniable. If you're installing and using BlueStacks, you might wonder how to exchange data between your computer and BlueStacks.
ATTENTION:
Currently, the latest version of this Android emulator is BlueStacks 5. If you are using an older version, the implementation may differ. This article will guide you on how to transfer data from your computer into the emulator in both scenarios.
Step 1: Start the BlueStacks emulator. From the main screen, click on the More Apps icon at the bottom, then select Media Manager (the yellow folder icon).

Step 2: In the new interface, left-click Import From Windows to retrieve data from your computer.

Step 3: A Windows window will appear. Navigate to the location of the files you want to transfer, left-click to select them, and then click Open to execute the transfer.

Step 4: Depending on the type and size of the data, the transfer time may vary. When the migration is complete, the files will retain the same format, name, and quality as they had on your computer.

In addition to photos, BlueStacks can receive various types of media data such as videos, audio files, or text documents of different formats.
Step 1: Locate the installation drive of BlueStacks and navigate to BlueStacks / UserData / SharedFolder.

Step 2: If you wish to share files with BlueStacks, place the data into this folder.
ATTENTION: This method is only applicable for certain types of data such as images, text, music, or video clips, and does not support applications or utility programs.
Step 3: Open the BlueStacks emulator, then click the white circle icon in the middle of the screen.

Step 4: Locate and launch the ES File Explorer application.

Step 5: In ES File Explorer, navigate to the sdcard item and then select the Windows folder on the right.

Step 6: Inside the Windows folder, click on BstSharedFolder to see all the files transferred from the SharedFolder directory.

Simply left-click any image to view or set it as wallpaper or contact avatar.

Further Tips: You can hold the left mouse button to select multiple photos and perform operations such as share, cut, or copy.
ATTENTION: Each file extension (e.g., JPG or PNG) may display differently in BlueStacks, which does not affect the transfer process itself.
For smooth operation, refer to additional instructions on fixing errors on BlueStacks for essential configurations needed during installation. You may also find it helpful to handle errors that arise during installation.
In this article, Quantrimang only gives a list of the best Android emulators for playing games.
These are the best Android emulators to play PUBG Mobile
Learn how to disable the background mode of BlueStacks to enhance your computer’s performance while saving resources.
With just a few clicks, users can easily backup and restore BlueStacks data to protect important information on this Android emulator.
Instructions for locking the mouse cursor when playing games on BlueStacks, Instructions for turning on/off the mouse cursor lock feature when playing games in the BlueStacks App Player emulator.
Improved mouse sensitivity for Free Fire on BlueStacks, BlueStacks has made important improvements for Free Fire gamers. Please upgrade BlueStacks 4.230.10
BlueStacks supports many languages in the World, including Vietnam. And if you want, you can also set up Vietnamese for BlueStacks easily.
Mobile game development has evolved to the point that your smartphones can handle gameplay with high graphics. One example is the Player’s Unknown Battleground or most commonly called PUBG. This is an online multiplayer battle royale game which main purpose is to survive in the ground and be the number 1 among the 100 players. Since your goal is to be on top, you have to watch out for your enemies. Thus, playing it on a small device can be a hassle as you might miss your chance. So, here are the ways to play PUBG mobile on PC.
The virtual keyboard for chatting on BlueStacks is different from the gaming virtual keyboard that WebTech360 has previously instructed you.
For those looking for an app that can help you run the android system on your PC, then try using Bluestacks. This is an app that allows people to run any kinds of android apps such as games, texting on their computers. Many of you must be asking how the system works and is Bluestacks safe to use. Well, just like other emulators, Bluestacks is safe to use if you download the app from the official website. As for how it works, all you need to do is download the app on your computer. Bluestacks have been developing its features and their newest future is Bluestacks multiple accounts.
BlueStacks is a popular cloud-based Android emulator for PC, where users can enjoy thousands of apps on their computers. If BlueStacks Engine wont start on your system, then try running it in compatibility mode, close background applications and pause your antivirus software. BlueStacks should be running fine on your system if you followed this guide, but if it ever crashes or stops working, check out our collection of BlueStacks Guides articles. Whenever you encounter glitches with your system, be it hardware or software related, the Troubleshooting Page should be your first stop.
There are many Android emulators available on the market, if choosing the best emulator is really not easy. The following article will do a small test with the two most commonly used emulators, BlueStacks and Droid4X.
If you are already using BlueStacks on your computer, turning off BlueStacks autorun is the first thing you need to know to prevent this emulator from affecting the use of your computer.
Unfortunately, Google Play services has stopped on BlueStacks, an error that prevents users from accessing Google Play and is forced to log out.
Diet is important to our health. Yet most of our meals are lacking in these six important nutrients.
At first glance, AirPods look just like any other true wireless earbuds. But that all changed when a few little-known features were discovered.
In this article, we will guide you how to regain access to your hard drive when it fails. Let's follow along!
Dental floss is a common tool for cleaning teeth, however, not everyone knows how to use it properly. Below are instructions on how to use dental floss to clean teeth effectively.
Building muscle takes time and the right training, but its something anyone can do. Heres how to build muscle, according to experts.
In addition to regular exercise and not smoking, diet is one of the best ways to protect your heart. Here are the best diets for heart health.
The third trimester is often the most difficult time to sleep during pregnancy. Here are some ways to treat insomnia in the third trimester.
There are many ways to lose weight without changing anything in your diet. Here are some scientifically proven automatic weight loss or calorie-burning methods that anyone can use.
Apple has introduced iOS 26 – a major update with a brand new frosted glass design, smarter experiences, and improvements to familiar apps.
Yoga can provide many health benefits, including better sleep. Because yoga can be relaxing and restorative, its a great way to beat insomnia after a busy day.
The flower of the other shore is a unique flower, carrying many unique meanings. So what is the flower of the other shore, is the flower of the other shore real, what is the meaning and legend of the flower of the other shore?
Craving for snacks but afraid of gaining weight? Dont worry, lets explore together many types of weight loss snacks that are high in fiber, low in calories without making you try to starve yourself.
Prioritizing a consistent sleep schedule and evening routine can help improve the quality of your sleep. Heres what you need to know to stop tossing and turning at night.
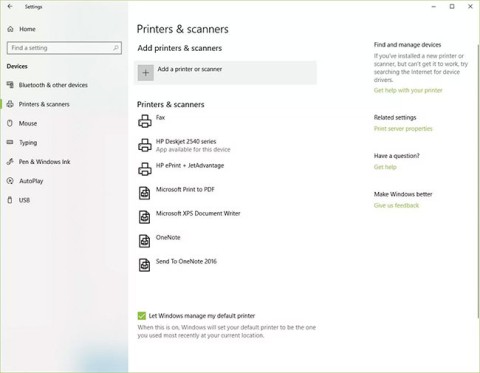
Adding a printer to Windows 10 is simple, although the process for wired devices will be different than for wireless devices.
You want to have a beautiful, shiny, healthy nail quickly. The simple tips for beautiful nails below will be useful for you.
