The most commonly deficient nutrients in the diet

Diet is important to our health. Yet most of our meals are lacking in these six important nutrients.
It’s pretty easy to enlarge images without losing quality, and there are plenty of tools out there that can help you do it – many of which are powered by AI. Read on to discover some of the best ways to quickly enlarge your images and ensure you get high-quality results.
Since BeFunky is an online software, you can use it from any computer and you don’t need to install anything. However, BeFunky still has a variety of editing tools besides resizing, which makes it a complete and free photo editor.
To enlarge an image without losing quality in BeFunky:
1. Drag the image you want into the software.
2. Select Resize from the left menu.
3. Enlarge the image by changing the pixel or increasing the percentage.
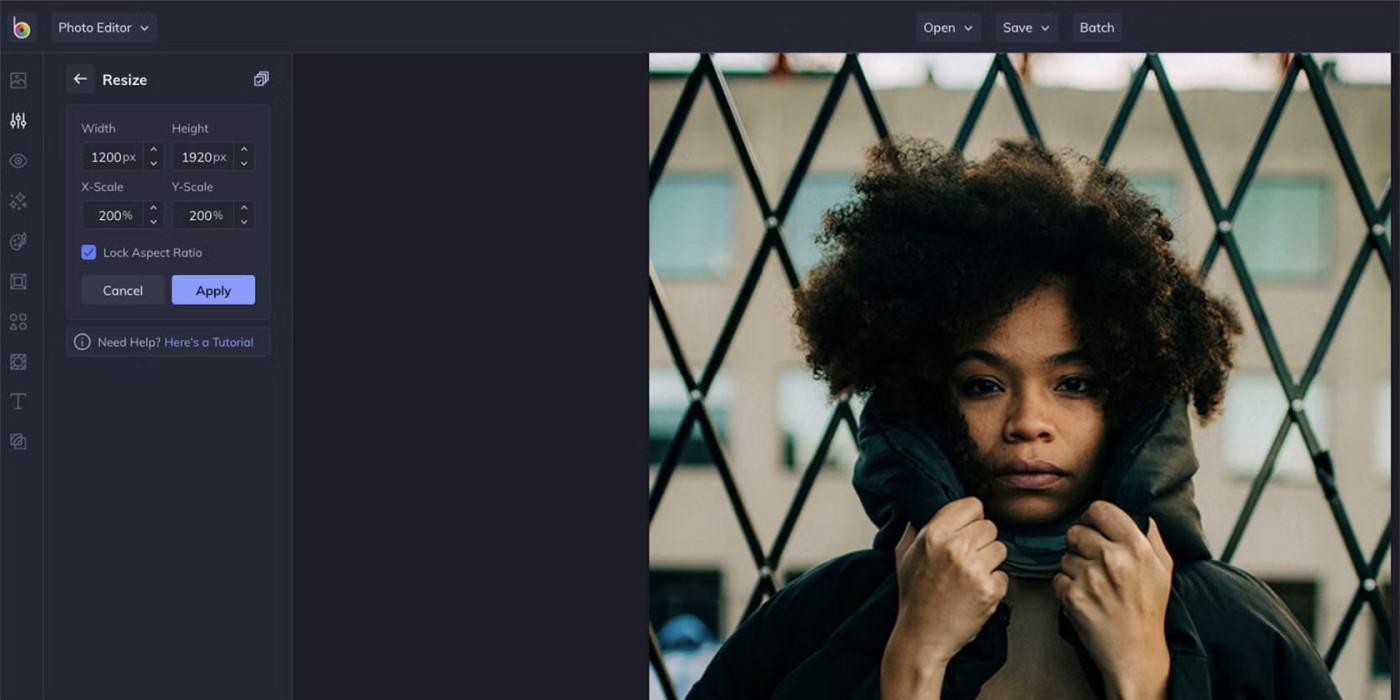
4. Click Apply and you're done.
The software doesn’t let you try different methods to enlarge the image, it just provides a standard one. However, the results are quite good, especially when the original image is not small in size. While you can use the AI image enhancement tool, you need a paid plan to do this.
Additionally, you have the option to batch process images. This allows you to resize multiple images at once, saving you a lot of time. BeFunky is also a great way to blur parts of your images.
Image Enlarger is a site where you can upload your photos and enlarge them for free. The interface is a bit outdated, but it's a solid option.
To enlarge an image in Image Enlarger:
1. Click Browse to select your photo. You can only do one thing at a time.
2. Set output to JPG or PNG.
3. In Define dimension for the enlarged image , you can set specific pixels or change the Zoom factor . Remember that the limit is 4,500 pixels. You also don't need to set both height and width - one is enough and the site will determine the other dimension to maintain the ratio.
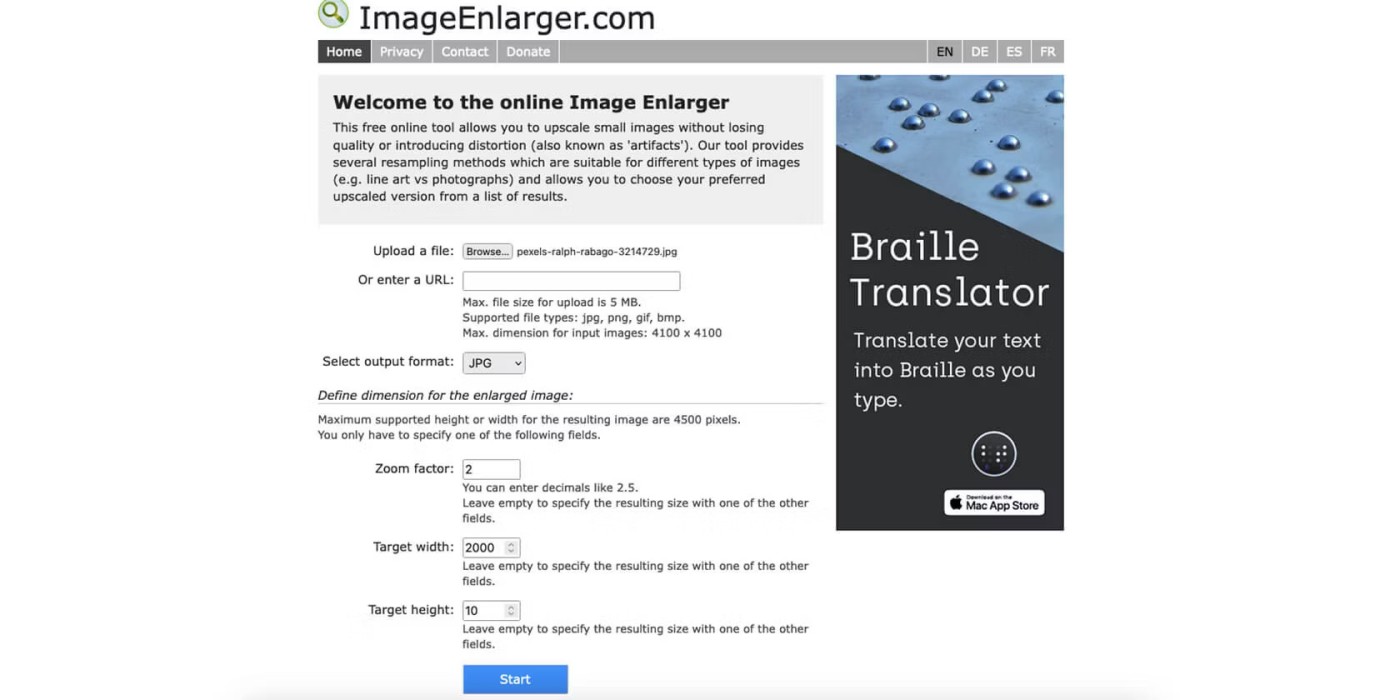
4. Click Start .
On the results page, you'll get a few images zoomed in with different filters (which GIMP and Photoshop use), so you can choose the one that works best for you.

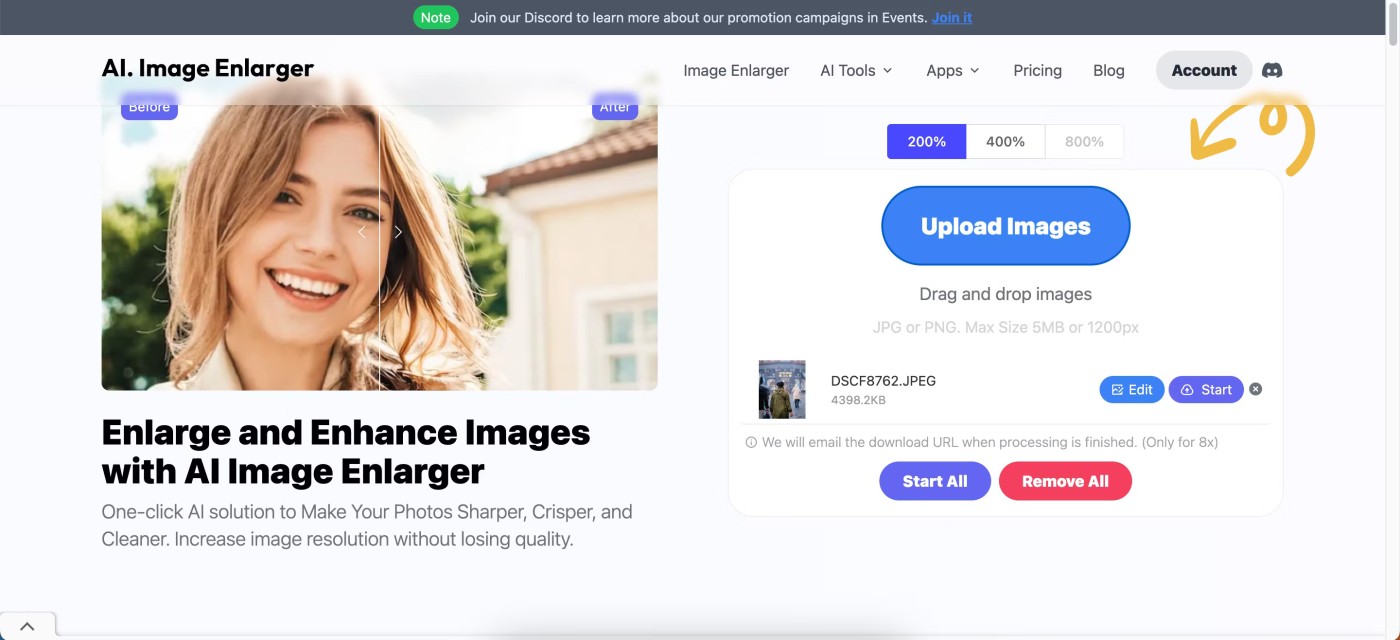
This is an AI-powered image enlarger. You don’t need to use an app and you get 10 free credits every month when you sign up for an account. This tool allows you to enlarge your images by 200%, 400%, or 800% (the last one is only available to paid subscribers).
To use AI Image Enlarger, just follow these instructions:
1. Go to AI Image Enlarger website and register for an account.
2. In the Upload Images section , select the percentage by which you want to enlarge your image.
3. Drag and drop your image(s) or select Upload Images .
4. Select Start All when you are ready to resize your photo.
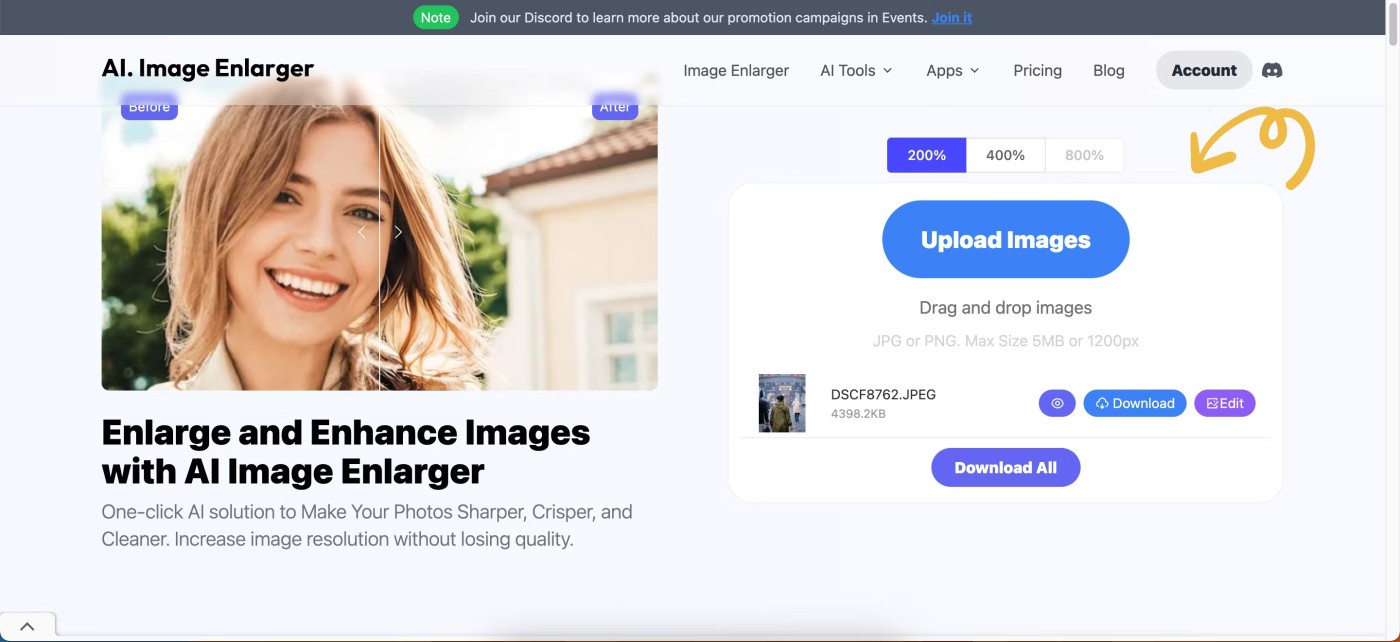
5. Click Download All when the resizing process is finished.
Fotor is one of the many popular free photo editing software tools and it has an AI-powered image zoom feature that you can use for free. You don’t need to download the app to access this feature either.
To use Fotor's AI image enlarger:
1. Go to Fotor Image Enlarger and select Enlarge Image Now .
2. Drag and drop your image or select Open Image .
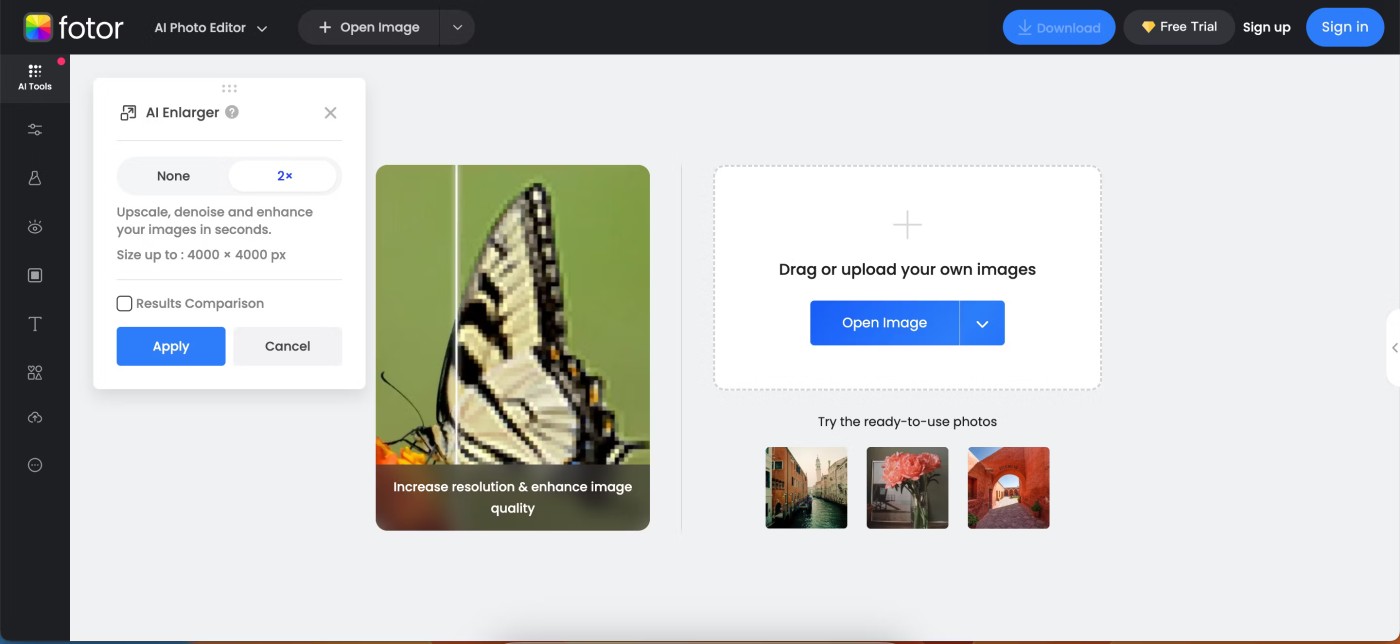
3. Once the tool has done what it needed to do, press Apply .
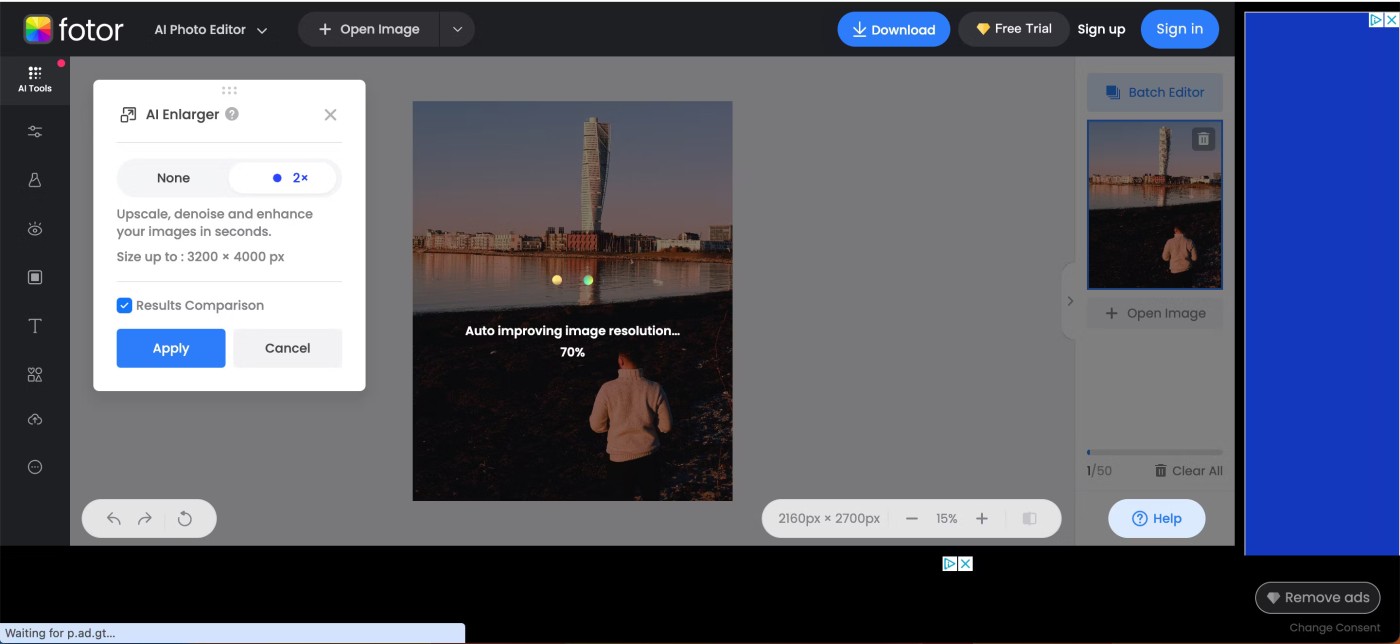
You can continue editing the result using the remaining editing tools that Fotor provides or click Download to save the result immediately.
GIMP is a great free alternative to Photoshop , and you can easily enlarge your images using this application. However, it should be noted that using GIMP is sometimes more complicated than many of the other options on this list. However, GIMP is great for users who want editing and enlarging options.
Here's how to enlarge an image without losing quality in GIMP:
1. Open your image in the software.
2. Navigate to Image > Scale Image .
3. Enter the new size in the pop-up box
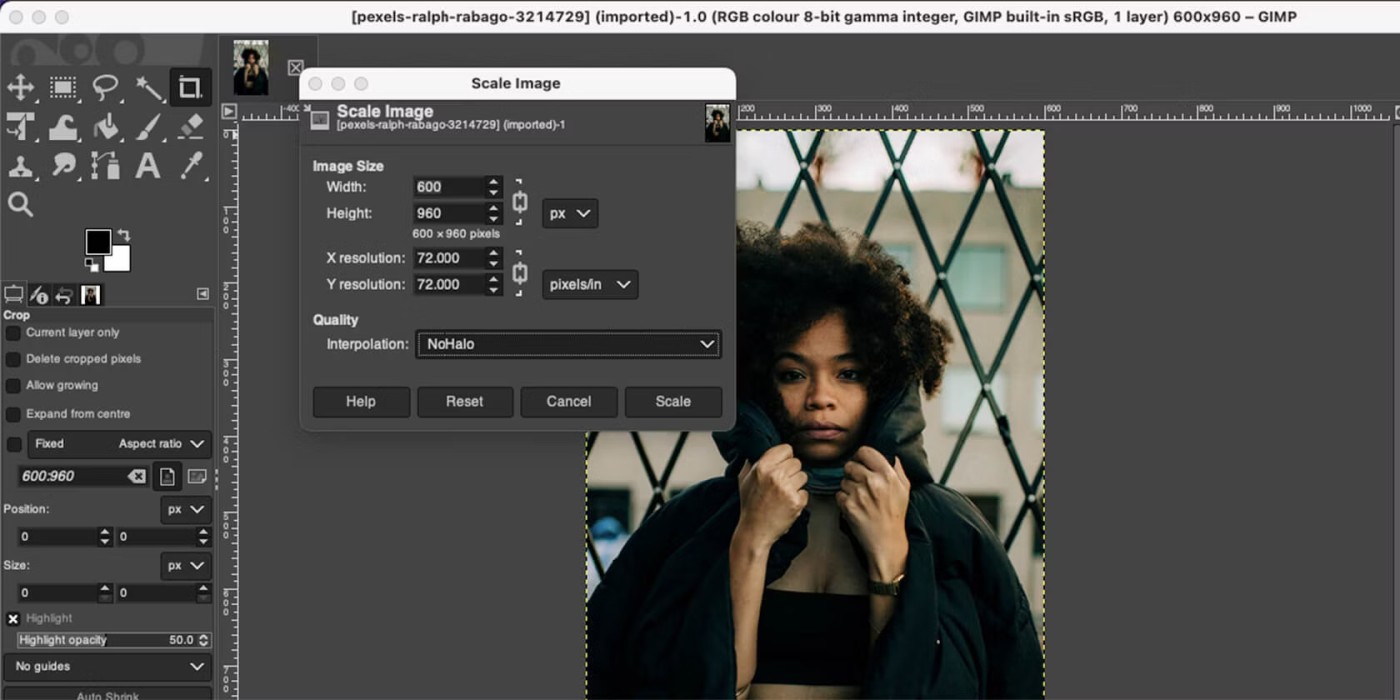
4. Next to Interpolation , select NoHalo and click Scale to finish.
NoHalo is Photoshop's equivalent of Preserve Details, and it works best when you want to enlarge an image without losing quality. However, you can experiment with other interpolations to find your favorite.
The next option on this list is a lot more specialized than the others. As the name suggests, UpscalePics’ main goal is to enlarge images without losing quality. This is not a photo editing software, but rather a photo resizing software.
Plus, the app works online, meaning you just need to upload your photos, click a few buttons, and you're done.
To enlarge an image in UpscalePics:
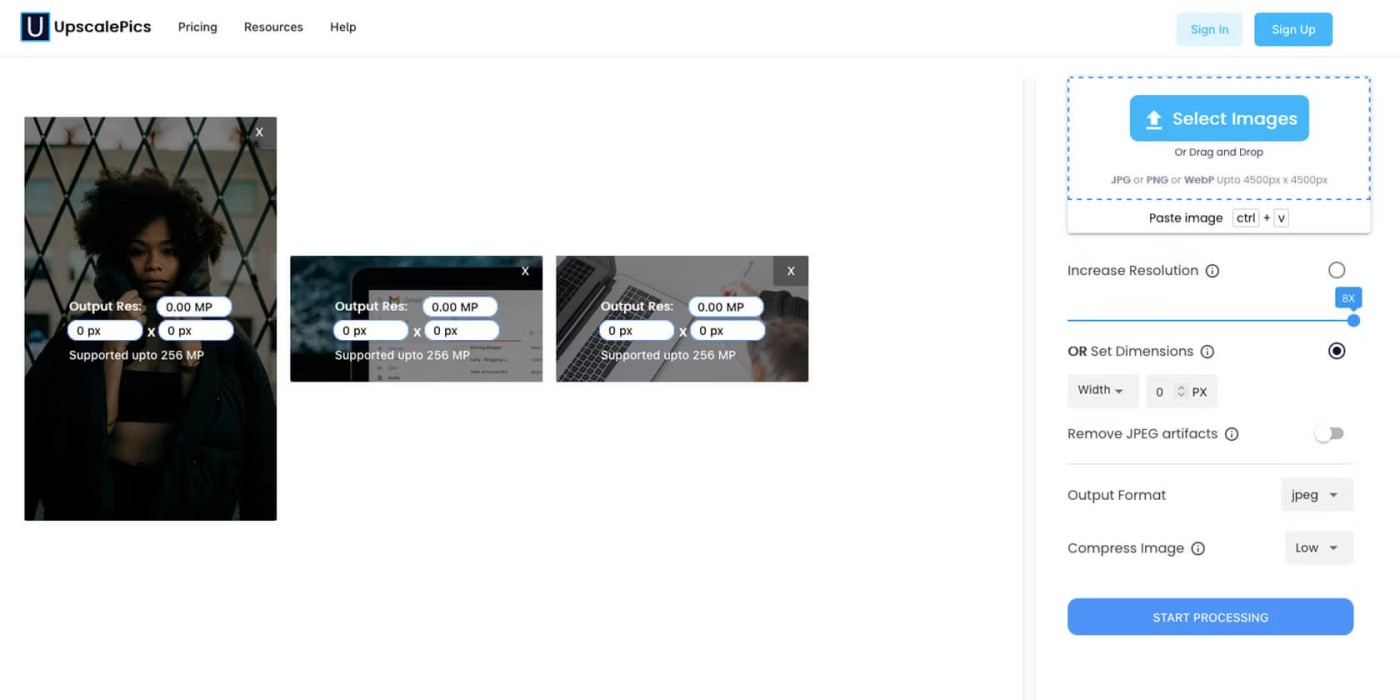
Processing will take a while, so get ready to make a cup of coffee or start streaming a podcast.
While you can enlarge three single images for free with UpscalePics, you’ll have to pay for more access. UpscalePics Plus subscriptions start at $5/month, and UpscalePics Plus One Time starts at $6.60/month.
When it comes to resizing images for social media, Pixelhunter is the easiest free tool to use. Manually cropping each image can be tedious. Pixelhunter uses the amazing Uploadcare Intelligence API to automatically recognize objects and crop images more intelligently.
Pixelhunter is a smart image resizing tool for social media publications. Pixelhunter's AI resizes images for the best quality to fit the most popular sizes on social media platforms. It automatically recognizes objects and crops images to suit your social media needs.
Simply upload your image at any size and it will be automatically resized to each of the 102 sizes Pixelhunter supports. AI is there to make sure your image is resized in the best way a robot can.
Plus, Pixelhunter has real pro tips that are meant to actually help you, not just fill up image space.
Here's how to resize your photos using Pixelhunter:
1. Select Choose a file and upload the image you want to resize.
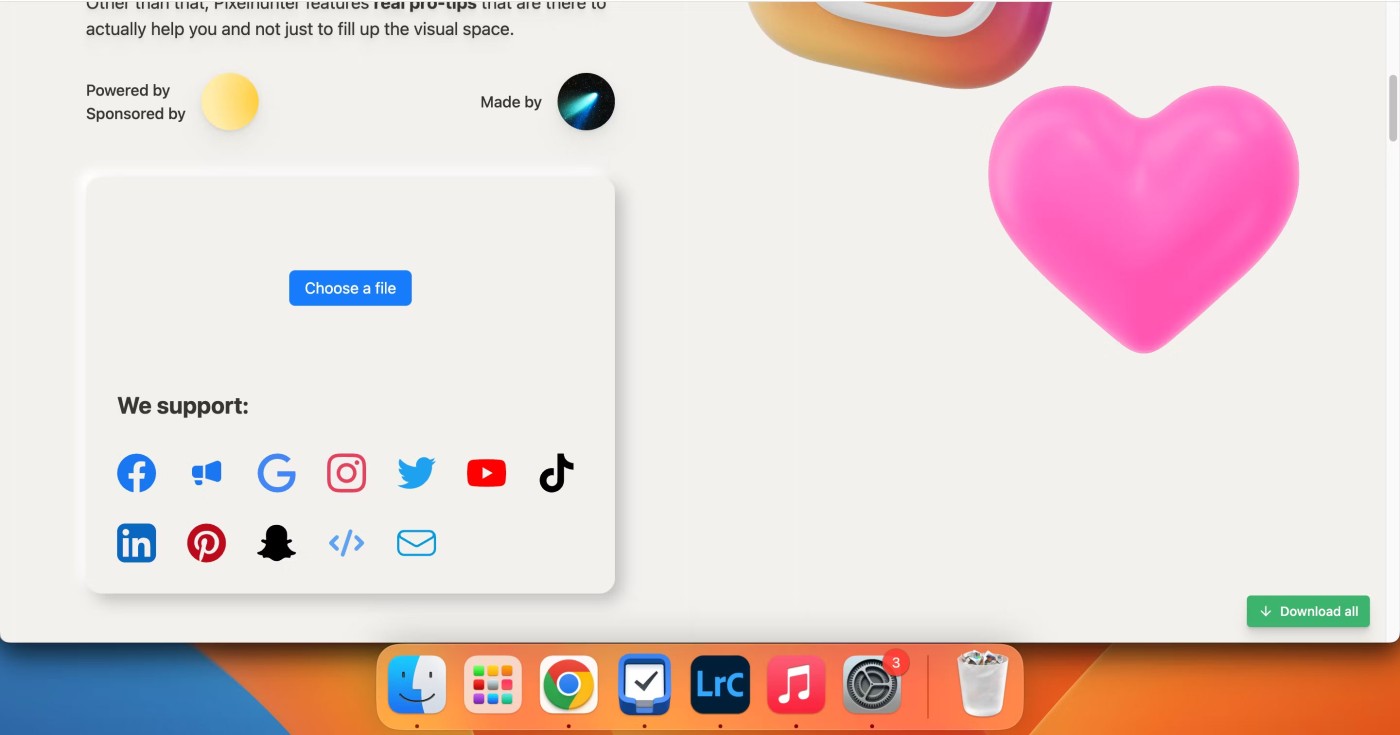
2. Scroll down to see resized versions of the image for different social media platforms. You can open the images you like in a new tab by clicking the arrow in the upper right corner, then right-clicking and selecting Save image as .
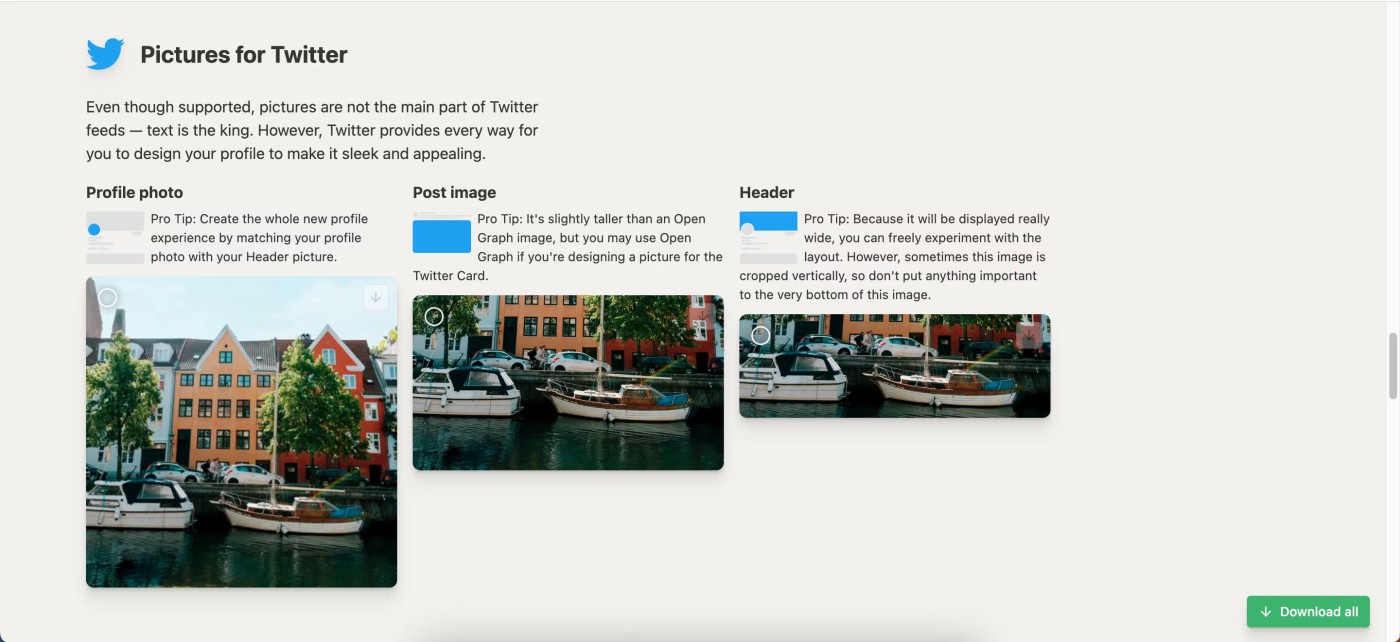
3. You can also select all the ones you like and tap Download all to save them to a zipped folder on your device.
Diet is important to our health. Yet most of our meals are lacking in these six important nutrients.
At first glance, AirPods look just like any other true wireless earbuds. But that all changed when a few little-known features were discovered.
In this article, we will guide you how to regain access to your hard drive when it fails. Let's follow along!
Dental floss is a common tool for cleaning teeth, however, not everyone knows how to use it properly. Below are instructions on how to use dental floss to clean teeth effectively.
Building muscle takes time and the right training, but its something anyone can do. Heres how to build muscle, according to experts.
In addition to regular exercise and not smoking, diet is one of the best ways to protect your heart. Here are the best diets for heart health.
The third trimester is often the most difficult time to sleep during pregnancy. Here are some ways to treat insomnia in the third trimester.
There are many ways to lose weight without changing anything in your diet. Here are some scientifically proven automatic weight loss or calorie-burning methods that anyone can use.
Apple has introduced iOS 26 – a major update with a brand new frosted glass design, smarter experiences, and improvements to familiar apps.
Yoga can provide many health benefits, including better sleep. Because yoga can be relaxing and restorative, its a great way to beat insomnia after a busy day.
The flower of the other shore is a unique flower, carrying many unique meanings. So what is the flower of the other shore, is the flower of the other shore real, what is the meaning and legend of the flower of the other shore?
Craving for snacks but afraid of gaining weight? Dont worry, lets explore together many types of weight loss snacks that are high in fiber, low in calories without making you try to starve yourself.
Prioritizing a consistent sleep schedule and evening routine can help improve the quality of your sleep. Heres what you need to know to stop tossing and turning at night.
Adding a printer to Windows 10 is simple, although the process for wired devices will be different than for wireless devices.
You want to have a beautiful, shiny, healthy nail quickly. The simple tips for beautiful nails below will be useful for you.


