Move ownCloud Classic to oCIS with a Supported Migration
Plan an ownCloud 10 to oCIS migration with the supported app, ordered commands, identity checks, and a clear list of data that needs separate handling.
With the Voice chat feature and creating its own unique Server, Discord is now a familiar and popular software for gamers . However, during voice chat or text chat in Discord channels, you often encounter the situation of lag when the chat or the chat line does not appear (the chat becomes red), most likely due to the cluster. The server you are selecting is problematic. Today's article will guide you to switch server cluster, also known as Server Region in Discord.

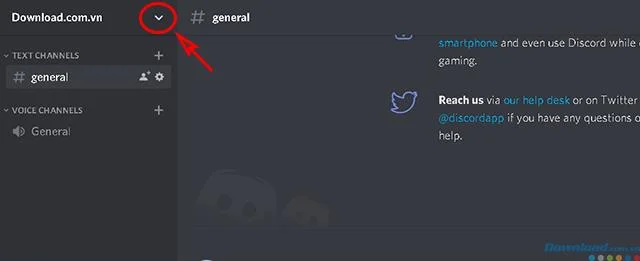
Step 1: Open Discord and find the small down arrow button, located next to the user's server name as shown.
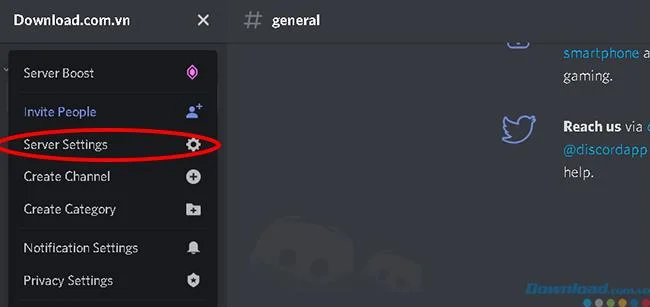
Step 2: In the drop down Menu, click Server Settings
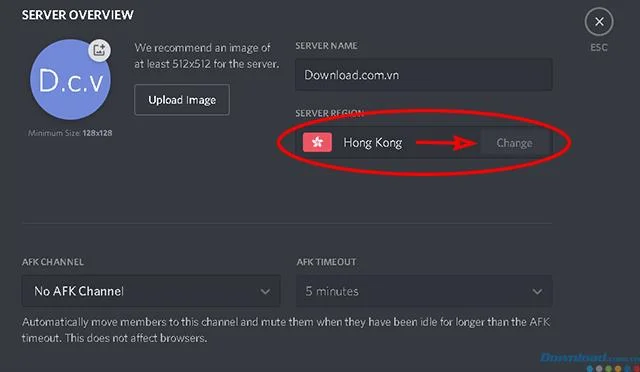
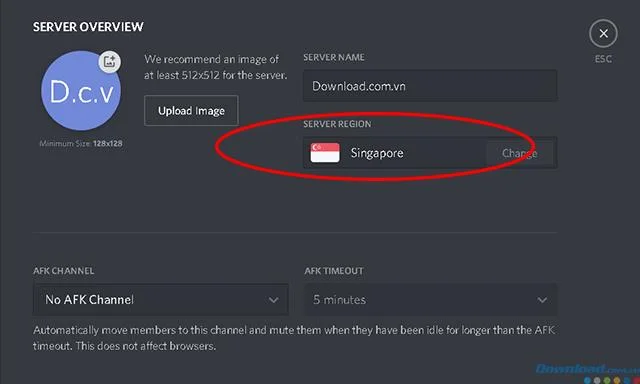
Step 3 : In the Server Overview table , we can see the name and flag of the current server cluster in the Server Region section . As here the server cluster is Hong Kong. To change, click the server name directly or click the Change button next to it.
Step 4: A list of existing Discord server clusters will appear. Click on one of the Server Region to choose.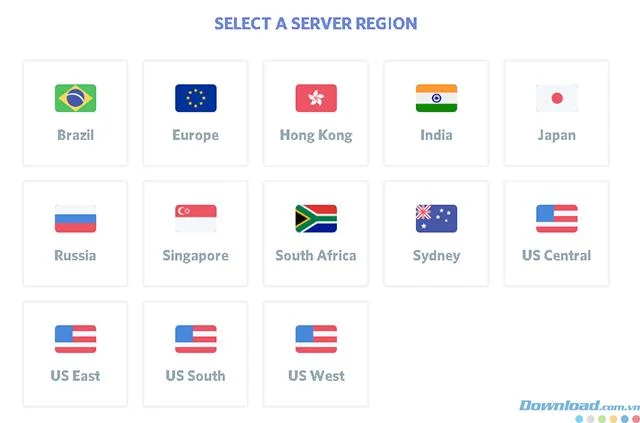
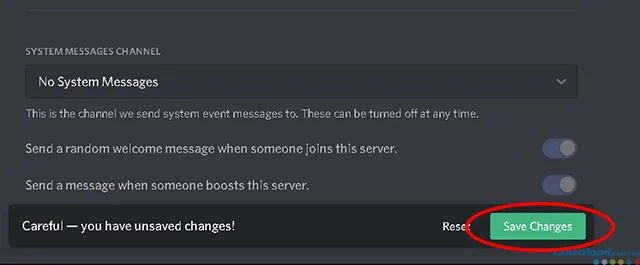
Step 5: After selecting the desired server cluster, click Save Changes to apply the changes.
Step 6: Take a look at the Server Region section , if the server name has changed, you have succeeded already (as in the picture has changed to Singapore ).
Note : After changing Server Region, please check that your server cluster of choice has been stable. If there is still a lag situation, try selecting other servers. Usually, server clusters with geographic location near users or server clusters in countries with high Internet speeds will be very stable and smooth!
The above is a guide to changing the Discord server cluster so that you can communicate and communicate better with your friends. Wishing everyone a successful implementation!
Plan an ownCloud 10 to oCIS migration with the supported app, ordered commands, identity checks, and a clear list of data that needs separate handling.
Replace ownCloud Classic 10 logos and tune web UI colors with a theme app, while avoiding upgrade and integrity-check pitfalls.
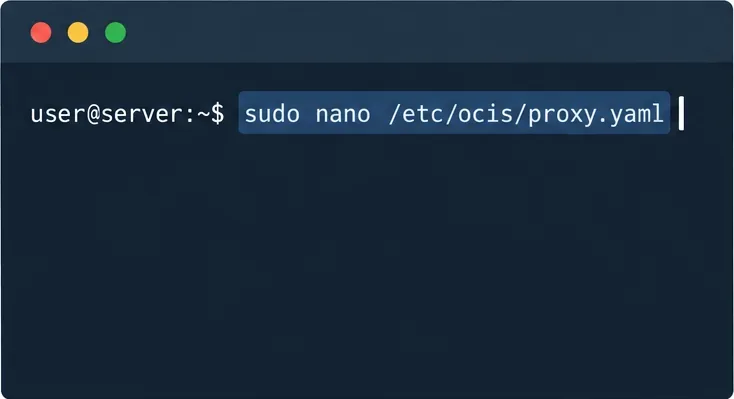
Assign byte-based storage limits to new ownCloud Infinite Scale users by role, with a proxy.yaml example and a safe verification checklist.
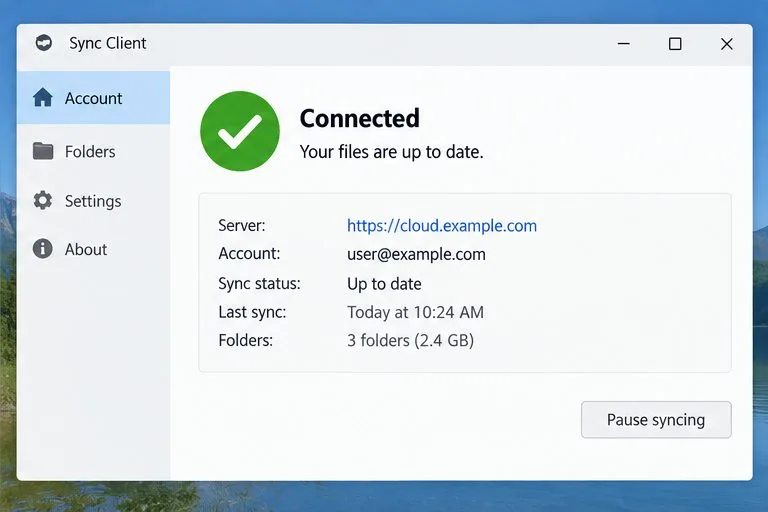
Restore ownCloud desktop syncing by checking the server hostname, certificate chain, private CA trust, and captive portal issues without disabling TLS verification.
Use the invalid-file report to identify mismatched core files or app signatures, restore the correct release files, and verify the integrity check safely.
Deploy ownCloud Infinite Scale from its official Compose example, configure domains and persistent storage, then verify TLS, containers, and first login.
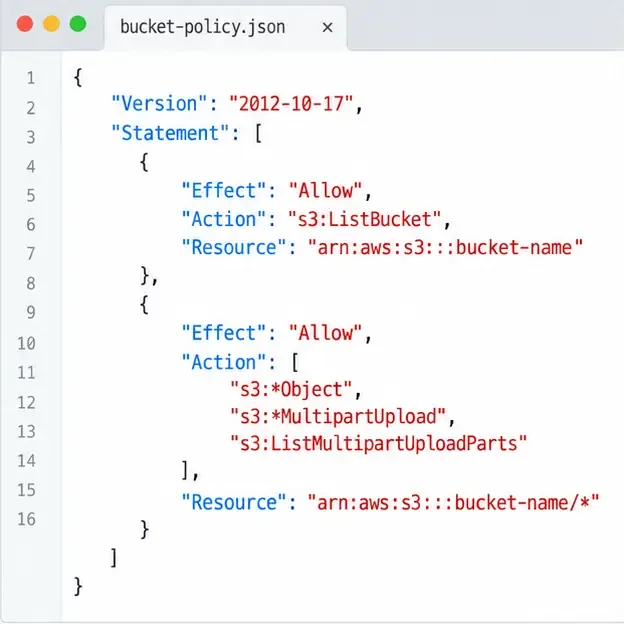
Set up the S3NG driver, bucket permissions, persistent metadata storage, and upload sizing so ownCloud Infinite Scale can store file contents reliably.
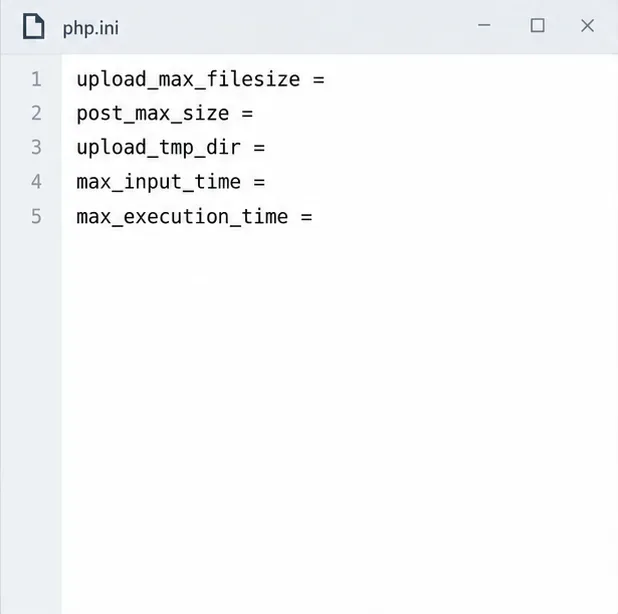
Find why an ownCloud Server upload stops near completion by checking file status, quota, temporary disk space, PHP limits, and proxy timeouts.
Set AllowOverride All only for ownCloud’s web root, validate the active Apache vhost, and reload safely to restore .htaccess rules.
Enable ownCloud’s Enterprise Auditing app, route admin_audit events to a protected log file, and confirm that real user actions are being recorded.