Purge ownCloud File Versions Safely with the occ Command
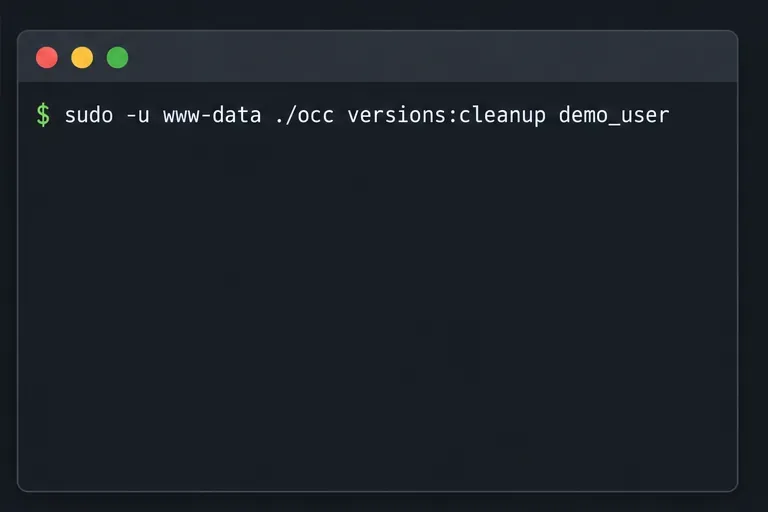
Remove every stored ownCloud Server Classic file version for one account or all users, and distinguish a full purge from retention-based expiry.
Windows 10 allows you to easily set up and use virtual monitors on a computer. Multiple monitors are a great way to keep relevant or unrelated projects organized, or to quickly hide a gaming monitor from your boss's eyes.
Whatever your purpose, you can set up multiple monitors on a Windows 10 computer without installing any third-party software with the instructions in the following article:
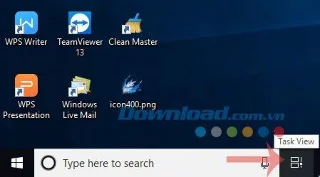
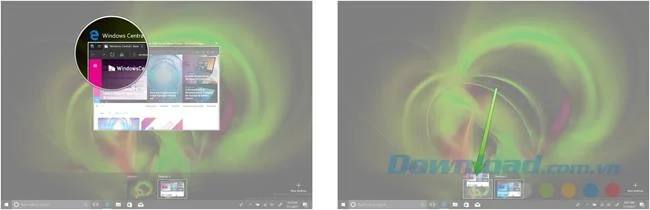
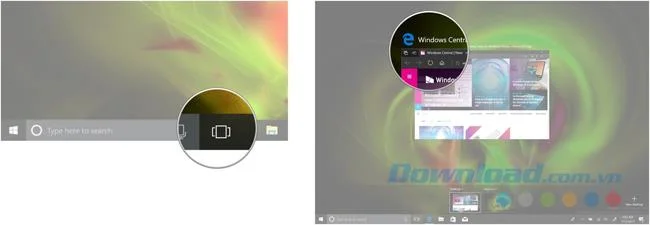
To create a new virtual desktop on Windows 10, simply click the Task View button on the taskbar (the icon with 2 rectangles located in parallel). Or use the keyboard shortcut Windows + Tab .
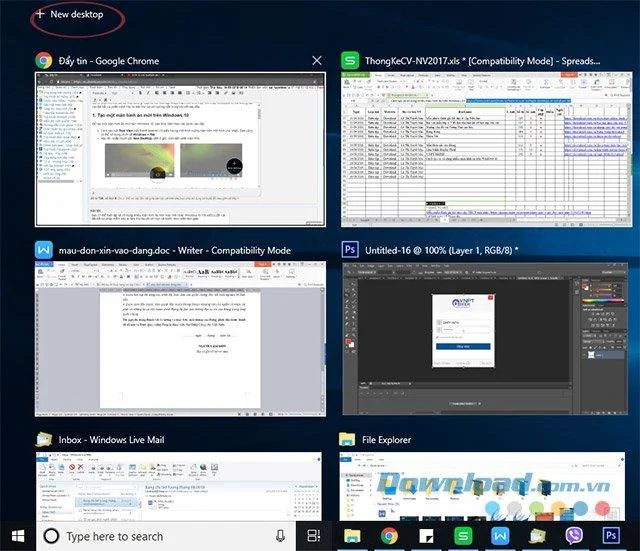
Then, click New Desktop located in the top right corner of the screen to create a new virtual screen.
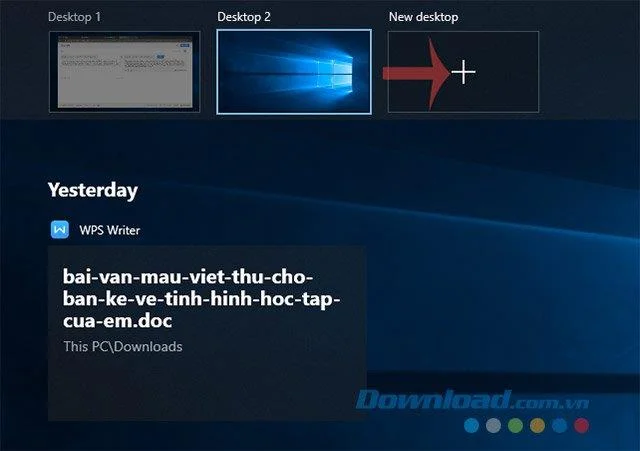
If you have 2 or more open virtual desktops, click the plus icon on New Desktop . Alternatively, you can use the keyboard shortcut Ctrl + Windows + D to immediately create a new virtual screen.
If you want to switch between 2 screens, click the Task View button on the taskbar or use the keyboard shortcut Windows + Tab . Then, click on Desktop 2 or whatever virtual desktop you have created.
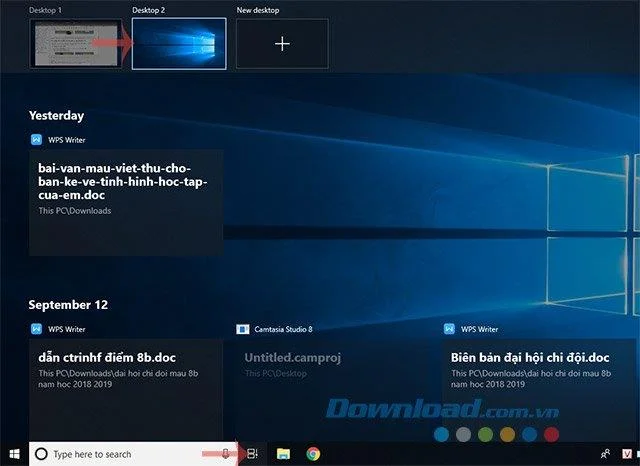
You can return to your home screen at any time by following the steps above but selecting Desktop 1 or using the keyboard shortcut Ctrl + Windows + left or right arrow keys to switch between virtual screens. .
There are two ways for you to move windows between virtual screens on Windows 10. First, you can click and drag the windows. Secondly, you can right click on the window and use the menu.
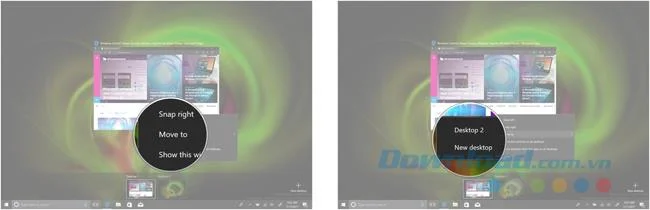
You can move windows back and forth between screens at will.
Certain windows or window collections from an application can be mirrored on all virtual desktops.
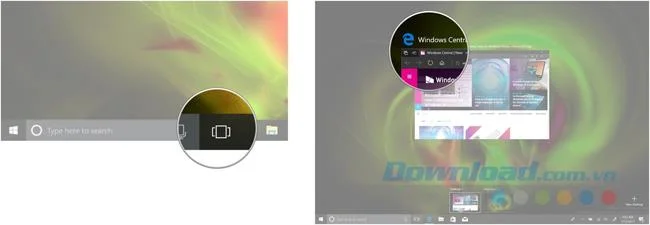
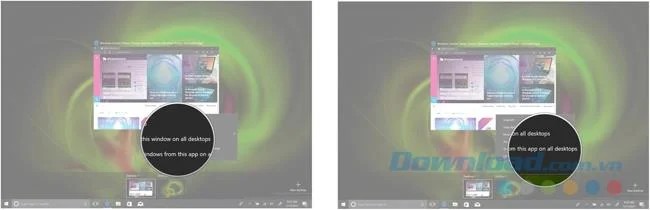
To delete a virtual screen on Windows 10, do the following:
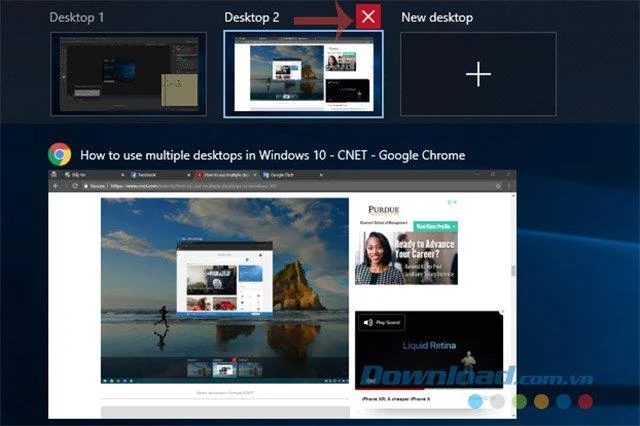
The window that is open and running on the screen you closed will be returned to your original screen. You can also use the keyboard shortcut Ctrl + Windows + F4 to immediately close the virtual screen you are currently using.
Remove every stored ownCloud Server Classic file version for one account or all users, and distinguish a full purge from retention-based expiry.
Trace an ownCloud mobile connection refusal by checking the server URL, phone network, HTTPS endpoint, and server logs in the right order.
Replace on-demand job runs with a systemd timer that runs ownCloud’s supported occ system:cron command every 15 minutes.
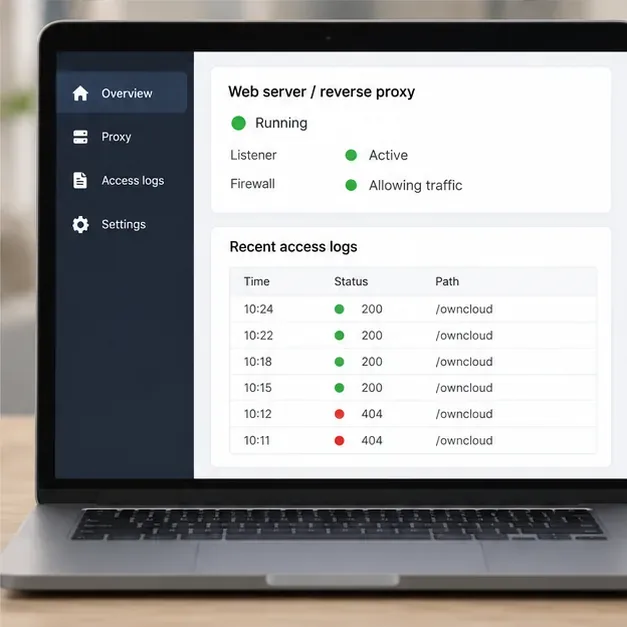
Trace the WebDAV request through Apache, Nginx, or a reverse proxy, then confirm ownCloud sync works with an authenticated PROPFIND test.
Fix Nextcloud’s missing outgoing address warning by setting its canonical URL and checking DNS, HTTPS, and reverse-proxy routing from the server itself.
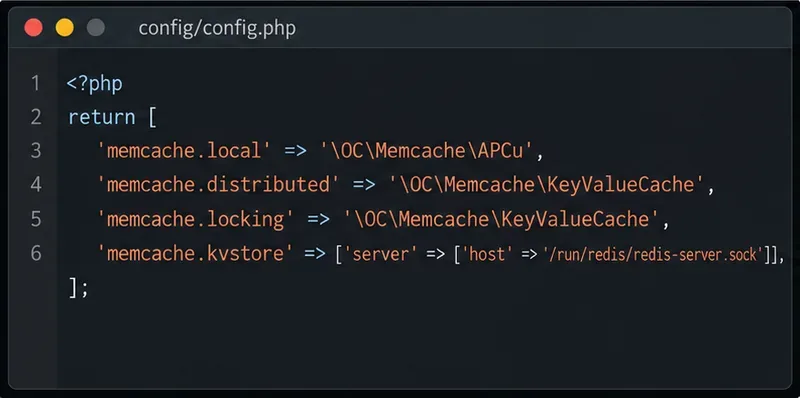
Configure APCu and Redis over a local Unix socket for Nextcloud caching and file locking, with steps for current and older Nextcloud releases.
Check Nextcloud’s cron mode, repair its systemd service and timer, and verify that background jobs run after startup and every five minutes.
Enable reliable Nextcloud file locking, choose the right Redis or Valkey backend, and verify the warning clears without risking concurrent file changes.
Fix common Nextcloud scan findings with current updates, HTTPS and HSTS, precise reverse-proxy trust, and checks against the public server.
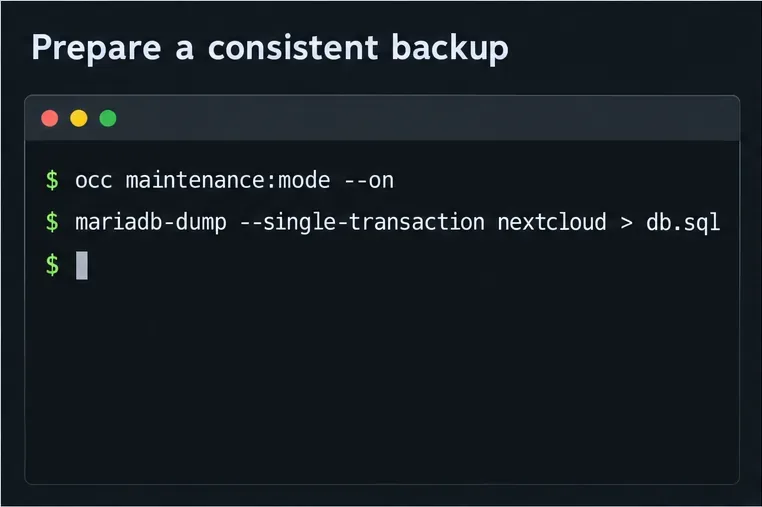
Back up Nextcloud’s files and MariaDB together, schedule encrypted Restic snapshots with cron, and verify recovery without risking the live server.