Raise the CODE Container’s Memory Cap Without Guessing
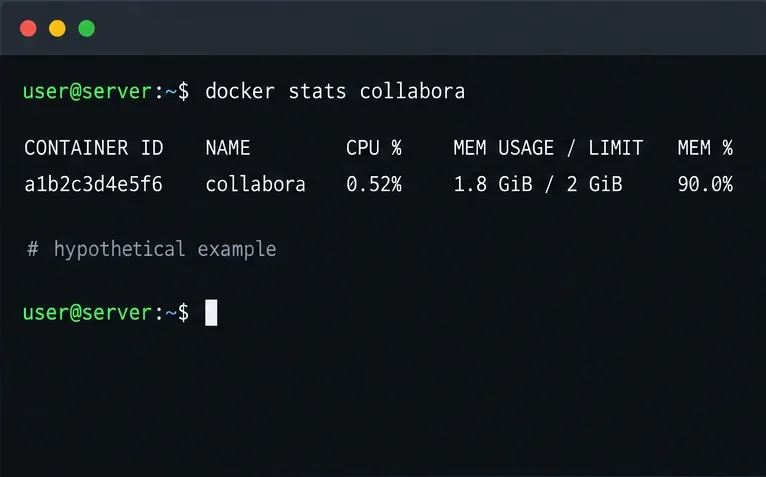
Check whether Docker is capping Collabora CODE, raise the Compose memory limit safely, and confirm the running container received the new cap.
Have you inserted a photo into Google Slides and want to edit it beautifully? Here's how to edit, crop, and add borders to photos in Google Slides .
Google Slides is a great tool that helps you create professional presentations. An important and indispensable part if you want your speech to attract the audience is images. If you use the wrong image or place it in an inappropriate location, you can cause the opposite reaction. To avoid that, you can recolor, format, and re-edit photos in Google Slides to make everything look as professional as possible.
Basically, using Google Slides is similar to Microsoft PowerPoint. You'll find many familiar features here from choosing fonts, formatting margins, inserting transitions to adding charts and more.
In 2014, Google Slides introduced some interesting editing features such as cropping, creating overlays, and adding borders to photos. By 2022, these features have become the most "attractive" point of Slides. As a teacher, you can use them to create beautiful visual effects for lectures in class or online.
You can try many different types of effects. However, the first thing you need to learn is how to edit photos in Google Slides. This step is not difficult and you do not need to rely on third-party tools. Below are detailed instructions.
Instructions for editing photos in Google Slides

To crop an image to a specific shape, select a mask from the drop-down menu next to the Crop icon. You have many options for shapes, arrows and other callout designs to insert into Google Slides as shown below.
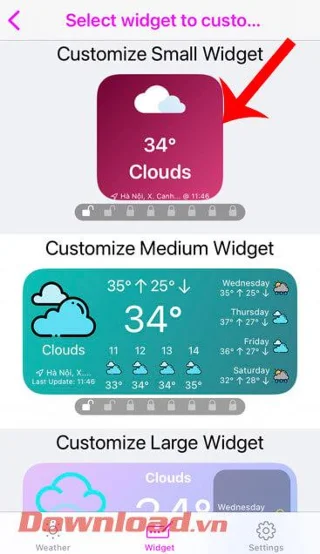


It's done! Above is how to edit photos in Google Slides . As you can see, it's not too difficult, right?
Check whether Docker is capping Collabora CODE, raise the Compose memory limit safely, and confirm the running container received the new cap.
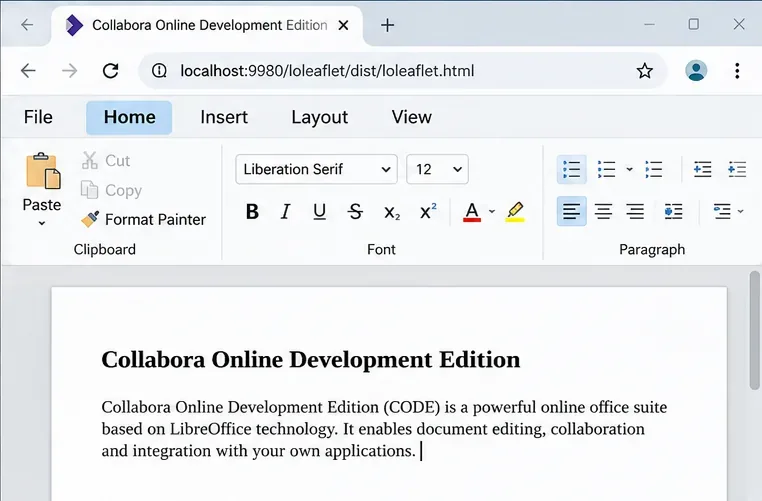
Simplify Collabora CODE with Compact or Tabbed mode and WOPI PostMessage controls to hide selected buttons, commands, and tabs safely.
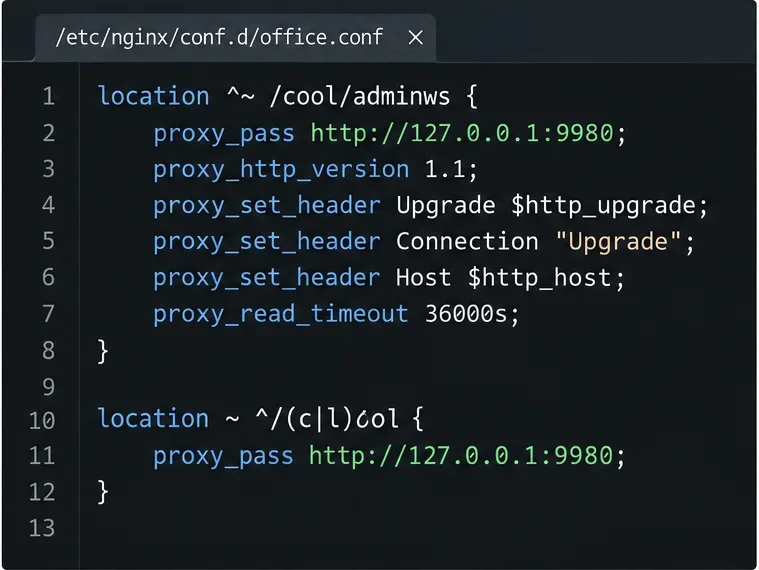
Put Nginx in charge of HTTPS for a Collabora CODE container, forward editing WebSockets correctly, and verify the public endpoint without exposing port 9980.
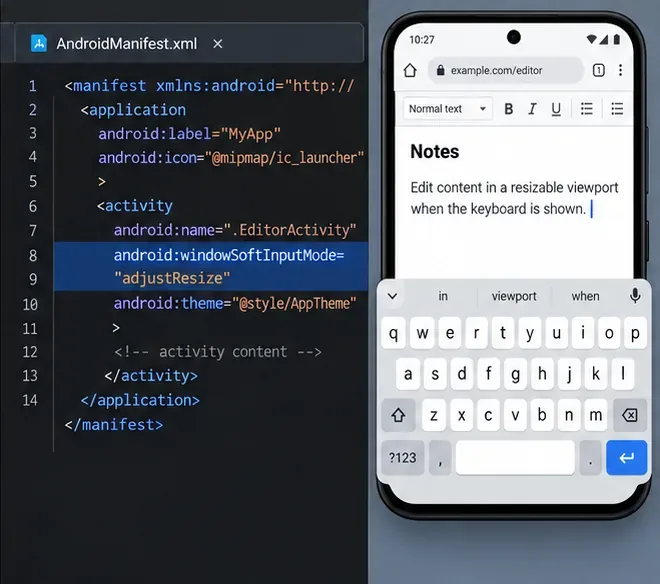
Troubleshoot a mobile browser keyboard covering text in Collabora Online, with quick workarounds and separate checks for browsers, embedded WebViews, and host pages.
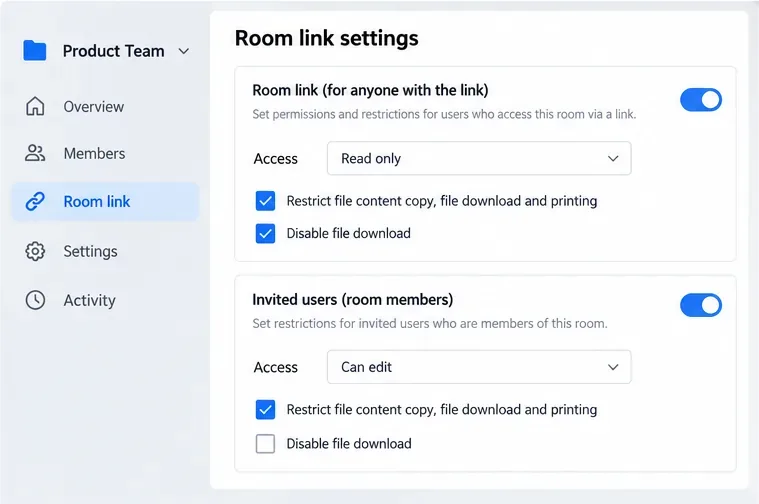
Set print and download limits for ONLYOFFICE links, room members, or Docs API sessions, then verify the restrictions from a recipient account.
Set a backup destination, schedule, Mail coverage, and retention limit in ONLYOFFICE Workspace, then verify the archive is ready to restore.
Start the Enterprise Docker Compose stack, persist its license and data, configure JWT safely, and confirm the editors are ready to integrate.
Use an ONLYOFFICE JavaScript macro to remove nonprinting characters and trim extra spaces from a defined spreadsheet range, with a safe review workflow.
Connect ONLYOFFICE DocSpace to Active Directory or OpenLDAP, import users and groups safely, map account fields, and schedule reliable synchronization.
Move portal data from Disk Default to a supported cloud storage provider, or relocate Docker data safely by changing its host volume mapping.