Set Up a Windows-Style XFCE Panel on Pardus Linux
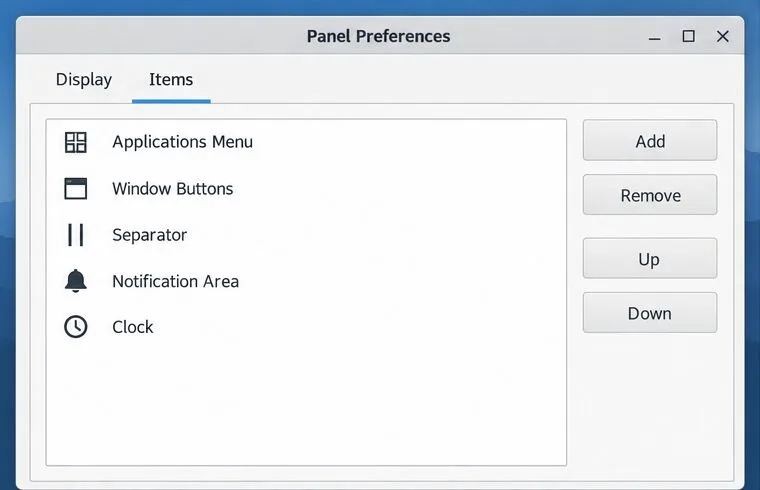
Arrange Pardus XFCE as a familiar bottom taskbar with an app menu, pinned launchers, open-window buttons, and a system tray.
MEmu App Player will have better performance if you enable hardware virtualization technology (like Intel-VT, vt-x, AMD-V) on the computer. Most popular Intel & AMD CPUs support this feature.
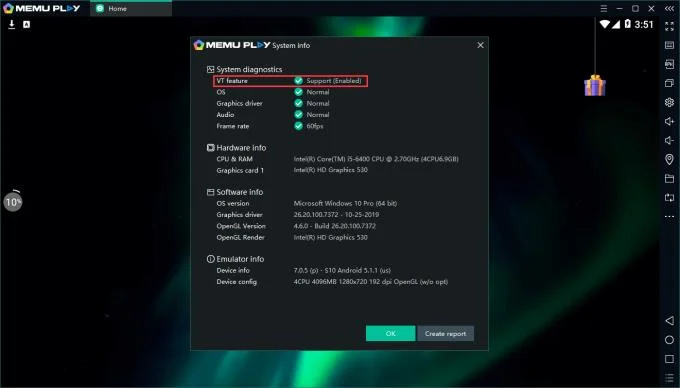
If it is not activated properly, follow these steps:
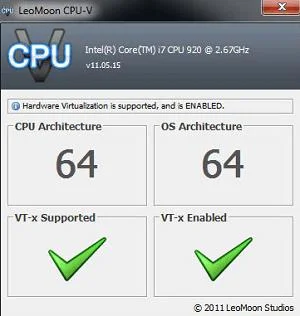
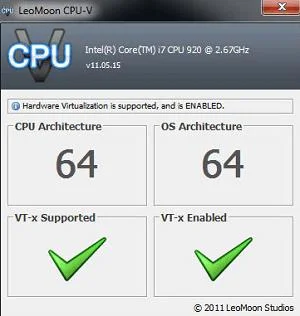
1. Download a third-party tool: LeoMoon CPU-V to test CPU functions.
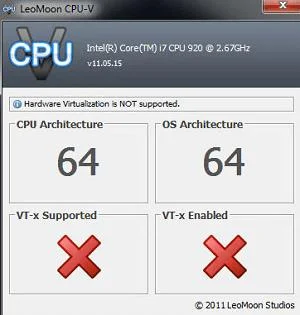
2. If you get the results below, the bad news is that your CPU is out of date.
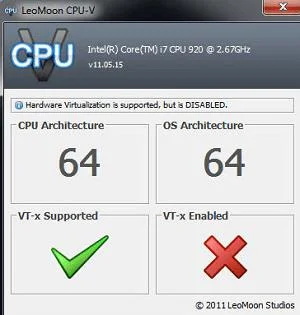
3. If the result looks like this, you need to enable virtualization in BIOS yourself.
Step 1: Repeatedly press the specified key (depending on the model (for example, F2or Delon most Dell desktops) to enter the BIOS setup page when booting the system.
Note:
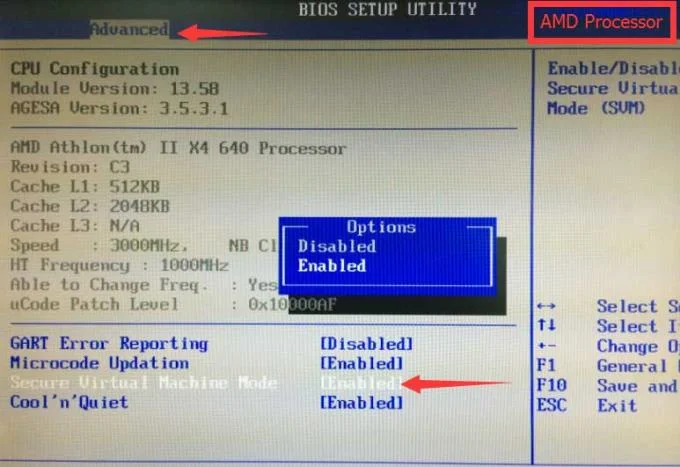
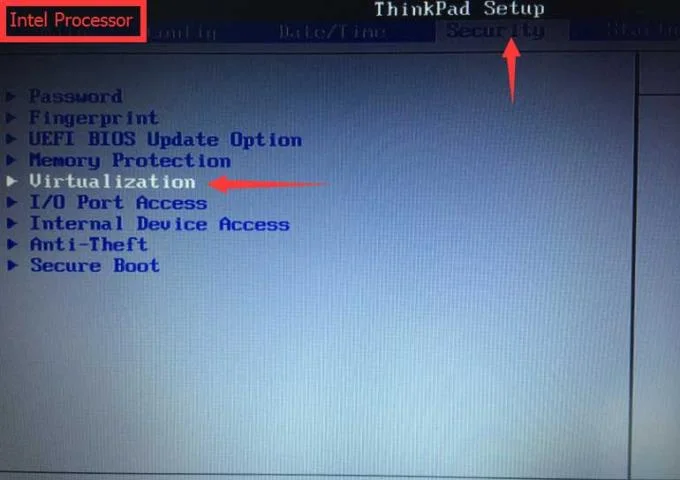
Step 2: Look for virtualization technology (like Intel VI or AMD-V) and enable it. Finally, save & restart the computer to apply this change.
Note: The BIOS setting for Intel VT or AMD-V is always in the Chipset or Processor menu. The menu name may differ from this guide. Virtualization settings can be found under Security Settings or other non-standard menu names.
4. If the results are as shown below, the virtualization technology is waiting for you to use it.
If the warning is still received, this could be caused by some conflict in system settings or third-party software. Therefore, you may need to manually disable the settings.
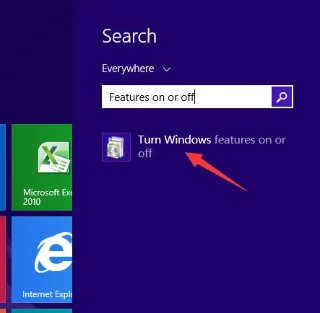
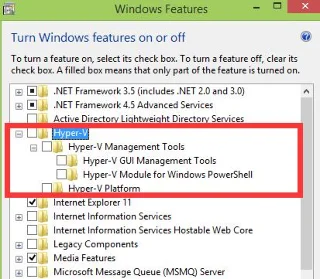
If there is Windows Hyper-V (optional Windows feature), disable it and reboot the system. Occasionally, it is turned on after Windows update.
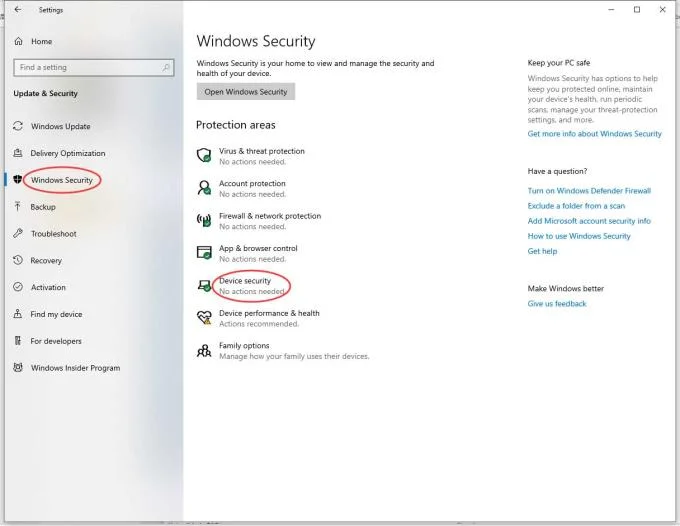
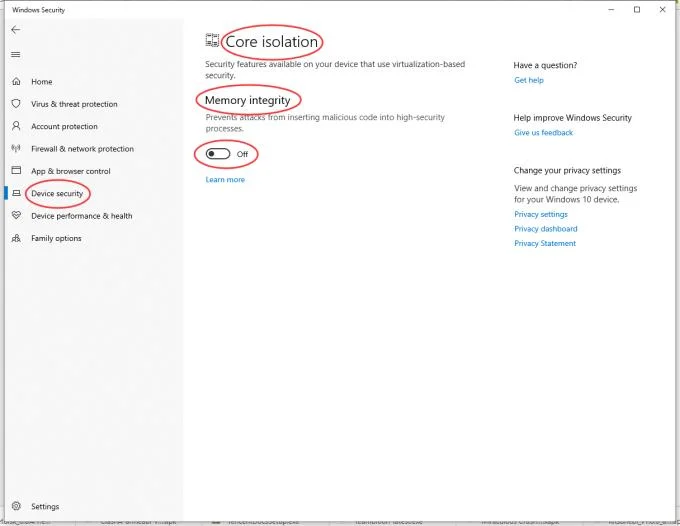
Windows 10 users need to make sure Memory Integrity is turned off.
The article uses the Avast software example. According to reports from some users, they received a warning that hardware assist virtualization was disabled when booting MEmu even though it was enabled in the BIOS and authenticated using the LeoMoon Tool.
If you have accidentally installed AVAST antivirus software on your computer, try the following instructions:
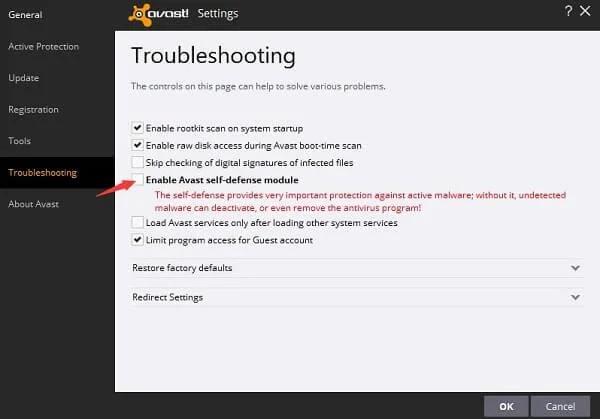
Go to Settings-> Troubleshooting , uncheck the option Enable Avast self-defense module .
Find the file "C: \ ProgramData \ AVAST Software \ Avast \ avast5.ini" and open it in Notepad as administrator. In the “[Common]” section , add “VirtualizationMechanisms = 0” without quotes.
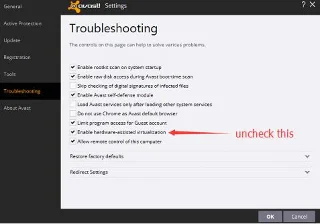
Especially, with some old AVAST versions, you just need to turn off hardware support virtualization in Troubleshooting settings.
Note: AVAST is not the only software that affects hardware virtualization. So, try looking for the same setting if you have a different security tool installed .
Above are instructions for testing, installing and activating virtualization technology on MEmu. Hope the article is useful to you.
Arrange Pardus XFCE as a familiar bottom taskbar with an app menu, pinned launchers, open-window buttons, and a system tray.
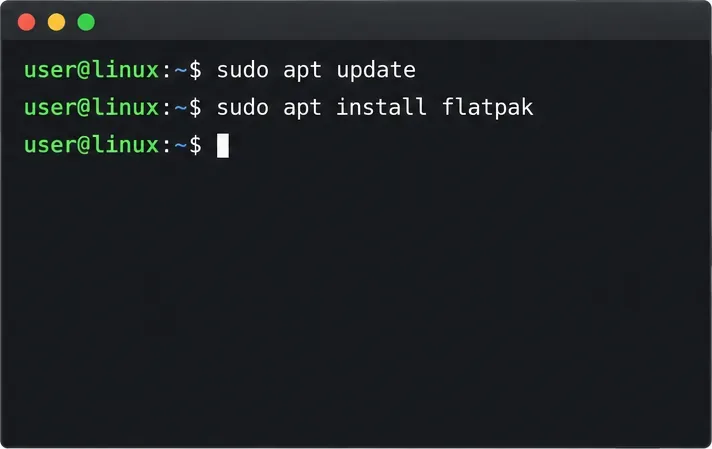
Check your Gooroom release and administrator rules, then follow the official Debian-based setup path for Flatpak or Snap without bypassing system controls.
Learn what Pardus Image Writer can do, how to prepare installation USB safely, and which tools fit custom live images or repeatable fleet deployments.
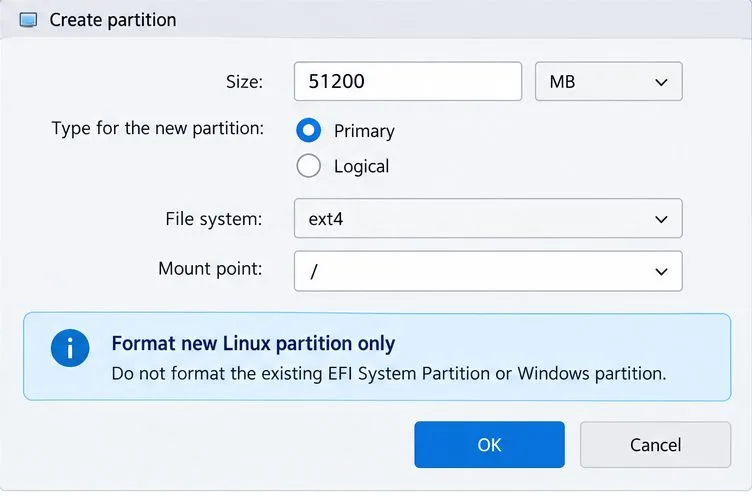
Install Pardus alongside Windows 11 by shrinking the Windows volume, using unallocated space, and preserving the existing EFI System Partition.
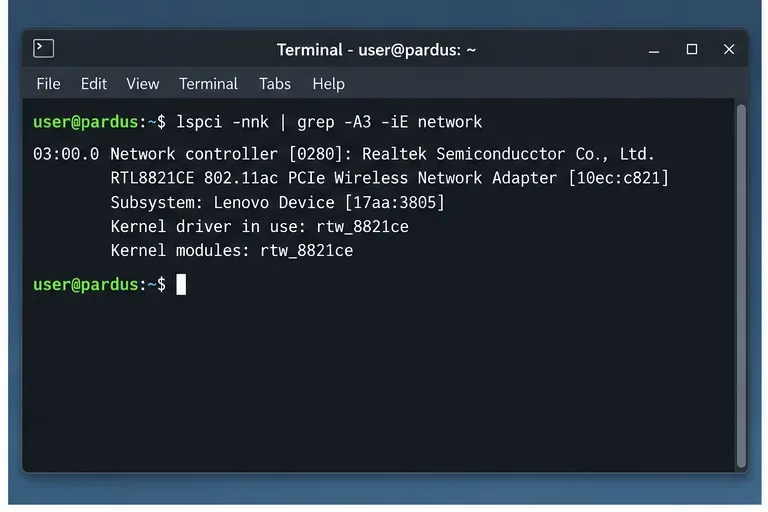
Identify the RTL8821CE, install Pardus-supported Realtek firmware, and verify the driver, Wi-Fi scan, and next troubleshooting step.
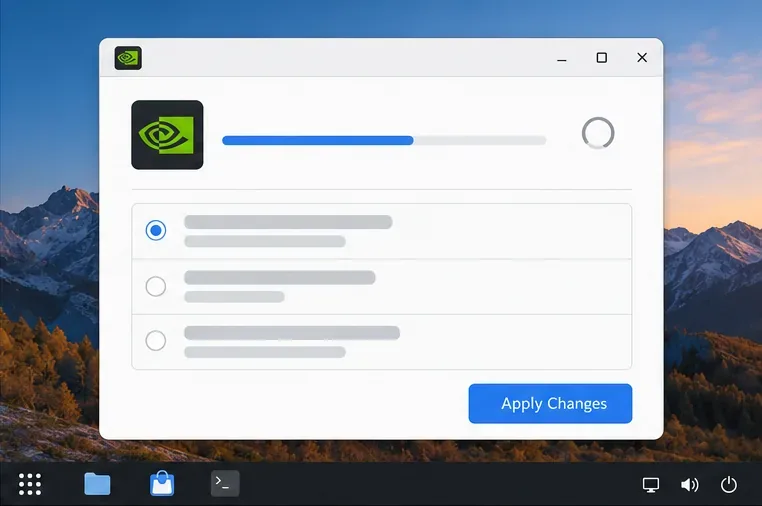
Use Pardus’s hardware-aware installer to enable the right NVIDIA driver, reboot safely, and verify the active kernel module.
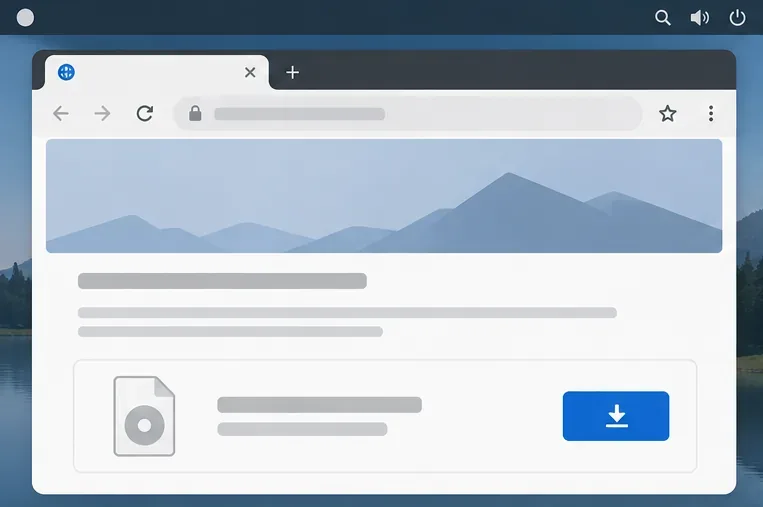
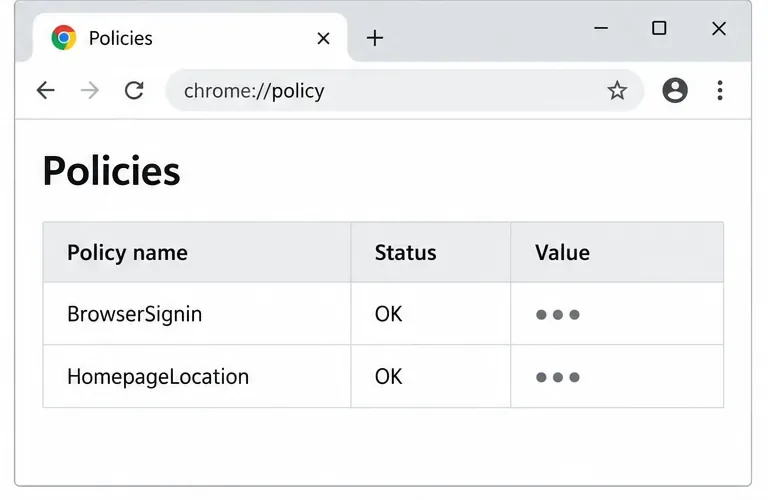
Install the official Chrome package safely on Gooroom OS, check compatibility, preserve device controls, and verify browser policies before use.
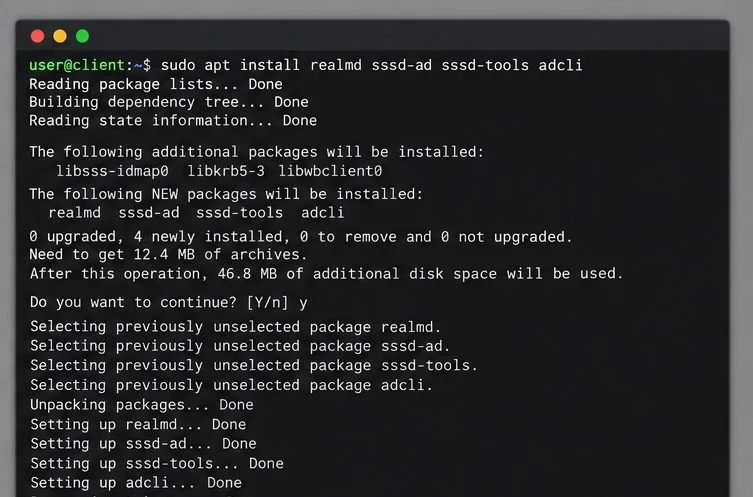
Prepare DNS and time, enroll Pardus with realmd and SSSD, and verify domain membership and user lookup before relying on AD sign-in.
Reduce horizontal tearing in Pardus XFCE by checking your display session, enabling compositor synchronization, and applying Intel’s Xorg TearFree option only when the active driver supports it.
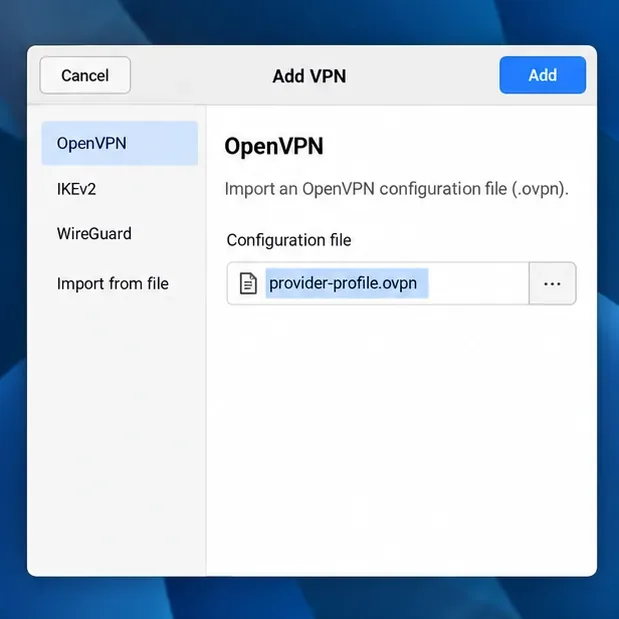
Add an OpenVPN profile to NetworkManager on Pardus, install the right plugin, protect credentials, and verify the VPN is active.