Imagine this: You're in the middle of an important project, and suddenly your Windows 11 PC throws up the dreaded "Virtual Memory Too Low" error. 😩 Frustrating, right? This common issue can halt your workflow, slow down your system, and make multitasking a nightmare. But don't worry – you're not alone, and it's easier to fix than you think!
In this concise guide, we'll dive straight into what causes the Windows 11 Virtual Memory Too Low error and walk you through reliable, up-to-date solutions. By the end, you'll have your PC running smoothly again, with tips to prevent future headaches. Let's get your system back on track – you've got this! 🌟
What Is Virtual Memory, and Why Does It Run Low on Windows 11?
Before we jump into fixes, a quick primer: Virtual Memory in Windows 11 acts like an extension of your RAM. When your physical RAM fills up (from too many apps or heavy tasks), Windows uses space on your hard drive or SSD as "virtual RAM" to keep things running. It's a lifesaver for performance!
However, the "Virtual Memory Too Low" error pops up when this reserve is insufficient. Common culprits include:
- Insufficient pagefile size (Windows' virtual memory file).
- Too many resource-hungry programs open simultaneously.
- Low disk space on your system drive (usually C:).
- Outdated drivers or system glitches post-Windows updates.
According to Microsoft's latest documentation, optimizing Virtual Memory settings in Windows 11 can resolve up to 90% of these issues without needing extra hardware. No more crashes or pop-ups – just smooth sailing. Ready to fix it? Let's start with the basics.
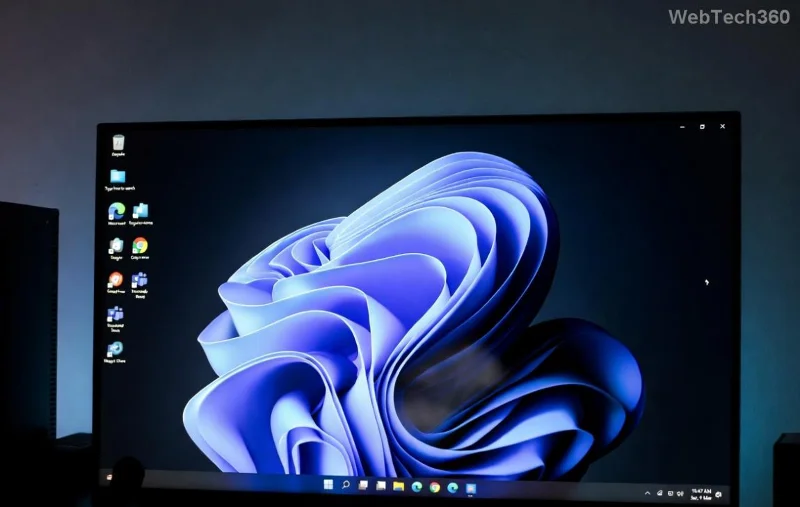
Step-by-Step Fixes for Windows 11 "Virtual Memory Too Low" Error
We'll tackle this systematically, starting with the simplest methods. Follow along – each step builds on the last for maximum impact. If one works, great! If not, move to the next. 👍
1️⃣ Quick Restart and Basic Troubleshooting
Sometimes, the error is just a temporary hiccup. Start here:
- Save your work and restart your PC. This clears temporary files and resets memory allocation.
- Close unnecessary apps via Task Manager (press Ctrl + Shift + Esc). Look for high-memory users under the "Processes" tab and end them.
- Run the built-in Memory Diagnostic tool: Search for "Windows Memory Diagnostic" in the Start menu, choose "Restart now and check for problems," and let it scan.
Pro tip: If you're low on disk space, free up at least 15-20% of your C: drive using Disk Cleanup (search for it in Start). This often resolves low virtual memory Windows 11 without deeper tweaks.
2️⃣ Increase Virtual Memory Size Manually
The heart of the fix: Adjusting the pagefile. Windows 11 defaults to automatic management, but manual tweaks give better control. Here's how:
- Right-click "This PC" (or "Computer") in File Explorer and select "Properties."
- Click "Advanced system settings" on the left.
- Under "Performance," click "Settings" > "Advanced" tab > "Change" under Virtual Memory.
- Uncheck "Automatically manage paging file size for all drives."
- Select your system drive (usually C:), choose "Custom size," and set:
- Initial size: 1.5x your RAM (e.g., 12 GB RAM = 18,000 MB).
- Maximum size: 3x your RAM (e.g., 36,000 MB).
- Click "Set," then "OK." Restart your PC.
This increase virtual memory Windows 11 method is recommended by Microsoft for systems with 8GB RAM or less. For SSD users, it's especially effective – expect a noticeable speed boost! If you're unsure about your RAM, check via Task Manager > Performance tab.
![Adjusting Virtual Memory Settings in Windows 11]()
3️⃣ Use System File Checker and DISM for Deeper Repairs
If the error persists, corrupted system files might be to blame. Time for some command-line magic (don't worry, it's straightforward):
- Open Command Prompt as Administrator (search "cmd," right-click > Run as admin).
- Run:
sfc /scannow – This scans and repairs corrupted files. Wait for it to finish (it can take 10-15 minutes).
- Next:
DISM /Online /Cleanup-Image /RestoreHealth – This restores the Windows image if needed.
- Restart and test.
These tools are part of Windows 11's latest updates and fix underlying issues causing virtual memory error Windows 11. For more details, check Microsoft's official guide: Troubleshoot Virtual Memory.
4️⃣ Advanced Tweaks: Update Drivers and Optimize Storage
For stubborn cases:
- Update drivers: Use Device Manager (search for it) to update graphics and chipset drivers. Or download the latest from your PC manufacturer's site (e.g., Dell, HP).
- Switch to an SSD if you're on HDD – Virtual Memory performs best on fast storage.
- Disable startup programs: In Task Manager > Startup tab, disable non-essentials to free up resources.
Bonus: If you have 16GB+ RAM, consider letting Windows manage Virtual Memory automatically after initial tweaks – it adapts smarter in recent builds.
Prevention Tips to Avoid Future "Virtual Memory Too Low" Errors
Fixed it? Awesome! 👏 Now, keep it that way with these habits:
| Tip |
Why It Helps |
How to Implement |
| Monitor RAM Usage |
Spot issues early |
Use Task Manager regularly |
| Keep 20% Free Space |
Room for pagefile growth |
Run Disk Cleanup monthly |
| Update Windows |
Patches optimize memory |
Settings > Update & Security |
| Avoid Overloading |
Prevents overload |
Close tabs/apps proactively |
Implementing these will make your Windows 11 experience buttery smooth. Imagine browsing, gaming, or working without interruptions – that's the goal!
FAQs: Common Questions About Fixing Virtual Memory in Windows 11
Got lingering doubts? We've got answers:
Q: Will increasing virtual memory slow down my PC?
A: Not at all! It actually improves performance by preventing crashes. Just ensure your drive has space.
Q: What if I have a small SSD?
A: Set conservative sizes (e.g., 1-2x RAM) and consider external storage for the pagefile if needed.
Q: Does this fix apply to Windows 11 Pro/Enterprise?
A: Yes, the steps are identical across editions.
If these don't resolve your issue, it might be hardware-related – consider consulting a pro or upgrading RAM for long-term relief.
There you have it – your complete toolkit to banish the Windows 11 Virtual Memory Too Low error for good. Apply these steps today, and feel the difference. Share your success story in the comments below – we'd love to hear how it went! 🚀 If you found this helpful, explore our other Windows guides for more tips.