How To Use Viber On A Computer

Viber is an excellent app that allows you to make free calls, chat with friends and share pictures with others hassle free. This service is hugely used on the smartphone and is available for every platform starting with Android, iPhone, Windows phone, etc. But have you ever thought of using Viber on your PC to enjoy the free calls on a bigger screen? Here we have explained how to use Viber on a computer the easiest way. So, keep reading. How to share a computer screen on Viber

How to use Viber on a Computer

We have discussed here two main ways to use Viber on a computer. They are explained here one by one.

Method 1: Through Desktop app

Developers have made the app available for Desktop as well. But in order to use Viber on your computer, first, ensure you have installed the same app on your smartphone as well. Also, make sure you are running the Viber 6.0 and above on your smartphone to make this process work.

  • First head towards the official website of Viber and download the desktop version of this app.

  • Next, run the installation file and follow all the onscreen instructions.
  • When prompted, tap on the ‘Accept and Install’ button to go ahead.
  • After successful installation, you will notice a welcome screen. On the same page, there will be a question ‘Do you have Viber on your phone?’. Tap ‘Yes’.
  • Enter the mobile number when asked.
  • The next step is to scan the QR code. On your PC you will see an option ‘scan with my phone’. Click on that.
  • Now, launch the same app on your phone and point the camera towards the desktop to scan the QR code.
  • When the code is scanned, the Viber app on your PC will be ready for use.

Method 2: Through BlueStacks emulator

The second method to use Viber on a computer is through the installation of BlueStacks emulator. An emulator will mirror the smartphone on PC. So, whatever apps you enjoy on your Android device, everything can be used on the PC. To use Viber on PC, follow the step by step process here.

  • Download and install BlueStacks on your PC first.
  • After successful installation, the BlueStacks icon will appear on the PC. Launch it by clicking on the icon.
  • Click on My apps button and there you will notice app search bar. Write the Viber messenger app and click again.
  • The app will be installed on your PC and you will see the welcome screen after successful installation.

  • Now comes the setup process. You need to first enter your phone number.
  • A verification code will be sent to your phone number. However, if you do not receive any message from Viber team, tap on the phone call verification and a recording will say you the code.
  • Enter that code, tap Continue and Viber is all set to use now.
  • However, Viber messenger does not have any native contacts app. So, you can have another Contact app to make things simple. ‘GO Contacts EX’ is very useful app. You can get this in the Bluestacks emulator. Search for GO Contacts EX and install that on your PC.
  • Once installed, add your friends and relatives who are using Viber.
  • The added contacts will be visible to the Viber Contacts. Everything is ready now. Just tap on the name of the contacts to make a call or send them a message. That’s it.

This is how to use Viber on a computer. Both the processes are really simple and will take hardly any time to set up. So, use the method that is convenient for you and enjoy Viber on your PC.

Leave a Comment

Set Up a LUKS-Encrypted Data Volume on SLES
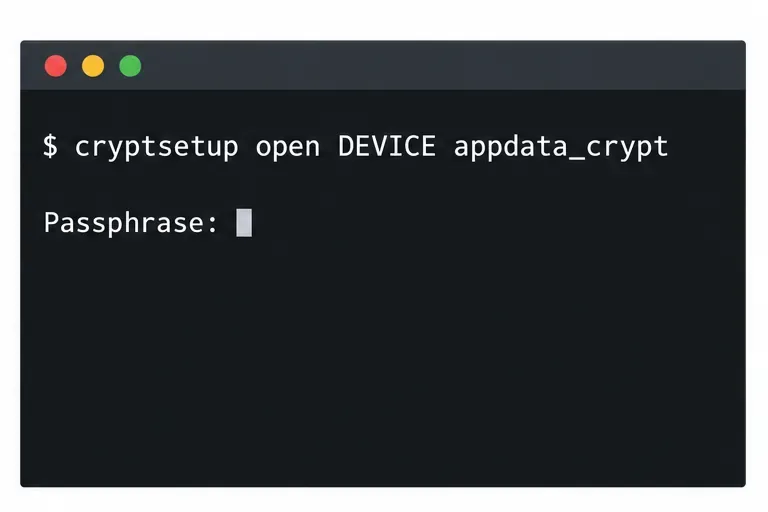
Set Up a LUKS-Encrypted Data Volume on SLES

Compare YaST and cryptsetup for a new encrypted SLES data volume, choose LUKS1 or LUKS2, and verify unlock and mount behavior safely.

Build a Custom AppArmor Profile on SUSE Linux

Build a Custom AppArmor Profile on SUSE Linux

Create, refine, and verify a least-privilege AppArmor profile on SLES 15 SP7, with a clear note on SLES 16’s SELinux default.

Build a Local SUSE Update Server with RMT on SLES 15

Build a Local SUSE Update Server with RMT on SLES 15

Set up RMT on SLES 15, mirror entitled repositories, and verify HTTPS registration and package access from a test client.

Join SLES 15 to Active Directory with SSSD in YaST

Join SLES 15 to Active Directory with SSSD in YaST

Connect SLES 15 to AD with YaST’s SSSD-based logon management, then verify directory lookup, domain login, and Kerberos tickets.

Enable SLES Live Patching and Verify a Kernel Fix

Enable SLES Live Patching and Verify a Kernel Fix

Set up the right Live Patching path for SLES 16.0 or 15 SP7, apply eligible kernel fixes, and confirm what is active without confusing it with a reboot-required kernel update.

Install and Sign Custom Kernel Modules on SLES 15 Secure Boot

Install and Sign Custom Kernel Modules on SLES 15 Secure Boot

Load a custom SLES 15 kernel module without disabling Secure Boot. Match the running kernel, sign the .ko file, enroll a MOK key, and verify loading.

Keep Services Available During a SLES 15 SP5 to SP6 Upgrade

Keep Services Available During a SLES 15 SP5 to SP6 Upgrade

SLES 15 SP5 can migrate online to SP6, but each node must reboot. Use a tested rolling upgrade or blue-green cutover to keep workloads reachable.

Apply the SLES 15 STIG Safely with OpenSCAP

Apply the SLES 15 STIG Safely with OpenSCAP

Use SUSE’s supported STIG profile to scan SLES 15, test remediation, review remaining findings, and retain assessment evidence.

Restore Cockpit Access to SUSE Linux Enterprise Server

Restore Cockpit Access to SUSE Linux Enterprise Server

Trace a failed Cockpit connection through DNS, port 9090, the systemd socket, firewalld, TLS, and login settings using current SUSE guidance.

Configure Reliable Ethernet Failover with SLES 15 Bonding

Configure Reliable Ethernet Failover with SLES 15 Bonding

Create a redundant Ethernet connection on SLES 15 with YaST and Wicked, configure active-backup bonding, and verify both ports and failover.