Keep Track Changes On When a Document Reopens
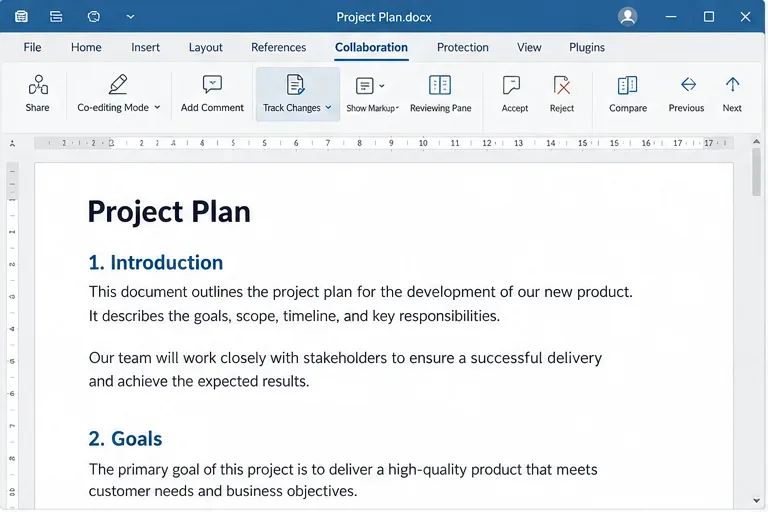
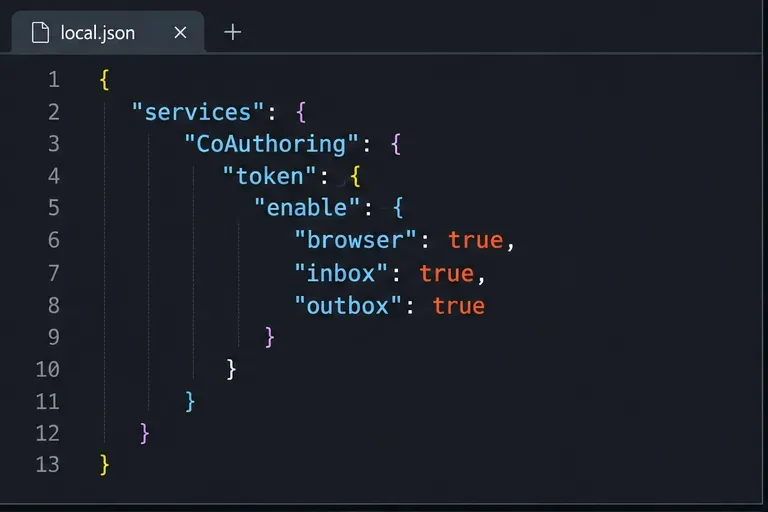
Enable persistent Track Changes for everyone in one ONLYOFFICE document, verify edits are recorded, and understand the limits of this setting.
Multitasking or keeping track of things will help you save time and be more effective in meeting deadlines, so Windows 10 also developed the Multitasking feature - split screen for you to easily . perform multiple operations. So what does this feature have? What is the simplest and most convenient way to split the screen on a Windows 10 laptop ? This article will help you learn more about this issue.
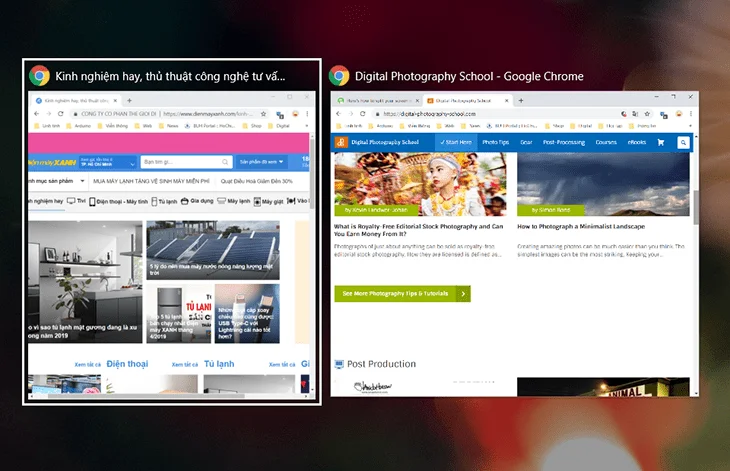
Split screen on Windows 10 is of great interest to many people
Why do more and more people want to learn how to split screen on Windows 10 so that it can be done when needed? Why are manufacturers increasingly building simple tools to help you split screen on windows 10? The reason is that split screen gives users the following utilities:
- Split screen helps users to handle multiple tasks at the same time to save time and effort.
- The screen is divided into many different windows to help handle user tasks faster and more efficiently.
- Split screen helps users work efficiently and flexibly in all situations.
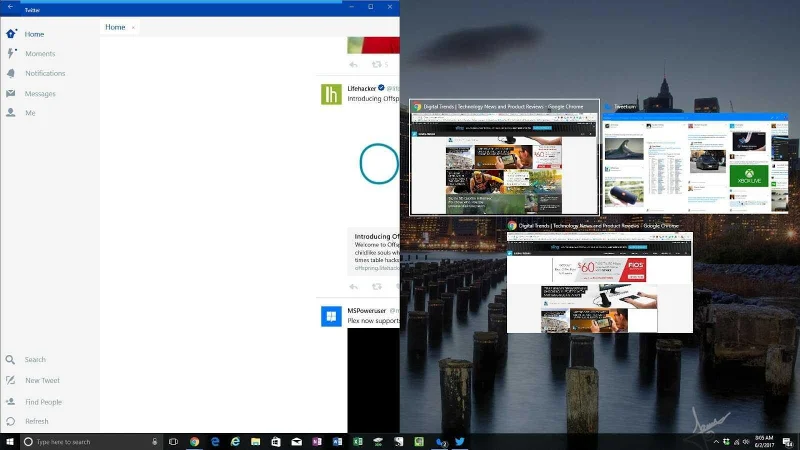
Split screen helps users handle tasks quickly and efficiently
The split screen feature has been developed by manufacturers since Windows 7 . However, in Windows 7 users can only split the screen into 2 parts and in Windows 10 users can split the screen into 3, 4 or even more depending on the work characteristics. Before proceeding to split the screen on the laptop, users need to turn on the Multitasking feature.
Step 1: Open the start menu and select " Settings"
Step 2: In the "Settings" section select " System"
Step 3: Select Multitasking to display the window. In this window you will see 4 Snap related settings displayed. You can choose to enable or disable the settings depending on your usage needs.
After turning on the Multitasking feature is turned on, there are many ways to split the screen on the computer that users can use, including the following basics:
Using the mouse to split the screen is the simplest and most time-saving method you can apply. Users just need to use the mouse to minimize the screen and then drag the screen to the left or right edge. When the screen shows the border divided into 2 halves.
When you release the mouse, the screen will display windows and choose to add another application window. You just need to open the window to select the item you want to use and you have successfully split the screen.
In addition to using the mouse, how to split the screen on Windows 10 with keyboard shortcuts is also very quick and effective. To apply this method, you first need to identify the window you want to split and click on that window.
The second step you need to do is press the Windows key + right arrow combination to move the window to fill the screen on the right. If you want to make the window fill the left side of the screen you will use the Windows key + left arrow key combination .
Besides using keyboard shortcuts or using the mouse, you can split the screen on Windows 10 using the Taskbar . This way you can divide the screen according to the number of applications currently on the screen. The basic steps to perform this split screen are as follows:
Step 1: Users click on the Taskbar and then select show Windows side by side.
Step 2: After selecting the tool on the screen, it will automatically be divided into 2 parts as required
Step 3: To return to the original screen, click Taskbar and then turn off the Undo Show all windows side by side feature, the screen will not automatically split.
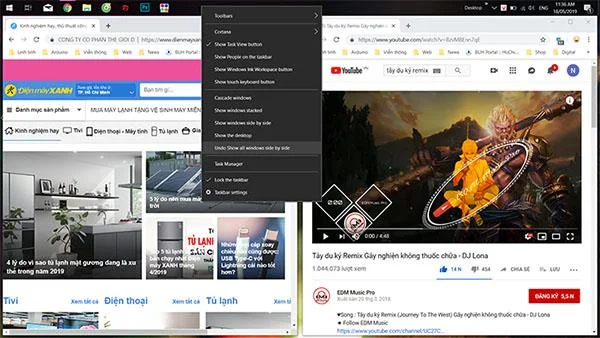
Split screen on Windows 10 using Taskbar
If you want to split the screen into a number of windows larger than 2 you can choose the Corner Snap tool . This split is done very simply, the same effect as with dividing the screen into 2 halves. The splitter just needs to drag the window to the 4 corners of the screen and divide the window into 4 parts to perform tasks. The player's computer will align itself to divide the screen into 4 equal parts.
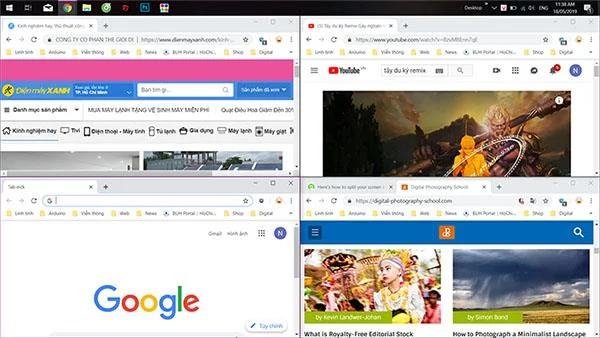
Split screen into different windows
Above are simple and convenient ways to split the screen on Windows 10 laptops for your reference. Each split not only helps you flexibly use multiple windows on the screen, but also improves work efficiency. WebTech360 hopes that with the above sharing, users can split screen on windows 10 flexibly to help achieve the best results.
Enable persistent Track Changes for everyone in one ONLYOFFICE document, verify edits are recorded, and understand the limits of this setting.
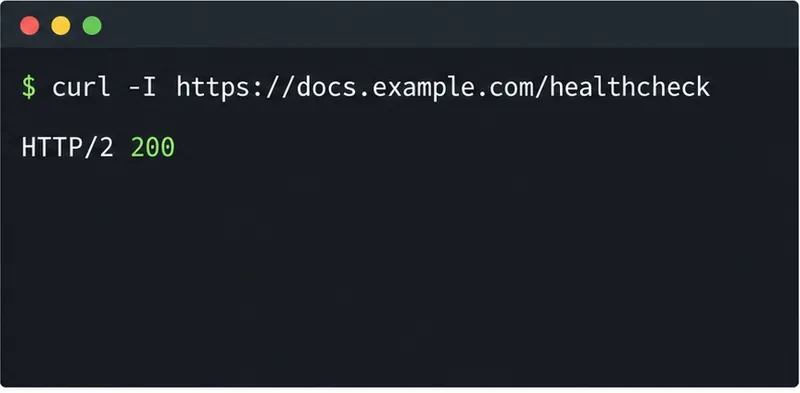
Find whether Nginx, Docker networking, or an internal ONLYOFFICE service is returning 502, then verify the corrected upstream and health check.
Diagnose failed ONLYOFFICE saves by checking the Nextcloud callback route, proxy redirects, and storage logs, then verify the edited file persists.
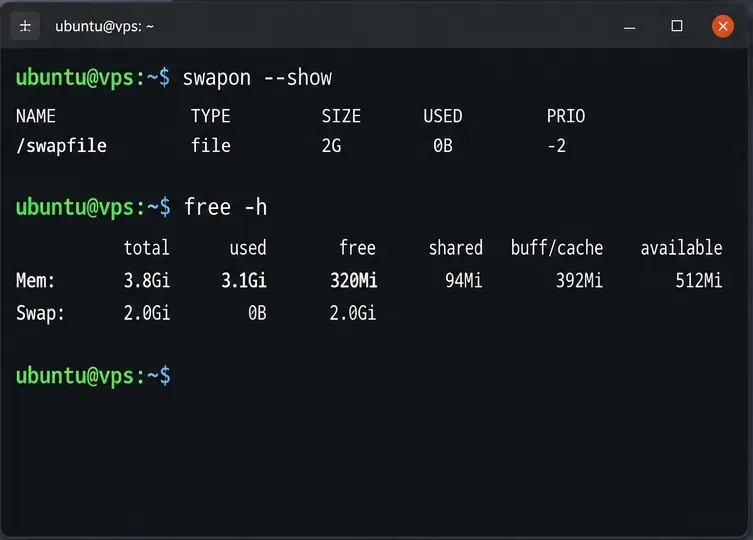
Find the cause of ONLYOFFICE memory crashes, check Docker limits, size VPS RAM correctly, add swap safely, and verify that documents open and save.
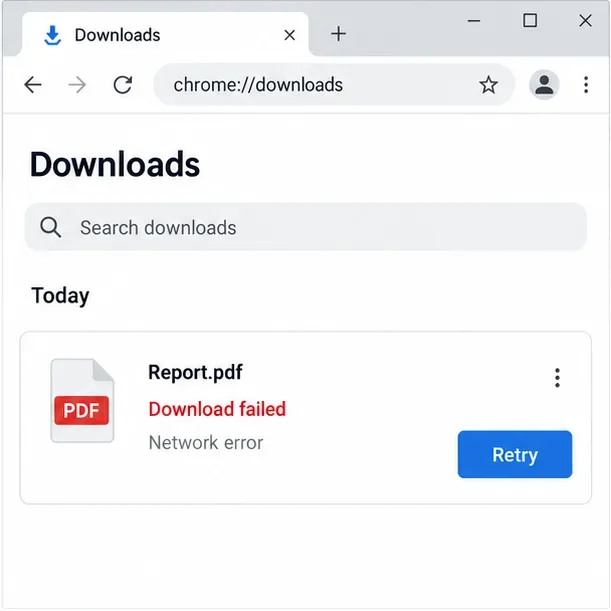
Separate browser download problems from server-side conversion errors and use the right log or access check to get your PDF export working.
Match the JWT secret used by ONLYOFFICE Docs and Nextcloud, apply it safely for Docker or Linux installs, and verify the connection without weakening authentication.
Install ONLYOFFICE Workspace Community on Ubuntu 24.04 with the official Docker script, check server requirements, skip Mail if needed, and verify the portal safely.
Configure matching JWT secrets for ONLYOFFICE Docs and its connector, with safe steps for Linux packages, Docker deployments, and verification.
Configure HAProxy HTTPS, forwarding headers, WebSocket timeouts, and health checks for ONLYOFFICE Docs, then verify editing and saves.
Give an embedded ONLYOFFICE Docs editor your company logo and interface colors with a custom theme file and editor configuration. See edition limits and deployment checks.