Build a Supported SLES 15 HA Cluster with Fencing First
Register SLE HA, bootstrap SLES 15 nodes, then add fencing, quorum, and tested service resources before relying on failover.
For SLES 15, register the SUSE Linux Enterprise High Availability extension, then use crm cluster init and crm cluster join to bootstrap the nodes. Before placing services on the cluster, verify redundant networking, node fencing (STONITH), and quorum.
This procedure follows SLE HA 15 SP7 documentation current in October 2026. Confirm your installed service pack and CPU architecture; registration identifiers and support details can vary.
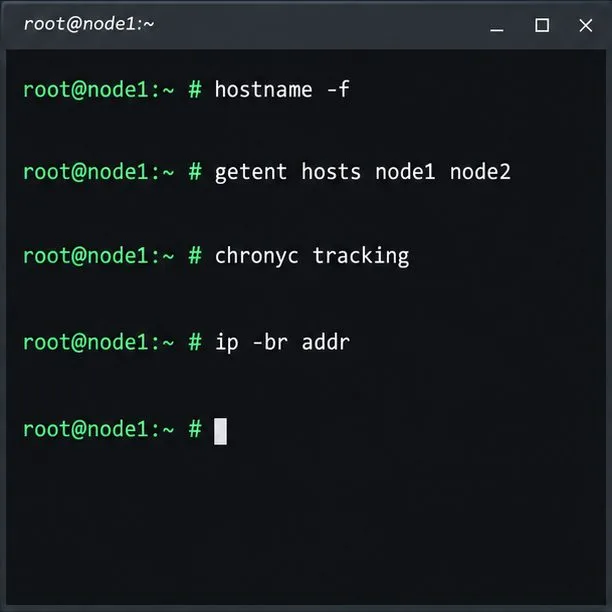
Use at least two nodes on the same supported processor architecture, static primary IP addresses, unique names resolvable on every node, and synchronized clocks using an external time source. SUSE requires two redundant TCP/IP communication paths per node; interface names must match across nodes.
hostname -f
getent hosts node1 node2
chronyc tracking
ip -br addr
Run the checks on both nodes and confirm the selected interfaces and names are correct before bootstrapping.
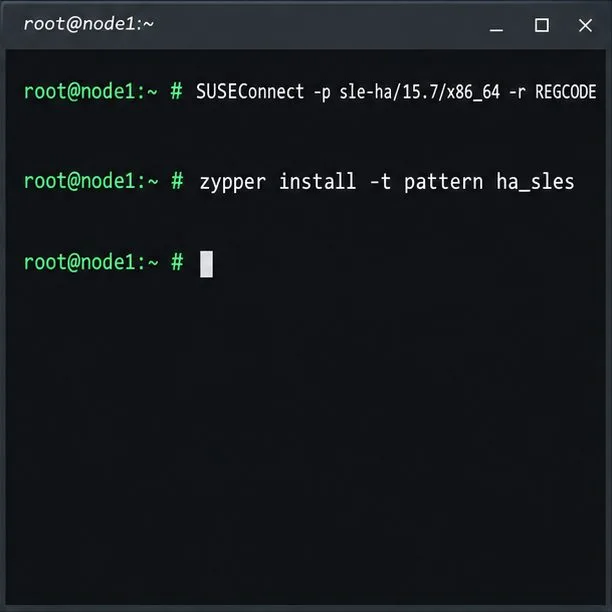
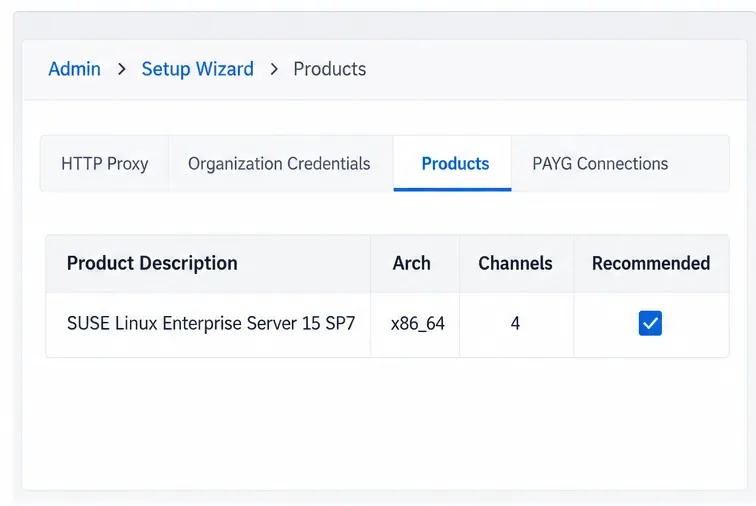
SLE HA is a separately registered extension; SLES alone does not include the cluster pattern. For registered SLES 15 SP7 x86_64 nodes, enable the extension and install the pattern on every node:
SUSEConnect -p sle-ha/15.7/x86_64 -r ADDITIONAL_REGCODE
zypper install -t pattern ha_sles
Replace ADDITIONAL_REGCODE with your subscription code. The product identifier is for x86_64; use SUSE’s matching identifier for other architectures. Keep all nodes on the same SLES SP and SLE HA level. See SUSE’s SLE HA 15 SP7 installation guide.
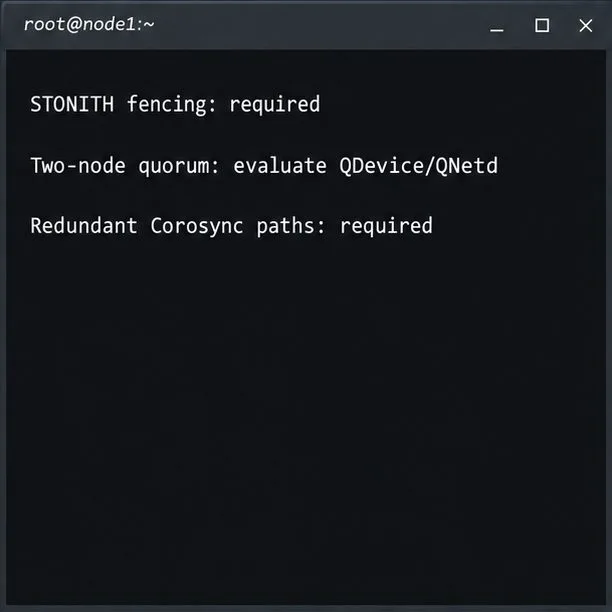
Required for supported clusters: node fencing (STONITH), with stonith-enabled and startup-fencing left true. Fencing isolates an uncertain node to prevent both sides of a partition running the same service. Choose a supported power-control device or SBD with a tested watchdog for your hardware or hypervisor.
For two nodes: SUSE recommends QDevice/QNetd for even-node clusters. It adds an independent quorum vote, not fencing; configure the separate QNetd server first if including QDevice during bootstrap. See the QDevice and QNetd guide.
Storage misconception: shared storage is not mandatory for every cluster, but application data needs its own shared, replicated, or recoverable design. Pacemaker moves resources; it does not copy application data.
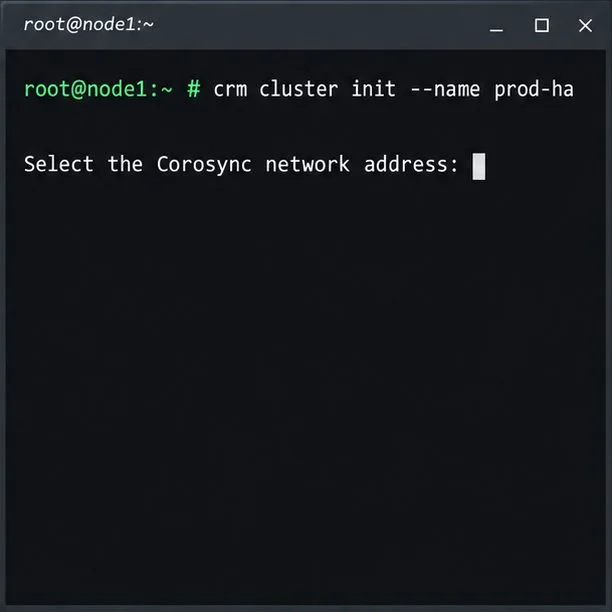
On node1, start the CRM Shell bootstrap as root or through your approved sudo-user setup:
crm cluster init --name prod-haFollow the prompts and select the intended Corosync address. The script configures Corosync, SSH, Csync2, cluster firewall ports, and Hawk2; it checks time sync and offers optional SBD and a Hawk2 administration IP. Review /var/log/crmsh/crmsh.log for bootstrap settings.
Set up the watchdog on each node before selecting SBD. If using external fencing, configure its supported STONITH resource before workloads. Never disable STONITH to bypass a missing device. Bootstrap creates a basic cluster, not an HA application.
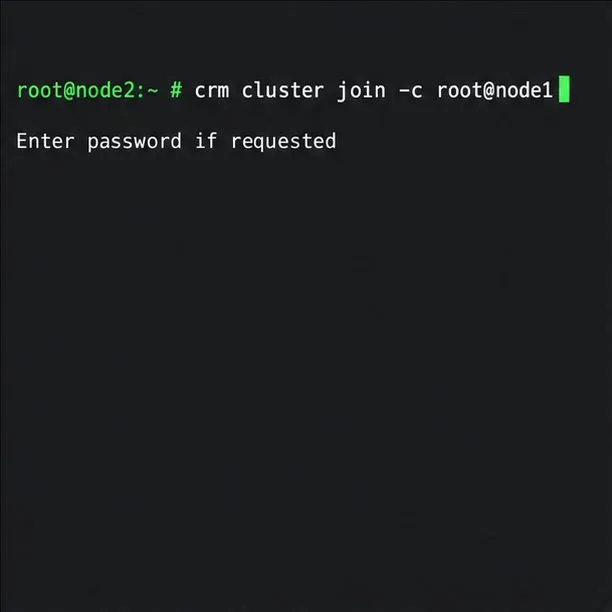
Install and register SLE HA on node2. If using SBD, prepare its watchdog there before joining. Then, as root:
crm cluster join -c root@node1For a sudo-user setup, use SUSE’s USER@NODE1 procedure. Specify the same two interfaces if configured at initialization. The script copies Corosync settings, sets up SSH and Csync2, and brings node2 online. Repeat for more nodes; do not mix bootstrap and YaST setup methods.
From a cluster node, check membership:
crm statusVerify both nodes are online and quorum is present. The bootstrap creates hacluster with the initial password linux; change it on each initialized node:
passwd haclusterHawk2 uses HTTPS on port 7630. Verify a self-signed certificate with your administrator before trusting it. A Hawk2 management IP is not the application’s client address.
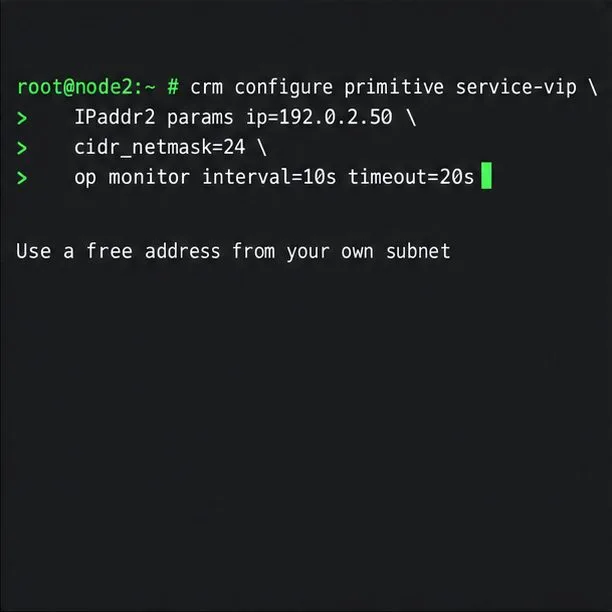
Pacemaker manages services through resource agents. Install and configure the workload appropriately on eligible nodes. This example creates only a floating IP primitive:
crm configure primitive service-vip IPaddr2 params ip=192.0.2.50 cidr_netmask=24 op monitor interval=10s timeout=20s192.0.2.50 is reserved for documentation. Substitute a free address and correct prefix from your subnet. An IP primitive does not start an application or replicate data. Add the application’s supported agent plus workload-specific ordering, colocation, and storage behavior; follow that product’s recovery and fencing guidance.
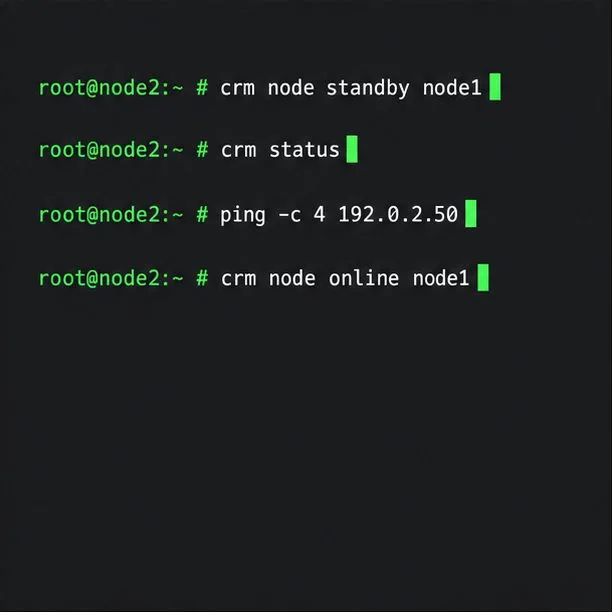
After configuring real resources and fencing, schedule a controlled failover test. Put node1 in standby and check the service from node2:
crm node standby node1
crm status
ping -c 4 SERVICE_VIP
crm node online node1
Replace SERVICE_VIP with the real client address. Confirm the application responds, resources move as expected, and node1 rejoins. Ping checks only network reachability. SUSE’s crm cluster crash_test intentionally disrupts components, so use it in a planned test environment. Read the SLE HA installation quick start and fencing guide.
After testing, confirm both nodes have the expected status, fencing remains enabled, and the workload answers through its client endpoint after node1 returns online. A green membership view or successful ping alone does not prove application recovery.
Register SLE HA, bootstrap SLES 15 nodes, then add fencing, quorum, and tested service resources before relying on failover.
Trace a Zypper refresh error to SUSE, RMT, or a third-party endpoint, then apply the right server-side or cache fix without disabling essential updates.
Resolve SUSE LVM thin-pool space errors by checking data and metadata usage, expanding the pool safely, and preventing repeat outages.
Identify whether Btrfs is intentionally read-only, short on space, or protecting data after errors, then choose a recovery path that fits the cause.
Prepare mirrored channels, create an activation key, and bootstrap an SLES 15 client without direct internet access while preserving the connection needed for Manager check-ins.
Fix YaST’s XIO launch error over SSH, verify X11 forwarding and xauth, and switch to the ncurses interface when a remote window is unnecessary.
Find the pre-update Btrfs snapshot, test it read-only, and make recovery permanent with Snapper while understanding which data stays outside the root rollback.
Send SLES system logs to a remote rsyslog collector over authenticated TLS, with certificate checks, outage buffering, and delivery tests.
Use RAM, swap, kernel, and Zypper logs to identify real memory pressure, protect package state, and choose a safer SLES upgrade retry.
Enable Debian’s unattended security updates over SSH, keep the default package sources, and verify scheduled runs through systemd and APT logs.