Trace the Save Callback When ONLYOFFICE Won’t Save to Nextcloud

Diagnose failed ONLYOFFICE saves by checking the Nextcloud callback route, proxy redirects, and storage logs, then verify the edited file persists.
Zalo's Backup and Sync feature makes it easy to sync old messages even when changing phones or deleting apps. How to do it is quite simple, you can refer to how to synchronize Zalo messages from your phone to your computer and vice versa.
When you are about to change your phone or delete an app, you need to do 2 steps:
- With old phones / old Zalo: Backup messages
- With new phones / new Zalo: Synchronize messages
If you have not turned on Backup and sync messages
Step 1: Go to Settings
Step 2: Select Backup and sync messages

Step 3: Turn on Backup and Sync
Step 4: Complete Backup and sync messages

If you have turned on Backup and sync messages every day, but still need to back up the latest messages, tap “Back up & sync now”.

You switched to a new phone and never recovered your messages. You will receive a message from Zalo asking "Do you want to restore old messages?" Just press "Agree" to restore.

If you press Ignore or do not receive the above message, synchronize the message by:
Step 1: Go to Settings
Step 2: Select Backup and sync messages
Step 3: Turn on Backup and Sync
Step 4: Complete Backup and sync messages
For Android phones, you can also sync photos by “Click to add an account”, then enter your Google Drive account.

With the SMS Backup and Restore feature, you can comfortably use your new phone or reload Zalo without having to "fret" about losing important messages.
Diagnose failed ONLYOFFICE saves by checking the Nextcloud callback route, proxy redirects, and storage logs, then verify the edited file persists.
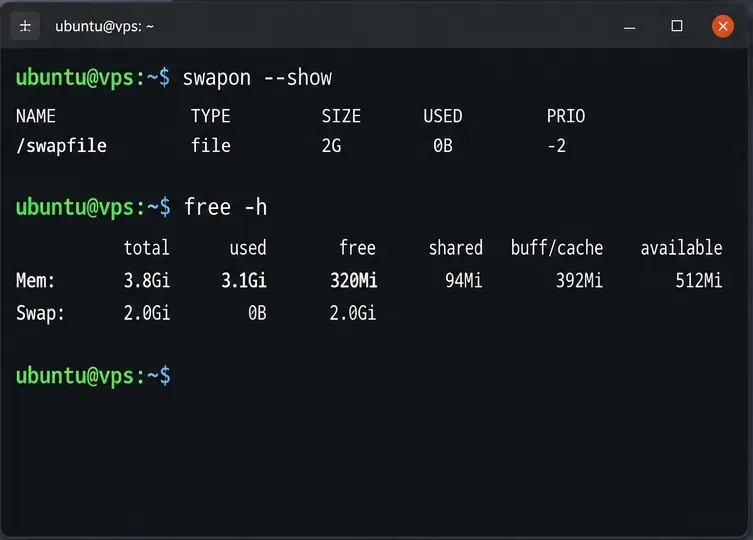
Find the cause of ONLYOFFICE memory crashes, check Docker limits, size VPS RAM correctly, add swap safely, and verify that documents open and save.
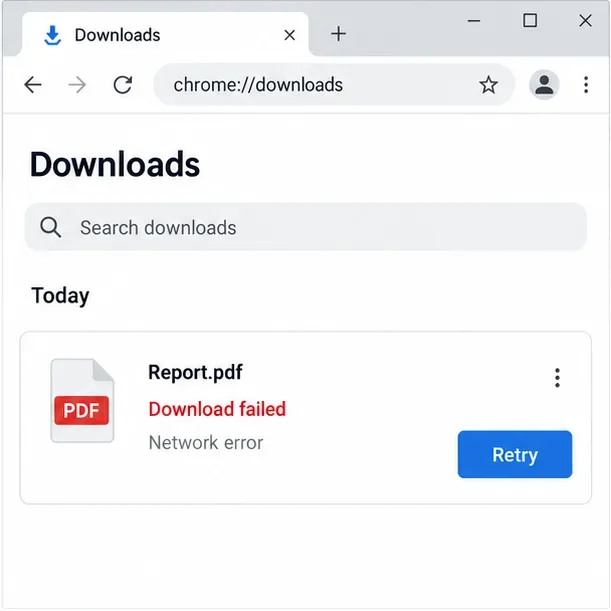
Separate browser download problems from server-side conversion errors and use the right log or access check to get your PDF export working.
Match the JWT secret used by ONLYOFFICE Docs and Nextcloud, apply it safely for Docker or Linux installs, and verify the connection without weakening authentication.
Install ONLYOFFICE Workspace Community on Ubuntu 24.04 with the official Docker script, check server requirements, skip Mail if needed, and verify the portal safely.
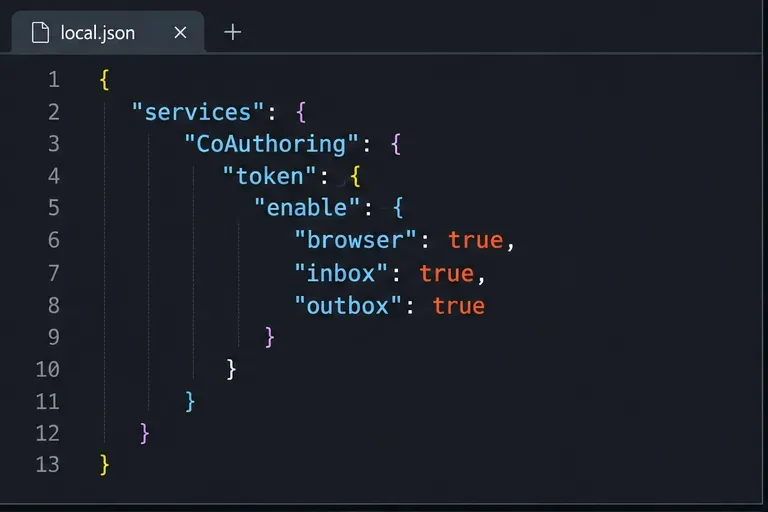
Configure matching JWT secrets for ONLYOFFICE Docs and its connector, with safe steps for Linux packages, Docker deployments, and verification.
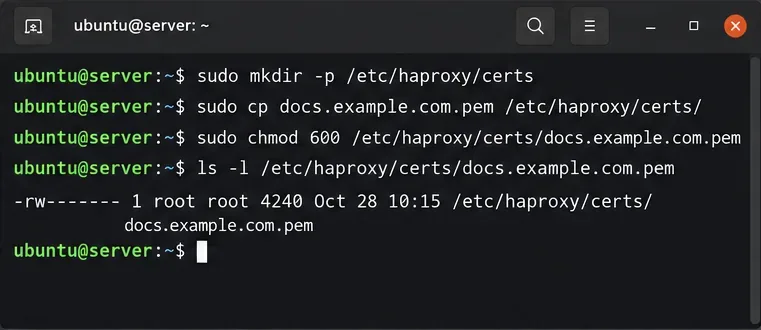
Configure HAProxy HTTPS, forwarding headers, WebSocket timeouts, and health checks for ONLYOFFICE Docs, then verify editing and saves.
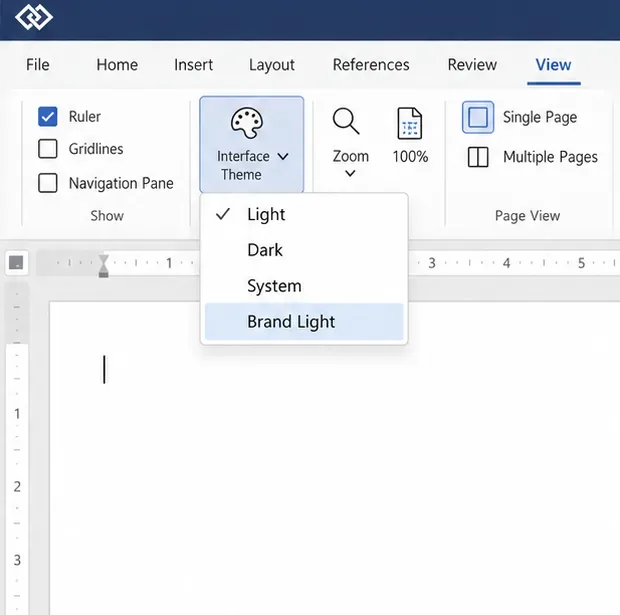
Give an embedded ONLYOFFICE Docs editor your company logo and interface colors with a custom theme file and editor configuration. See edition limits and deployment checks.
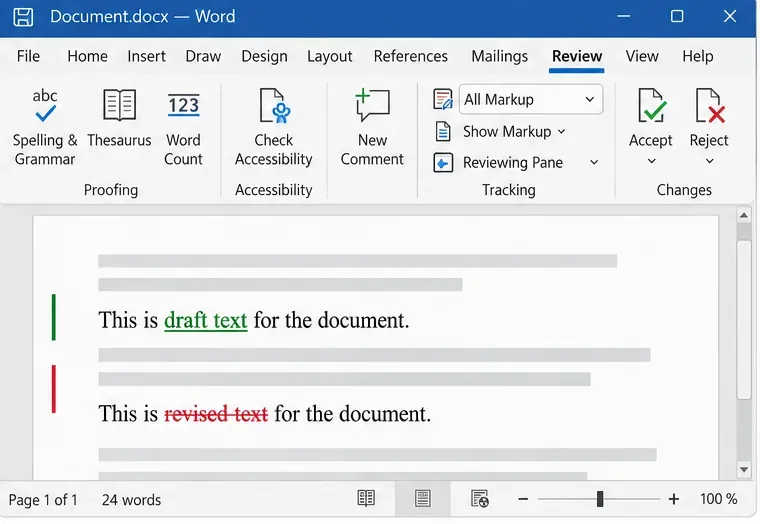
Track edits in Writer, preserve an editable ODT source, and check the exported DOCX in Word before sharing it.
Follow SUSE’s SP7 procedure to enable FIPS mode, reboot safely, verify the active policy, and check whether your compliance requirement calls for validated modules.