Now the number of UWP (Universal Windows Platform) apps on Windows Store of Windows 10 is very large. They are very diverse in features and can be used by users to clean their computers, optimize your system. But users basically still prefer the software installed on the Desktop such as CCleaner , Clean Master , Memory Cleaner ...
However, there are still software that you are hard to notice, you will find the Windows Store has quite interesting system cleaning software that you can use instead of desktop applications that have the same functionality, just like you can easily uninstall applications without affecting your system.
In the article below Download.com.vn will review for you the Total PC Cleaner software, a free system cleaning application that you can download on the Windows Store, this software is fully functional clean the system, below Download.com.vn also has specific instructions on how to download and use this software, please follow it.
Total PC Cleaner
Instructions for downloading and using Total PC Cleaner on the computer
Step 1: Visit the download button above and click Download.
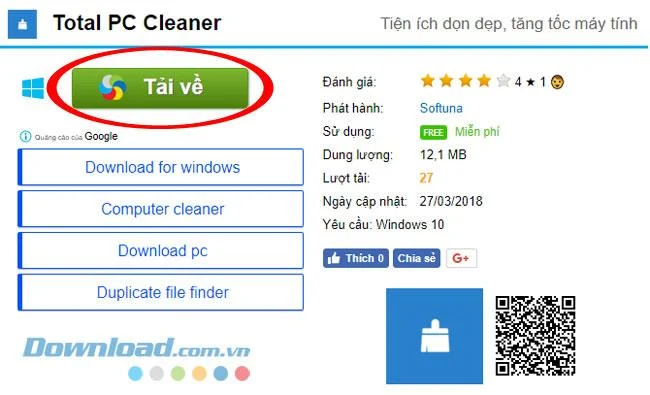
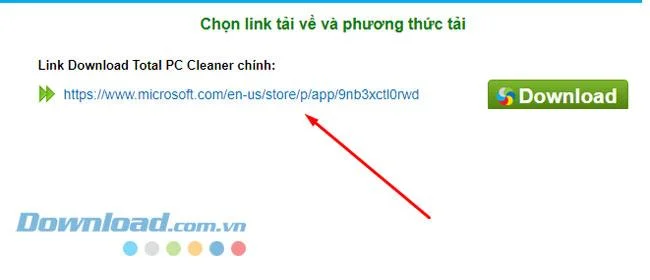
Step 2: Then click the download link to download the Total PC Cleaner.

Step 3: Click Open Microsoft Store to open the linked app download from the Windows Store.

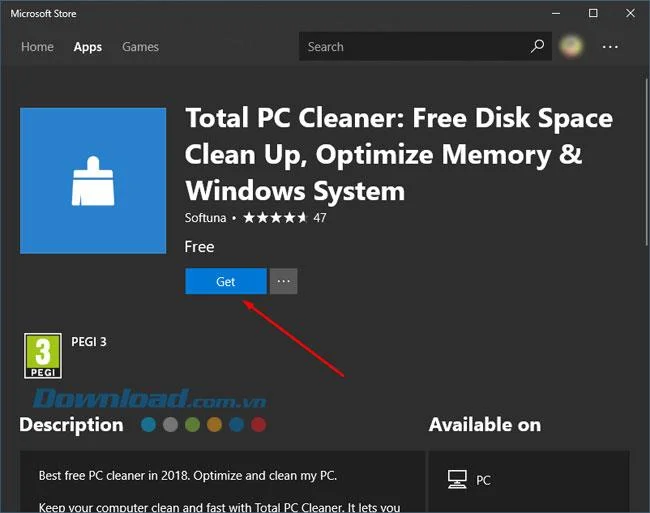
Step 4: After appearing on this board, click Get to download the application to your Store.

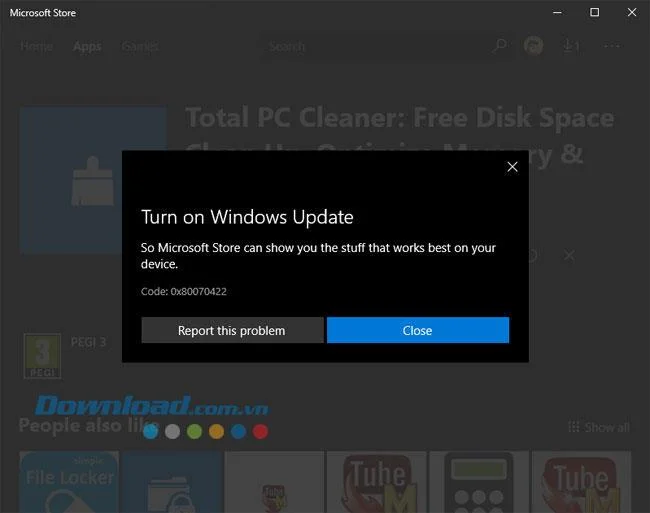
Step 5: If you encounter this error, you are turning off the Windows update feature.

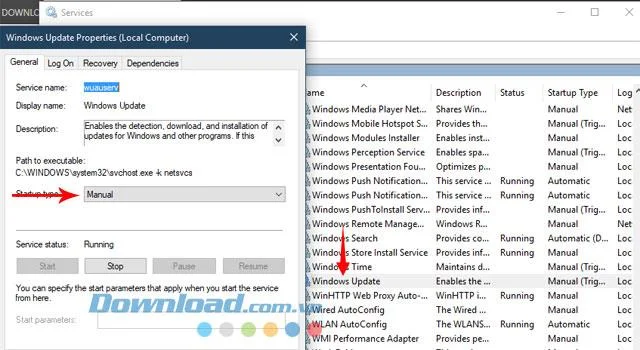
You can turn on Windows Update by pressing Windows + R key combination , when the RUN window appears , write Services.msc and click OK , then scroll down to find the Windows Update line , double-click. then change Disable to Manual or Automatic in the Starup type line .
Finally turn off the Services window, go out of Windows Store and click Download Total PC Cleaner again, you will see the downloaded software.

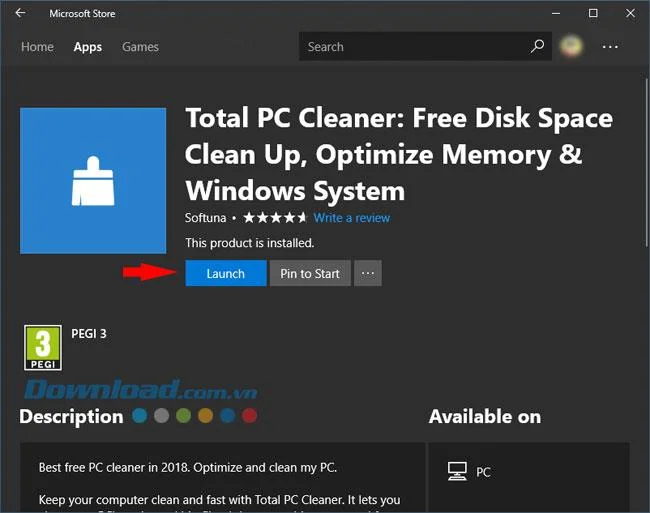
When you've finished downloading Total PC Cleaner , click Launch to launch the application, click Pin to Start to attach the application to the Start menu .

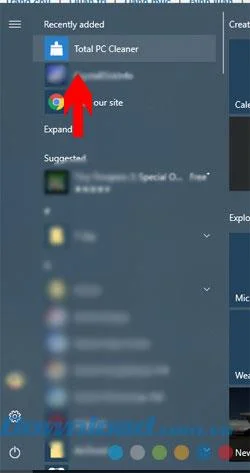
From there, you can go to Start to find the Total PC Cleaner application.

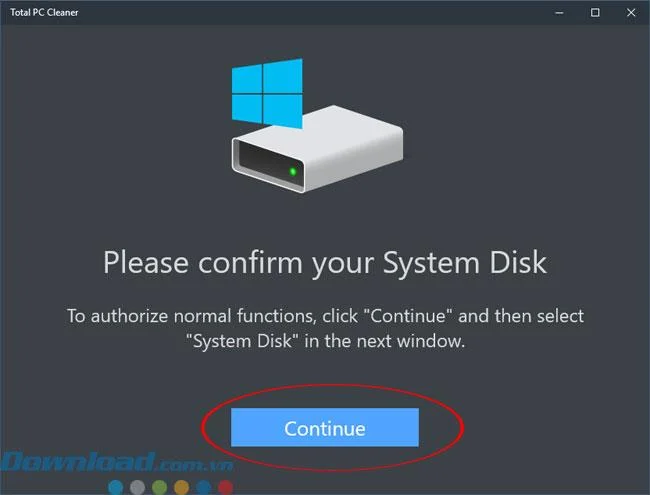
After starting the Total PC Cleaner application, click Continue to select the drive you want to scan.

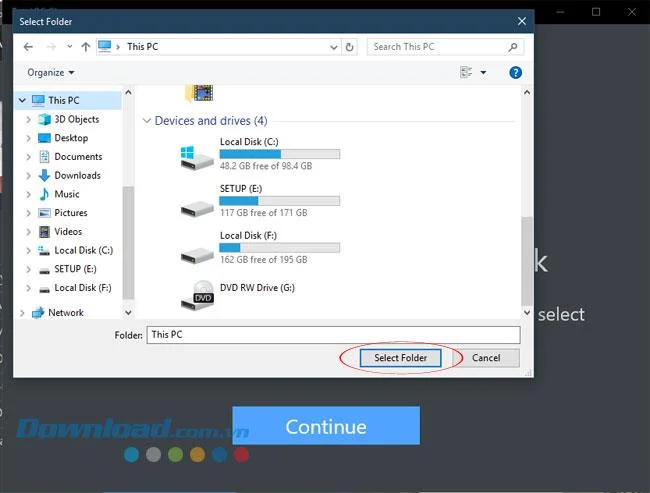
Click to select drive C: and then click Select Folder.

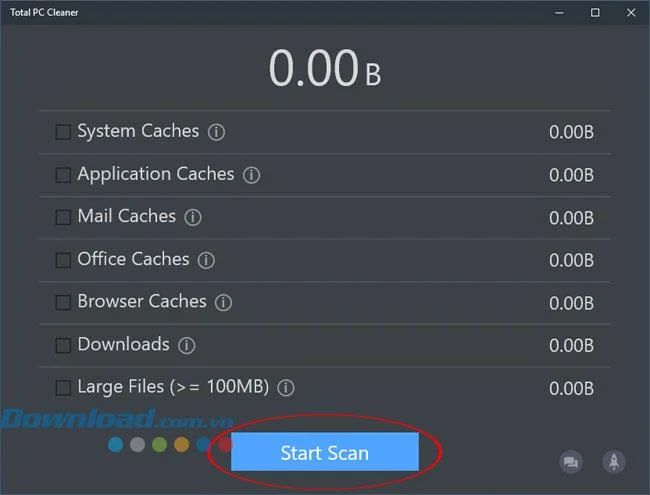
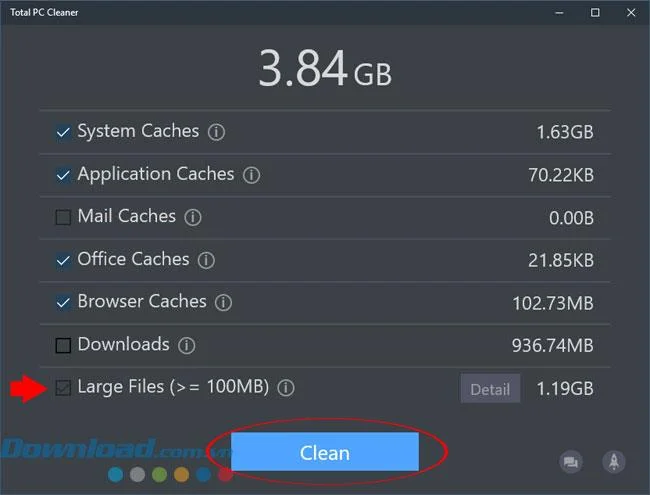
System information panel will appear after that, click Start Scan to perform scanning of junk files, unused files on your computer. In which the items in turn will have the following information:
- System Caches: Data caching computer system.
- Application Caches: Data caching application on the computer.
- Mail Caches: E-mail memory data on your computer
- Office Caches: Data caching data of Office software.
- Browser Caches: Browser cache data

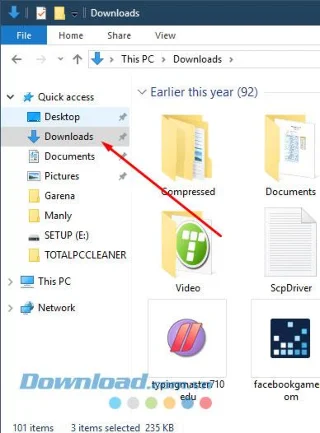
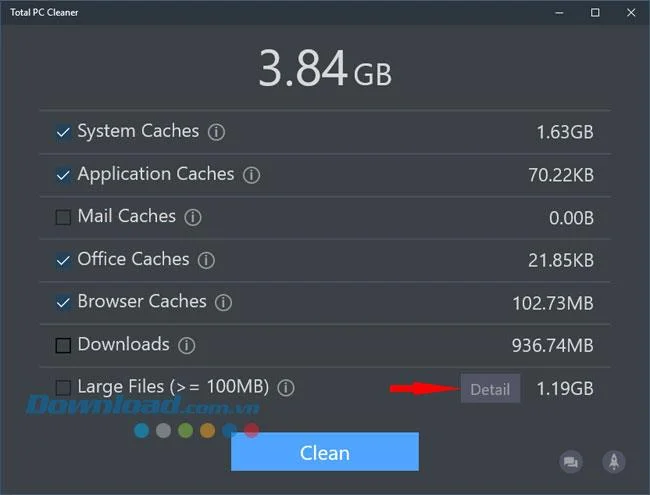
Especially here there will be two notes that the Download and Large File section, the Download section is the Download folder located in Quick Access in your My Computer .
If you check this item, please check the Download folder to see if there is anything to store, if so, please move them to a folder located on other partitions such as drive D, drive F ...

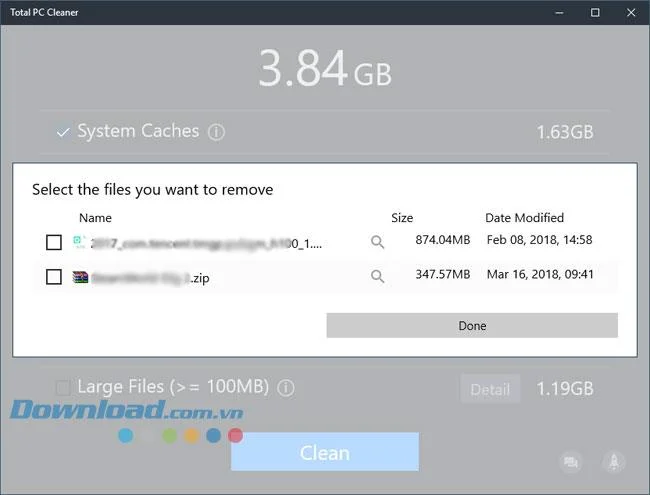
As for the Large File folder, which contains large files ( larger than 100mb ), you can review which files need to be deleted by clicking on Detail to see details of those large files.

In the Large File table , select any files you want to delete, then click Done to finish.

Once you have selected the file in the Large File section , outside the main interface you will see the Large File is checked, finally click Clean to conduct cleaning your system.

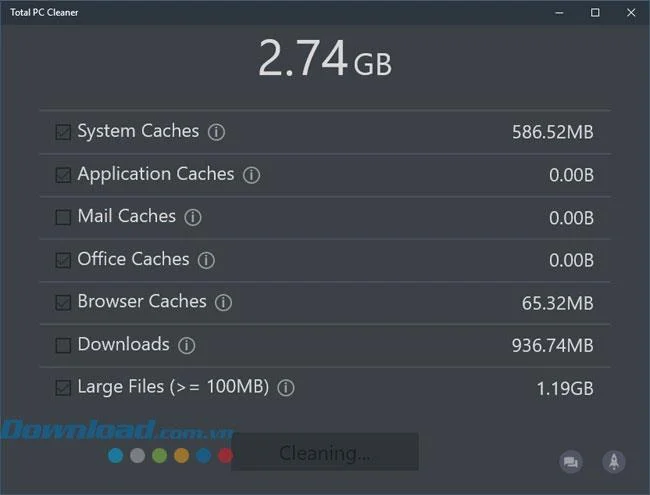
Wait a bit for the cleaning process to take place.

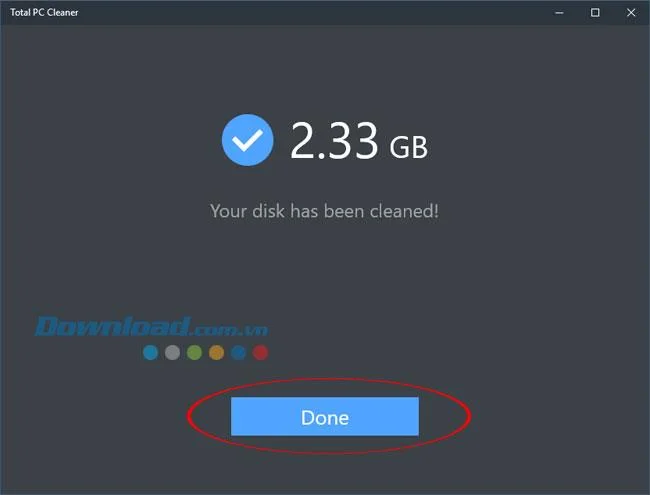
After you have finished scanning and cleaning your computer system, you will see the amount of cleaning Total PC Cleaner has done on your computer. Now just press Done to finish the job.

Above is a guide to using Total PC Cleaner on your computer, with the simplicity that Total PC Cleaner brings, you will clean junk on your computer, clean the system, clean the system and speed up your computer. easy way without the need for professional but heavy and complex computer cleaning software.
If it's been a long time since you've been expecting data and junk files on your computer, download Total PC Cleaner right away to your computer and quickly clean your system, avoiding computer problems. Slowing down affects your work.
Good luck!