Build a Custom AppArmor Profile on SUSE Linux
Create, refine, and verify a least-privilege AppArmor profile on SLES 15 SP7, with a clear note on SLES 16’s SELinux default.
SUSE announced SLES 16.0 on November 4, 2025, with SELinux replacing AppArmor as the default mandatory access control framework. If your server runs SLES 16, do not assume AppArmor is installed or active: confirm the framework supported by that deployment before using these commands. The procedure below follows SUSE's SLES 15 SP7 AppArmor documentation, where AppArmor is installed and running by default.
On SLES 15 SP7, the practical path for a custom application is to let aa-genprof create a starting profile, exercise the application in complain mode, review each logged request, then confirm the profile is enforcing. The example uses a hypothetical executable at /usr/local/bin/report-worker; replace it with your application's real executable path.
AppArmor profiles are text policies stored under /etc/apparmor.d. The apparmor-utils package supplies the profiling tools. Check the host and identify the actual executable, including whether a systemd unit launches a wrapper or child process:
sudo aa-status
command -v aa-genprof
systemctl status apparmor
readlink -f /usr/local/bin/report-worker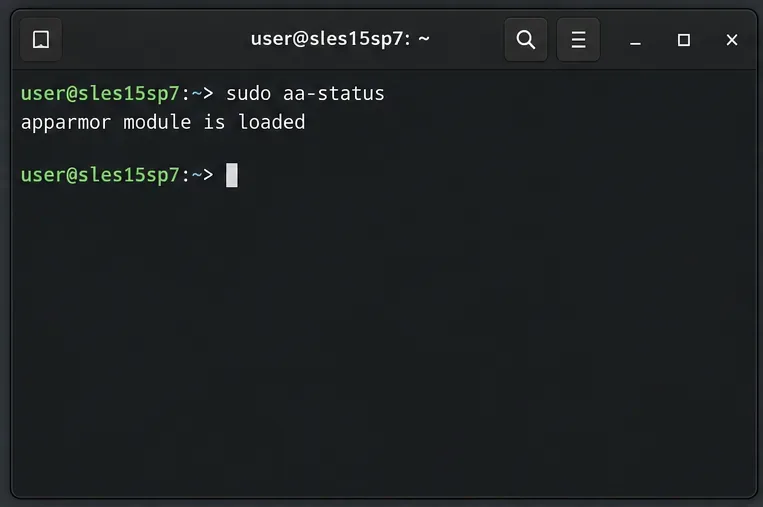
SUSE lists AppArmor as enabled by default on SLES 15 installations. If the tools or full AppArmor pattern are missing, install the pattern with sudo zypper in -t pattern apparmor. If AppArmor is not active, resolve why before profiling rather than assuming a profile file alone provides protection. A profile is attached to an executable path; profiling a wrapper when the real workload runs as another binary may leave the important process unconfined.
Start the generator. Stop the application if it is already running, then launch profile generation:
sudo systemctl stop report-worker
sudo aa-genprof /usr/local/bin/report-worker
The service name is an example. Use the real unit name, or omit the stop command if the program is not running. aa-genprof creates an approximate profile when one does not exist, puts it into complain (learning) mode, reloads it, and marks the log. Complain mode records out-of-policy requests but permits them; it is a temporary learning state, not enforcement.
Exercise real application behavior. Keep the generator open. In another terminal, start the service and run representative jobs or features:
sudo systemctl start report-worker
sudo journalctl -f
Cover normal startup, expected input and output paths, scheduled tasks, error handling, and any helper programs the application launches. A profile can only learn requests generated during the test. Do not use production-sensitive workloads just to generate events; a safe test environment and representative test data are preferable.
Review each access request. Return to aa-genprof and press S to scan the marked log range. For every prompt, decide whether the application genuinely needs that file, capability, or child-program transition. Allow the narrowest useful path and permission. Accept an abstraction when it accurately covers a common task; use a glob only when the matched files share the same trust and access requirements. Deny or skip requests that are incidental or unexplained.
Pay special attention to execute requests. An unconfined transition can let a child escape the parent's policy; use it only when there is a justified design need. Repeat the exercise and scan cycle after adding legitimate rules. When the profile covers the tested behavior, finish the generator. SUSE notes that completing a new aa-genprof learning cycle normally puts its profile into enforce mode.
Inspect the generated policy. For this example path, SUSE's naming convention converts slashes in the executable path to periods, producing /etc/apparmor.d/usr.local.bin.report-worker. Review the result instead of treating generated rules as automatically safe:
sudo less /etc/apparmor.d/usr.local.bin.report-worker
Check that the profile names the intended executable, uses required includes, and grants access only to the configuration, data, logs, sockets, and helper programs the application actually needs. Avoid broad rules such as unrestricted access under / or an entire writable tree just to silence a denial. The application still depends on ordinary Unix ownership and permissions; AppArmor adds a separate restriction layer.
Set the intended mode explicitly. After review, enforce the profile for the custom program:
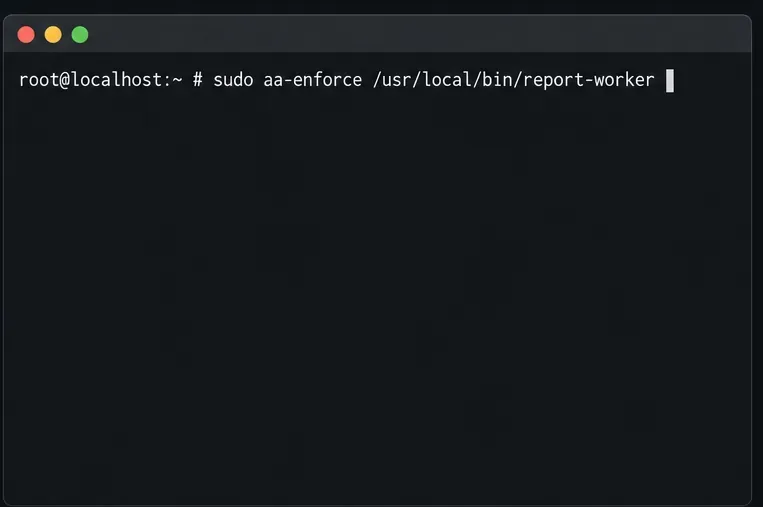
sudo aa-enforce /usr/local/bin/report-worker
If you edited the profile by hand after the generator exited, reload the profile set with sudo systemctl reload apparmor. SUSE documents reload as rescanning profiles without unconfining running processes. Restart the application service so the new policy applies to its process.
Run the same representative tasks again while the profile is in enforce mode. Confirm the service starts, reads its intended inputs, writes its expected output, and can perform required helper or network operations. Then inspect both the profile state and recent kernel messages:
sudo aa-status
sudo journalctl -k -g apparmor --since today
The custom executable should appear as loaded and in enforce mode. AppArmor denials in the kernel journal identify requests the policy blocked; use them to diagnose a real application failure, not as a reason to allow every logged path. For a legitimate missing permission, run sudo aa-logprof, review the suggestion, update the rule narrowly, reload if you edited manually, and rerun the affected application path.
For a continuously running service whose profiling must span reboots or longer observation, SUSE documents a separate systemic workflow using aa-autodep, aa-complain, and repeated aa-logprof scans. The stand-alone aa-genprof method is simpler when the learning run can stay open for the full test. Neither workflow can infer application behavior that was never exercised, so keep the profile under review when software or configuration changes.
Create, refine, and verify a least-privilege AppArmor profile on SLES 15 SP7, with a clear note on SLES 16’s SELinux default.
Set up RMT on SLES 15, mirror entitled repositories, and verify HTTPS registration and package access from a test client.
Connect SLES 15 to AD with YaST’s SSSD-based logon management, then verify directory lookup, domain login, and Kerberos tickets.
Set up the right Live Patching path for SLES 16.0 or 15 SP7, apply eligible kernel fixes, and confirm what is active without confusing it with a reboot-required kernel update.
Load a custom SLES 15 kernel module without disabling Secure Boot. Match the running kernel, sign the .ko file, enroll a MOK key, and verify loading.
SLES 15 SP5 can migrate online to SP6, but each node must reboot. Use a tested rolling upgrade or blue-green cutover to keep workloads reachable.
Use SUSE’s supported STIG profile to scan SLES 15, test remediation, review remaining findings, and retain assessment evidence.
Trace a failed Cockpit connection through DNS, port 9090, the systemd socket, firewalld, TLS, and login settings using current SUSE guidance.
Create a redundant Ethernet connection on SLES 15 with YaST and Wicked, configure active-backup bonding, and verify both ports and failover.
Turn an existing SLES 15 system into a reviewed AutoYaST profile, validate it, and use it to deploy a test server with fewer manual steps.