Configure Reliable Ethernet Failover with SLES 15 Bonding

Create a redundant Ethernet connection on SLES 15 with YaST and Wicked, configure active-backup bonding, and verify both ports and failover.
Use SUSE’s supported DISA STIG profile for SLES 15, scan the server with OpenSCAP, and remediate only after reviewing the baseline on a test system. For example, imagine a fictional administrator named Alex preparing one SLES 15 server for a regulated service: Alex uses the workflow below to identify findings, test changes, and assemble evidence, but does not treat a clean automated scan as a compliance approval.
The commands follow SUSE’s current STIG guidance for SLES 15. Profile content can change with package updates and DISA benchmark releases, so verify the applicable release and system-specific requirements before using this procedure. The terminal images illustrate commands and do not show real scan output.
Start by recording the host’s SLES service pack, purpose, network role, and applications. Alex writes down which services must remain available, how administrators connect, and the recovery method if a hardening change interrupts access. This scope matters: a database host and a general-purpose server may have different approved exceptions, even when both use the same operating-system STIG profile.
Check the installed release before selecting content:
cat /etc/os-release
hostnamectl
Then obtain the applicable SLES 15 STIG checklist and benchmark revision through the official DISA STIG downloads page. Match the checklist to the system family and follow your organization’s assessment instructions. SUSE documents support for the “DISA STIG for SUSE Linux Enterprise 15” SCAP profile, but that alone does not establish which release your authority requires or certify a host.
On a registered SLES system with access to the appropriate repositories, install the OpenSCAP command-line utilities and SCAP Security Guide content:
sudo zypper install openscap-utils scap-security-guideThe package names and the SLES 15 data-stream location below are documented by SUSE’s OpenSCAP hardening guide and SUSE’s STIG procedure. Package repositories and profile revisions may differ by service pack and update level. List the installed data streams and inspect the candidate file rather than assuming a filename or profile:
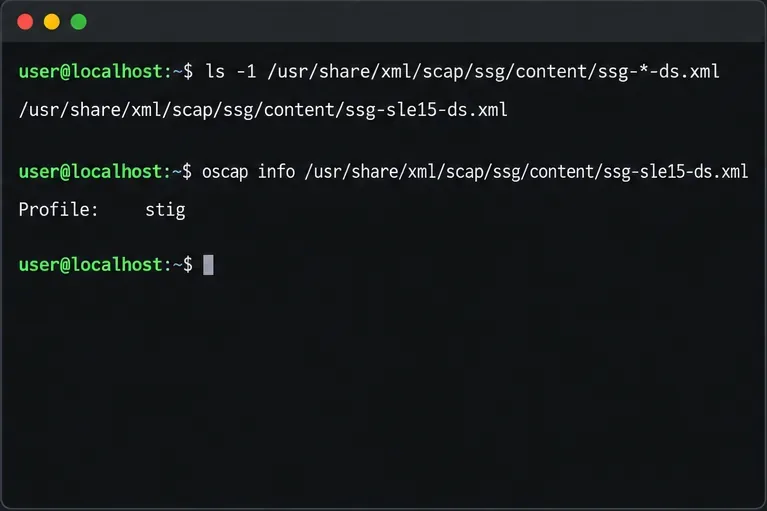
ls -1 /usr/share/xml/scap/ssg/content/ssg-*-ds.xml
oscap info /usr/share/xml/scap/ssg/content/ssg-sle15-ds.xml
Confirm that the SLES 15 data stream is present and that the profile list includes stig. If the file or profile is missing, stop and resolve the package or repository mismatch; do not substitute another operating system’s benchmark.
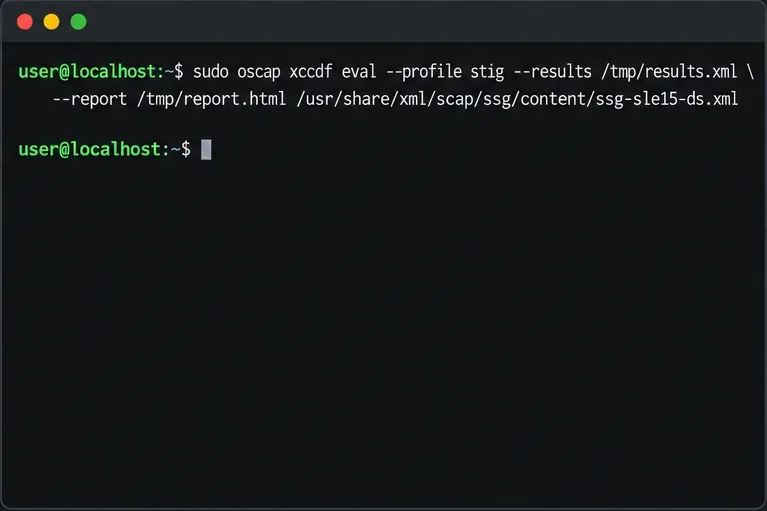
Create a protected evidence directory before producing reports. Scan first, without changing system settings:
sudo install -d -m 0700 /root/stig-review
sudo oscap xccdf eval \
  --profile stig \
  --results /root/stig-review/baseline.xml \
  --report /root/stig-review/baseline.html \
  /usr/share/xml/scap/ssg/content/ssg-sle15-ds.xml
Open the HTML report and review each result, especially failures, errors, and rules that could not be checked. Preserve the XML and report as sensitive configuration evidence. They can reveal host details and security posture, so store or transfer them only through approved channels.
Next, clone or snapshot the server in a non-production environment. Validate application behavior, identity access, networking, monitoring, and recovery before applying automated changes. SUSE warns administrators to test remediation outside production first because it changes system configuration. On the test host, the documented on-the-fly method is:
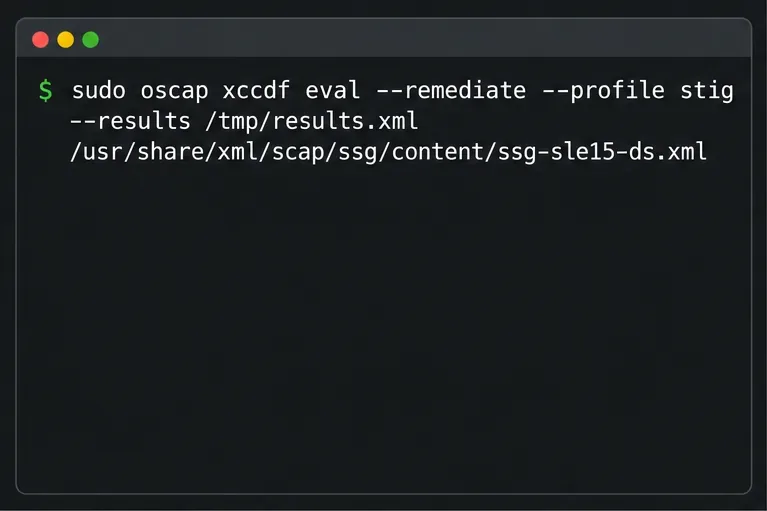
sudo oscap xccdf eval --remediate \
  --profile stig \
  --results /root/stig-review/remediation.xml \
  /usr/share/xml/scap/ssg/content/ssg-sle15-ds.xml
The generated result can include a pre-remediation and a post-remediation test result. A rule marked fixed indicates that its automated fix was applied and the rule passed that evaluation; an error means remediation failed for that rule. Neither status replaces operational testing or review of the underlying requirement.
After reviewing test behavior, run a separate scan with fresh output paths. A scan-only evaluation helps distinguish the current state from the remediation run:
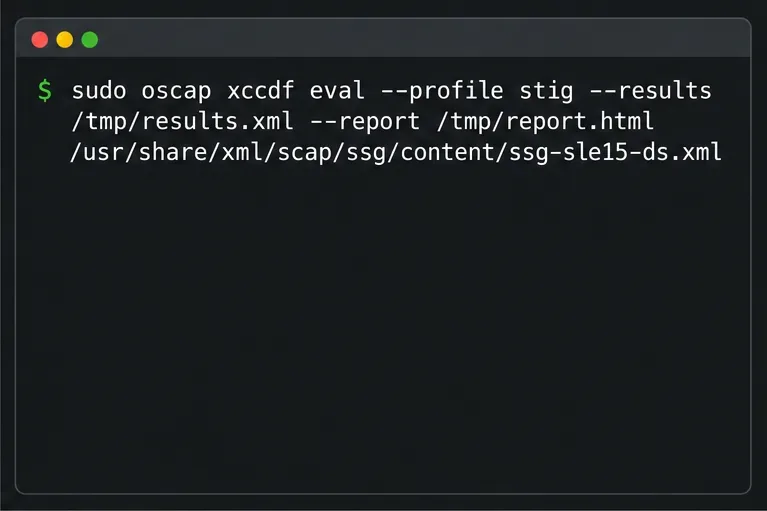
sudo oscap xccdf eval \
  --profile stig \
  --results /root/stig-review/final.xml \
  --report /root/stig-review/final.html \
  /usr/share/xml/scap/ssg/content/ssg-sle15-ds.xml
Do not expect every rule to be automatically fixable. Investigate failures against the rule’s full check and fix text in the exact DISA checklist version selected for the system. Some rules need a deliberate service-owner decision, a site-specific configuration, or manual evidence. If a rule is not applicable or cannot be met, document the rationale and compensating controls through the organization’s formal exception process; changing or tailoring a profile does not by itself make a requirement pass.
For checklist review, SUSE documents exporting an XCCDF file that can be imported into DISA STIG Viewer. Generate it with the supported option and then import it into the Viewer according to its current user instructions:

sudo oscap xccdf eval \
  --profile stig \
  --stig-viewer /root/stig-review/results_stig.xml \
  /usr/share/xml/scap/ssg/content/ssg-sle15-ds.xml
Alex’s evidence package for the fictional server records the host and service-pack identity, benchmark revision, SCAP content version, scan date, baseline and final reports, remediation actions, manual checks, and approved exceptions. Confirm that the files exist and remain readable only to authorized reviewers:
sudo ls -l /root/stig-reviewBefore declaring the task complete, verify that the final report reflects a scan performed after changes, every remaining finding has an owner and disposition, and the server’s required services still work. STIG compliance is an assessed state tied to a specific benchmark and system scope; OpenSCAP supports that assessment, but does not grant accreditation or guarantee that every site requirement has been met.
Create a redundant Ethernet connection on SLES 15 with YaST and Wicked, configure active-backup bonding, and verify both ports and failover.
Turn an existing SLES 15 system into a reviewed AutoYaST profile, validate it, and use it to deploy a test server with fewer manual steps.
Install the SLES 15 KVM and libvirt tools, enable the right host service, and configure selected virtual machines to start after a reboot.
Use systemd jobs and the previous boot journal to locate a slow service, mount, or storage dependency, then correct it without masking the cause.
Use firewall-cmd to inspect the active zone, allow HTTP safely, preserve SSH access, and verify that the rule survives a reload on SLES 15.
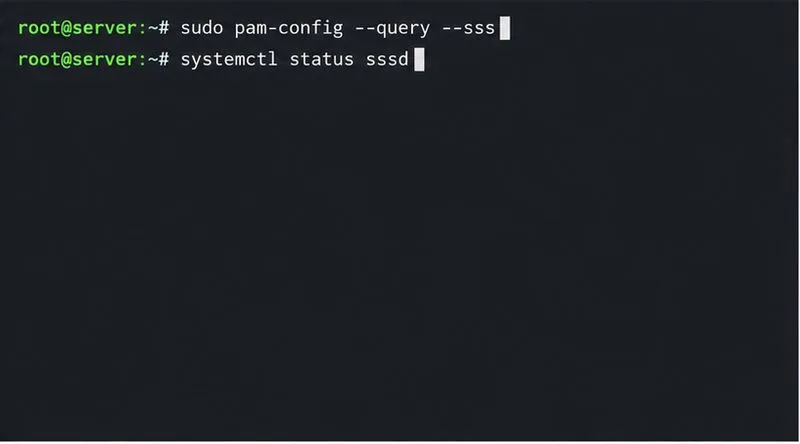
Trace a PAM failure to its service, account policy, or identity provider, then repair the right SLES configuration while preserving a working admin session.
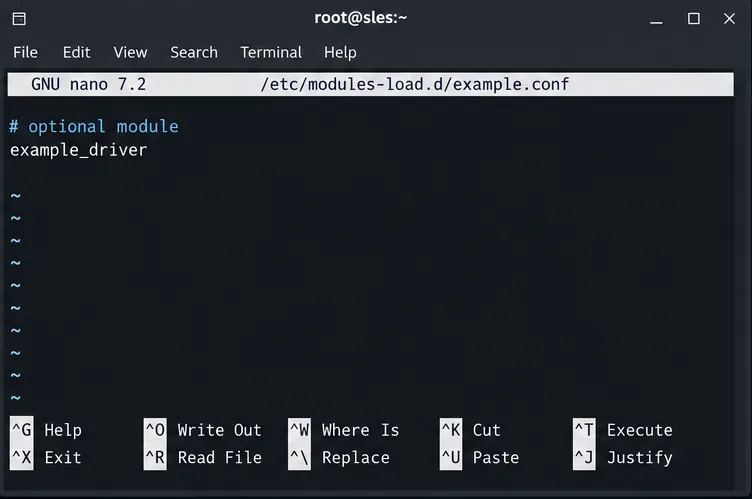
Trace a failed kernel module at SLES startup, correct an obsolete boot entry or repair the required driver, and verify the next boot.
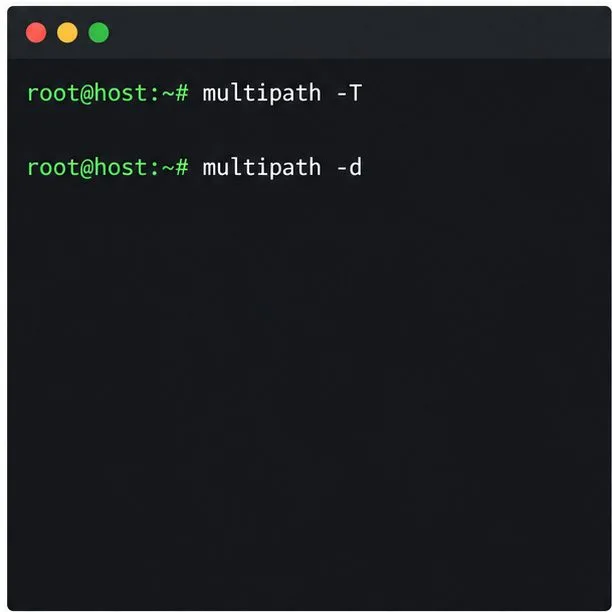
Prepare SCSI SAN paths, enable multipathd, inspect SUSE’s hardware defaults, and verify stable device maps without guessing array settings.
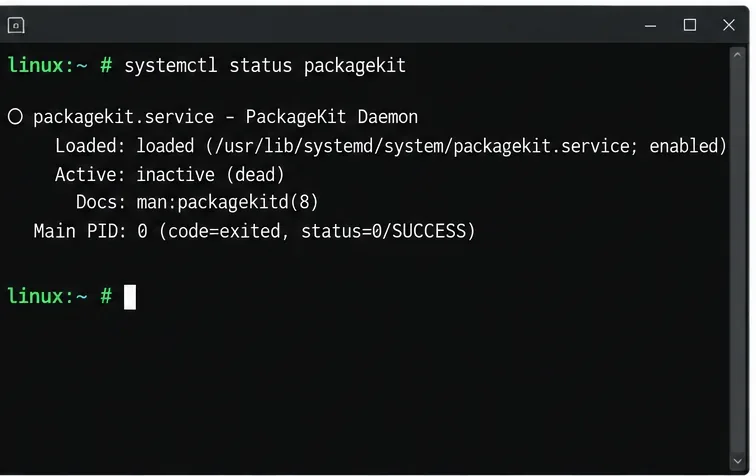
Find the process holding Zypper’s package lock, distinguish process conflicts from package locks, and retry updates without deleting lock files blindly.
Register SLE HA, bootstrap SLES 15 nodes, then add fencing, quorum, and tested service resources before relying on failover.