SLES Boot Module Load Failure: Find the Driver and Fix It
Trace a failed kernel module at SLES startup, correct an obsolete boot entry or repair the required driver, and verify the next boot.
For SCSI or DASD storage on SLES 15, use Device Mapper Multipath (DM-Multipath): make the array present the same LUN over multiple supported paths, enable multipathd, and verify the resulting map before pointing workloads at it. Start with SUSE’s detected hardware defaults and your storage vendor’s compatibility guidance; a generic multipath.conf copied from another array can set the wrong path behavior.
This procedure follows the SLES 15 SP7 Storage Administration Guide, checked October 2026. Match guidance and array settings to the installed service pack; no single configuration fits every SAN.
DM-Multipath combines multiple host-side paths to a single storage device into one map. It can keep I/O available when a connection path fails, but it does not protect against failure of the underlying LUN or array. SUSE’s SLES 15 guidance says native kernel multipathing is the default and recommended method for NVMe; use this DM-Multipath walkthrough for SCSI or DASD unless the array vendor documents a different supported configuration.
Before changing the host, confirm the array presents the same LUN through at least two paths, with zoning, LUN masking, host access, and HBA drivers configured as the vendor requires. Each path should report the same LUN identity.
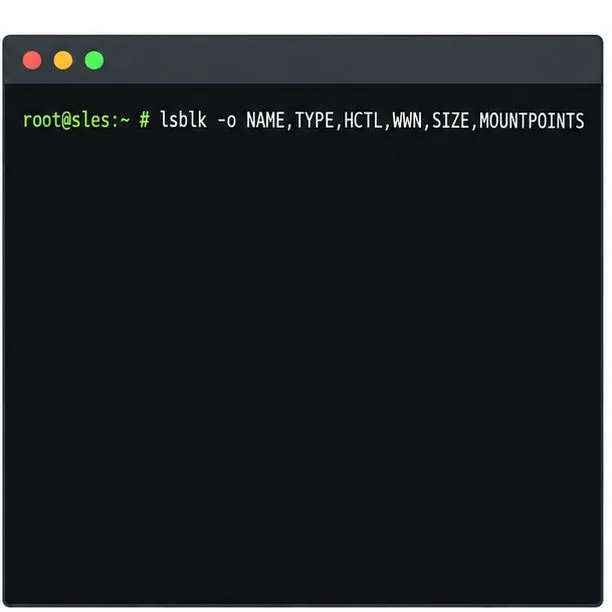
Run the following read-only inventory command to see the devices Linux currently detects:
lsblk -o NAME,TYPE,HCTL,WWN,SIZE,MOUNTPOINTSCapacity alone does not prove that devices share a LUN. If paths or WWN are missing, fix array presentation, zoning, masking, or HBA issues first. Identify any filesystem, LVM volume, or application using a raw /dev/sdX path; migrating a live consumer requires planning.
Install SUSE’s multipath tools and the partition mapping utility, if they are not already present:
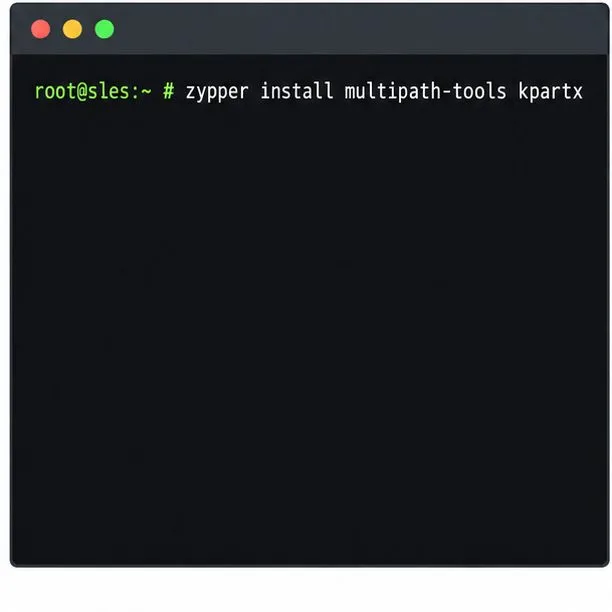
sudo zypper install multipath-tools kpartxEnable the daemon so it starts at boot, start it now, and check its status:
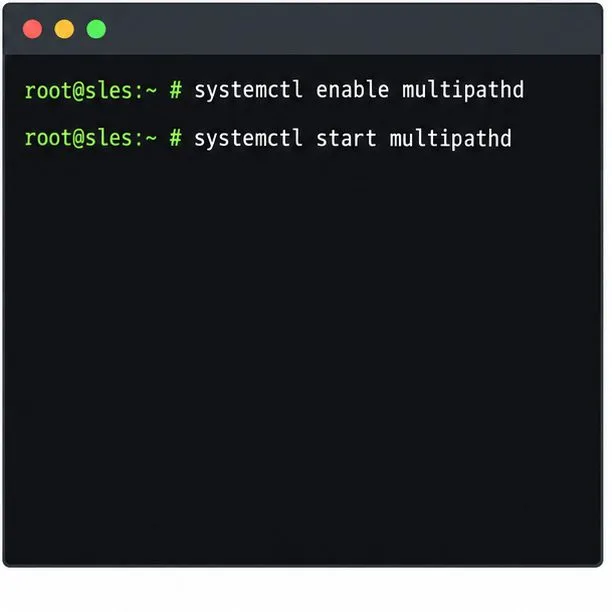
multipathd so it can discover and maintain multipath maps.sudo systemctl enable multipathd
sudo systemctl start multipathd
sudo systemctl status multipathdmultipathd manages detected maps. If disabled, maps might not be set up at boot. A running service alone does not prove that the array exposed multiple paths; inspect the map below.
Most supported hardware can use the built-in configuration, so an administrator often does not need to create /etc/multipath.conf. First ask the tools what hardware profile is detected and perform a dry run:
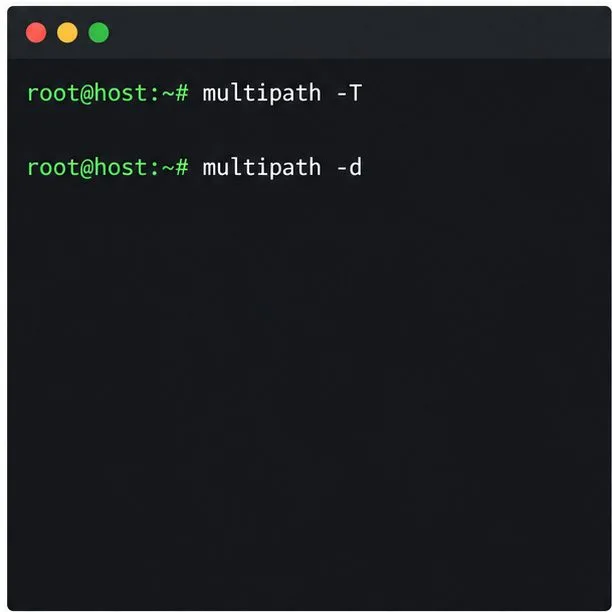
sudo multipath -T
sudo multipath -d
multipath -T displays the configuration settings that match detected hardware; it does not apply them. multipath -d is a dry run, useful for checking which maps would be formed without creating them. Compare the output with the array manufacturer’s current SLES guidance. The SUSE SLES 15 SP7 multipath chapter describes the tool behavior and configuration. For SUSE’s multipath setup notes, see SUSE Knowledgebase article 3955167.
Avoid adding broad blacklist rules or copied device stanzas as a first fix. Blacklisting can hide a device from multipath, while a device-specific override can alter path checking, grouping, or failover behavior. If SUSE and the array vendor specify different values, use the vendor’s supported combination for the installed service pack and escalate the discrepancy instead of guessing.
If you only need a stable, readable name, add an alias for the exact LUN WWID. For example, the configuration below maps one example WWID to data01; replace the sample identifier with the value for your LUN.
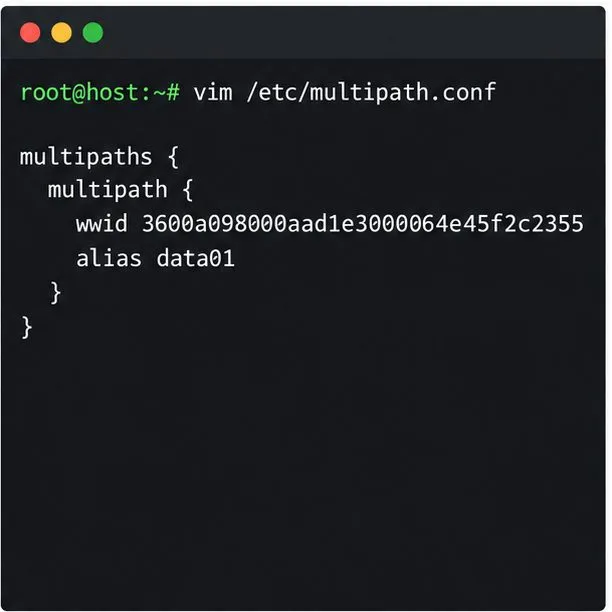
multipaths {
    multipath {
        wwid 3600a098000aad1e3000064e45f2c2355
        alias data01
    }
}
Save the stanza in /etc/multipath.conf. The WWID is the device identity; the alias changes the map’s readable name. An alias is optional, and it is not a substitute for matching the correct WWID. On a cluster, keep relevant aliases and multipath configuration consistent on every node so that resource definitions resolve the same storage device.
Do not set options such as path_checker, path_grouping_policy, failback, or no_path_retry from an unrelated example. The choice to queue I/O or return errors when all paths are unavailable is application- and array-dependent: queuing may preserve pending I/O during a brief interruption, but prolonged queuing can leave processes stalled and consume memory. Follow the storage and application vendor’s policy.
After saving a configuration change, ask the running daemon to reload it, then rebuild the initramfs:
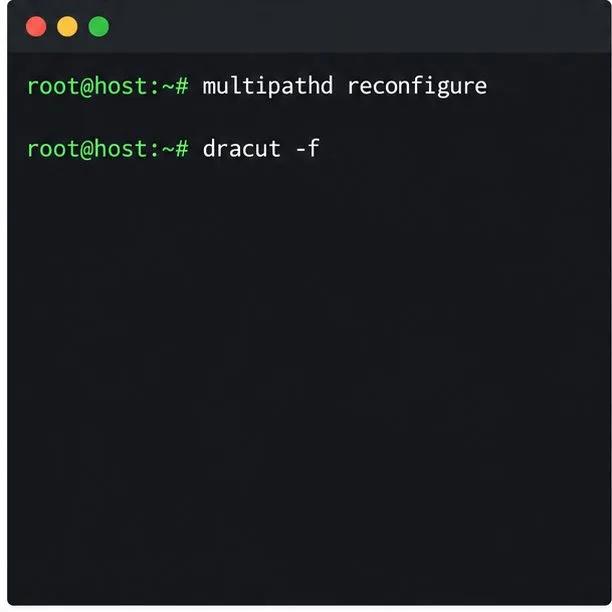
sudo multipathd reconfigure
sudo dracut -f
SUSE warns that the initramfs must stay synchronized with multipath configuration and related state files. A mismatch can prevent a system from booting normally or send it to an emergency shell. This is especially important when the root filesystem is on SAN storage: make the change during a controlled maintenance window, preserve console or recovery access, and follow the matching SUSE root-on-multipath instructions before rebooting.
Inspect the topology and confirm that the expected LUN appears once as a multipath map with all expected paths beneath it:
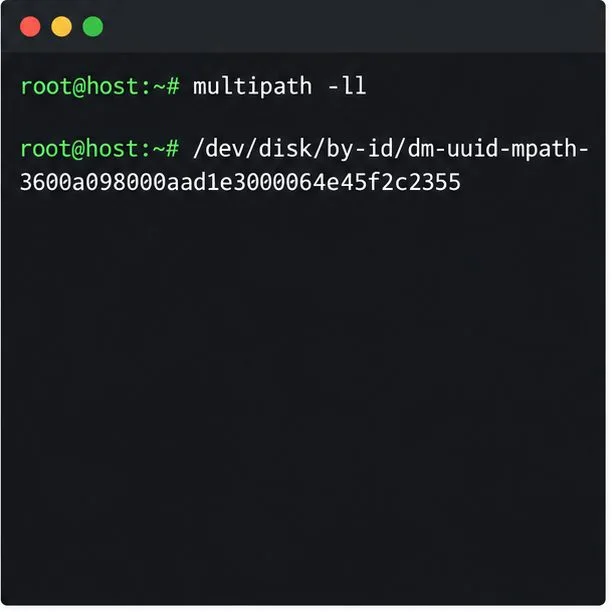
sudo multipath -ll
sudo multipathd show topology
ls -l /dev/disk/by-id/dm-uuid-mpath-*
In multipath -ll, ready indicates a usable path, faulty indicates a failed path, and ghost can describe a passive path in an active/passive array. Confirm the expected number of paths and interpret passive states against the array design. If the LUN is active, configure consumers to use the multipath device, such as /dev/mapper/data01 for the alias or the persistent /dev/disk/by-id/dm-uuid-mpath-<WWID> link. Avoid /dev/dm-N, whose number can change, and avoid binding workloads to an individual /dev/sdX path.
For resilience, schedule a vendor-supported single-path failover test and verify that the workload continues without I/O errors, then confirm the path returns. Do not unplug production links as an improvised test. The setup is ready when the expected WWID resolves to one map, all designed paths have appropriate states, boot configuration is synchronized, and consumers use the map rather than a single path.
Trace a failed kernel module at SLES startup, correct an obsolete boot entry or repair the required driver, and verify the next boot.
Prepare SCSI SAN paths, enable multipathd, inspect SUSE’s hardware defaults, and verify stable device maps without guessing array settings.
Find the process holding Zypper’s package lock, distinguish process conflicts from package locks, and retry updates without deleting lock files blindly.
Register SLE HA, bootstrap SLES 15 nodes, then add fencing, quorum, and tested service resources before relying on failover.
Trace a Zypper refresh error to SUSE, RMT, or a third-party endpoint, then apply the right server-side or cache fix without disabling essential updates.
Resolve SUSE LVM thin-pool space errors by checking data and metadata usage, expanding the pool safely, and preventing repeat outages.
Identify whether Btrfs is intentionally read-only, short on space, or protecting data after errors, then choose a recovery path that fits the cause.
Prepare mirrored channels, create an activation key, and bootstrap an SLES 15 client without direct internet access while preserving the connection needed for Manager check-ins.
Fix YaST’s XIO launch error over SSH, verify X11 forwarding and xauth, and switch to the ncurses interface when a remote window is unnecessary.
Find the pre-update Btrfs snapshot, test it read-only, and make recovery permanent with Snapper while understanding which data stays outside the root rollback.