Build a Local SUSE Update Server with RMT on SLES 15
Set up RMT on SLES 15, mirror entitled repositories, and verify HTTPS registration and package access from a test client.
For a new local SUSE subscription and update server, install Repository Mirroring Tool (RMT) on a supported SLES 15 host, configure it with YaST, enable the products your organization uses, and mirror their repositories. Register a test client through the server's HTTPS URL before directing production systems to it. RMT replaces SMT for SLES 15; a legacy SMT installation is not the right starting point for a new deployment.
This design fits an environment where one server reaches SUSE Customer Center (SCC) and other SUSE systems receive registration and packages through a local endpoint. It can reduce repeated external downloads, but it does not provide subscription entitlement: valid organization subscriptions and SCC mirroring credentials are still required.
The SLES 15 SP7 Repository Mirroring Tool Guide says RMT supports SLES 12 and newer clients, but not SLES 11 or older. RMT also differs from SMT in features such as staging and reporting. Treat a migration as a service change, not an in-place package update; SUSE recommends installing RMT on a new SLES 15 host when migrating from SMT.
Assign a stable fully qualified domain name (FQDN), such as rmt.example.com, and a static address. Make sure DNS resolves consistently and the host can reach SCC and SUSE update services over outbound ports 80 and 443. Clients need network access to the RMT service over HTTPS. Use the same FQDN in the client URL and the server certificate.
Plan storage based on the releases, architectures, products, and repositories you will mirror. SUSE's SP7 guide gives roughly 1.5 times the total size of enabled repositories as a general estimate, about 200 GB per SLES release including extensions. This is an estimate, not a capacity guarantee; check current repository sizes and leave room for growth. RMT also writes large temporary files to /tmp, so ensure that filesystem has sufficient free space. Do not configure the same host as a SLES installation server: RMT configures NGINX on port 80, while the installation-server role configures Apache on that port.
On an updated, registered SLES 15 server, install RMT:
sudo zypper patch
sudo zypper in rmt-server
Review the package changes and complete the installation. Launch the initial configuration:
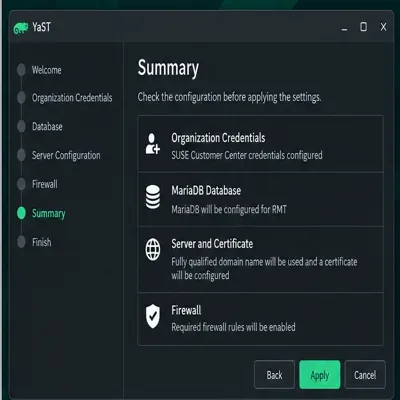
sudo yast2 rmtEnter the SCC organization credentials used for repository mirroring. They are the organization's proxy credentials in SUSE Customer Center, not a client registration code. Create the MariaDB database and user requested by the wizard. Set the certificate common name to the server FQDN and add any other names clients will use as alternative names. If firewalld is enabled, select the required RMT rules and, where practical, scope them to the server's relevant network interface. Finish the wizard; YaST enables and starts the needed services and timers.
YaST stores the RMT CA certificate at /etc/rmt/ssl/rmt-ca.crt and the server certificate and key under /etc/rmt/ssl/. Protect the private key. Distribute trust for the CA using your approved process. A server that responds over HTTPS can still fail client registration if its certificate name does not match the requested hostname or its CA is not trusted.
Update the local catalog from SCC and inspect the available products:
sudo rmt-cli sync
sudo rmt-cli products list --all
Enable a product by its ID or product string shown in that output. Product strings vary by release and architecture, so use a value from your own server instead of copying a guessed identifier:
sudo rmt-cli products enable PRODUCT_STRING
sudo rmt-cli products list
Enabling a product selects its associated repositories. Limit the selection to the systems you intend to support: each additional release and architecture consumes storage and adds synchronization work. Start the initial package download with:
sudo rmt-cli mirrorThe initial mirror can take considerable time. RMT normally schedules metadata synchronization and repository mirroring with systemd timers. Check that both schedules are active:
systemctl status rmt-server-sync.timer
systemctl status rmt-server-mirror.timer
Use rmt-cli products list and rmt-cli repos list to confirm that the intended entries are enabled and show recent mirror activity. If repositories are missing, check SCC credentials, subscription entitlement, outbound connectivity, disk space (including /tmp), and command output before repeatedly restarting services.
On a SLES 12 or newer test system, point SUSEConnect at the RMT server:
sudo SUSEConnect --url https://rmt.example.comSubstitute your actual FQDN and ensure it is included in the certificate. If the client prompts to trust the RMT CA, verify the certificate through your organization's approved channel before accepting it. Do not work around a name mismatch by disabling certificate checks. Then inspect the configured repositories and refresh metadata:
sudo zypper lr -u
sudo zypper refresh
A successful result shows expected RMT-backed repositories enabled and a completed metadata refresh. On the server, confirm that the client appears in sudo rmt-cli systems list. If registration fails, check DNS and routing, HTTPS reachability, certificate trust and hostname match, firewall scope, and whether the product is enabled and mirrored. Review command output and service logs before changing shared configuration.
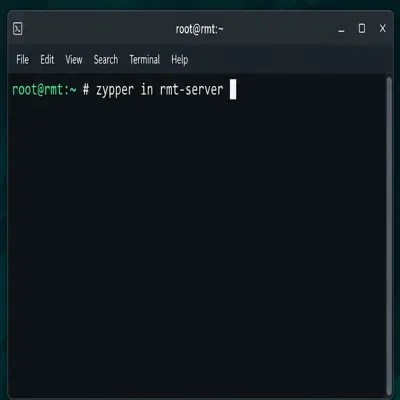
Install the RMT package on the prepared SLES 15 host.
Review the SCC, database, FQDN certificate, and firewall settings before applying the YaST configuration.
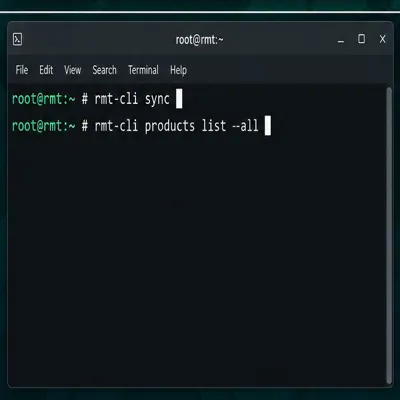
Refresh the product catalog and inspect the product strings available for mirroring.
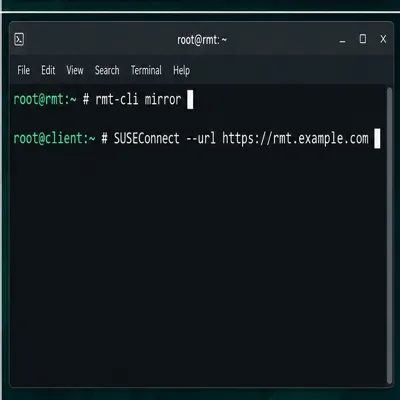
Start repository mirroring and register a test client with the server's HTTPS hostname.
Use SUSE Multi-Linux Manager or another supported lifecycle-management service if you need capabilities RMT does not offer, such as broader client management, reporting, or staged content workflows. Keep SMT only where legacy SLES 11 clients or SMT-specific behavior remain requirements, and test migration separately. An air-gapped network needs a data-transfer workflow: SUSE documents RMT export and import commands to move repository data and metadata using removable storage. RMT can mirror only products available to the organization's subscriptions.
Official documentation for SLES 15 SP7: RMT installation and configuration; Repository Mirroring Tool Guide; Migrating from SMT to RMT.
Set up RMT on SLES 15, mirror entitled repositories, and verify HTTPS registration and package access from a test client.
Connect SLES 15 to AD with YaST’s SSSD-based logon management, then verify directory lookup, domain login, and Kerberos tickets.
Set up the right Live Patching path for SLES 16.0 or 15 SP7, apply eligible kernel fixes, and confirm what is active without confusing it with a reboot-required kernel update.
Load a custom SLES 15 kernel module without disabling Secure Boot. Match the running kernel, sign the .ko file, enroll a MOK key, and verify loading.
SLES 15 SP5 can migrate online to SP6, but each node must reboot. Use a tested rolling upgrade or blue-green cutover to keep workloads reachable.
Use SUSE’s supported STIG profile to scan SLES 15, test remediation, review remaining findings, and retain assessment evidence.
Trace a failed Cockpit connection through DNS, port 9090, the systemd socket, firewalld, TLS, and login settings using current SUSE guidance.
Create a redundant Ethernet connection on SLES 15 with YaST and Wicked, configure active-backup bonding, and verify both ports and failover.
Turn an existing SLES 15 system into a reviewed AutoYaST profile, validate it, and use it to deploy a test server with fewer manual steps.
Install the SLES 15 KVM and libvirt tools, enable the right host service, and configure selected virtual machines to start after a reboot.