Set Up a LUKS-Encrypted Data Volume on SLES
Compare YaST and cryptsetup for a new encrypted SLES data volume, choose LUKS1 or LUKS2, and verify unlock and mount behavior safely.
For a new data volume on SUSE Linux Enterprise Server, use YaST Expert Partitioner if you want SUSE to create the encrypted partition and its mount configuration in one workflow. Use cryptsetup when you need a repeatable command-line setup and can also manage /etc/crypttab, /etc/fstab, and boot testing. Neither method encrypts an existing volume in place without risk: creating LUKS on a partition overwrites its contents.
This follows SLES 15 SP7 documentation; older service packs may differ. Scope: a new data partition, not root, /boot, or a production database disk without a change plan. Back up data and confirm the target and passphrase recovery before starting.
| Choice | Best fit | Main trade-off |
|---|---|---|
| YaST Expert Partitioner | One new data volume on a SLES host | Fewer manual config edits; available options and labels depend on the installed SLES service pack. |
cryptsetup | Automation or an administrator who wants explicit control | You must configure unlock and mount behavior yourself and test it before rebooting into production. |
| LUKS1 | Compatibility with older tools or systems | Older header format and fewer key slots than LUKS2. |
| LUKS2 | New deployments where the whole software stack supports it | YaST requires enabling its LUKS2 support explicitly; PBKDF choice affects compatibility and memory use. |
YaST supports LUKS2 from SLES 15 SP4, but SUSE labels its selector experimental and requires explicit enablement. Do not alter production boot parameters just to expose it. If the running-system partitioner does not offer LUKS2, use the verified CLI route or YaST’s available default. LUKS2 has a newer header, supports up to 32 keys and labels, and can use Argon2, which consumes more memory. Choose LUKS1 for older-tool compatibility; choose LUKS2 only after testing the service pack, recovery tools, and backups. See SUSE’s YaST Expert Partitioner reference for the exact options.
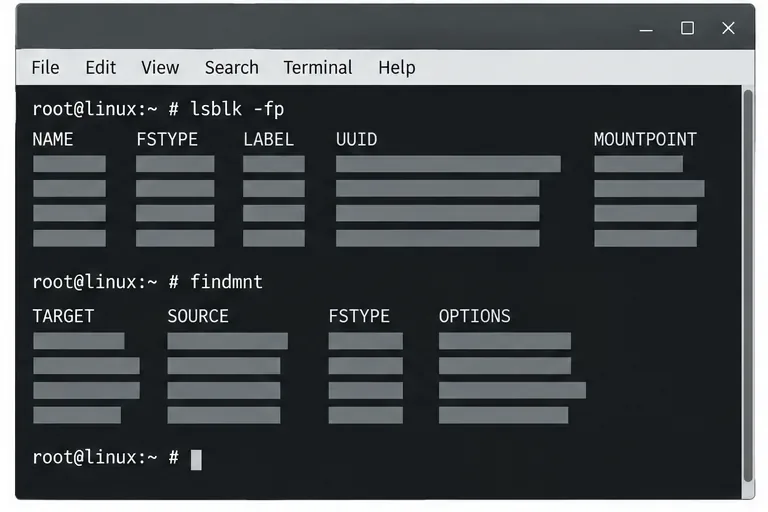
lsblk -fp and findmnt. Match the disk or partition by stable device identifier, size, current filesystem, and mount point. Confirm it is a dedicated, backed-up target. If it contains data you need, stop; YaST’s encryption workflow formats the selected partition./etc/fstab at startup or remain available for manual mounting. SUSE notes that required encryption software may need to be installed when prompted.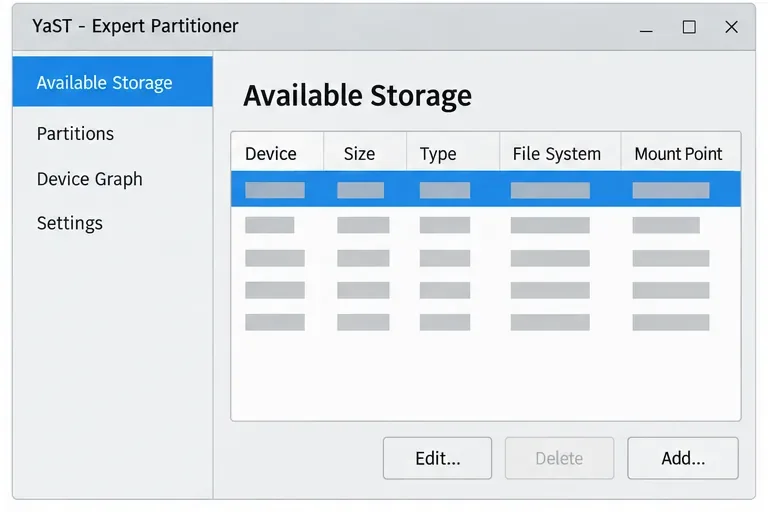
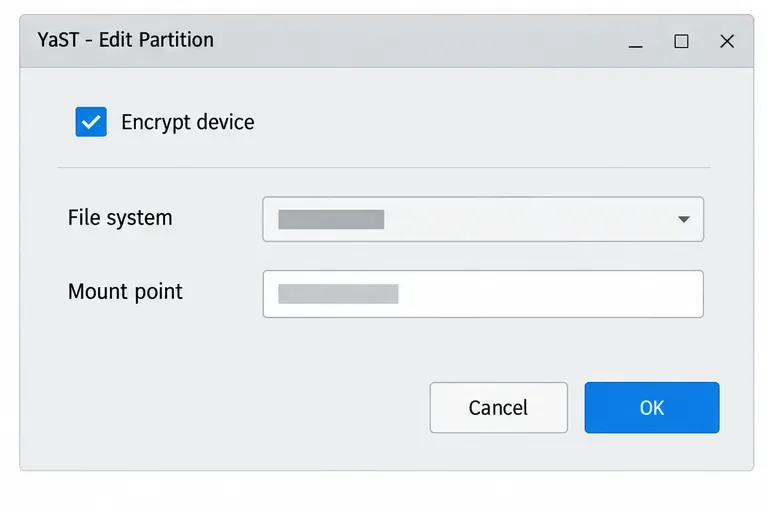
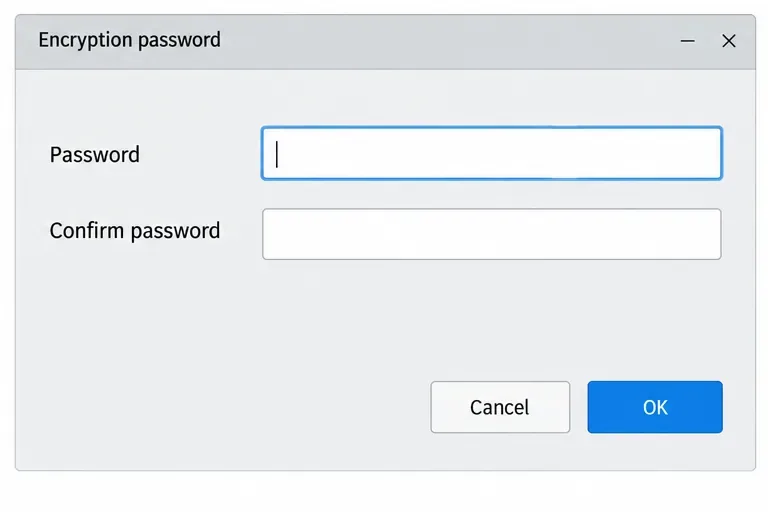
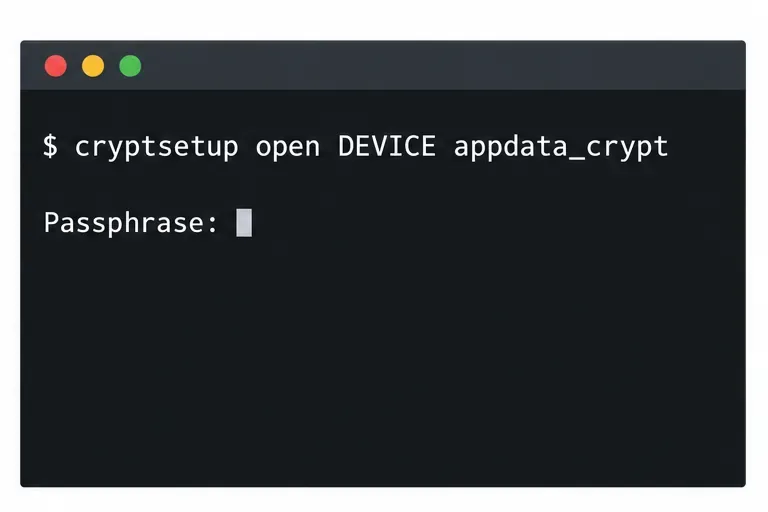
cryptsetup: more control, more manual workUse this alternative only for a new, unmounted partition that you have verified and backed up. Check that cryptsetup is installed with cryptsetup --version; if it is missing, use the approved SLES repository and your organization’s package process. Replace the placeholder with the confirmed stable path under /dev/disk/by-id/. The formatting command destroys data on that target; never run it against a guessed /dev/sdX name. SUSE’s SLES 15 SP7 encryption guide explains the YaST workflow and its limitations.
DEVICE=/dev/disk/by-id/REPLACE_WITH_VERIFIED_ID
sudo cryptsetup luksFormat --type luks2 "$DEVICE"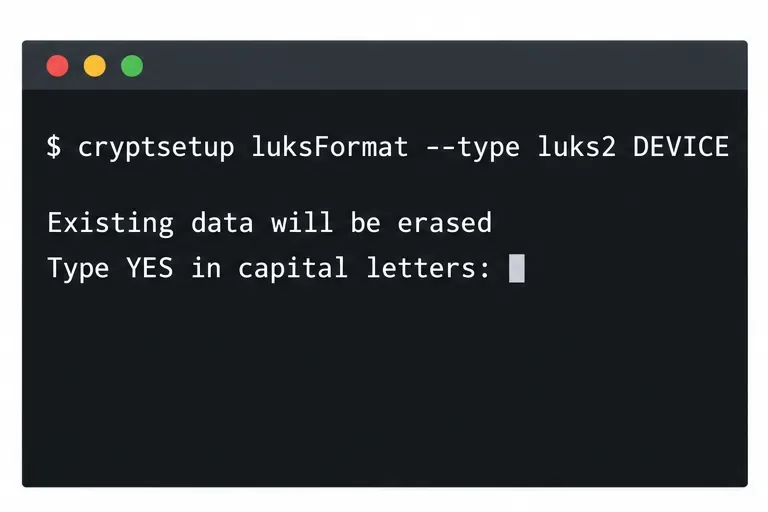
luksFormat initializes a LUKS header and overwrites the target’s existing contents. Verify the device identifier before confirming./dev/mapper/appdata_crypt after you enter the passphrase.sudo cryptsetup open "$DEVICE" appdata_crypt/srv/appdata. Creating a filesystem erases data on the mapped device, so run it only on the new mapping.sudo mkfs.xfs /dev/mapper/appdata_crypt
sudo mkdir -p /srv/appdata
sudo mount /dev/mapper/appdata_crypt /srv/appdata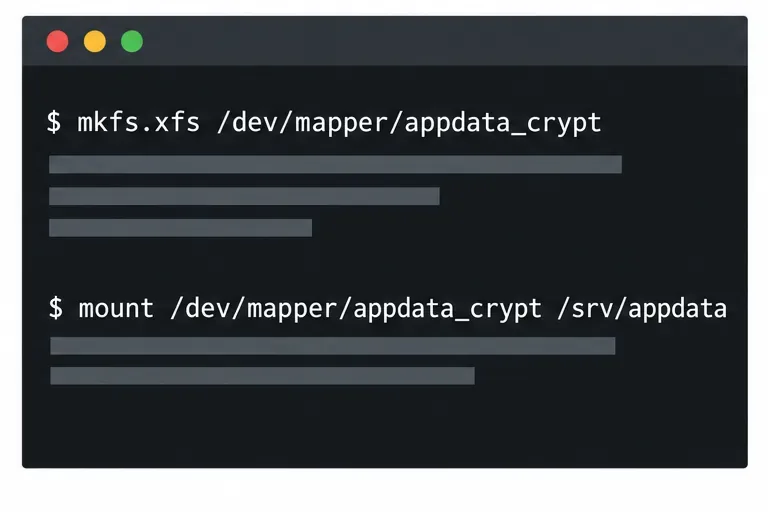
/etc/crypttab and the mapper mount to /etc/fstab. Retrieve the LUKS UUID with sudo cryptsetup luksUUID "$DEVICE", then replace the example placeholder in the config:# /etc/crypttab
appdata_crypt UUID=PASTE_LUKS_UUID_HERE none luks
# /etc/fstab
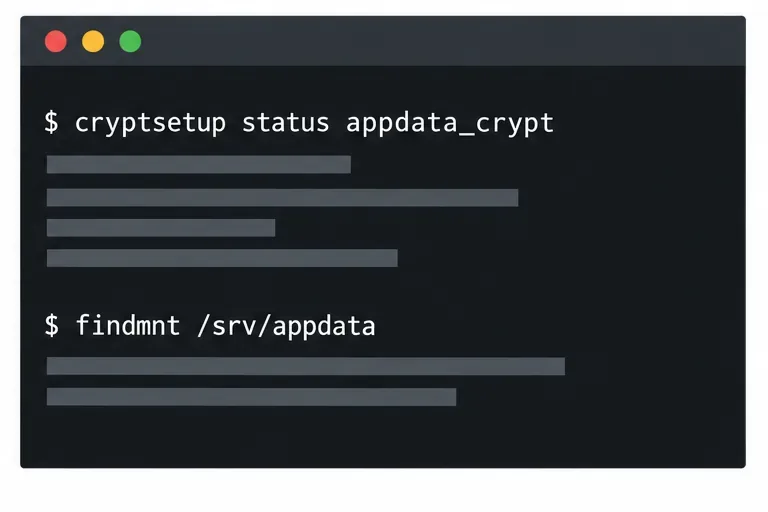
/dev/mapper/appdata_crypt /srv/appdata xfs defaults 0 2Test the mapping and mount before rebooting. Confirm that cryptsetup status appdata_crypt reports the expected mapping, findmnt /srv/appdata reports XFS at the intended path, and lsblk -f shows the encrypted container and mapped filesystem. If the server is headless, a boot-time passphrase prompt may prevent unattended mounting; do not store a plaintext key on the same host. For centrally managed server keys, SUSE’s cryptctl documentation describes a separate key-server design with its own availability, backup, and trust requirements.
LUKS protects data on a locked device, such as a disk removed from a powered-off server. Once mounted, host permissions govern access. Encrypt backups separately and store a LUKS header backup with protected recovery material. LUKS does not protect an unlocked volume or a compromised running system.
For one SLES data volume, prefer YaST when its available format meets your requirements. Use cryptsetup when automation justifies managing the extra configuration. Before service resumes, verify unlock, mount, application access, and recovery.
Compare YaST and cryptsetup for a new encrypted SLES data volume, choose LUKS1 or LUKS2, and verify unlock and mount behavior safely.
Create, refine, and verify a least-privilege AppArmor profile on SLES 15 SP7, with a clear note on SLES 16’s SELinux default.
Set up RMT on SLES 15, mirror entitled repositories, and verify HTTPS registration and package access from a test client.
Connect SLES 15 to AD with YaST’s SSSD-based logon management, then verify directory lookup, domain login, and Kerberos tickets.
Set up the right Live Patching path for SLES 16.0 or 15 SP7, apply eligible kernel fixes, and confirm what is active without confusing it with a reboot-required kernel update.
Load a custom SLES 15 kernel module without disabling Secure Boot. Match the running kernel, sign the .ko file, enroll a MOK key, and verify loading.
SLES 15 SP5 can migrate online to SP6, but each node must reboot. Use a tested rolling upgrade or blue-green cutover to keep workloads reachable.
Use SUSE’s supported STIG profile to scan SLES 15, test remediation, review remaining findings, and retain assessment evidence.
Trace a failed Cockpit connection through DNS, port 9090, the systemd socket, firewalld, TLS, and login settings using current SUSE guidance.
Create a redundant Ethernet connection on SLES 15 with YaST and Wicked, configure active-backup bonding, and verify both ports and failover.