Limit Optional Diagnostics and Update Data in LibreOffice
Turn off LibreOffice’s optional update statistics and crash-report prompts, then check what the settings cover and how to verify them.
What is Godmode?
If you are a long-time Windows user, you must have heard of GodMode. In fact, GodeMode is called Windows Master Control Panel Shortcut.
GodMode is a special folder in Windows that gives you access to over 200 tools and settings that are usually hidden in the Control Panel and other windows and folders. When enabled, God Mode lets you do everything from quickly launching the disk defragmenter , viewing the event log, accessing the Device Manager , adding a Bluetooth device , formatting a hard drive partition , updating drivers , opening the Task Manager , changing display settings , customizing the mouse, hiding file extensions, changing font settings , renaming files , and much more.
For users who want to learn more about Windows 10/8/7, or simply want to learn and explore new features on Windows, they can use God Mode. This mode helps users dig deeper into the operating system, and can display settings that are not displayed on Windows. In the article below, WebTech360 will guide you how to activate God Mode on Windows 10, 8 and Windows 7.
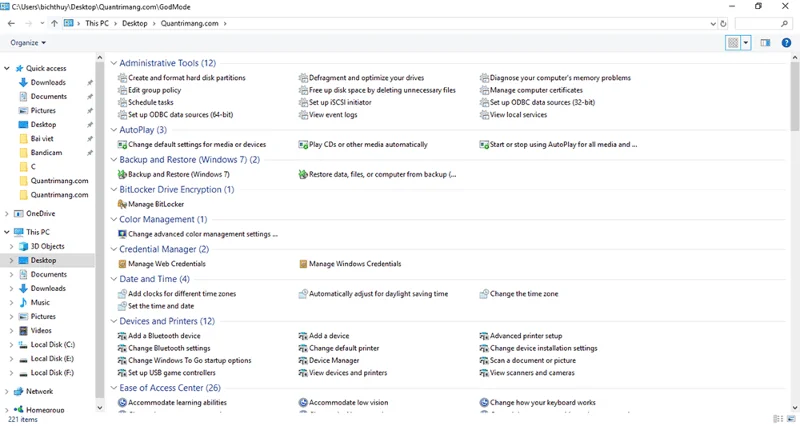
GodMode folder on Windows 10 (Click image to view larger size)
Enable GodMode on Windows 10
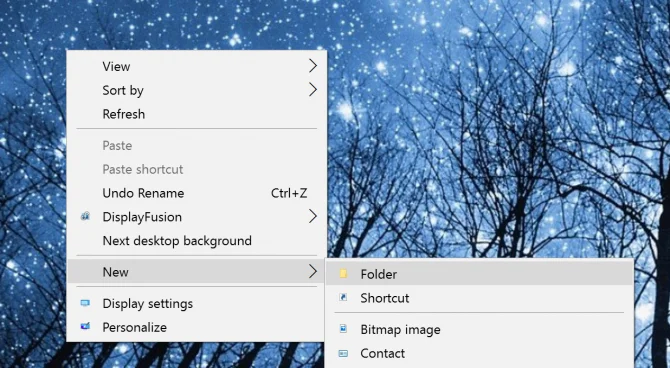
Step 1: Create a new folder by right-clicking on the Desktop screen => select New => Folder.
Step 2: Name the folder:
GodMode.{ED7BA470-8E54-465E-825C-99712043E01C}
Note: You can replace GodMode with any name you want, such as JediMode or NinjaMode....
Step 3: Open the GodMode folder you just created to access over 260 commands, from Admin tools to backup tools, and several other important settings options.
Additionally, you can drag and drop any command from the GodMode folder to the Desktop screen to quickly access options.
Enable GodMode on Windows 10 using Extended GodMod tool
Updated on October 19, 2020
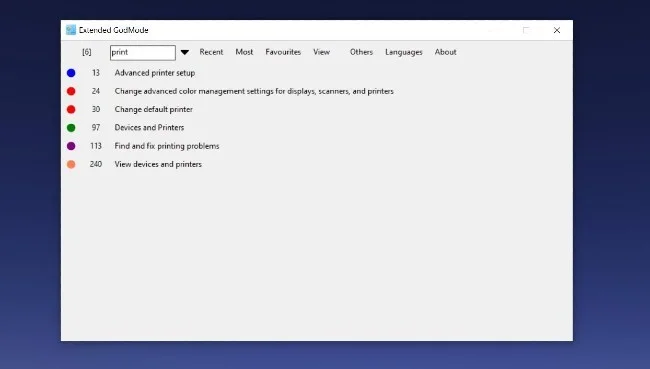
Extended GodMode is a free tool designed to enhance the default God Mode experience on Windows 10. With this tool, you still have access to over 200 options and settings like the default God Mode. However, it provides you with lists, filters, and a search box to make it easier for you to find what you need.
If you can't find the setting you need, you can use the search box on Extended GodMode. Your search results will be saved so you can access them later.
In addition, you can also create a list of favorite settings and mark them for faster adjustment in the future. Extended GodMode tool is provided for free, download and open, no installation required.
You can download Extended GodMode at the link below:
https://www.downloadcrew.com/download/39243/extended_godmodeCreate shortcuts to access quick settings from the screen
In the above section, you saw that we can create a shortcut to access God Mode on Windows 10 by renaming a folder with a special code. This method can also be used to create shortcuts to quickly access settings menus from the desktop. For example, you can rename a folder with the code {D20EA4E1-3957-11d2-A40B-0C5020524153} to quickly access Administrative Tools.
Other codes you can use include:
Enable GodMode on Windows 8/7
Step 1: Right-click on the desktop and select New => Folder .
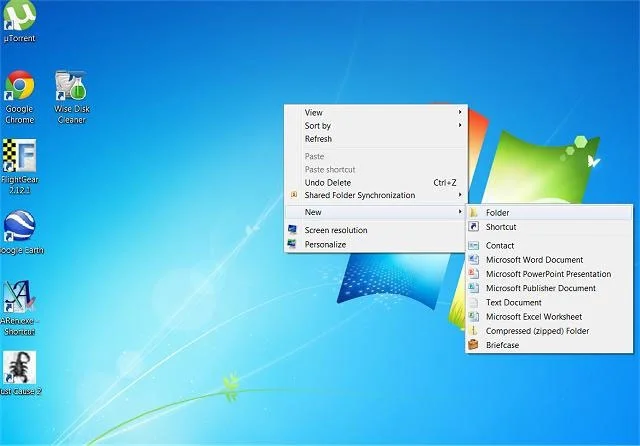
If you don't want a desktop icon, you can create a new folder in your C: drive using Windows Explorer or My Computer . You can do this by right-clicking on your C: drive and selecting New, Folder . Now you can access it anytime.
Step 2: Copy and paste the name for the new folder:
GodMode {ED7BA470-8E54-465E-825C-99712043E01C}
See the illustration below:
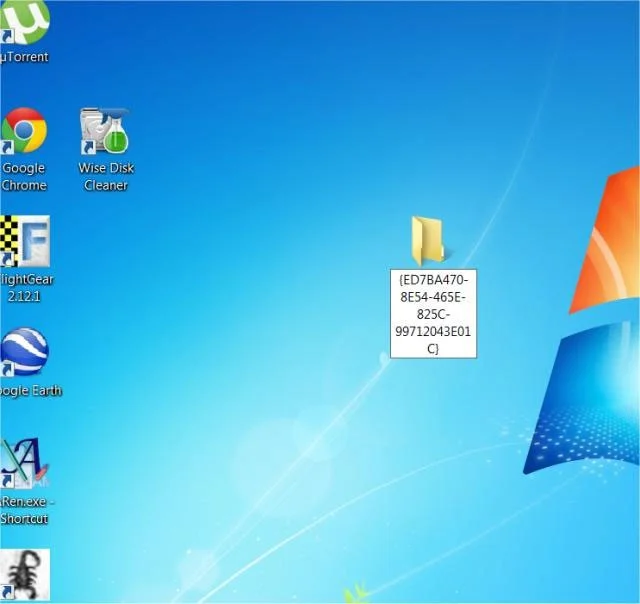
Step 3: The folder on your desktop will now be a God Mode shortcut.
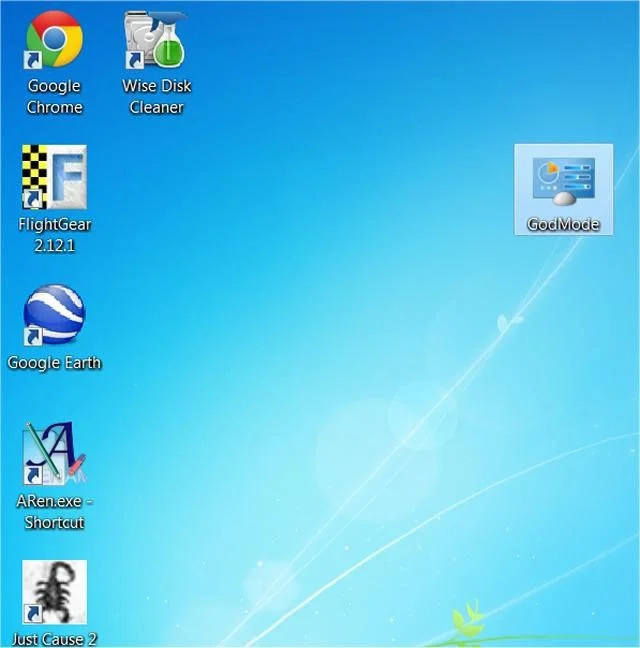
When you click access it you can find all hidden settings and you can modify.
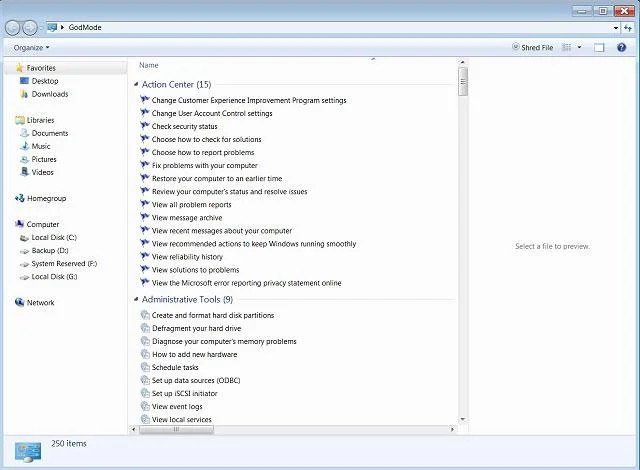
Note on Windows 8: If you get just a new folder with numbers and letters in it, you can delete that new folder and create it again on Windows Explorer (bottom left) and change the settings under the View tab of Windows Explorer . Then recheck the boxes, file extensions, names and hidden.
If you don't want to enable God Mode manually, you can download and install some of the following programs. These programs will enable God Mode on your Windows 8 and Windows 7 computers:
Notes when activating GodMode on Windows
lace "God Mode.{ED7BA470-8E54-465E-825C-99712043E01C}"WebTech360
See more articles below:
Good luck!
Turn off LibreOffice’s optional update statistics and crash-report prompts, then check what the settings cover and how to verify them.
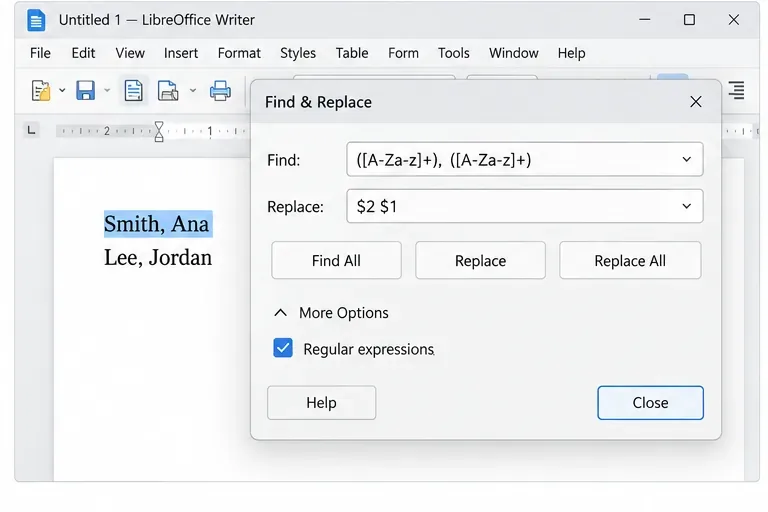
Clean spacing, find structured text, and rearrange names with Writer regex patterns you can preview before replacing.
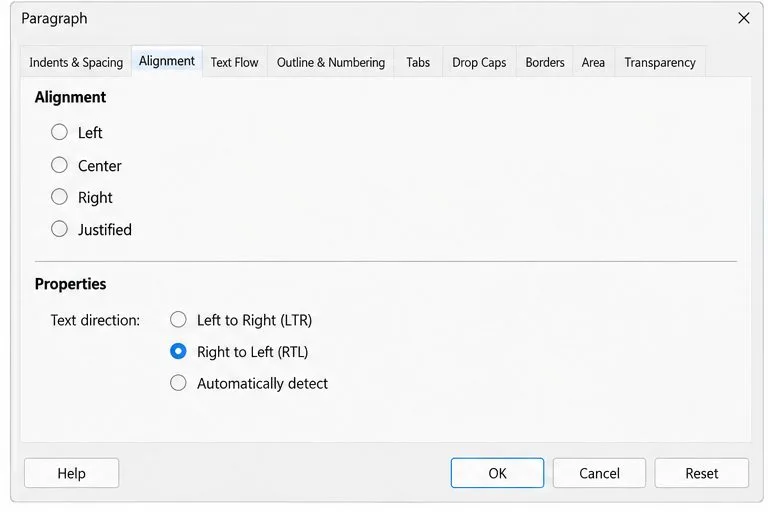
Enable Writer’s bidirectional controls, set RTL paragraph flow, and check mixed Arabic or Hebrew text without disrupting English words and numbers.
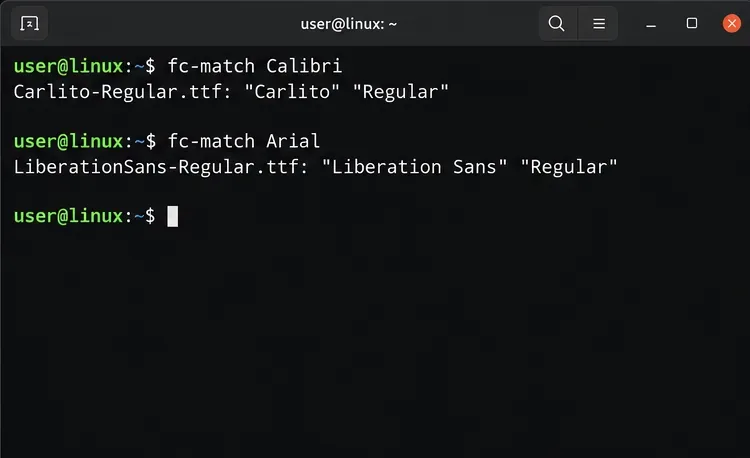
Install metric-compatible Linux fonts or map LibreOffice fallbacks, while keeping Microsoft font licensing and layout differences in view.
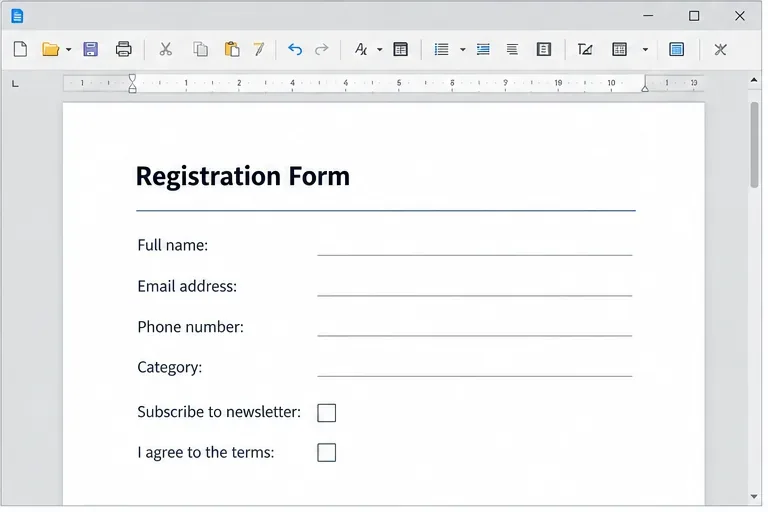
Add usable text fields, check boxes, and drop-downs in Writer, then export a PDF recipients can complete and save.
Fix missing or substituted fonts in LibreOffice Writer PDFs, choose the right export profile, and verify which fonts are embedded before sharing.
Convert a folder of Word documents to PDF with LibreOffice commands, handle nested folders safely, and verify the output before sharing.
Set a custom LibreOffice Writer template as the default so new documents open with your preferred styles and page layout.
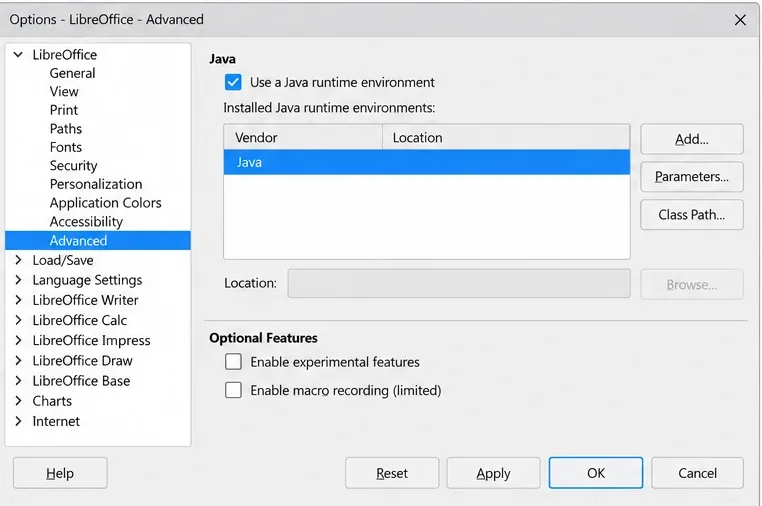
Install a compatible Java runtime, enable it in LibreOffice, and troubleshoot an empty JRE list without changing unrelated settings.
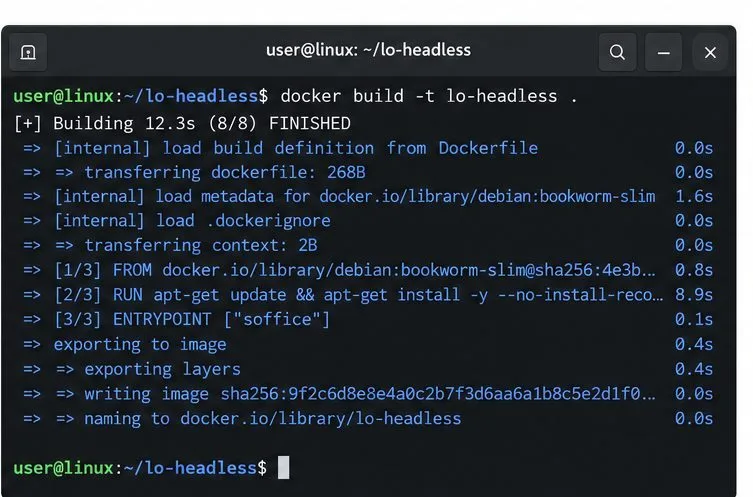
Build a small LibreOffice container, convert office documents without a GUI, and verify PDF output while limiting host-file access.