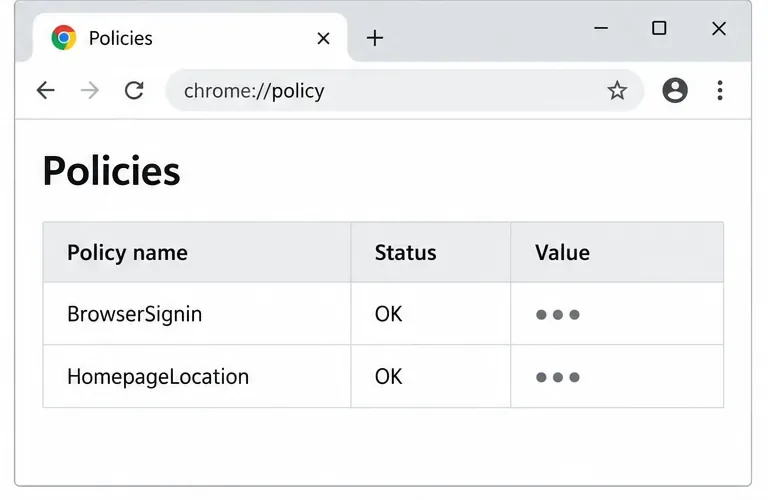
Set Gooroom Browser Isolation Through Your Organization’s Policy
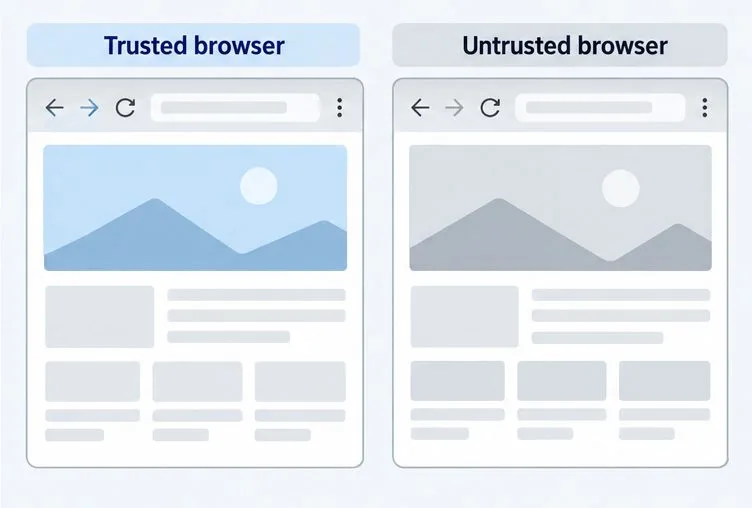
Learn how Gooroom separates trusted and untrusted browsing, what users can change, and how an administrator can safely update site policies.
BlueStacks Blue Screen or BSOD is one of the most annoying bugs of this Android emulator. While not many people get involved, BlueStacks has a blue screen error that is not easy to fix and actually causes a lot of problems. The following article will guide you on how to fix BlueStacks blue screen of death.
BSOD or BSoD stands for Blue Screen of Death (BlueStacks) is a bug not many people make in the process of installing and using this Android emulator on computers, however, this is one of the most annoying, complicated and difficult to fix errors (
Another bug about BlueStacks display screens is that, Bluestacks displays black screens . But compared to BSOD, the black screen is much easier to fix and simpler. If you have a BlueStacks blue screen error, you can switch to some other Android emulators currently also very popular, such as Nox App Player , Droid4X or Windroy ...
And if you still want to be determined to use BlueStacks, you can refer to and follow some remedies below:
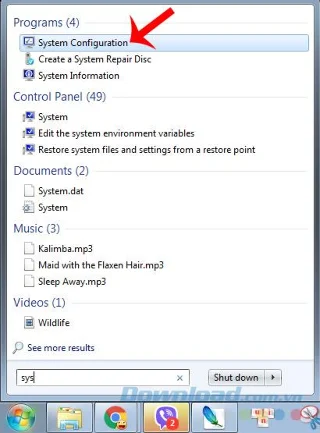
Step 1: Left-click on the Windows icon (Start) in the lower left corner of the screen, then:
Step 2 : The new interface appears as below, select the Services tab .
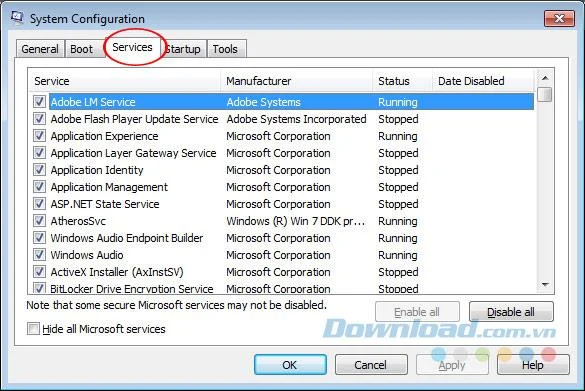
Select Services and then remove all options in the tab
Left-click on the Disable all item to disable all the options that have been previously checked.
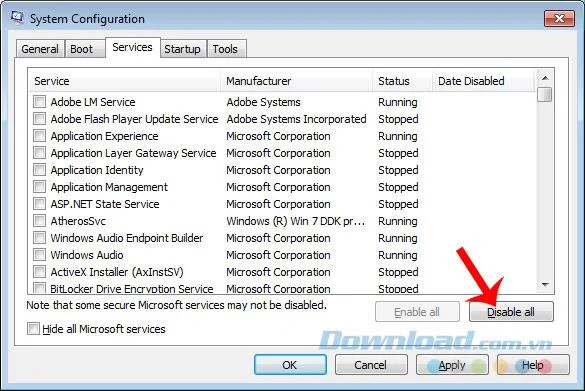
Step 3: Select Apply and then continue to the Startup tab and do the same, remove all traces of the items in this and then OK to complete.
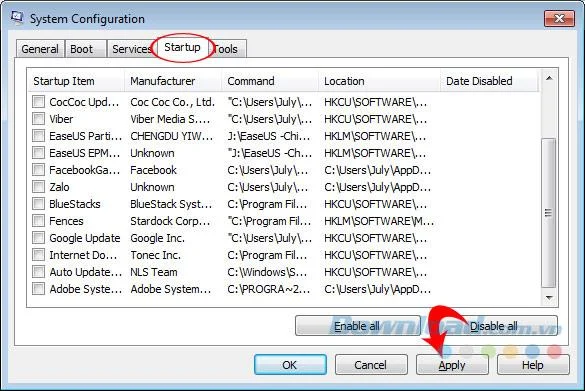
Remove all ticks in this section
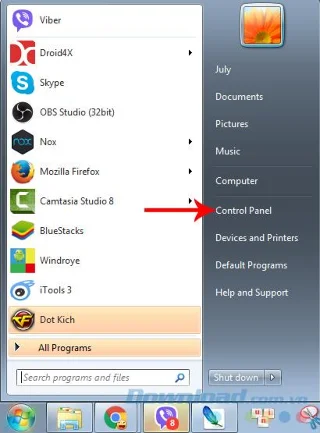
Step 1: You choose the left mouse button on the Windows window icon , select Control Panel .
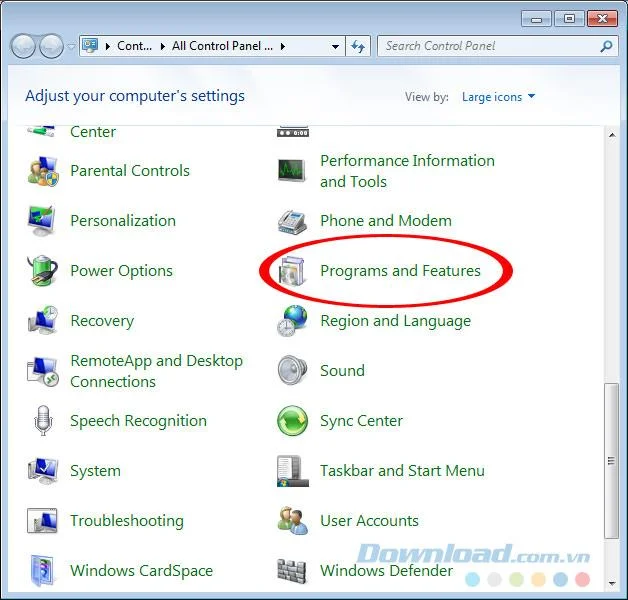
Step 2: Click the Programs and Features section .
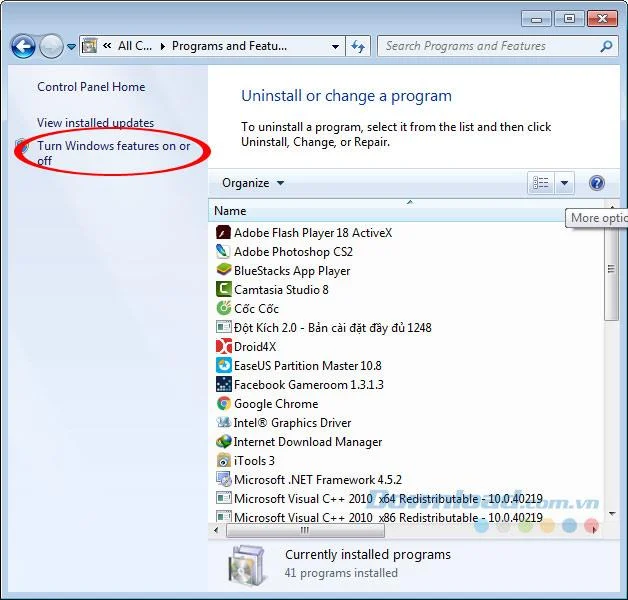
Step 3: In the next interface, select Turn Windows featuress on or off in the list of options on the left.
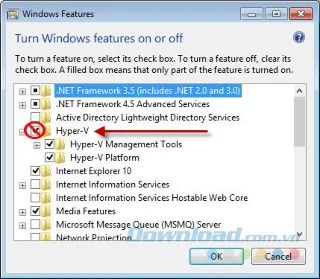
Step 4: When the Windows Features window appears, find the item named Hyper-V and uncheck the box in the next box to disable it, click OK to close this window.
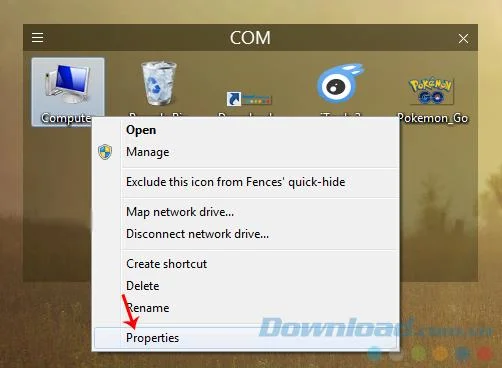
Step 1: From the main interface of the computer, right-click the My Computer icon and select Properties.
Step 2: Continue to select Advanced system settings .
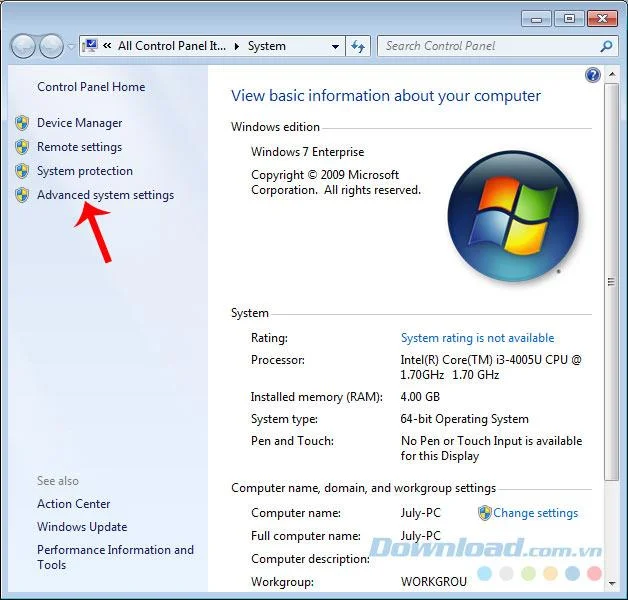
Select Advanced system settings in Control Panel Home
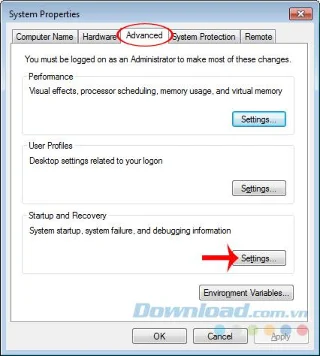
Step 3: In the new window, select the Advanced tab and then click Settings in Startup and Recovery .
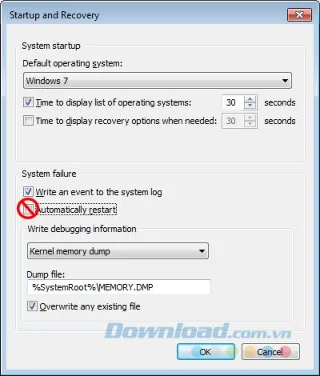
Step 4: Remove the tick in Automatically_restart and then OK to save.
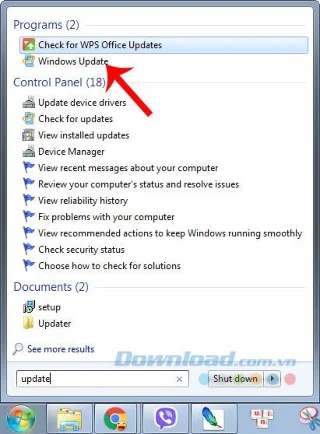
Still in the interface of Start , enter the keyword Windows Update into the Search box and then left-click the corresponding results shown as below.
Select Check for updates to let the system scan once. This will help the computer find and filter out old installations and drivers of the computer.
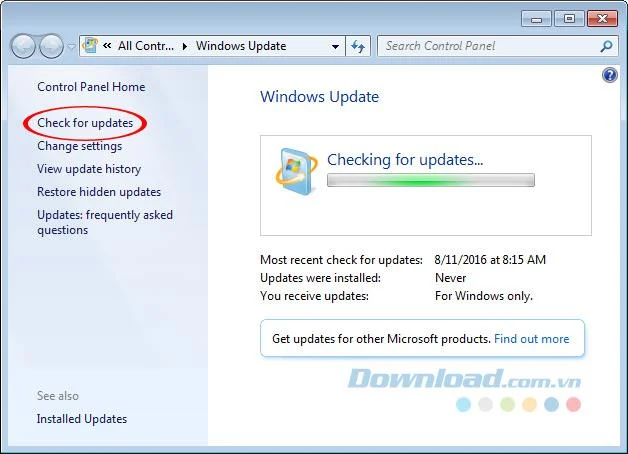
Select Check for update to check for computer updates
From the test results, users can also install new or upgrade to fix this error.
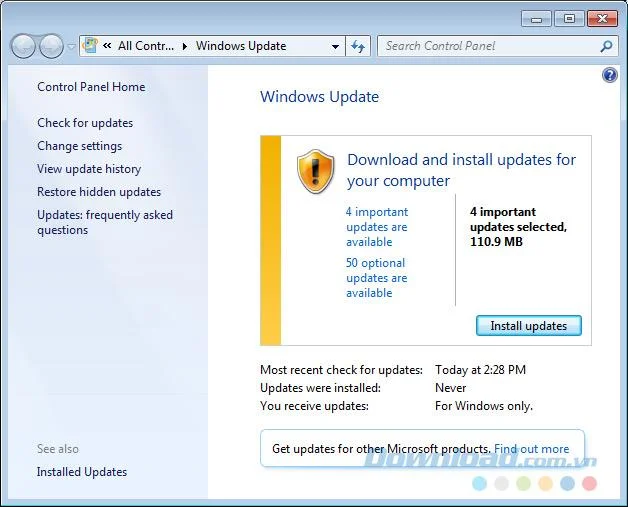
Many of the errors that occur on BlueStacks are related to drivers (computer drivers), and if you've tried almost everything but still can't fix BlueStacks blue screen error, you should also try this method. .
References:
How to find and download the missing driver for the computer .
There are also many sources and users claiming that the blue screen error is due to Bitdefender 2015. So you can also try to remove BitDefender with some specialized tools like Revo Uninstall , CCleaner or Your Uninstaller , IObit Uninstaller ... see what.
Finally, you can think of a few more negative ways, such as checking for hard drive errors or even reinstalling Windows for your computer. However, as mentioned, the Android emulation market today is extremely rich, so we can completely use other alternatives, which are better, more convenient, require lower configuration but still Ensure satisfaction of demand.
Learn how Gooroom separates trusted and untrusted browsing, what users can change, and how an administrator can safely update site policies.
Diagnose rotated, offset, or inconsistent touch input on a Harmonica OS tablet and choose a Linux calibration method that fits its session and driver.
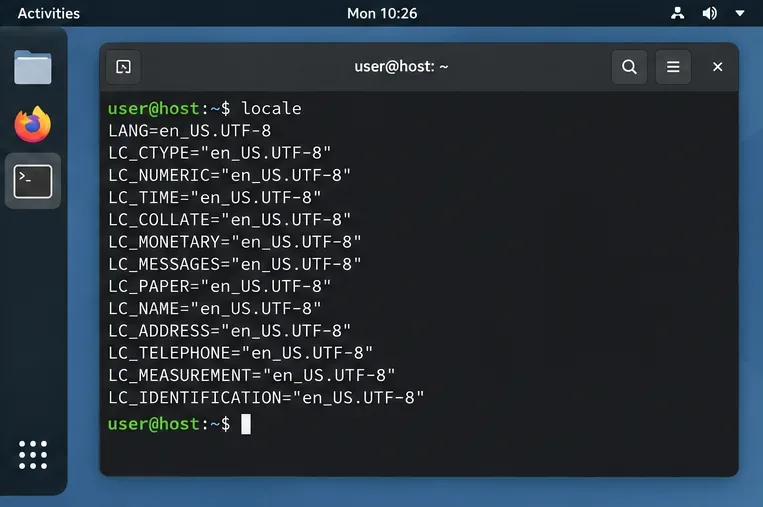
Switch Gooroom’s desktop session to English, verify the locale, and identify when untranslated Korean labels need an app update instead.
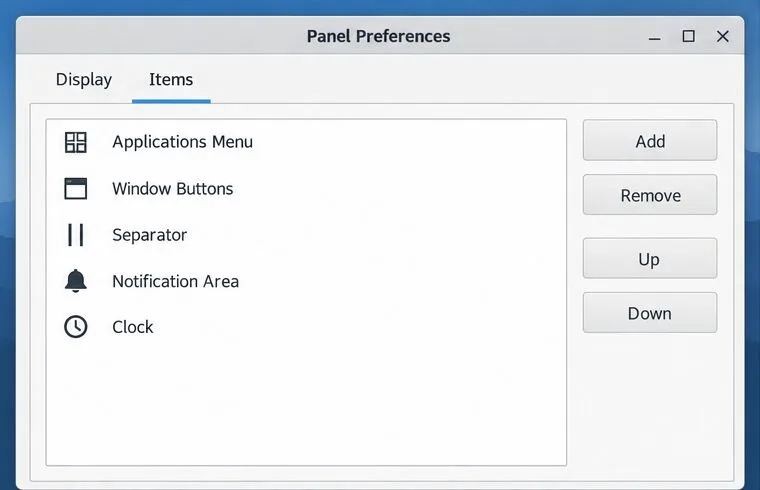
Arrange Pardus XFCE as a familiar bottom taskbar with an app menu, pinned launchers, open-window buttons, and a system tray.
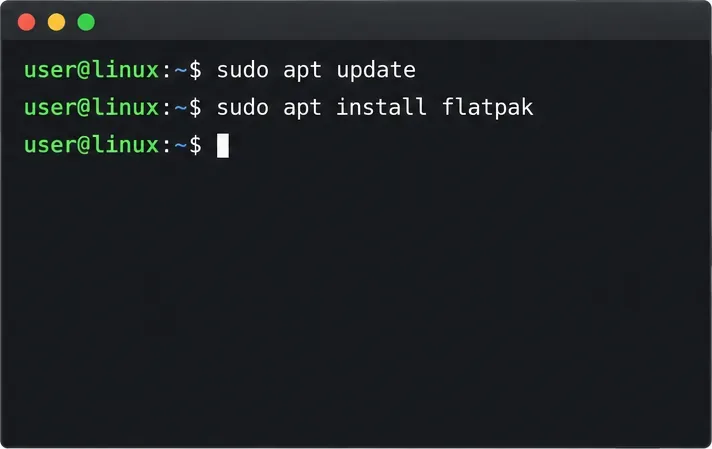
Check your Gooroom release and administrator rules, then follow the official Debian-based setup path for Flatpak or Snap without bypassing system controls.
Learn what Pardus Image Writer can do, how to prepare installation USB safely, and which tools fit custom live images or repeatable fleet deployments.
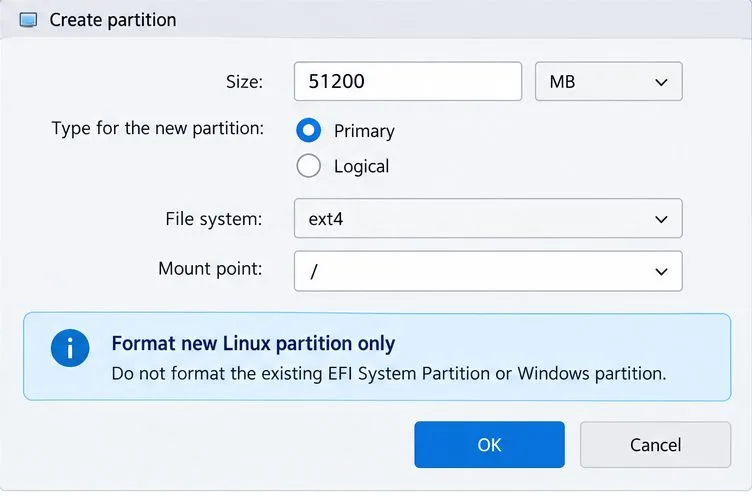
Install Pardus alongside Windows 11 by shrinking the Windows volume, using unallocated space, and preserving the existing EFI System Partition.
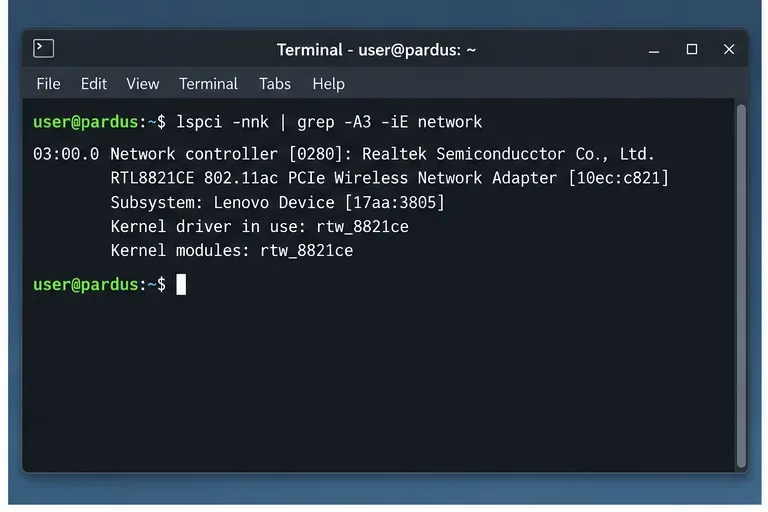
Identify the RTL8821CE, install Pardus-supported Realtek firmware, and verify the driver, Wi-Fi scan, and next troubleshooting step.
Use Pardus’s hardware-aware installer to enable the right NVIDIA driver, reboot safely, and verify the active kernel module.
Install the official Chrome package safely on Gooroom OS, check compatibility, preserve device controls, and verify browser policies before use.