Total Video Converter is one of the multifunctional Video conversion software available today. Supports almost all popular video formats that can be used on mobile devices and vice versa.
Total Video Converter Total Video Converter for Mac
So invite you and Download.com.vn to learn how to install and use Total Video Converter software effectively:
Instructions for installing Total Video Converter
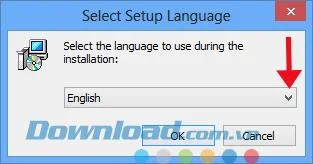
Step 1: Double-click the installation file, the Select Setup Language window appears, select the appropriate language, and then click OK.
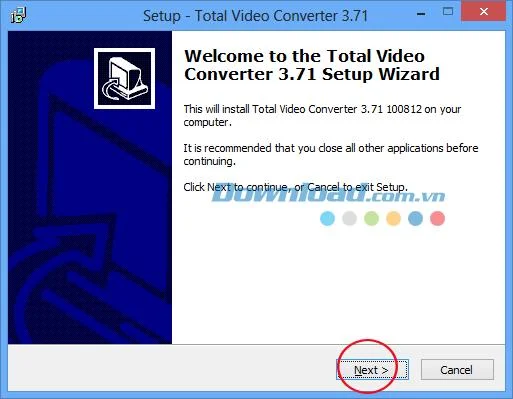
Step 2: The installation window appears, click Next to continue.

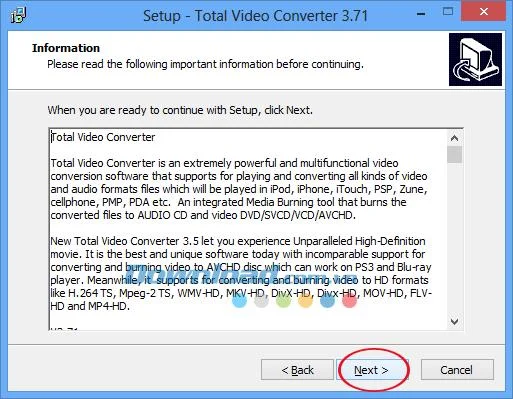
Step 3: Read some manufacturer information, click Next to continue.

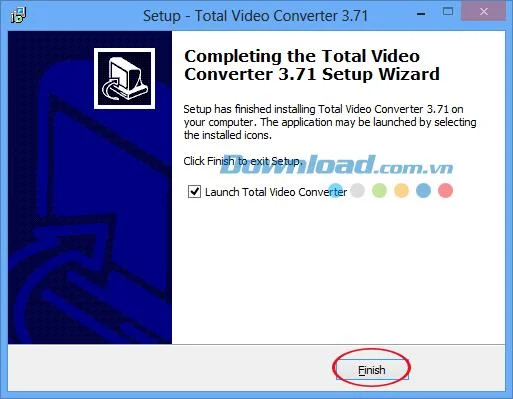
Step 4: Since the installer does not contain the Toolbar, you only need to Next ... Next, finally click Finish to complete the installation process.

Instruction to convert videos with Total Video Converter
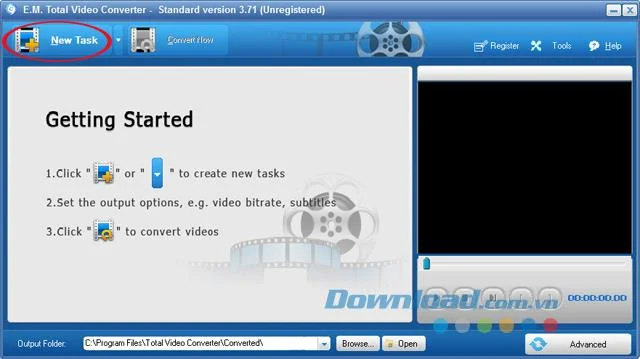
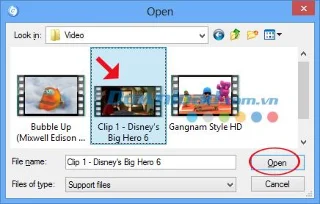
Step 1: Open Total Video Converter , click on New Task.

Open window appears, access the folder containing the video to be converted, select Video and click the Open button .

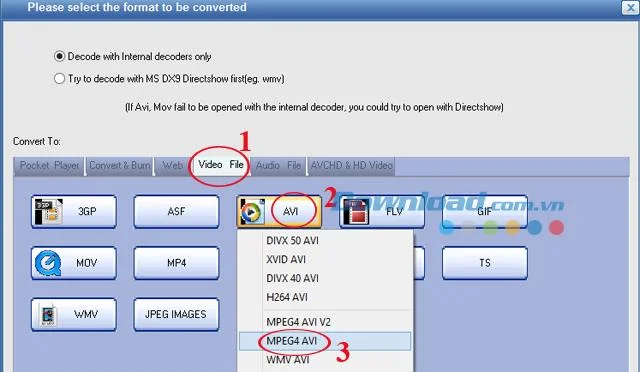
Step 2: Click the Video File tab , select the format to convert and choose the encoding standard corresponding to that format.

Here I choose the AVI format , the encoding standard is MPEG4 AVI.
Note: Depending on your needs, you can choose different tabs:
- Pocket Player: Converting formats for mobile devices.
- Convert & Burn: Convert the format for burning disc.
- Web: Switch format to web.
- Audio File: Convert the format to audio.
- AVCHD & HD Video: Convert to HD format.
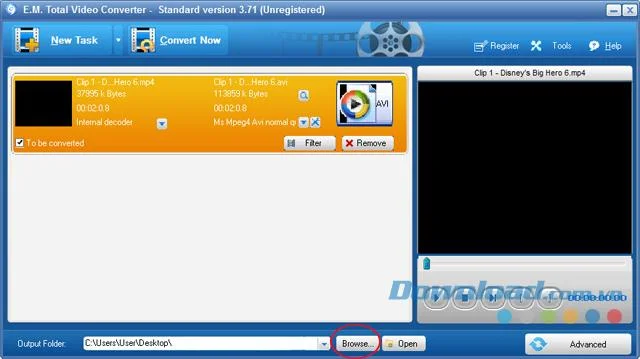
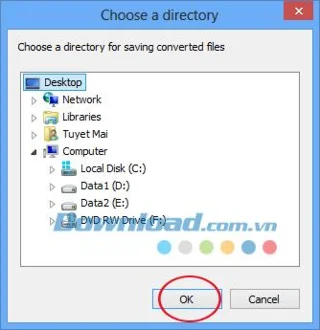
Step 3: Click Browse ... to specify a directory to save the files after conversion.

Choose a directory window appears, select the folder containing the video after downloading and click OK

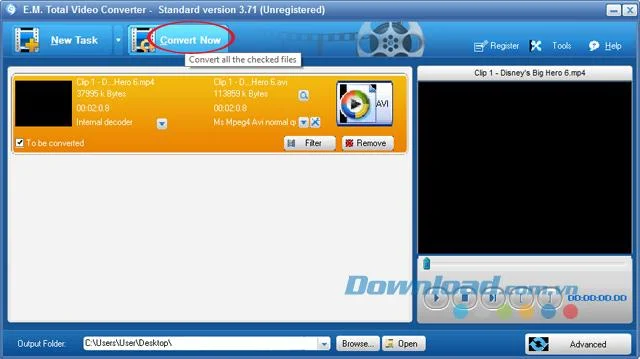
Step 4: Click Convert Now to start the conversion process to AVI format.

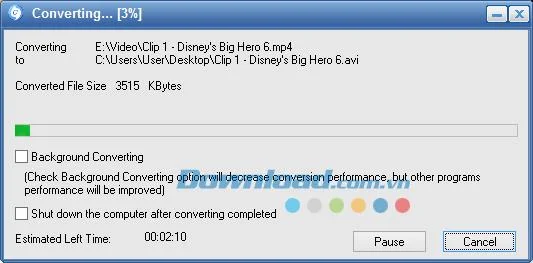
Step 5: The conversion process takes place, when it is 100% complete, the conversion process is long or slow due to the file size.

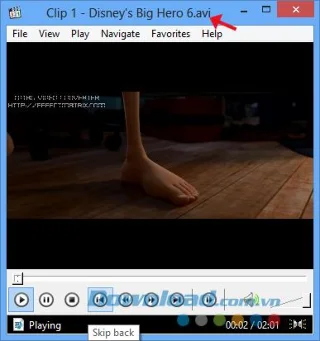
Here is the "result" after conversion:

Video tutorial to convert Video by Total Video Converter
With Total Video Converter software you can easily convert Videos to different formats. Alternatively, you can use some of the following ways to convert videos:
I wish you successful implementation!