Home
» PC Tips
»
How to activate the virtual keyboard on BlueStacks
How to activate the virtual keyboard on BlueStacks
Video How to activate the virtual keyboard on BlueStacks
Not long ago, Download.com.vn used to show you how to Play BlueStacks game with keyboard , however, these are just basic keys for playing games such as: navigation, attack, defense and Two, three other operation keys. And this article will guide you to fully activate BlueStacks virtual keyboard (full keyboard) to use.
If you're freaking out about this, because each computer has its own keyboard and wonders, "what do you need to enable BlueStacks virtual keyboard for?" Then imagine, being fiercely PK, being a hero "carrying the team" then suddenly "paralyzing" lost a few important or aimless keys, the whole keyboard can not be used, the replacement is not available, At this time, surely " BlueStacks has virtual keyboard? How to open the virtual keyboard BlueStacks " will be the first question you think of.
Not only can be used as a normal full keyboard, BlueStacks virtual keyboard also has extremely cute emoticons for users to use when chatting with friends.
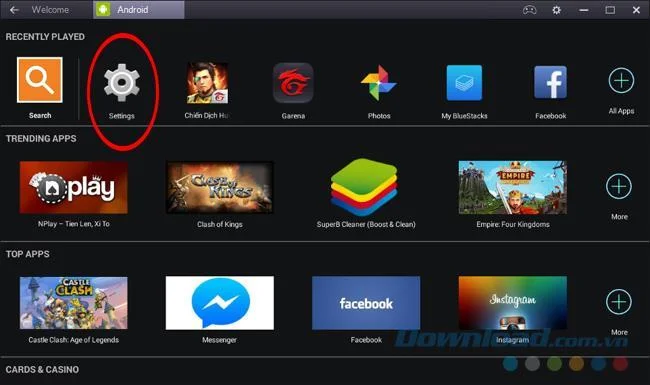
Step 1: From the main interface of BlueStacks , select the left mouse button on the Settings icon (gear shape).
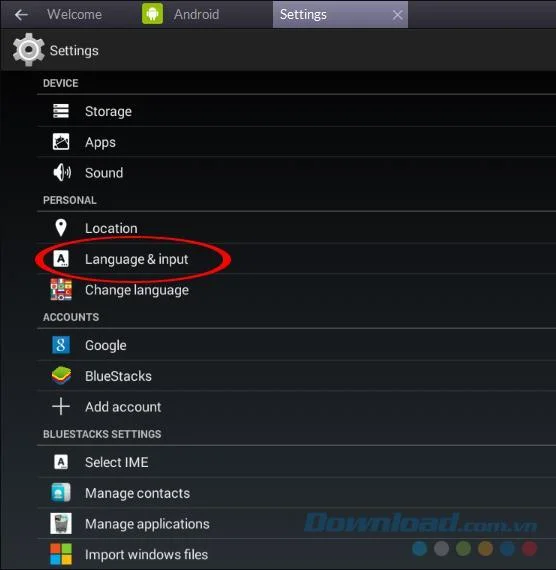
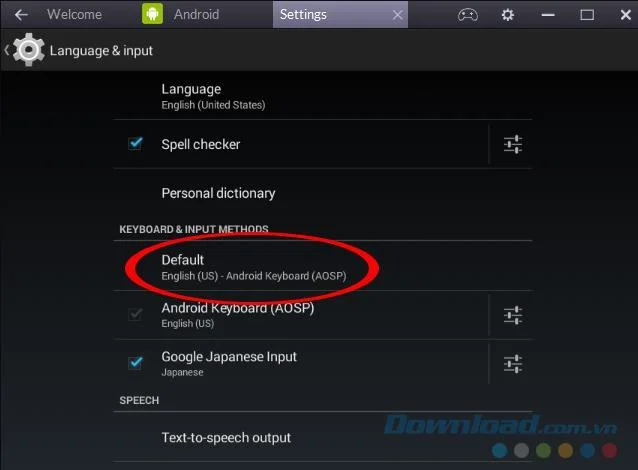
Step 2: The installation interface appears, left-click on Language & Input.
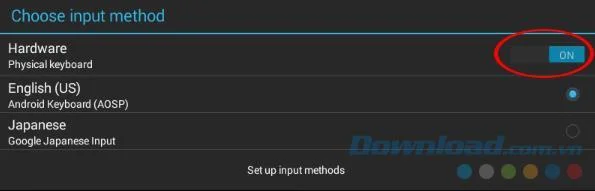
A small notification window appears, you turn on the ON section on Hardware to disable.
Adjust Hardware to OFF mode
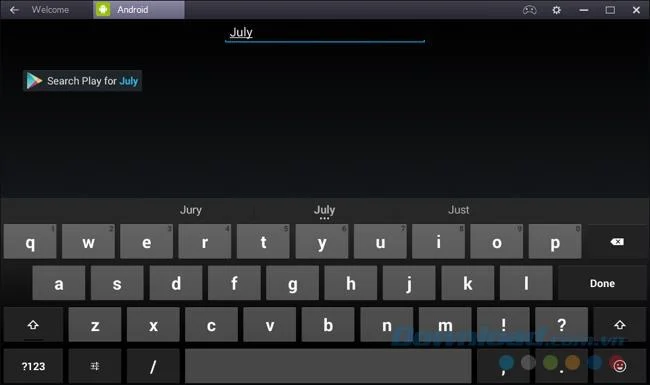
Step 4: Return to the main interface, try clicking on the Search icon and try searching as usual. You will see a full virtual keyboard appears, use your mouse to click on it to use. Can use uppercase, lowercase, space, delete ... as on a normal keyboard.
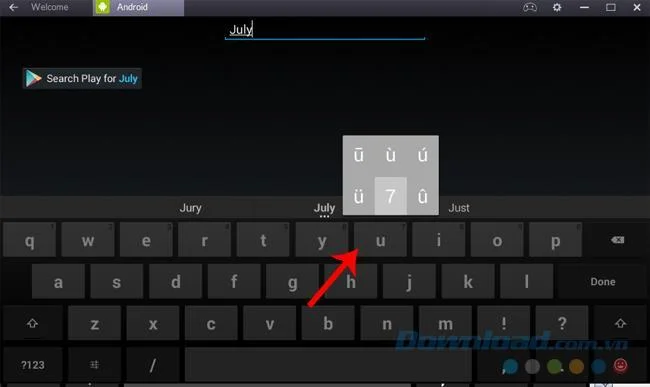
Left click on any character (top row) and hold for a few seconds, will show the corresponding numbers (from 1 to 9, 0) and the characters with Vietnamese accents.
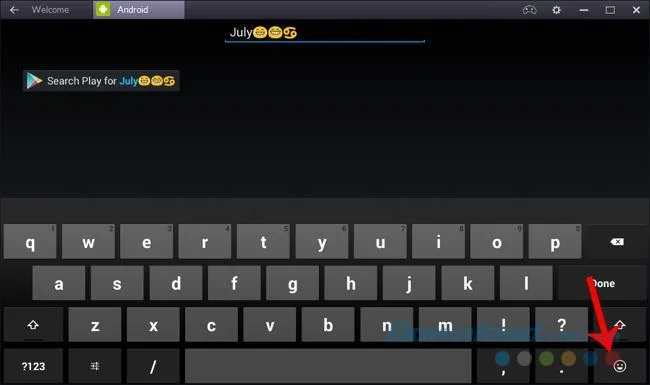
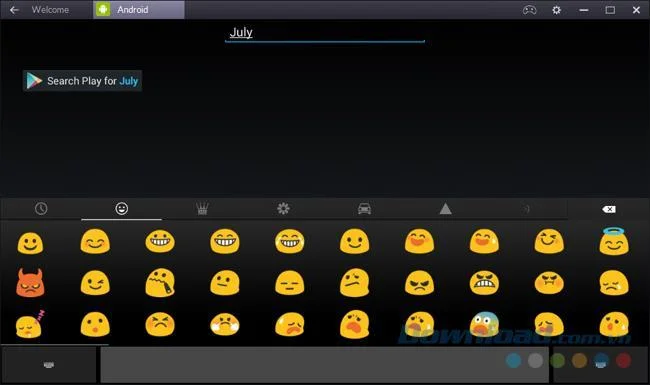
In addition, smileys on the keyboard will also allow us to use some sets of emoticons quite interesting and funny.
Using Vietnamese to search for software or games, using these emotions when chatting will make the conversation become more lively and richer.
Note:
Image of the article is made on the BlueStacks emulator, version 2. If the version you are using does not work, try to uninstall and install BlueStacks this version.
How to use a virtual keyboard on BlueStacks 4
How will this help?
With the help of a virtual keyboard on BlueStacks, you can enjoy all the capabilities a keypad has on a mobile phone.
This article will guide you through the steps for enabling the virtual keyboard within BlueStacks!
How can I enable the virtual keyboard?
1. Launch BlueStacks on your computer and go to the Library.
2. Now, open your System apps.
3. Here, double click on the icon for Android Settings.
4. Once it opens up,click on Select IME under BlueStacks Settings,as shown below.
5. Within the IME (Input Method) settings, find the option to "Enable OnScreen Keyboard".
6. Now, click on the slider given for "Enable OnScreen Keyboard", so that it turns green.
7. The virtual keyboard will now be enabled for BlueStacks. You can use it whenever you wish to type in any of your apps.
Video tutorial to activate BlueStacks virtual keyboard