Enable NVIDIA on Pardus 23 with Its Driver Installer
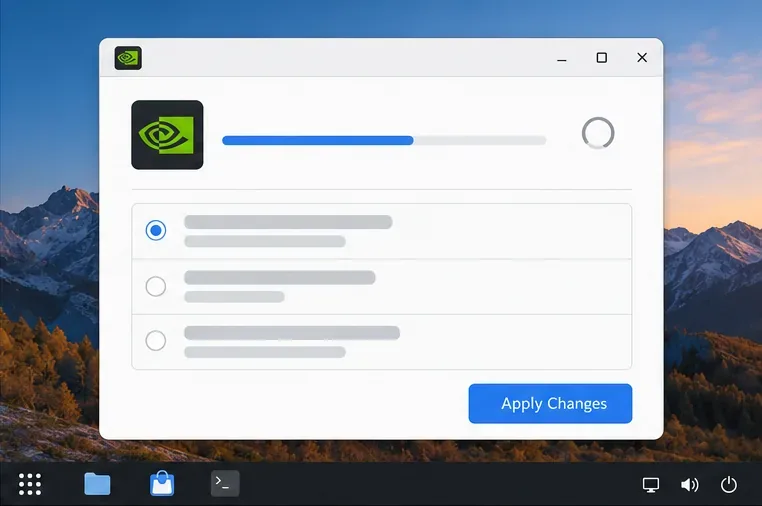
Use Pardus’s hardware-aware installer to enable the right NVIDIA driver, reboot safely, and verify the active kernel module.
With just a few simple steps, users can easily backup and restore BlueStacks data for use as needed. This can be done directly on this Android emulator without the need for third-party software.
BlueStacks is one of the best Android emulators available today, enabling users to run Android applications on their computers. Notably, newer versions like BlueStacks 3 and BlueStacks 4 even support popular games such as Garena Free Fire, PUBG Mobile, MapleStory M, and Punching Size.
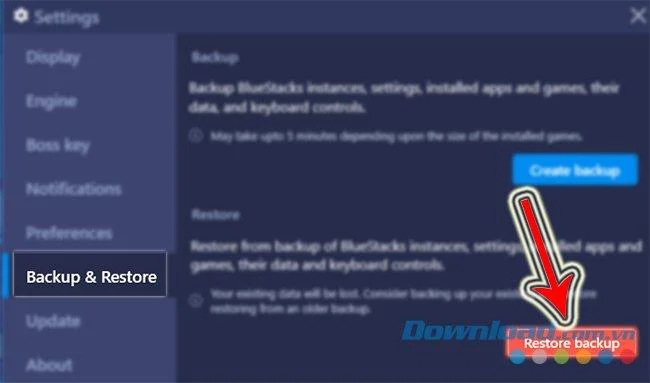
| Create backup | Create a backup of your data |
| Restore backup | Restore your data |
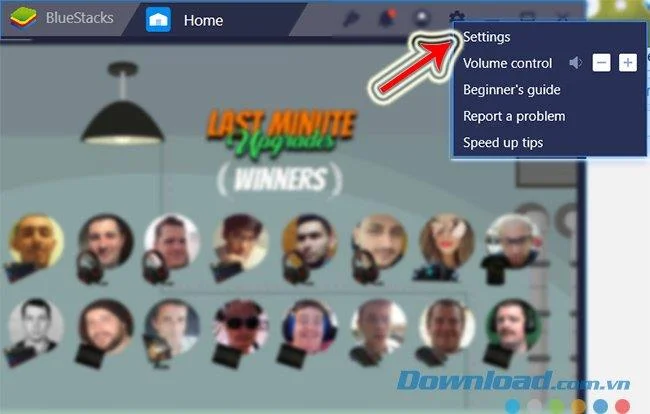
After you have created backups, you can safely use BlueStacks. If you want to recover BlueStacks data at any point, follow these steps:
In addition to BlueStacks, other popular Android emulators include Droid4X, NoxPlayer, and Genymotion. They are all free and come with detailed installation and usage instructions available at Download.com.vn.
Use Pardus’s hardware-aware installer to enable the right NVIDIA driver, reboot safely, and verify the active kernel module.
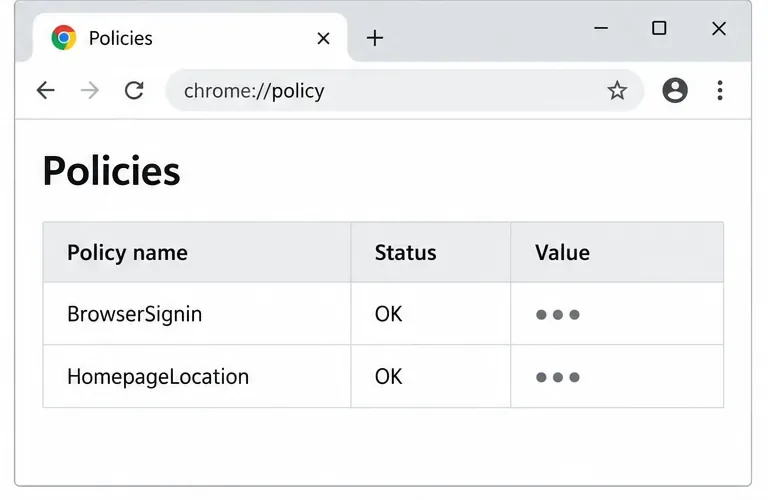
Install the official Chrome package safely on Gooroom OS, check compatibility, preserve device controls, and verify browser policies before use.
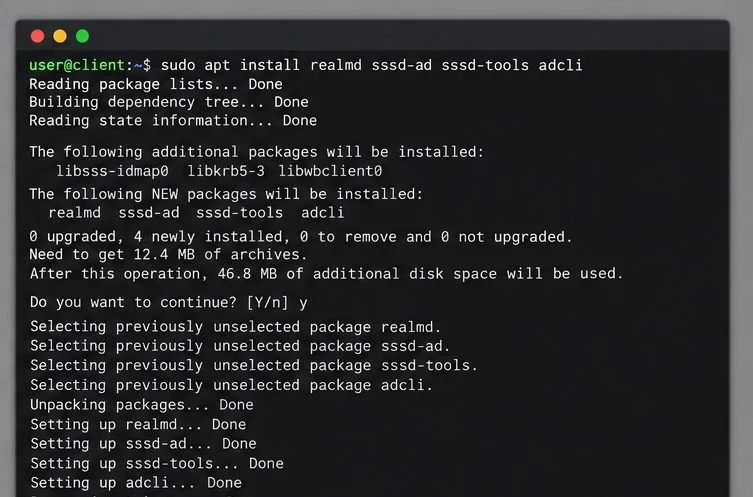
Prepare DNS and time, enroll Pardus with realmd and SSSD, and verify domain membership and user lookup before relying on AD sign-in.
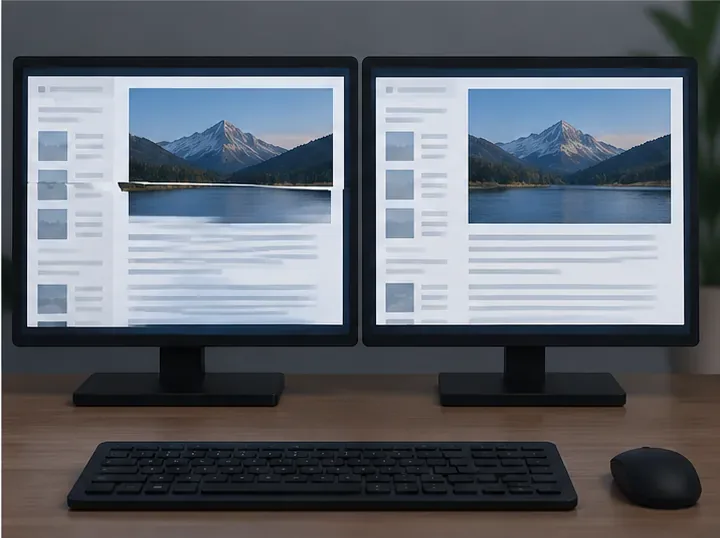
Reduce horizontal tearing in Pardus XFCE by checking your display session, enabling compositor synchronization, and applying Intel’s Xorg TearFree option only when the active driver supports it.
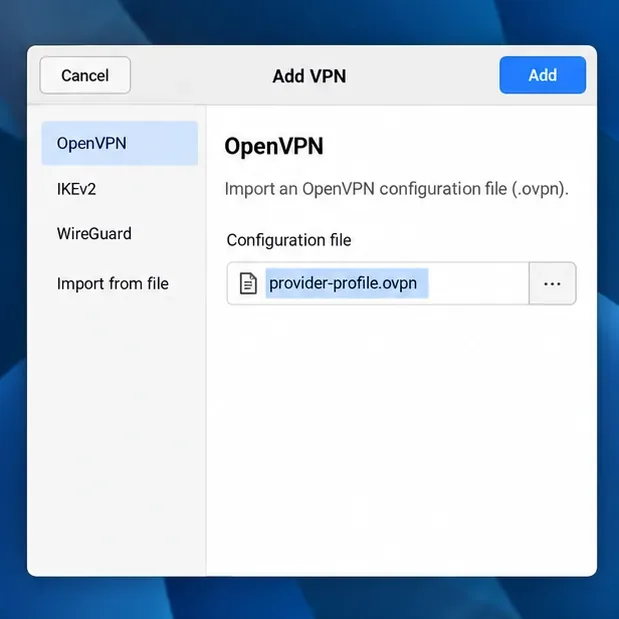
Add an OpenVPN profile to NetworkManager on Pardus, install the right plugin, protect credentials, and verify the VPN is active.
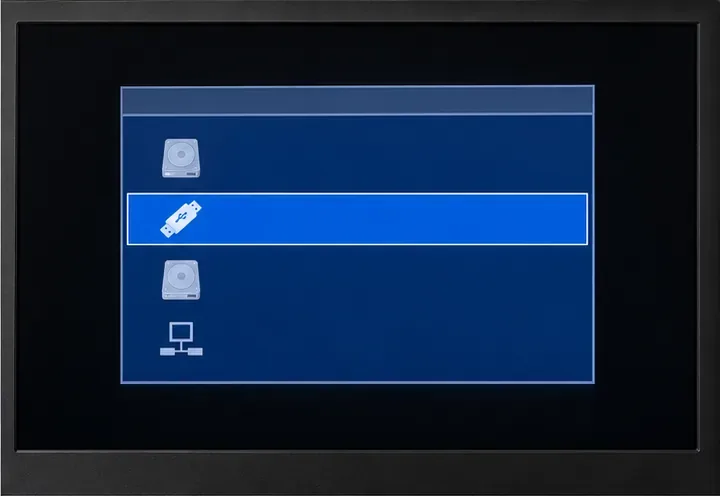
Prepare a bootable USB, check 64-bit hardware compatibility, and install Pardus 23 XFCE while protecting existing files and avoiding common legacy BIOS pitfalls.
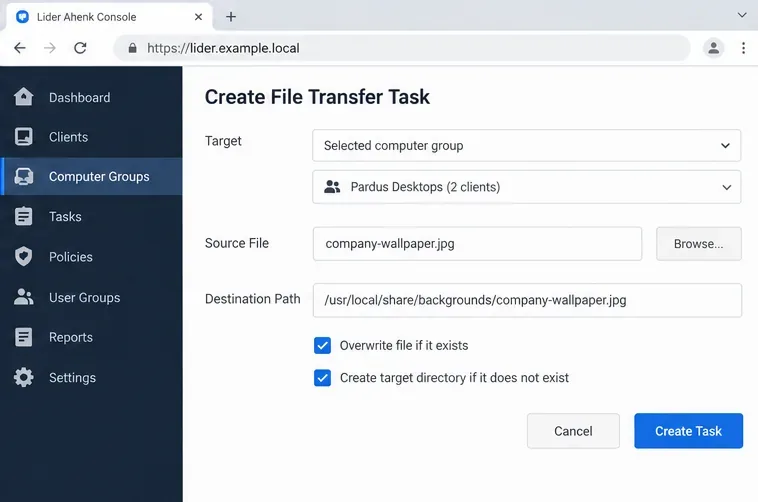
Distribute a custom wallpaper to Pardus clients, configure Xfce or GNOME desktops, and apply Lider Ahenk user policies with safe pilot checks.
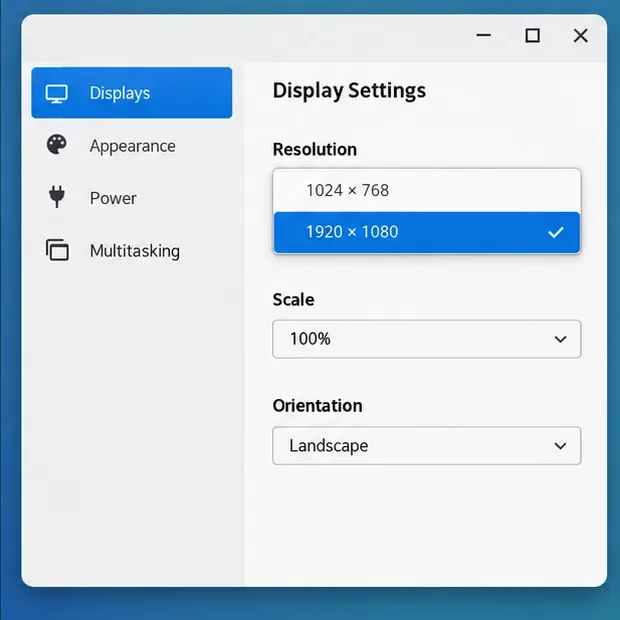
Fix a 1024 × 768 ceiling by checking SPICE, virtual video, the guest channel, and spice-vdagent—with safe checks when Pardus lacks a package candidate.
Set up the Lider server, configure its installer safely, register Ahenk endpoints, and verify a pilot before expanding central management.
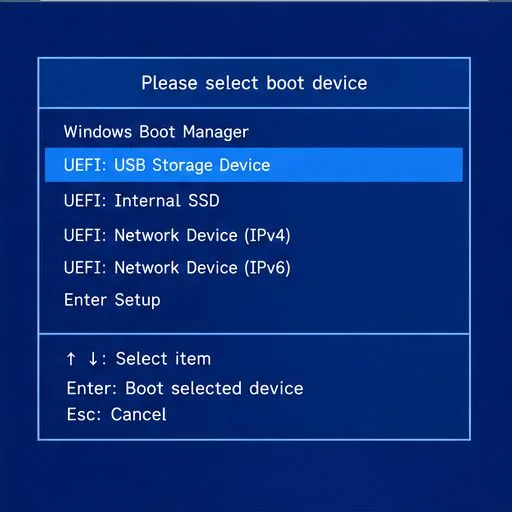
Download the official Pardus 23 desktop ISO, write it safely with Rufus, and boot a Windows PC into a temporary Live session.

Lisa C. -
Found this guide just in time! I was about to lose my progress from last month. Thank you
Jackie B. -
Thank you for this! I feel way more confident about managing my data now. No more panic!
Annie White -
Is there a way to automate the backup process? Would love to set it and forget it forever
Mike Smith -
I’ve used BlueStacks for a while now, and I never knew backing up was so simple! This will definitely save me a lot of hassle. Appreciate the tips!
Chloe Robinson -
Is it possible to back up files directly to a cloud service? Would love to save everything off my machine
Leo Cat -
This is so helpful! I just backed up my data right before an update. Fingers crossed it works seamlessly when I restore!
Victor Carl -
Great tips here! I didn’t know some of these methods existed. Definitely trying this
Mèo con -
This is gold! Whenever I change systems or update, I've been a nervous wreck about my data.
Jessy Bee -
This guide is a lifesaver! I wish I had found it sooner. Have lost data before and it was so frustrating
Huyền Lizzie -
Wow, finally a straightforward way to ensure my data stays intact! Thanks a lot for posting this
Sophie K. -
For all the gamers out there, back it up! Trust me, having your data saved is a game changer!
Noah V. -
Do you think this process will be smooth with future BlueStacks updates? Just curious about long-term usage
Lucy Green -
Super informative, appreciate the effort! Just shared this with friends who also use BlueStacks
Quang vn -
After losing my progress once, I finally took the plunge to back it up! Thanks for the detailed guide
Emily Chen -
Does anyone know if this works for BlueStacks 5? I'm worried about losing my game saves.
Gemma R. -
Amazing article! I shared this with my gaming clan; they need to back up too!
Sammy G. -
I didn’t think backing up would be this important until I lost my favorite app progress. Now I'm on it
Stanley Wong -
I love BlueStacks! Backing up seems simple now; I can finally play without fear. Cheers
Sarah Blue -
Thanks for sharing this! I was really struggling to figure out how to back up my BlueStacks data. This guide made it super easy
Duy Sinh 6789 -
I tried this method and it worked like a charm! No more worrying about losing my saved games!
Oliver Black -
Can anyone share their experience with restoring data? Is it really as straightforward as this article suggests
Amy Lee -
I’ve backed up my data, but now I'm worried about restoring it. Any tips on avoiding errors during the process
Chris D. -
Reading this while my BlueStacks is crashing. I wish I had this info a week ago
Grace IT -
Got any recommendations for the best tools to make the backup process even smoother? This is a great start
Tommy 123 -
I always recommend doing regular backups. You never know when your system might crash
Naomi T. -
Thank you for this article! Any chance you could do a follow-up on optimizing BlueStacks settings after restoring
Vicky H. -
I laughed a little when I realized I had been doing it the hard way until now. This is such a game changer
Linh mèo -
Wow, I had no idea backing up was that easy! Thanks for breaking it down
Kevin Jay -
I can finally breathe easy knowing my important data is safe. Thanks for the clear instructions
Eric P. -
How often do you guys back up your data? I think I should do it weekly just to be safe.
Phúc IT -
I was skeptical about backing up my game files, but this has given me so much peace of mind!
Cynthia M. -
Just a heads up: after restoring, sometimes you might need to re-log into accounts. Be prepared for that
Freddy P. -
Just came across the article, and I really needed this! Thanks for making it so easy to understand
Hương Đà Nẵng -
Let's not forget backing up graphics settings too! Sometimes they reset during the restore process
Paul R. -
This really helped me figure out how to save my progress! Can’t wait to put it to use!
Hương KT -
This article has made my life so much easier! Backing up is a must, especially before major updates.
Daisy Zhang -
I had a backup failure once! Now I feel like I have a safety net with this backup method