Bluetooth Adapter Missing on Pardus 23? Start with These Checks
Find out whether Pardus 23 is blocking Bluetooth, missing BlueZ, or failing to detect adapter firmware, then confirm the controller works.
Disabling the auto-start feature of BlueStacks is quite necessary and just like when we turn off the background mode of this application, the ultimate goal is to reduce the load for the computer to use the process. more smoothly and more efficiently.
For those who already install and use BlueStacks on the computer, they will realize that the processing speed of the computer when BlueStacks is operating is quite slow, even for low- profile computers . status lag, freeze or hang.
The simple reason is that when used, this Android emulator will consume a relatively large amount of machine resources. So the computer will not have to resources to run the same. If not required to use continuously, daily, it is best to abandon the automatic running mode of BlueStacks.
BlueStacks 3
BlueStacks for Mac
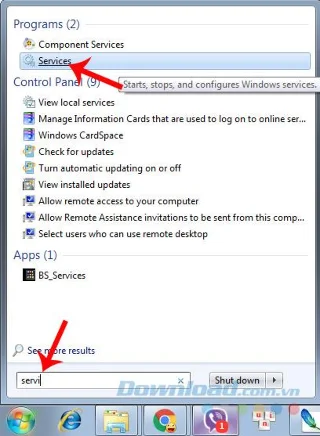
Step 1: From the main interface of the computer, left-click on the Windows icon . Enter the keyword " Services " in the blank box. When the results appear, click to continue.
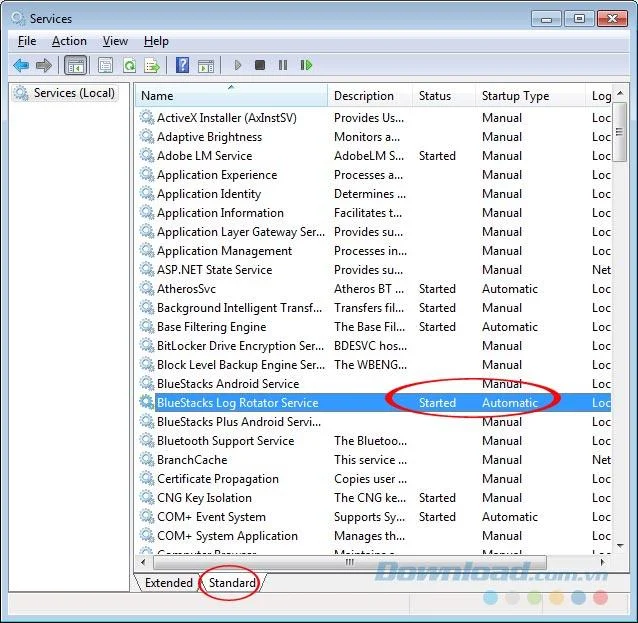
Step 2: In the new dialog box, look in the Name column , items containing BlueStacks, then double-click on the Started / Automatic section (in the Status and Startup Type columns).
Step 3: Dialog box BlueStacks Log Rotator Service Properties appears, under General / Started type , switch Automatic mode to Manual .
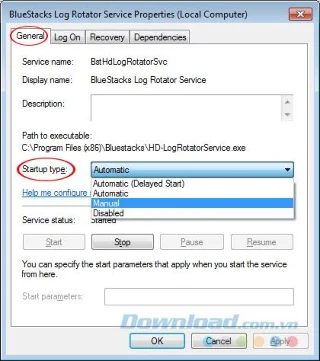
It is possible to change the status of Service Status (from Started) to Stopped .
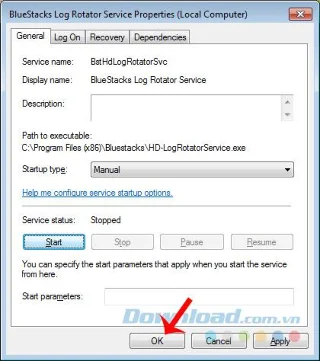
Click OK to confirm
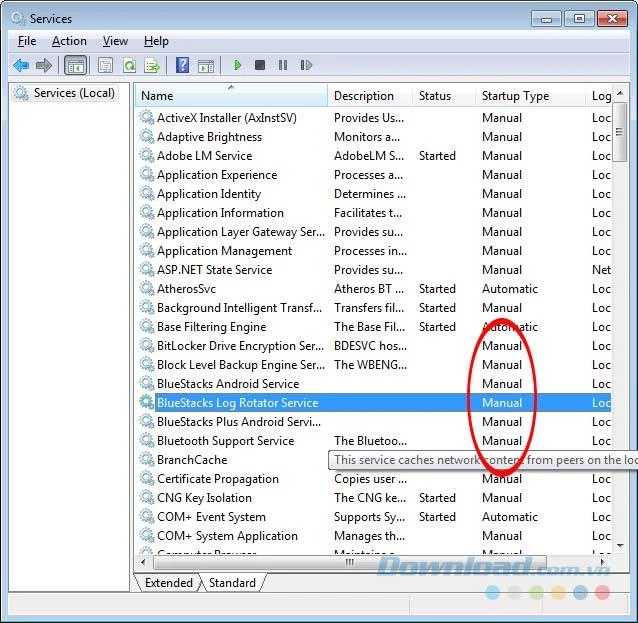
After the transfer is complete, the original dialog box will look like the following. You restart your computer to remember this setting and then continue to use BlueStacks.
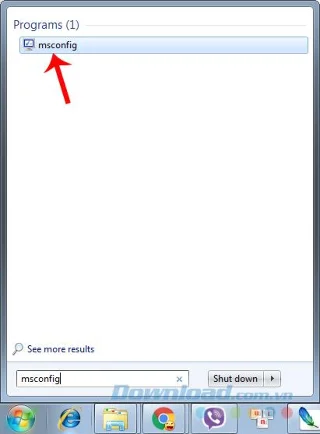
If the above method does not work, you can continue to repeat step 1, but enter the keyword " Msconfig " and select the results that appear.
The System Configuration dialog box appears, in the General section , tick the Selective startup section .
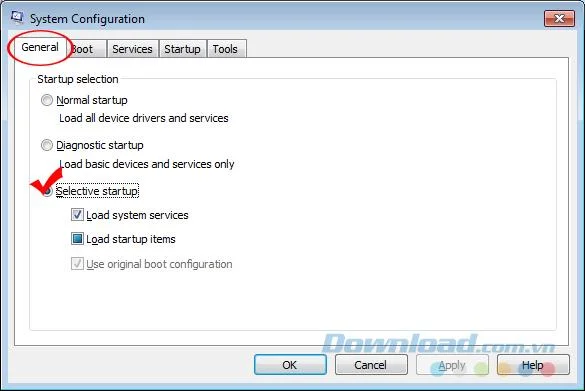
Select the Selective startup section
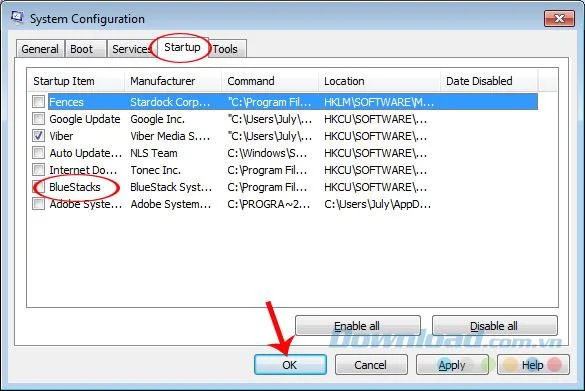
Switch to the Startup tab , then remove the tick in the section containing BlueStacks (or all items that you want to remove from the startup process), then OK to finish.
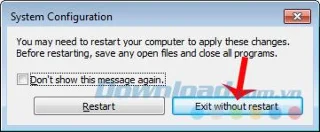
After closing, you can choose Restart in the window that appears right after to restart the computer or Exit without restart to restart after saving the current session.
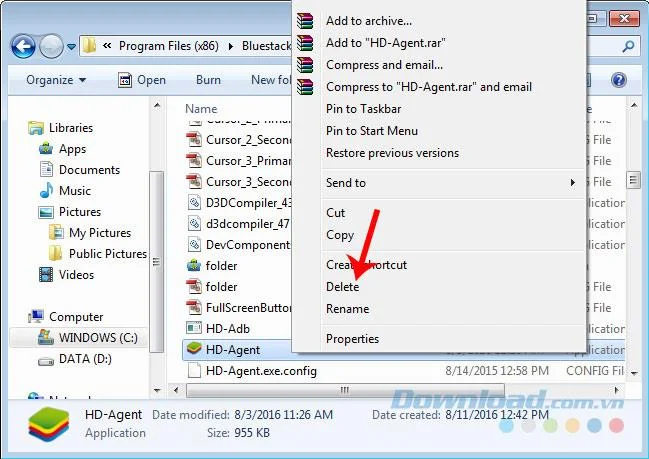
Another tip is that when you are about to turn off your computer, look for:
Then find and delete the HD-Agent file , then shutdown as usual.
After doing the above, remember to restart the computer to save the settings. Or you can refer to the article introducing the best Android emulators today and choose an alternative, like Droid4X , Nox App Player or GenyMotion .
I wish you successful implementation!
Find out whether Pardus 23 is blocking Bluetooth, missing BlueZ, or failing to detect adapter firmware, then confirm the controller works.
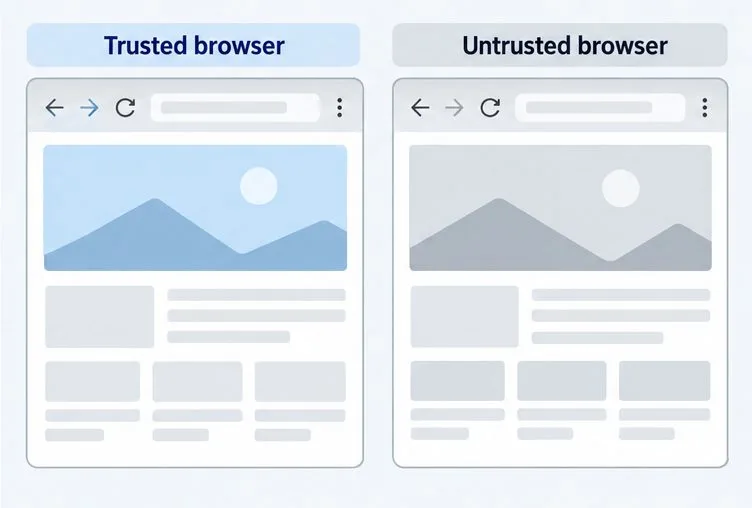
Learn how Gooroom separates trusted and untrusted browsing, what users can change, and how an administrator can safely update site policies.
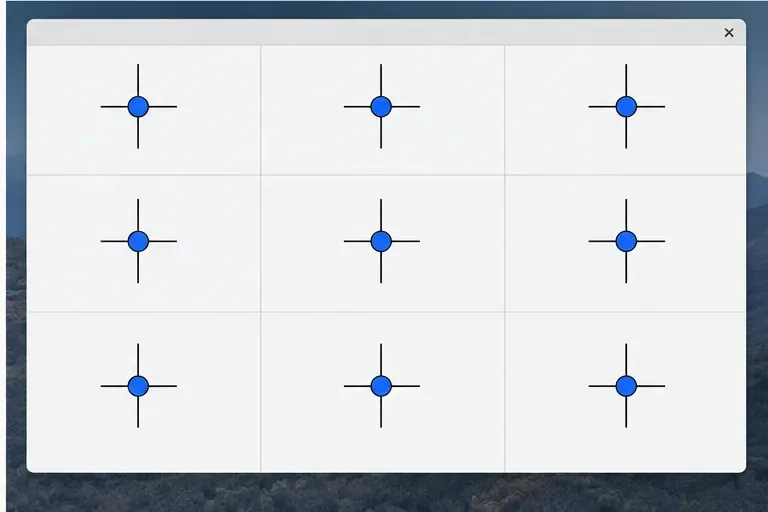
Diagnose rotated, offset, or inconsistent touch input on a Harmonica OS tablet and choose a Linux calibration method that fits its session and driver.
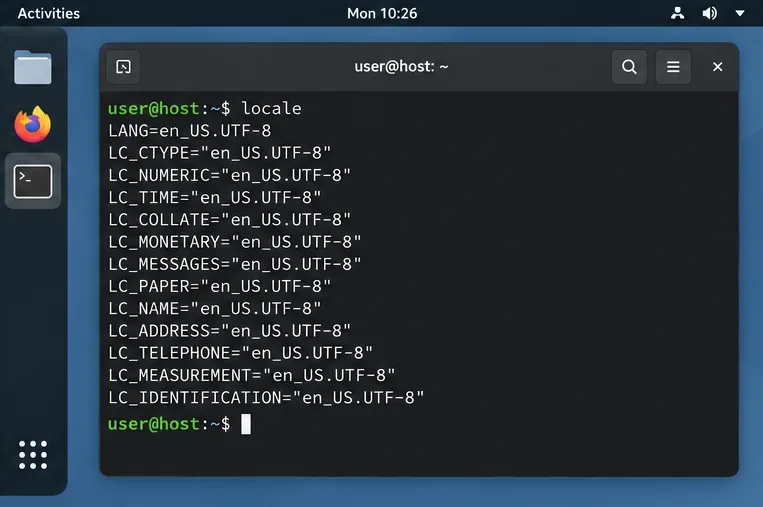
Switch Gooroom’s desktop session to English, verify the locale, and identify when untranslated Korean labels need an app update instead.
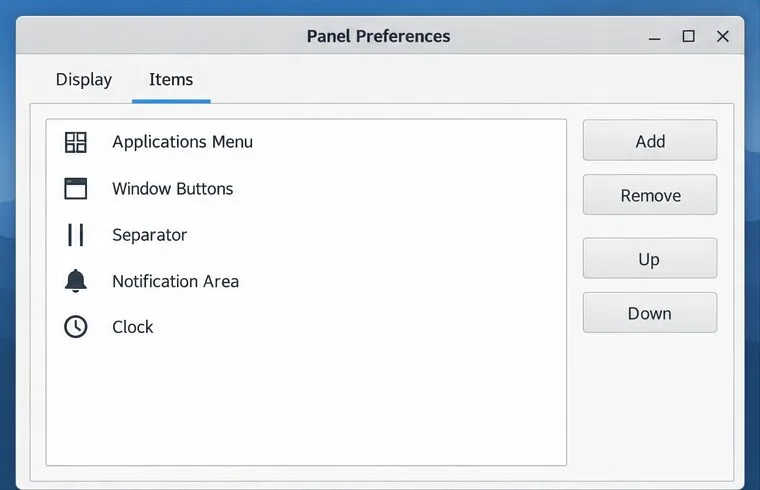
Arrange Pardus XFCE as a familiar bottom taskbar with an app menu, pinned launchers, open-window buttons, and a system tray.
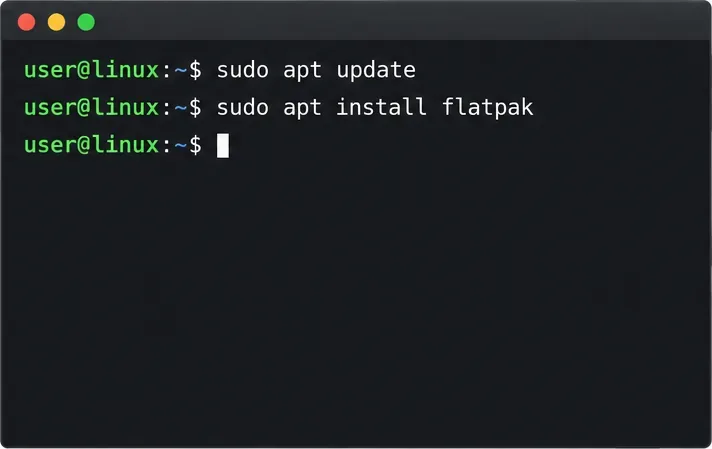
Check your Gooroom release and administrator rules, then follow the official Debian-based setup path for Flatpak or Snap without bypassing system controls.
Learn what Pardus Image Writer can do, how to prepare installation USB safely, and which tools fit custom live images or repeatable fleet deployments.
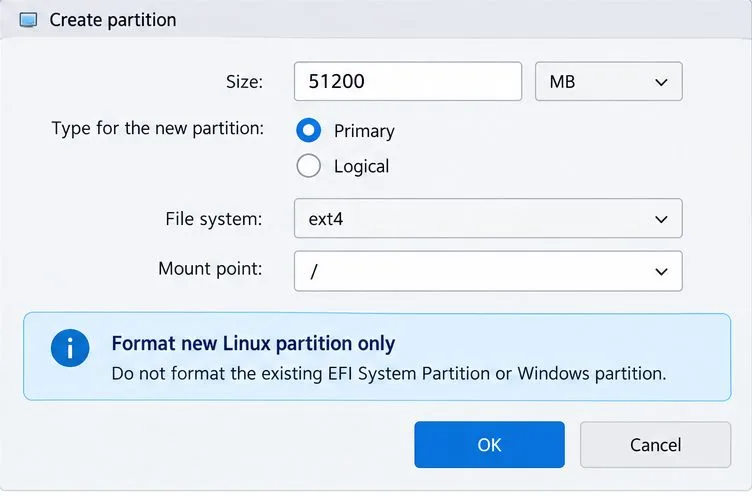
Install Pardus alongside Windows 11 by shrinking the Windows volume, using unallocated space, and preserving the existing EFI System Partition.
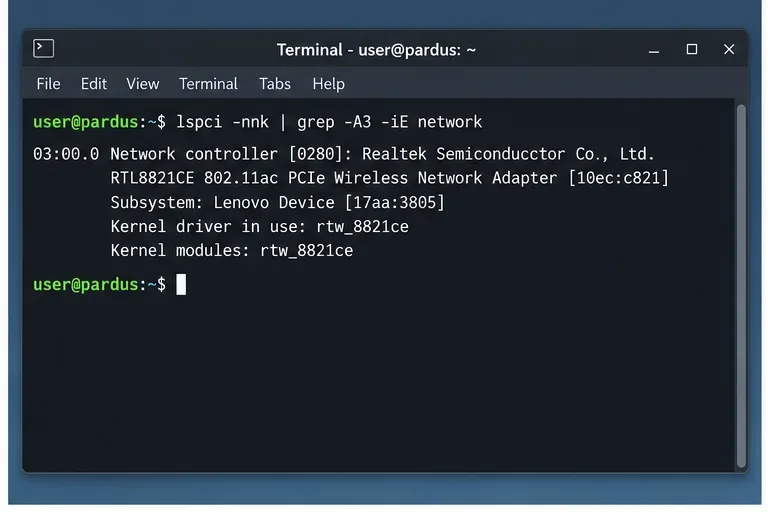
Identify the RTL8821CE, install Pardus-supported Realtek firmware, and verify the driver, Wi-Fi scan, and next troubleshooting step.
Use Pardus’s hardware-aware installer to enable the right NVIDIA driver, reboot safely, and verify the active kernel module.