Keep ONLYOFFICE Spell Check on the Language You Choose
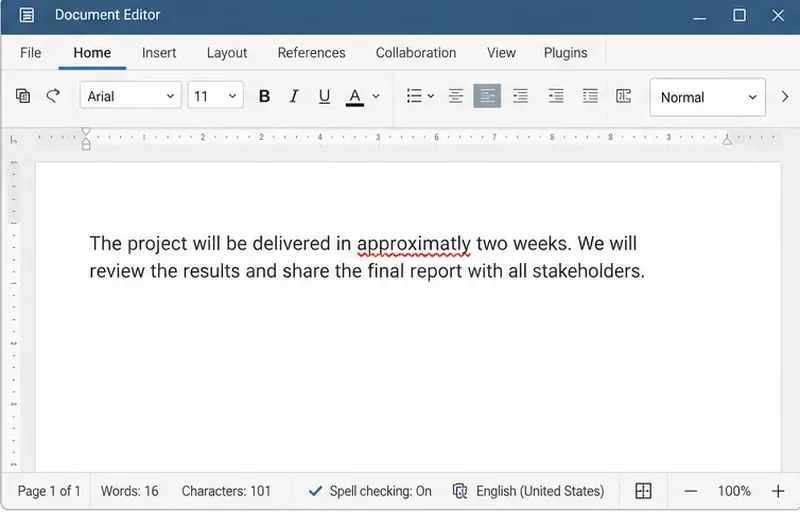
Set the proofing language for the whole document or selected text, confirm spell checking is active, and identify when a server dictionary is missing.
The Loop feature in Google Slides will help you automatically repeat the presentation as desired. Here's how to automatically loop presentation slides on Google Slides .

How to loop a presentation on Google Slides without exporting
To duplicate presentation slides on Google Slides , first set up a new slideshow as usual. When you're ready to run the slide in a loop, click the Present button in the upper right to start playing it.
With the presentation viewer open, move the mouse to the lower left corner of the screen to display the toolbar. Here, click the 3-dot menu and expand the Auto-play section . Then, on this menu, click Loop at the bottom to automatically loop the presentation.
Also on this menu, you need to select the time for that slide so that it plays automatically. Here you will see quick run options like Every second or Every 2 seconds . The longest is Every 30 seconds or Every minute . Choose a time appropriate to the type of presentation.

After selecting to automatically loop and forward the presentation, click the Play button to start playing the slideshow. This action will automatically run the slides at the speed you choose, looping them until you click the Pause button on the same menu.
How to export an automatic looping presentation on Google Slides
To share an automatically looping presentation on Google Slides, you need to publish it as follows: select File > Publish to the web in the top left corner.
When doing this, you have several configuration options. Select Link (unless you want to Embed - embed it somewhere), then select Auto-advance slides . The time available here is similar to the method mentioned above.
Tick Restart the slideshow after the last slide and it will continuously loop until the recipient closes it. For best results, also enable the Start slideshow as soon as the player loads so they don't have to manually start it.

Now you know how to loop a slide show on Google Slides . Hope the article is useful to you.
Set the proofing language for the whole document or selected text, confirm spell checking is active, and identify when a server dictionary is missing.
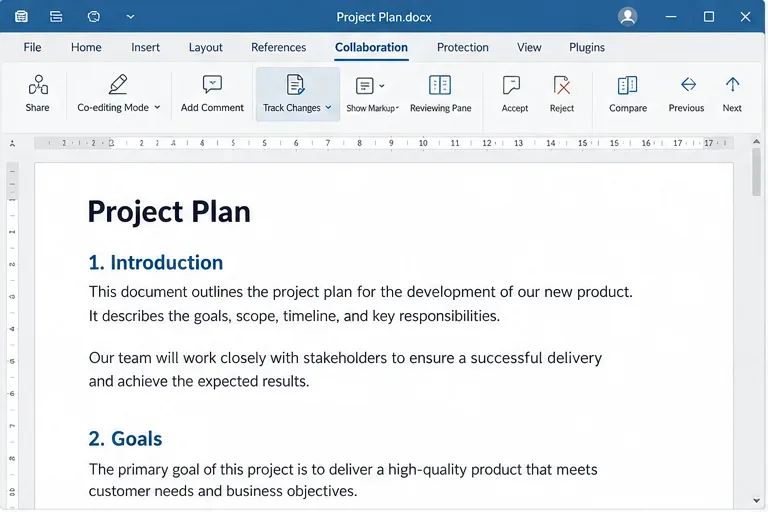
Enable persistent Track Changes for everyone in one ONLYOFFICE document, verify edits are recorded, and understand the limits of this setting.
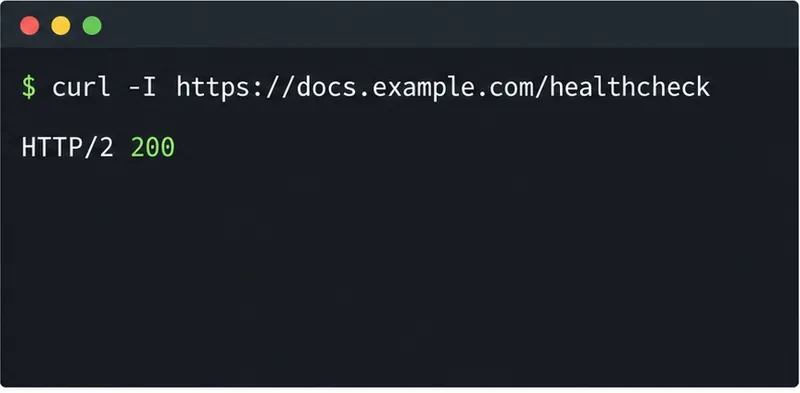
Find whether Nginx, Docker networking, or an internal ONLYOFFICE service is returning 502, then verify the corrected upstream and health check.
Diagnose failed ONLYOFFICE saves by checking the Nextcloud callback route, proxy redirects, and storage logs, then verify the edited file persists.
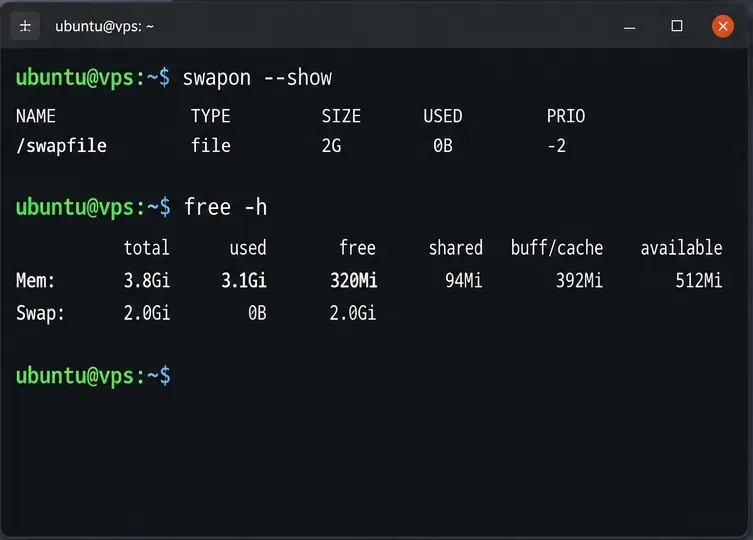
Find the cause of ONLYOFFICE memory crashes, check Docker limits, size VPS RAM correctly, add swap safely, and verify that documents open and save.
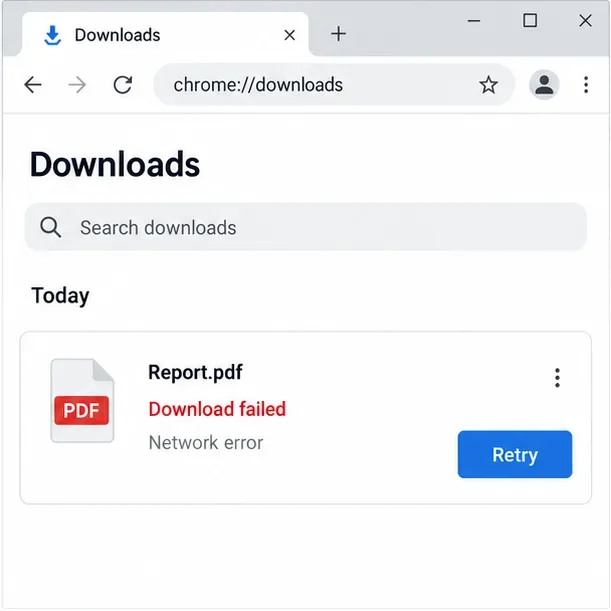
Separate browser download problems from server-side conversion errors and use the right log or access check to get your PDF export working.
Match the JWT secret used by ONLYOFFICE Docs and Nextcloud, apply it safely for Docker or Linux installs, and verify the connection without weakening authentication.
Install ONLYOFFICE Workspace Community on Ubuntu 24.04 with the official Docker script, check server requirements, skip Mail if needed, and verify the portal safely.
Configure matching JWT secrets for ONLYOFFICE Docs and its connector, with safe steps for Linux packages, Docker deployments, and verification.
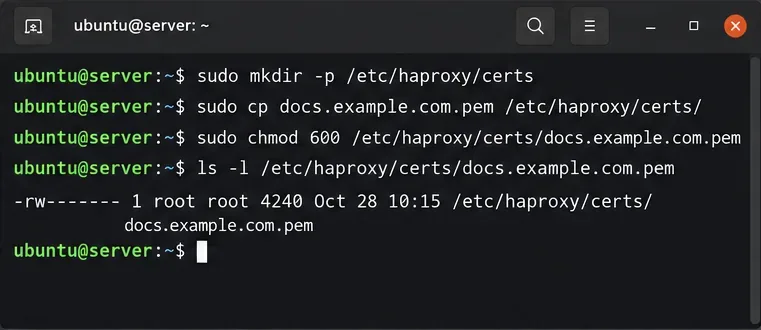
Configure HAProxy HTTPS, forwarding headers, WebSocket timeouts, and health checks for ONLYOFFICE Docs, then verify editing and saves.