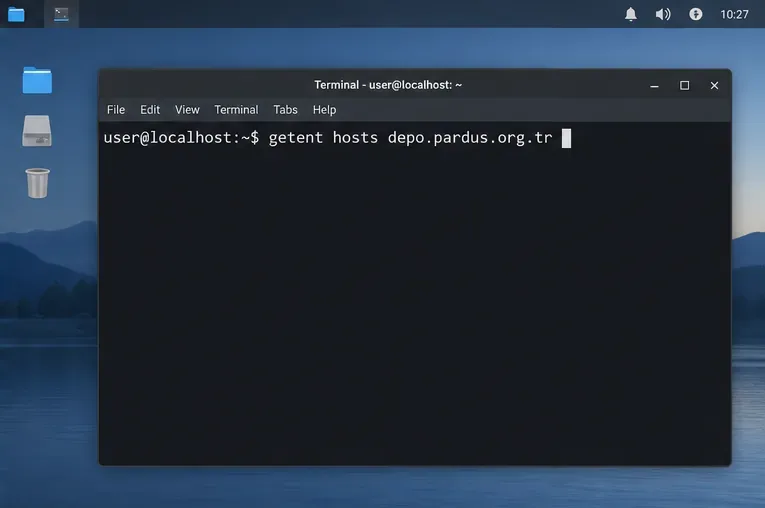
Set Up Secure RDP Access to a Pardus Xfce Desktop

Install and configure xrdp on Pardus, choose the right Xfce session, restrict network access, and verify that remote login works.
Keeping your computer clutter-free can help improve performance and free up a lot of storage space. Windows has a number of built-in system cleanup utilities, including the Disk Cleanup tool. However, the Command Prompt is a lesser-known way to clean up your computer.
Here are some ways to clean up a slow Windows computer using Command Prompt.
Start cleaning your computer with CMD
Below is a list of commands to launch disk cleanup, clean temporary files, cache, etc. Some of these commands may require you to open Command Prompt with admin rights .
How to defragment hard drive using Command Prompt?
While fragmentation on traditional hard drives is normal, it can cause performance issues. It affects the read and write speeds of the drive, making your system run slowly.
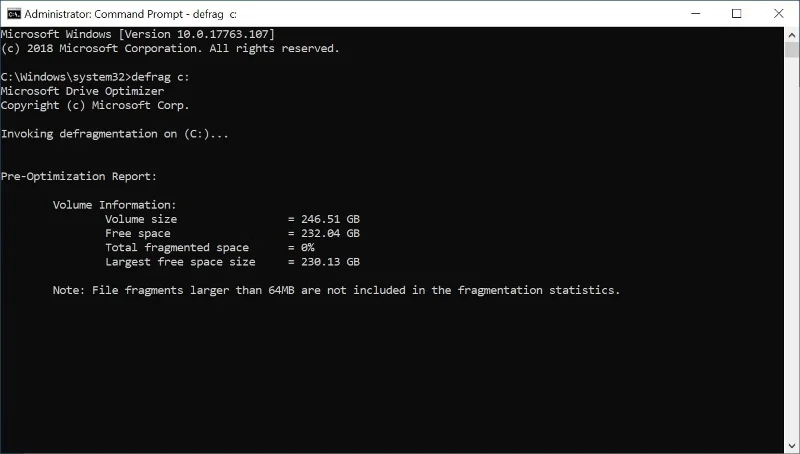
Defragmentation rearranges fragmented data to help your drive run more efficiently. You don't need to defragment your SSD (it's not recommended). But if you have a mechanical hard drive, here's how to defragment it using the command line.
defrag c:You can run the defrag command using optional switches. Refer to the article: Defrag Command in Windows to better understand how to use different syntax with the defrag command to perform analysis, add exceptions, change priorities, etc.
Clean up your drive quickly with Run
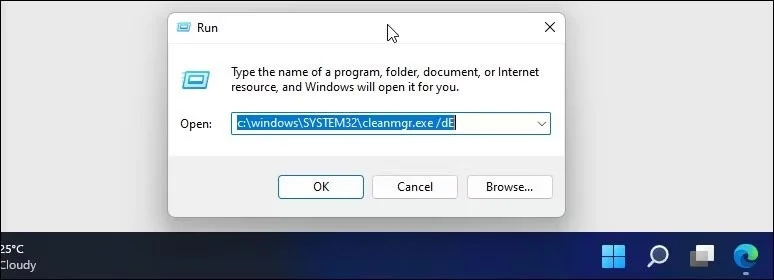
You can use the Run command to perform a quick disk cleanup without opening the Command Prompt . This is useful if you want to free up a few gigabytes of storage space in two steps. This requires you to launch the Disk Cleanup tool and specify the drive you want to clean through the Run dialog box.
To run Disk Cleanup:
C:\windows\SYSTEM32\cleanmgr.exe /dDriveC:\windows\SYSTEM32\cleanmgr.exe /dEHow to use Disk Cleanup utility via Command Prompt
Disk Cleanup is a built-in Windows utility to help you free up space on your computer's hard drive . It can clean up downloads, temporary Internet files, the Recycle Bin, and even system files.
You can use Command Prompt to launch Disk Cleanup and perform automated cleanup tasks directly. Here's how to use the tool and what command-line switches are supported.
Delete basic file
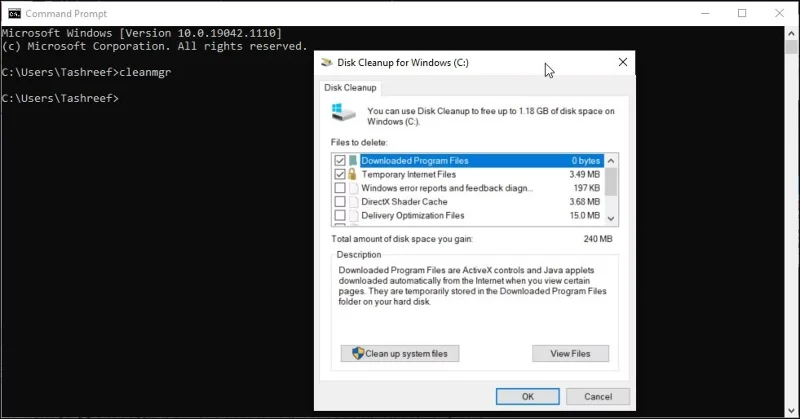
You can use the cleanmgr command to launch the Disk Cleanup tool using Command Prompt.
Clean up a specific drive/partition
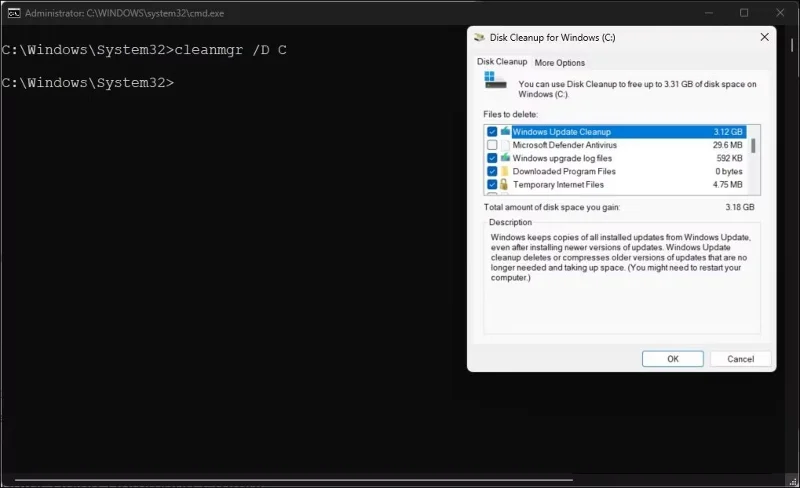
You can use the cleanmgr command followed by a drive letter to run the Disk Cleanup tool for that drive. This is useful for freeing up space on a specific drive. For example, use the following command to run the Disk Cleanup tool on drive C:
cleanmgr /D CThe Disk Cleanup tool will scan and display all the files you can delete. Make your selections and click OK .
Configure Disk Cleanup tool settings
To customize Disk Cleanup tool settings, the cleanmgr command supports several switches, including sageset and sagerun.
Here's how it works:
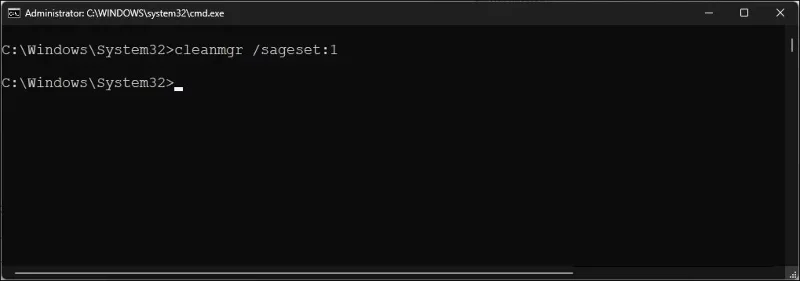
1. Type the following command into Command Prompt and press Enter :
cleanmgr /sageset:12. In the above command, replace 1 with any number from 1 to 9999 . This tutorial will use 1 . When executed, it will open the Disk Cleanup tool and display all the junk items that you can delete.
3. Select or deselect all the items you want to delete. For example, select temporary setup files, Windows Update Cleanup, downloaded program files, Recycle bin (be careful with this one), etc.
4. After selecting the file types to clean up, click OK to save the configuration.
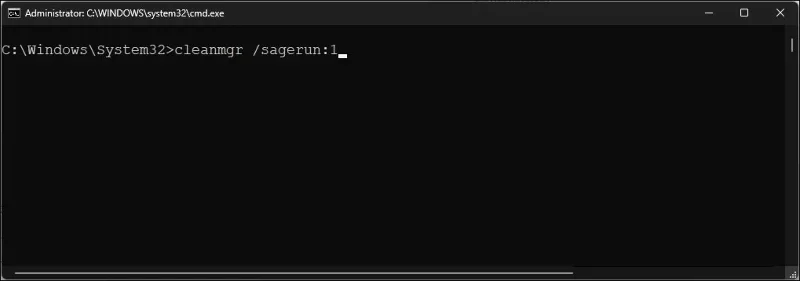
5. Now, use the following command to run the Disk Cleanup tool with your custom configuration:
cleanmgr /sagerun:1 6. This will launch the Disk Cleanup tool and start cleaning the file types specified earlier and assigned a value of 1. In this case, it will delete temporary setup files, Windows Update Cleanup, downloaded program files, and Recycle bin files.
Optimized for low space
Switch lowdisk , as the name suggests, is useful if you are running out of storage space on your hard drive. When executed, it will automatically check all file types.
The lowdisk command is followed by the drive letter for the partition to free up space. The complete command would look something like this:
cleanmgr /lowdisk /dWhen executed, Disk Cleanup will open with all the junk file categories selected in the D: drive.
To delete all junk files quickly without user prompts, use the following command instead:
cleanmgr /verylowdisk /dHow to delete temporary files using Command Prompt
Windows creates temporary files for its own use. They rarely take up a lot of space on your hard drive and are essential for the system to run smoothly. When the task is complete, your system automatically removes them from the temporary folders.
The Disk Cleanup tool will clean up temporary files older than 7 days. But if you need to clean up your temporary folder regularly, you can do it manually or use the Command Prompt.
To view temporary files, enter the following command in Command Prompt:
%SystemRoot%\explorer.exe %temp%\You can delete these files manually ( Ctrl + A > Delete ) from File Explorer or use the following command to delete temporary files:
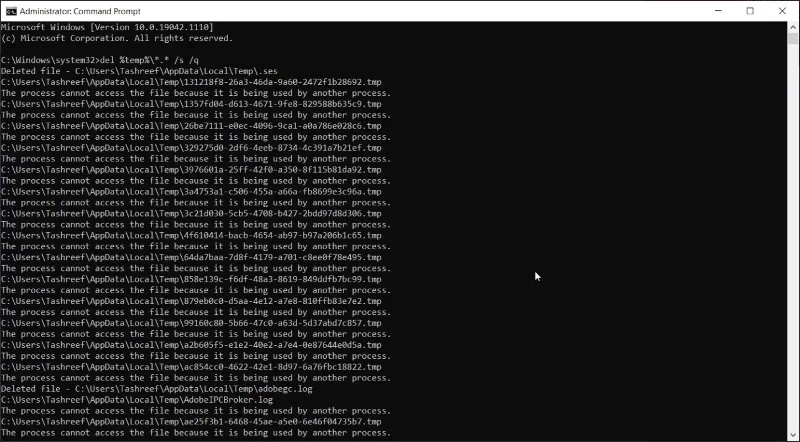
del %temp%\*.* /s /qCommand Prompt will automatically skip any files that are currently in use but it will delete the rest.
How to delete prefetch files using Command Prompt
Prefetch files are temporary files created when an application runs on your Windows system. These files contain information used to optimize program execution.
Like other temporary files, prefetch files don't usually take up much space on your hard drive. However, if you need to delete prefetch files regularly, you can use Command Prompt to clean them up on your system.
To delete prefetch files using Command Prompt:
1. Open Command Prompt with admin rights.
2. In the Command Prompt window, type the following command to view the prefetch files:
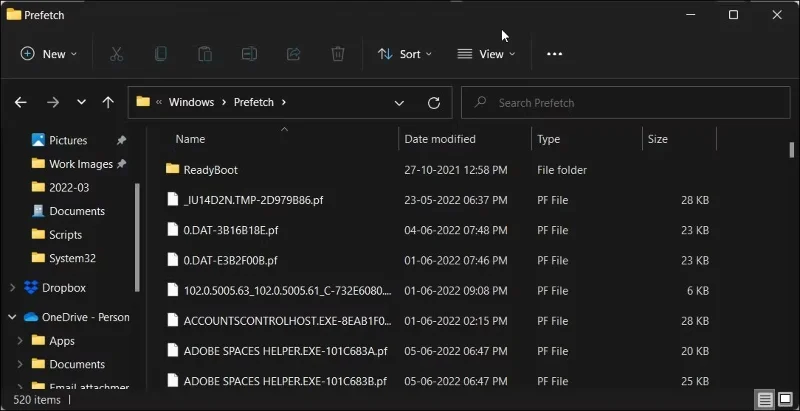
%SystemRoot%\explorer.exe C:\Windows\prefetch\3. The command will open the Prefetch folder in File Explorer and display the prefetch files that you can delete.
4. To delete prefetch files, use the following command and press Enter :
del C:\Windows\prefetch\*.*/s/q5. Command Prompt will display a list of all the deleted prefetch files.
Wipe hard drive with Diskpart
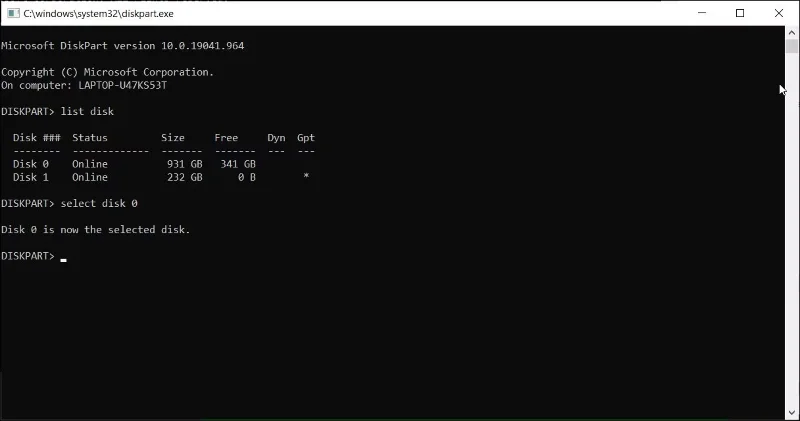
If you want to wipe the entire disk, you can use the diskpart utility. Diskpart is a Windows command line utility that supports more than 38 commands for different functions.
To wipe a drive, you can use diskpart's clean command. Once executed, it will delete all data and convert the drive into unallocated space.
Be careful when using the diskpart utility. Using the wrong objects can result in total data loss and you may not be able to recover any data. Therefore, make a backup of your important system data before using the diskpart tool.
To erase a drive:
Select disk 0Clean allInstall and configure xrdp on Pardus, choose the right Xfce session, restrict network access, and verify that remote login works.
Diagnose Pardus 23 APT connection failures, confirm the official yirmiuc sources, and restore apt update without bypassing package signature checks.
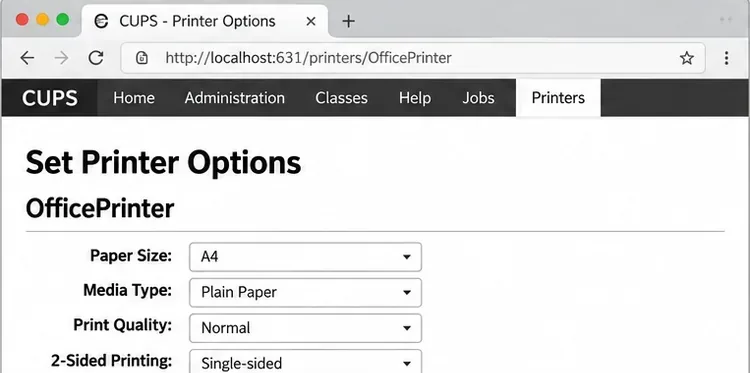
Configure printers on Harmonica OS using CUPS, compare driverless IPP with legacy drivers, and verify USB or network printing with a test page.
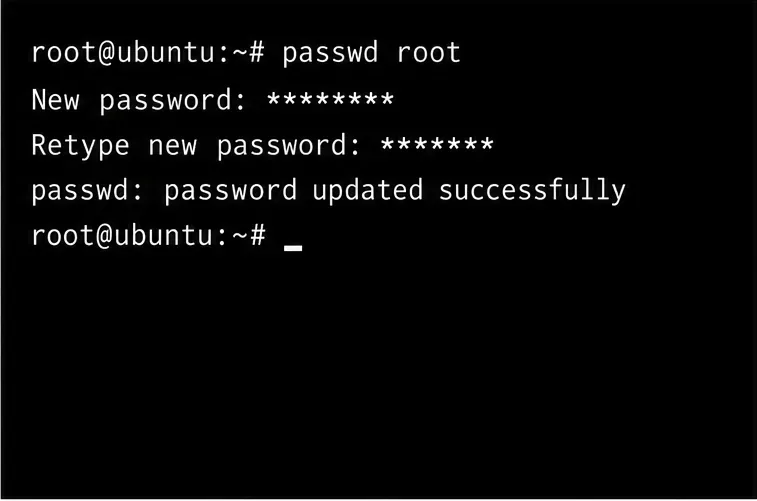
Use a recovery shell to set a new Harmonica OS root password, with checks for encrypted disks, read-only filesystems, and accounts that use sudo.
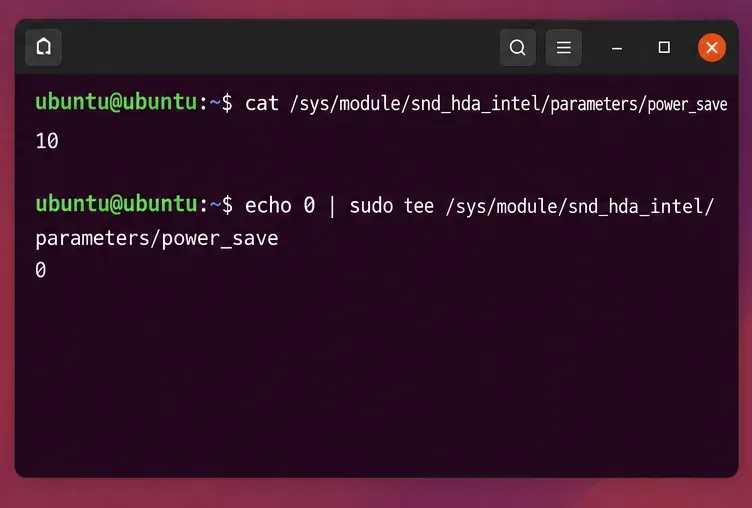
Trace whether clipping, ALSA format conversion, or HDA power saving is causing Ubuntu 24.04 audio distortion, then apply the matching reversible fix.
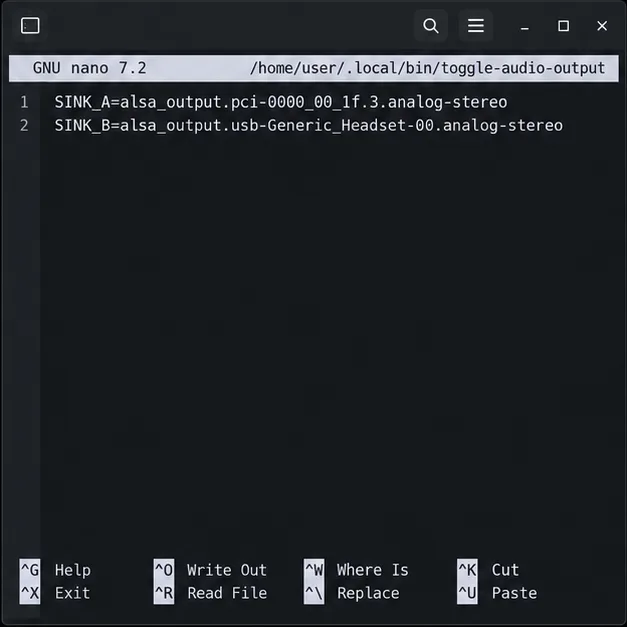
Switch Debian audio between named PipeWire outputs with a pactl script that updates the default sink and reroutes streams already playing.
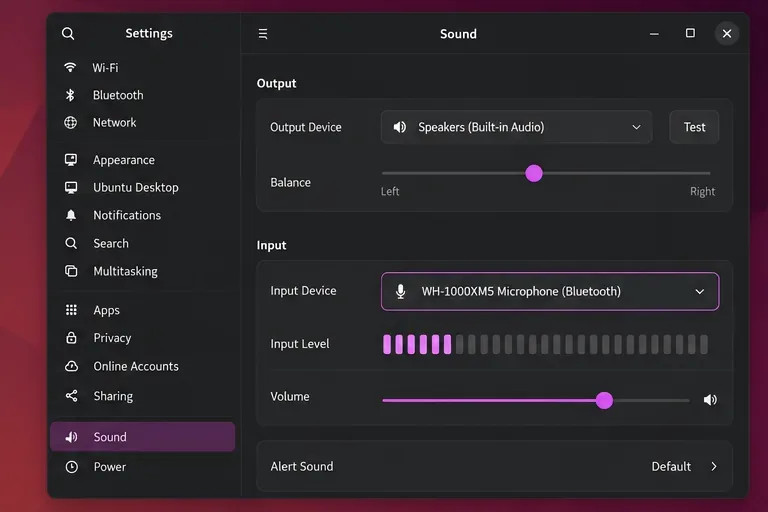
Get your Bluetooth headset mic working by selecting the right input, using a hands-free audio profile, and checking Ubuntu’s PipeWire route.
Learn why Flatpak apps may ignore Ubuntu 24.04 GTK themes and follow safe steps to check theme extensions, refresh Flatpak apps, and diagnose portal issues.
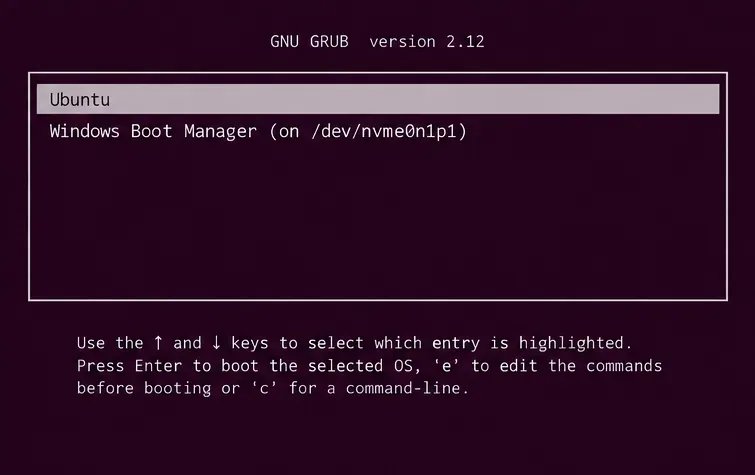
Install Ubuntu 24.04 alongside Windows 11 with BitLocker safely. Compare separate-drive and shared-drive paths, recovery keys, partitioning, and boot checks.
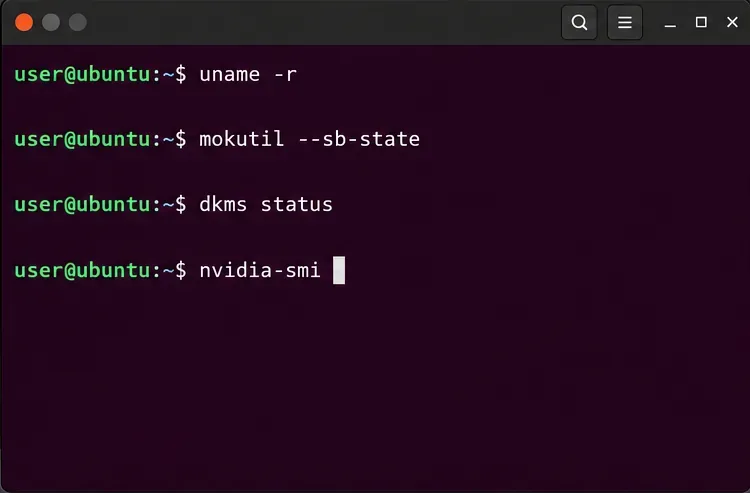
Diagnose NVIDIA driver failures after an Ubuntu kernel update. Check DKMS and Secure Boot, rebuild the matching module, enroll a MOK, and verify the fix.