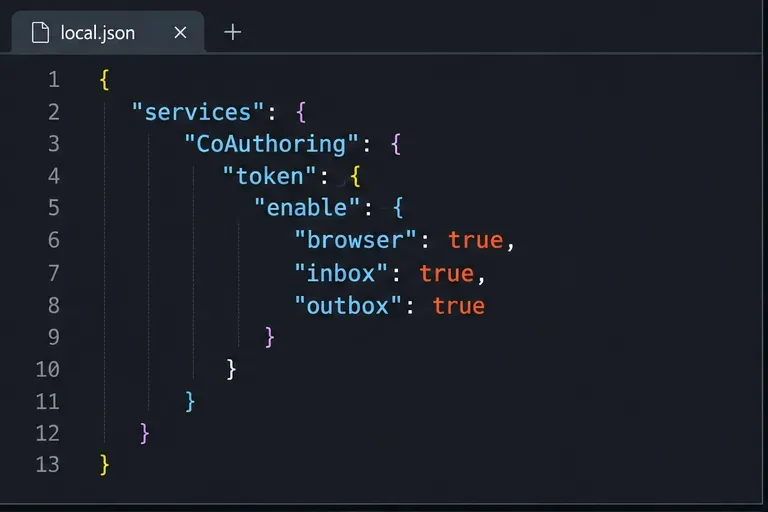
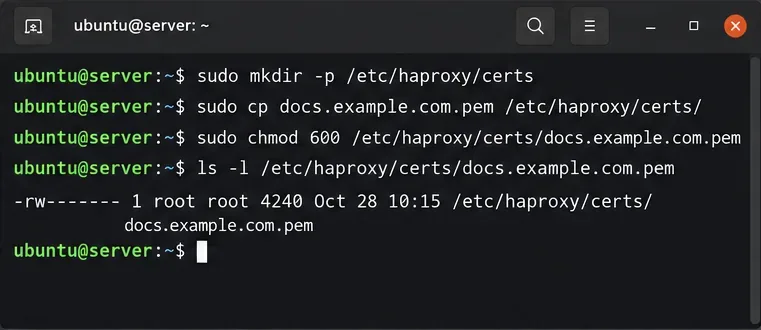
Keep ONLYOFFICE Spell Check on the Language You Choose
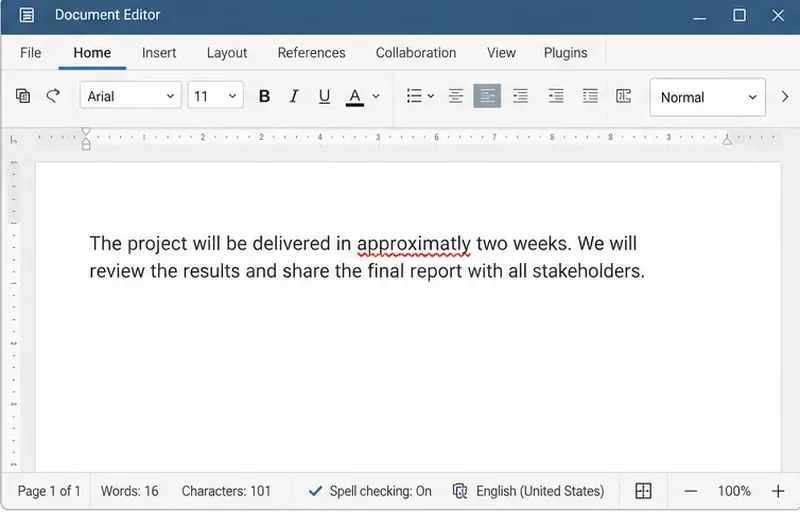
Set the proofing language for the whole document or selected text, confirm spell checking is active, and identify when a server dictionary is missing.
- Allows you to download more special applications that are not available in the application store of the TV, or with but not compatible with the TV .
- Installation is simple and easy to do.
Step 1. Download the apk file of the application you want to install to the USB. There are many ways you can download apk files, for example, using Google to find: apk file + application name, then just download the USB.
For example, in this article, WebTech360 will download the apk file of the FPT Play app for Android.

Step 2. Turn on the mode that allows installing external applications on Toshiba Smart TV.
You press the Home button (the button with the house image) to enter the TV home page interface, then select the setting icon below (the gear icon). In the TV setup interface, select the Security item, then select Unknown source and press OK to confirm.
Step 3. Install the application.
After plugging the USB containing the apk file into the USB port on the TV, you continue to do the following.
+ First, go to the TV homepage, go to the Play Store app store and download ES File Explorer app, then open this app.
See more:
How to download apps on Toshiba Smart TV
+ Next, ES File Explorer interface opens, you choose to enter your USB. (Here, the USB is named sda1), then select the apk file of the application and select "Install" and follow the next steps.
Note:
- You cannot directly download the apk file to the TV for installation, but have to download it to a USB key before installing it on the TV.
- Using an external application installed by an apk file may cause certain limitations, the features cannot be as flexible and complete as the application in the application store of the TV.

Nothing is as frustrating as having to contend with the restrictive app stores in most of the smart TVs. Most of the application managers have very limited apps in their stores and lack the most sought after apps like Netflix, YouTube, and Spotify etc. In this tutorial, we are going to discuss how to install these apps from external sources.
Prerequisite
This tutorial will require the following items:
Install ES File Explorer File Manager
The first step is to install ES File Explorer from your favourite app store. The recommended one is the Google Play Store.

Network Connection
Ensure both Smart Tv and the smartphone are connected to the same network preferably a Wi-Fi connection.
Install ES File Explorer File Manager in the Smart TV
The next step is to install ES File Explorer File Manager on the Smart TV. To achieve this, follow the steps below:

3. Navigate to the Network Menu

4. Click on the dropdown and select Android TV. Loads a new window.

5. Click on Scan button. The app will scan for available devices and load them in the list.
6. Select your Smart TV from the list (in most cases, it usually the only item listed in the menu).

8. ES File Explorer will be automatically installed on your Smart Tv. To confirm installation, go to the application manager in your Smart TV and navigate to the list of installed apps. ES File Explorer should be one of the apps.

Install App Of Choice
Finally, you can install the application of choice. There are three methods that can be used to install an app into your smart TV now that ES File Explorer File Manager is already installed.
Method One: using a smartphone
For this method to work. You have to ensure that the smartphone and the smart TV are still in the same network then follow the steps below:

Method Two: Using removable devices
Method Three: Using Google Play Store
Assuming that the app you want to install can be found in the Google Play store.
Whichever method you decide to use, the app of choice should be installed on your smart TV.

That’s it. Enjoy using your favourite app on your smart TV. We will be releasing more hacks and tutorials in the coming weeks so stay tuned.
Above are the steps to install apps using apk file on Toshiba Smart TV. Good luck!
Set the proofing language for the whole document or selected text, confirm spell checking is active, and identify when a server dictionary is missing.
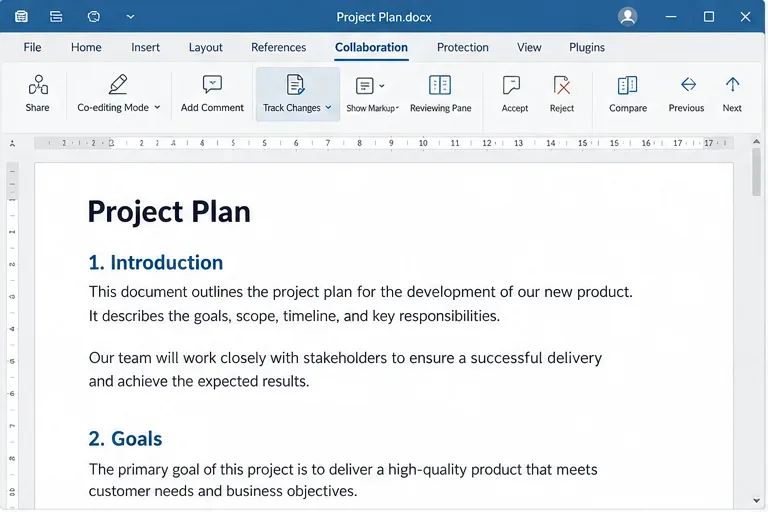
Enable persistent Track Changes for everyone in one ONLYOFFICE document, verify edits are recorded, and understand the limits of this setting.
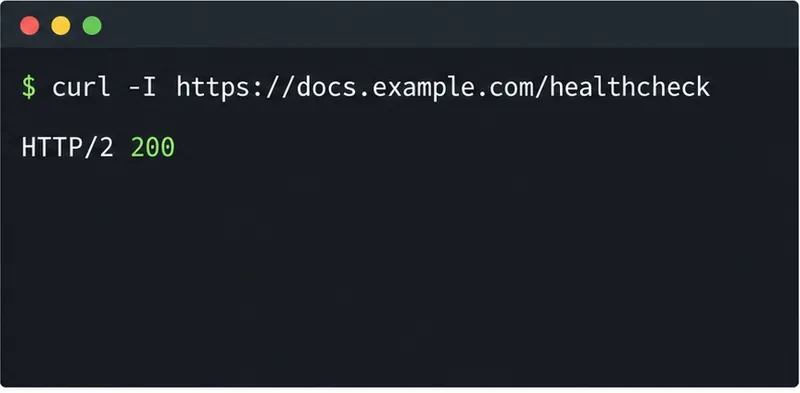
Find whether Nginx, Docker networking, or an internal ONLYOFFICE service is returning 502, then verify the corrected upstream and health check.
Diagnose failed ONLYOFFICE saves by checking the Nextcloud callback route, proxy redirects, and storage logs, then verify the edited file persists.
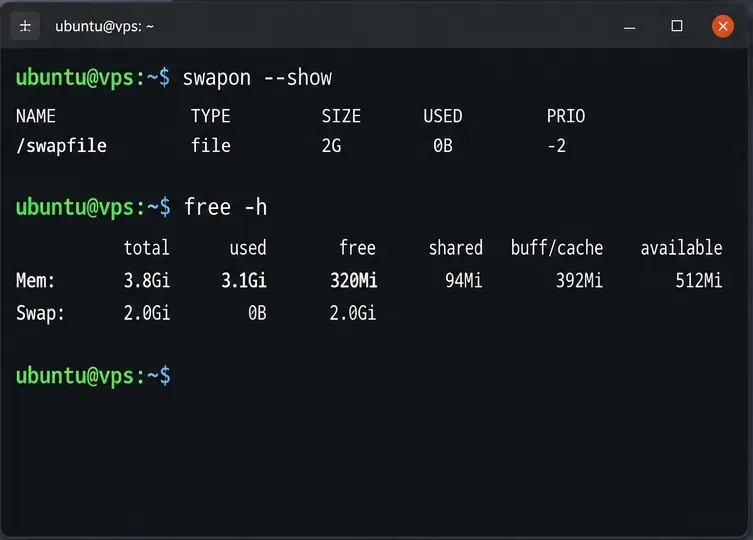
Find the cause of ONLYOFFICE memory crashes, check Docker limits, size VPS RAM correctly, add swap safely, and verify that documents open and save.
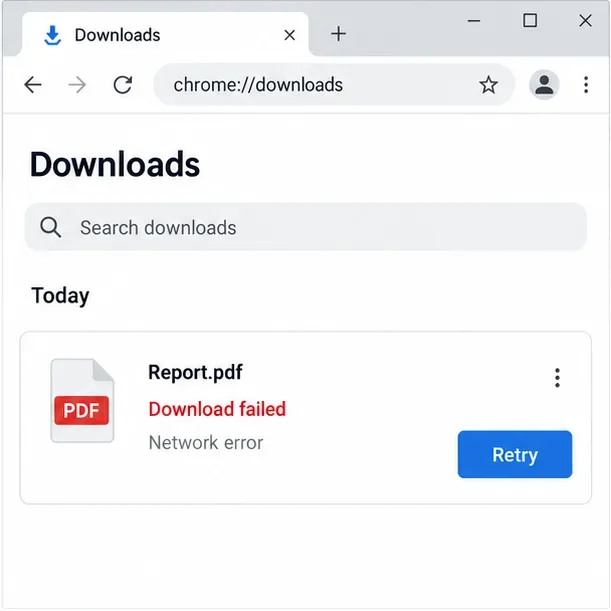
Separate browser download problems from server-side conversion errors and use the right log or access check to get your PDF export working.
Match the JWT secret used by ONLYOFFICE Docs and Nextcloud, apply it safely for Docker or Linux installs, and verify the connection without weakening authentication.
Install ONLYOFFICE Workspace Community on Ubuntu 24.04 with the official Docker script, check server requirements, skip Mail if needed, and verify the portal safely.
Configure matching JWT secrets for ONLYOFFICE Docs and its connector, with safe steps for Linux packages, Docker deployments, and verification.
Configure HAProxy HTTPS, forwarding headers, WebSocket timeouts, and health checks for ONLYOFFICE Docs, then verify editing and saves.