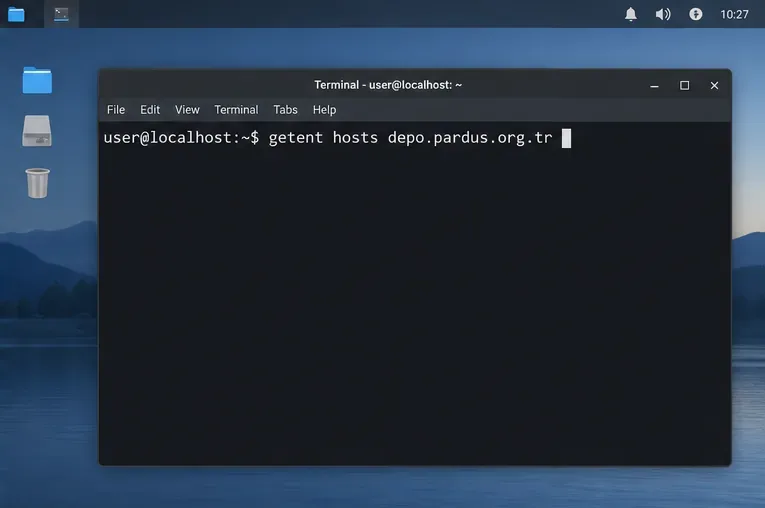
Deploy Shared Pardus Wallpapers and Policies with Lider Ahenk
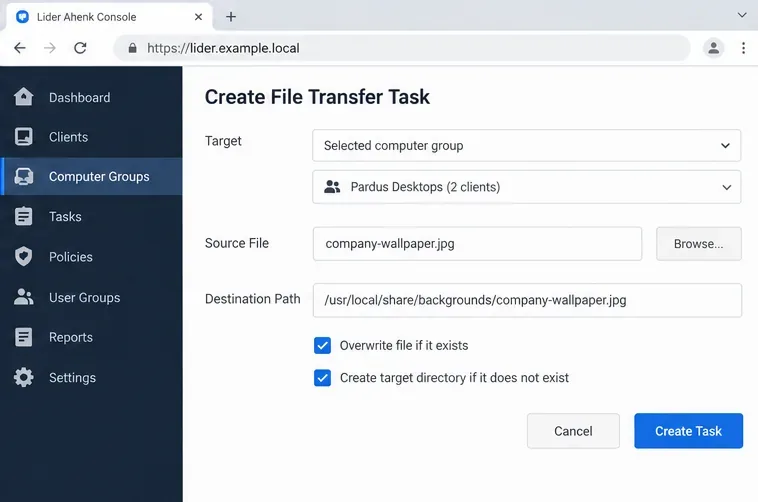
Distribute a custom wallpaper to Pardus clients, configure Xfce or GNOME desktops, and apply Lider Ahenk user policies with safe pilot checks.
If you can't save the Excel file, don't worry too much. Below are simple ways to fix the error of not being able to save Excel files on Windows 10 for you.
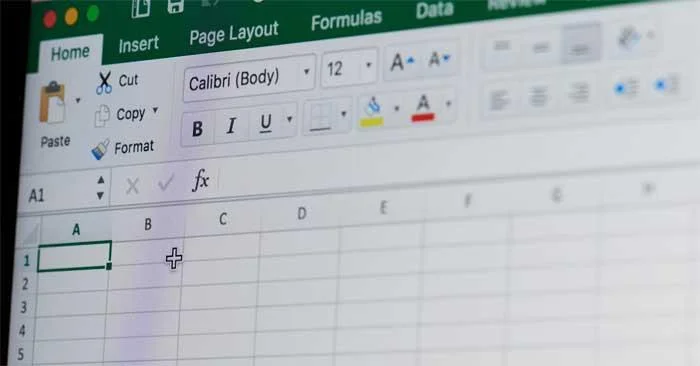
Cause of Document Not Saved error in Excel
How to fix the error of not being able to save Excel files on Windows
This is the simplest way to fix Document Not Saved error in Excel because the problem may be due to a temporary problem with the current workbook name.
Proceed as follows:
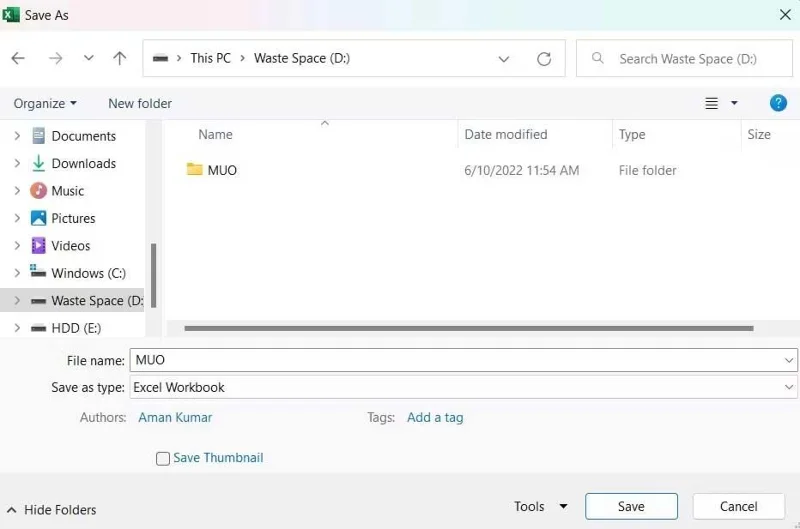
If the error of not being able to save the Excel file has disappeared, you do not need to try the next solutions.
Similar to the file name, the problem can also be caused by a temporary problem, usually in the current workbook, so try transferring the data inside to a new sheet.
To do this, select all the contents using Ctr+A , then press Ctrl+C to copy them. Then, create a new workbook and paste the copied content using Ctrl+V .
It's done. Try saving the new workbook and see if the problem is fixed.
This error can appear due to any interruption from an application running in the background. Specifically, Office-like apps running in the background can interfere with Excel operations and cause this problem. So, try closing all such applications.
Proceed as follows:
1. Open Task Manager with Ctrl + Shift + Esc .
2. In the Processes tab , right-click Office-like apps and select End task from the context menu.
It's done. Restart the workbook and see if the Doucment not saved error still appears.
To save an Excel workbook to an online location, you must have a stable Internet connection. Therefore, go to one of the Internet speed test websites and see the stability parameters of the network you are using. Then contact your Internet provider for help.
The Document not saved error appears if the user account does not have permission to access the folder in the location where you want to save the Excel file. You will have to provide all necessary permissions to resolve this issue. Proceed as follows:
1. Open File Explorer .
2. Go to the location where you want to save the Excel workbook.
3. Go back one step and right-click on the directory folder.
4. Select Properties from the context menu.
5. Switch to the Security tab and click the Advanced button .
6. Click Change next to the Owner description .
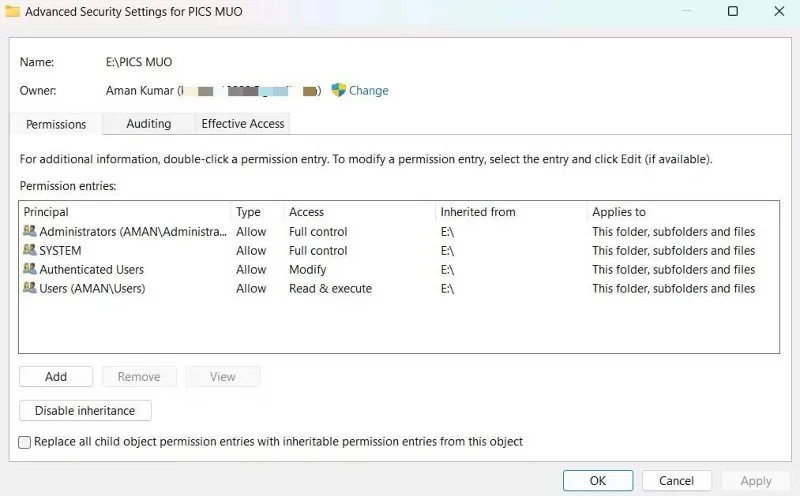
7. Click Advanced > Find Now .
8. Select the account and click OK .
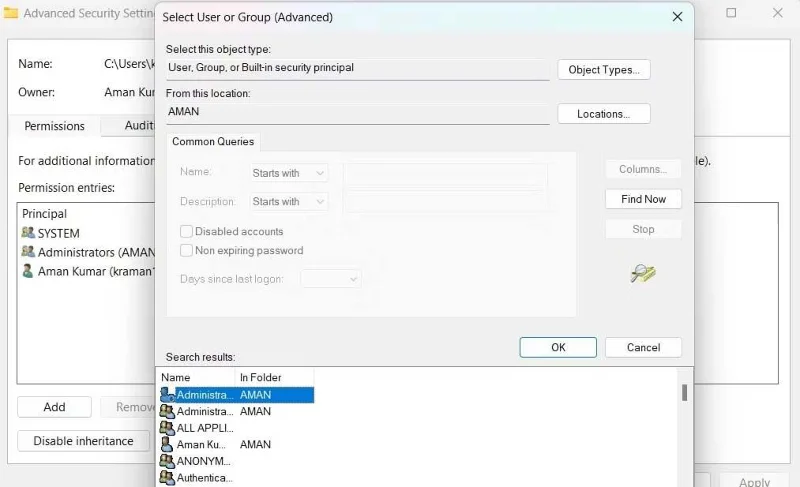
9. Check Replace owner on subcontainers and objects .
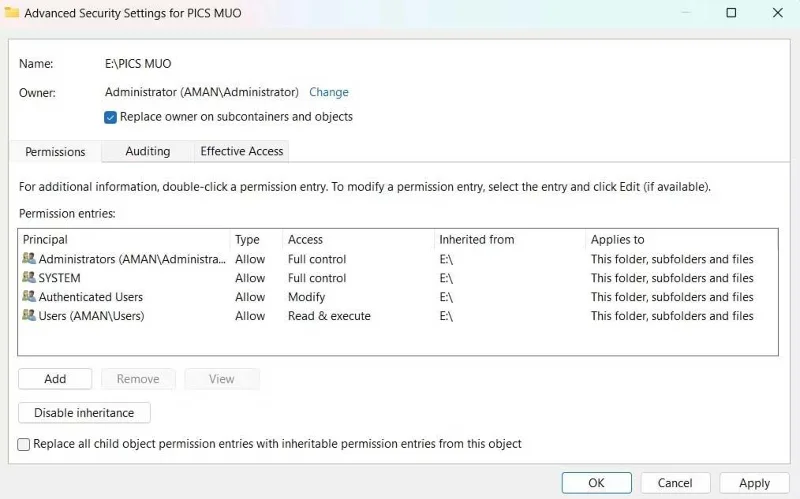
10. Click Apply > OK .
11. Right-click this folder again > Security tab > Advanced .
12. Click the Add button .
13. Select Select a principle > > Advanced > Find Now .
14. Select account > OK > OK .
15. Check Full control box > OK .
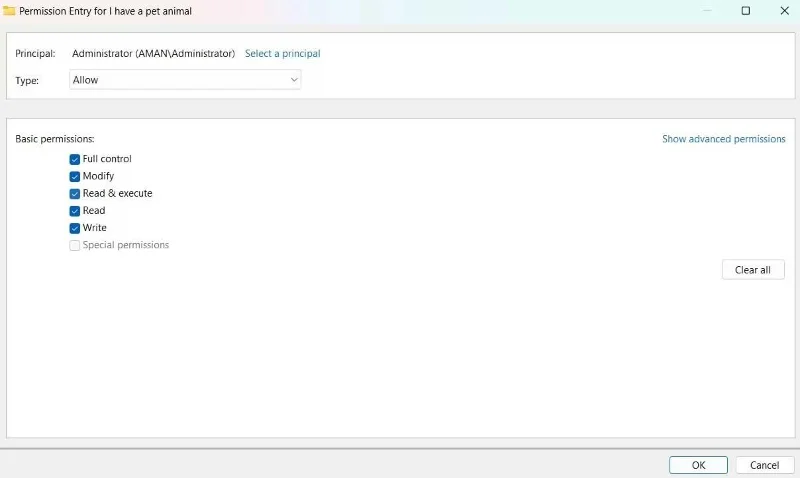
16. Check Replace all child object permissions entries with inheritable permissions entries from this object.
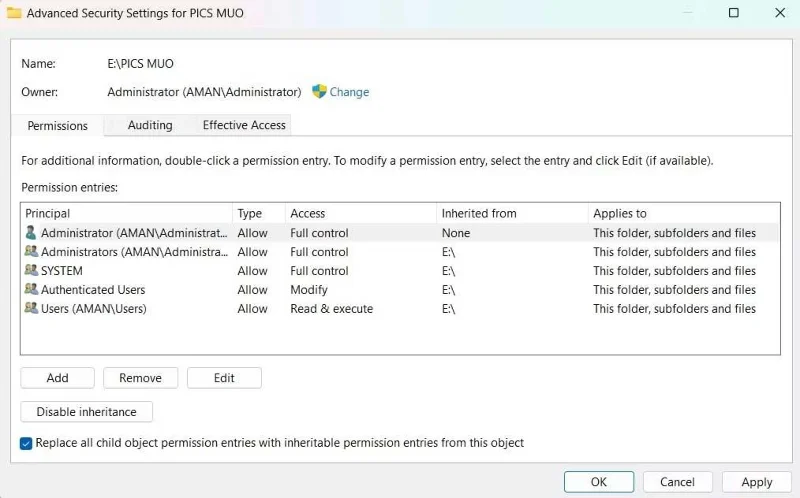
17. Click Apply > Yes > OK .
Above are ways to fix the error of not being able to save Excel files on Windows . Hope the article is useful to you.
Distribute a custom wallpaper to Pardus clients, configure Xfce or GNOME desktops, and apply Lider Ahenk user policies with safe pilot checks.
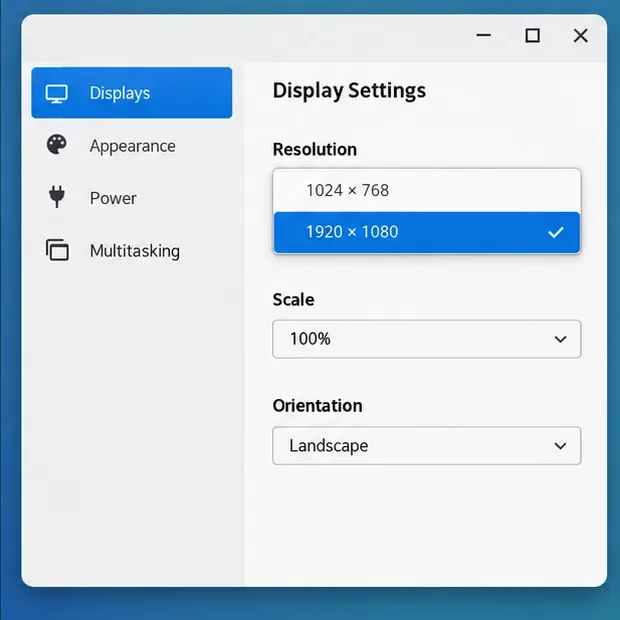
Fix a 1024 × 768 ceiling by checking SPICE, virtual video, the guest channel, and spice-vdagent—with safe checks when Pardus lacks a package candidate.
Set up the Lider server, configure its installer safely, register Ahenk endpoints, and verify a pilot before expanding central management.
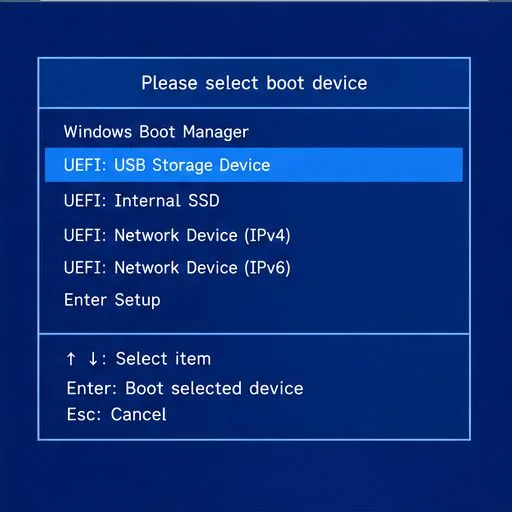
Download the official Pardus 23 desktop ISO, write it safely with Rufus, and boot a Windows PC into a temporary Live session.
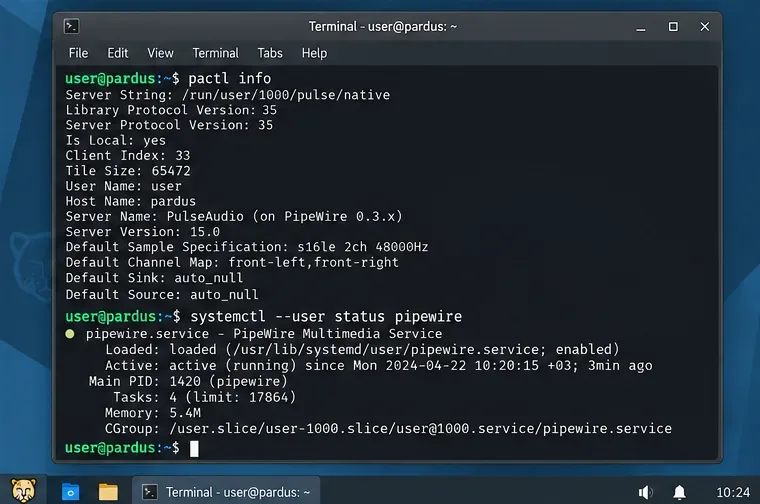
Find out why Pardus 23 cannot detect your sound card, then use targeted ALSA, firmware, and PipeWire or PulseAudio checks to restore playback.
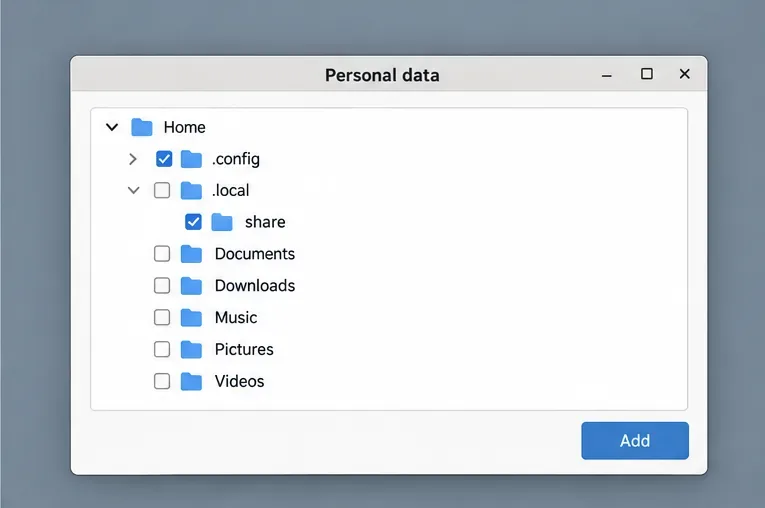
Save HamoniKR preferences to external storage, include hidden home folders, and choose a safe restore mode when moving to a fresh installation.
Install and configure xrdp on Pardus, choose the right Xfce session, restrict network access, and verify that remote login works.
Diagnose Pardus 23 APT connection failures, confirm the official yirmiuc sources, and restore apt update without bypassing package signature checks.
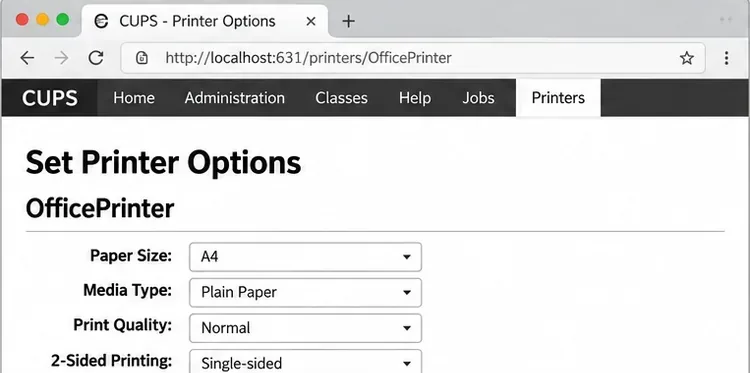
Configure printers on Harmonica OS using CUPS, compare driverless IPP with legacy drivers, and verify USB or network printing with a test page.
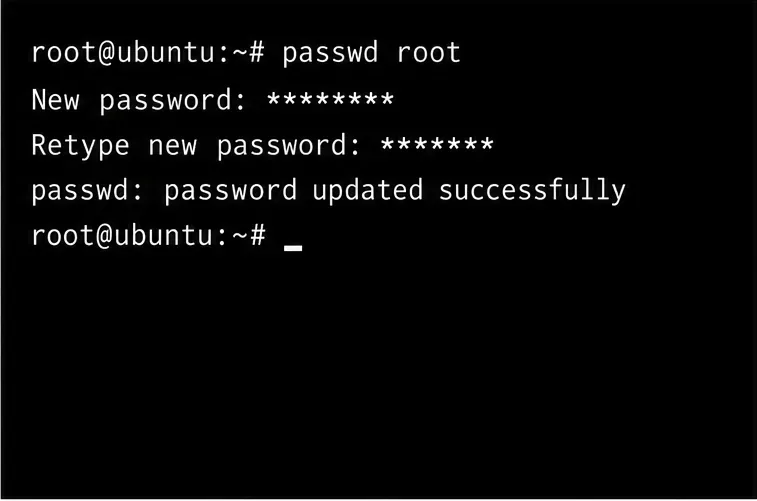
Use a recovery shell to set a new Harmonica OS root password, with checks for encrypted disks, read-only filesystems, and accounts that use sudo.