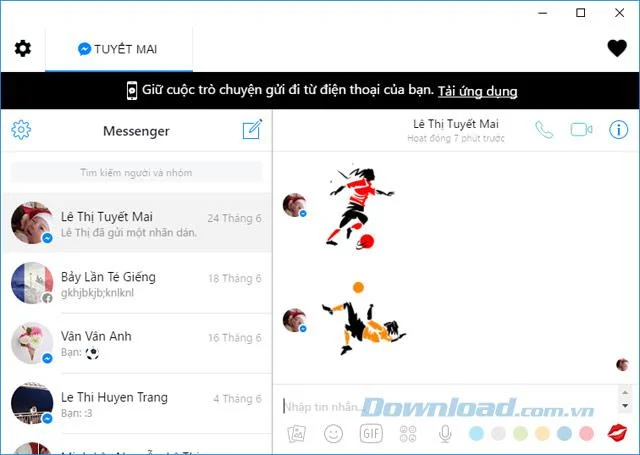
Every day must open a lot of software, applications such as Facebook Messenger , Zalo , Skype . .. to text with friends, contact business or chat with loved ones. Surely inevitable, miss a few important messages. So All-in-One Messenger is the most effective solution for you now.
All-in-One Messenger is an extension of the Google Chrome browser, bringing together most of the leading chat tools available today, helping you comfortably chat with friends in a single window. So how to use it? Invite you to refer to the tutorial below of Download.com.vn to better understand:
How to use the All-in-One Messenger chat application
Step 1: Download All-in-One Messenger from the download link above, then click Add to Chrome.
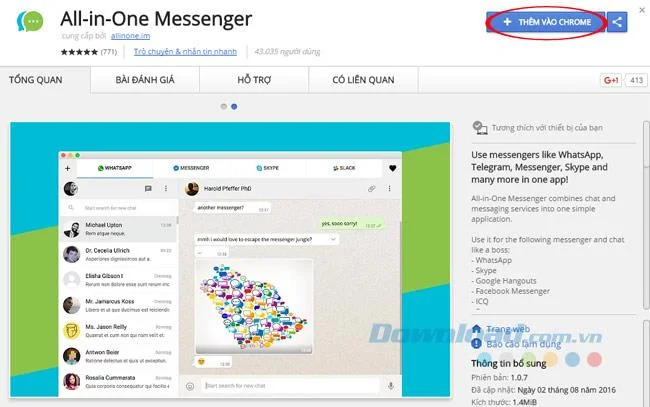
Step 2: Continue clicking Add applications to install All-in-One Messenger on your computer.

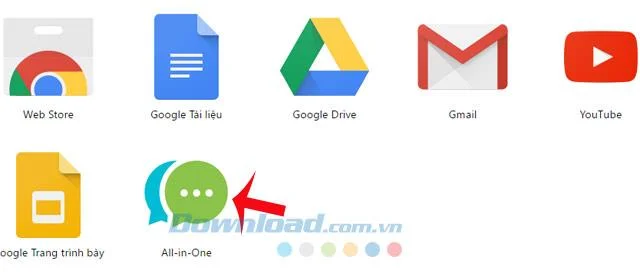
Step 3: After the installation is completed, click on All-in-One to open this utility.

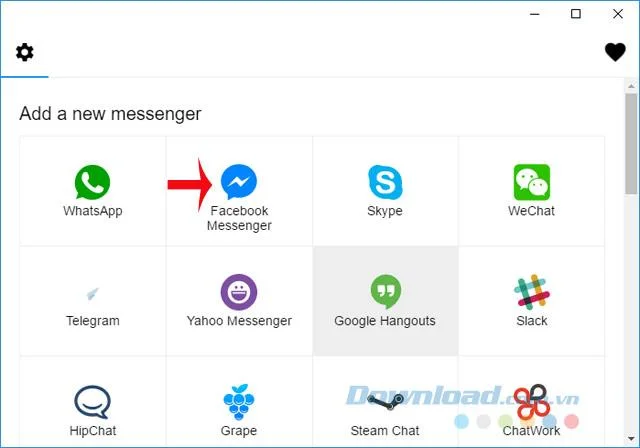
Step 4: After adding this utility, the application window will display separately from the browser. At the main interface of All-in-One Messenger, you just need to click on one of a series of messaging services such as WhatsApp , Facebook Messenger, Skype, Telegram , Yahoo Messenger , Google Hangouts , Slack ...

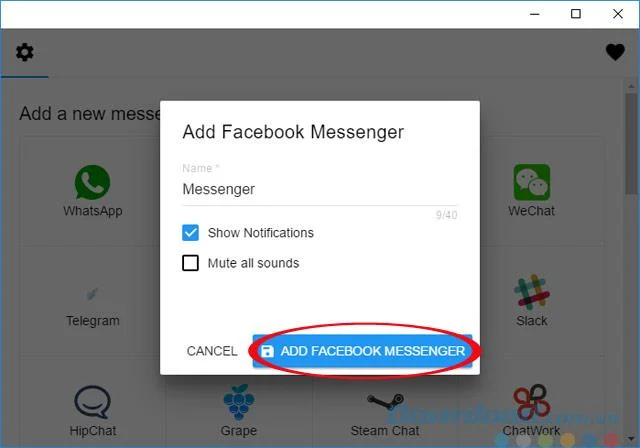
Step 5: Add Facebook Messenger window appears, you can rename and tick the following options if you want:
- Show Notications: Show messages.
- Mute All Sounds: Turn off all sounds.
Then, click Add Facebook Messenger.

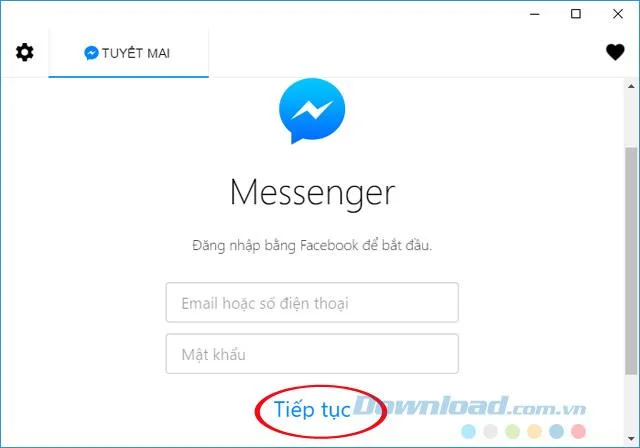
Step 6: Proceed to login to your account.

Step 7: Now you can freely talk with friends already.

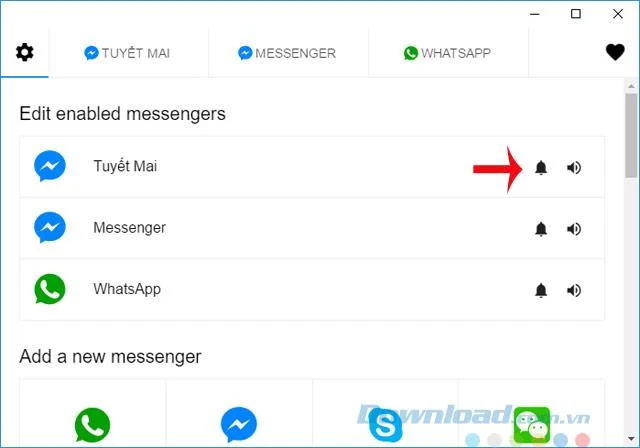
Step 8: All-in-One Messenger also allows users to log in with multiple accounts at the same time, helping you manage your account easier. In the main interface will display all applications are logged in each separate tab, you can also turn on / off notifications, sounds for each application.

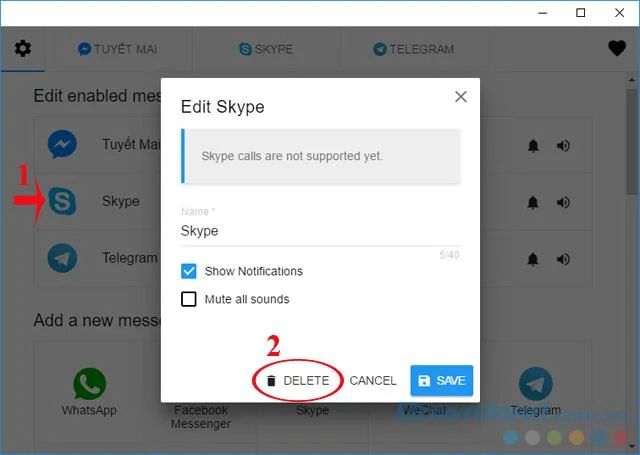
Step 9: When you want to delete you just click on the application, select Delete.

Video tutorial to open many chat applications in one window
All-in-One Messenger runs independently of the browser, so when using it, there is no need to open the browser. Pretty convenient, right? So why hesitate any longer, please experience the application now!
I wish you successful implementation!