How to Use Google Lens on Chromebook

How to Use Google Lens on Chromebook lets you scan objects, translate text, and solve problems directly from your device. Follow these steps to get started quickly.
Seasoning gas grill grates is not a one-rule-fits-all job. The first decision is whether your grates should be seasoned at all. Bare or manufacturer-designated cast iron often benefits from an oil-and-heat treatment, while some porcelain-enameled grates are specifically designed to be used without seasoning. Stainless steel can also have different care instructions by brand. The safest starting point is therefore simple: identify the grate material, then follow the owner’s manual for that exact grill or replacement grate.
Illustrative example: imagine Maya is opening a gas grill after winter storage. The cooking grates look dry and dull, but they are not badly rusted. This is a hypothetical scenario used only to show how to apply the process. Maya checks the manual and confirms that her grates are cast iron and that the manufacturer requires seasoning. From that point on, every temperature, heating time, cleaning method, and oil choice comes from the manual rather than from a generic internet rule.
Manufacturers do not all give the same advice. Weber says its newer porcelain-enameled cast-iron cooking grates do not need seasoning because the enamel is the protective finish. Char-Broil says porcelain grates do not require seasoning, while it recommends seasoning for its stainless-steel and cast-iron grates. Napoleon’s November 2025 Rogue manual instructs owners to season its cast-iron cooking grids before first use and repeat the procedure every three to four uses. Those differences are exactly why the model-specific manual matters.
| Grate type | Practical starting point | What to verify |
|---|---|---|
| Bare or uncoated cast iron | Usually a strong candidate for seasoning | Oil or shortening, heating temperature, heating time, and re-seasoning frequency |
| Porcelain-enameled cast iron | Do not assume it needs seasoning | Some manufacturers say no seasoning; others publish seasoning procedures for their cast-iron grids |
| Porcelain-coated steel | Usually treated as a finished coating | Cleaning method and whether oiling is recommended |
| Stainless steel | Seasoning is optional or brand-specific | Whether the maker recommends oiling mainly for food release and cleanup |
For Maya’s example, assume her manual calls for a cast-iron seasoning cycle similar to Napoleon’s published procedure: wash and fully dry the grates, apply a thin coat of oil, heat the grill to 350°F–400°F, cook the grates for 30 minutes, apply a second coat, then heat for another 30 minutes. That is an example of a verified manufacturer procedure, not a universal setting for every gas grill.
Do this before cleaning or oiling anything. Look in the owner’s manual, parts list, or the manufacturer’s product page. If the grate is porcelain-enameled and the maker says it does not need seasoning, stop here and follow the specified cleaning routine instead. In Maya’s hypothetical case, the manual confirms cast iron that should be seasoned.
Close the gas supply, make sure every burner control is off, and work only when the grill is cool enough to handle safely. Remove the grates and inspect them for loose debris, chips, cracks, or rust. Light surface rust on cast iron can often be removed and followed by re-seasoning, but damaged enamel is a different issue; check the manufacturer before abrading a coated grate.
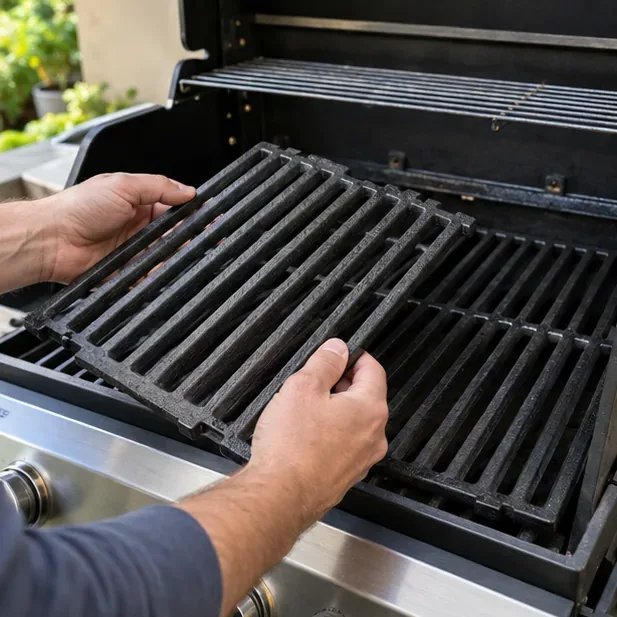
For first-use cast iron, several manufacturers instruct owners to wash by hand with mild dish soap and warm water to remove manufacturing or shipping residue. Do not automatically use the same approach on every grate finish. Avoid aggressive scraping unless the manual allows it. The U.S. Consumer Product Safety Commission also recommends alternatives such as nylon brushes or a ball of aluminum foil instead of wire grill brushes because loose wire bristles can end up in food.
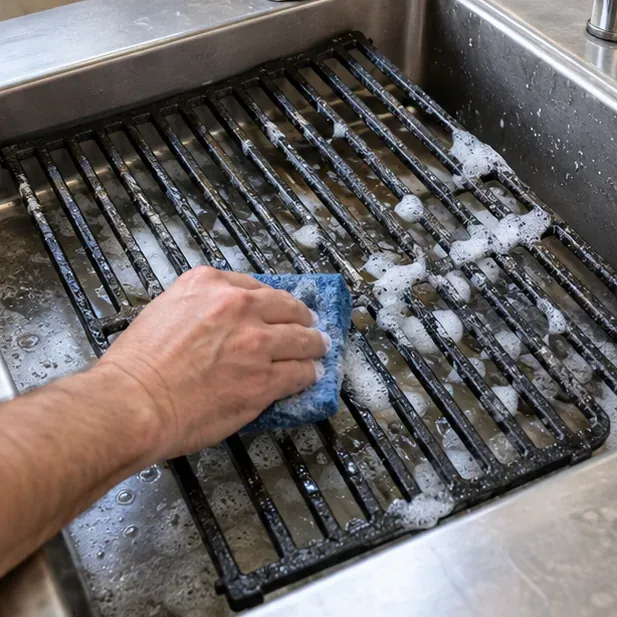
Seasoning cannot protect moisture that is already trapped against iron. Pat the grates dry with a clean towel and allow all grooves, corners, and undersides to become completely dry. This is especially important after washing cast iron. In the example, Maya checks the underside and edges rather than assuming the top surface is enough.
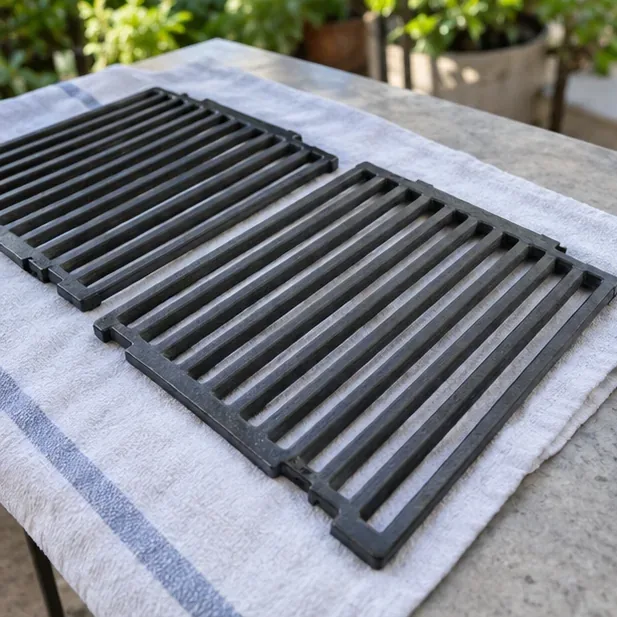
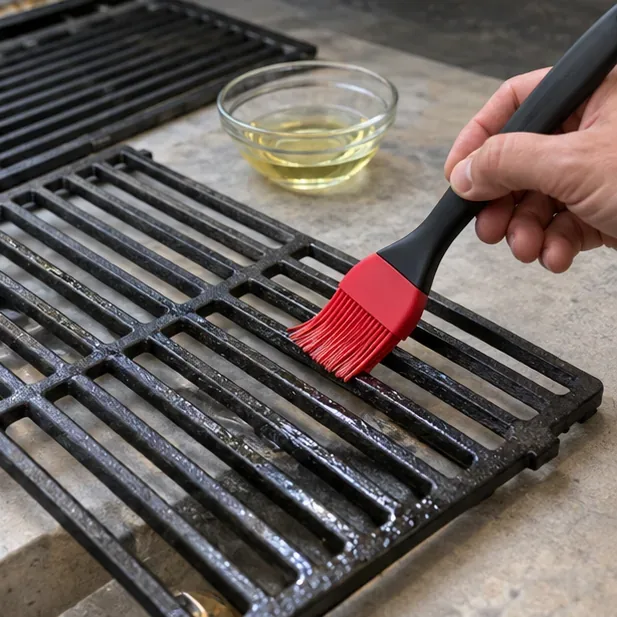
Use the oil or shortening specified by your grill maker. Napoleon lists high-smoke-point oils and warns against salted fats such as butter or margarine; older manufacturer procedures also commonly specify unsalted vegetable shortening. The goal is a thin, even film, not a wet or dripping grate. Excess oil can leave a sticky, uneven finish instead of a hard, baked-on layer.
If you use an aerosol cooking spray, apply it only to a cold grill unless the manufacturer explicitly says otherwise. Char-Broil warns that aerosol cans should not be exposed to direct high heat. A cloth, paper towel, or silicone brush gives you more control over the amount of oil.
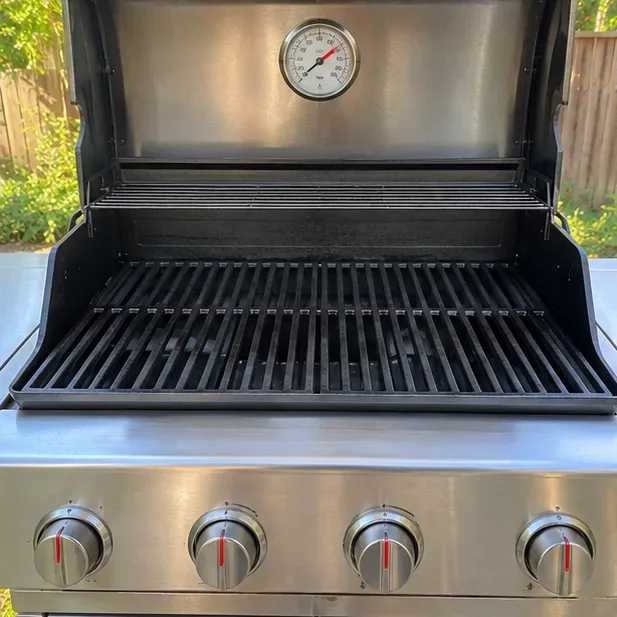
Put the grates back in place, then light the grill using its normal ignition instructions. Close the lid if the seasoning procedure requires it. Do not guess at the temperature or duration. One current Napoleon manual specifies 350°F–400°F for 30 minutes before the next coat, while Char-Broil publishes a different procedure that heats until the oil burns off or the grates begin to smoke. Both are legitimate manufacturer instructions for their own products; they are not interchangeable specifications.
A little smoke can occur as the oil heats. Keep the grill outdoors in a well-ventilated area, remain nearby, and watch for anything abnormal. CPSC guidance says grills should be used outdoors only and never left unattended while hot.
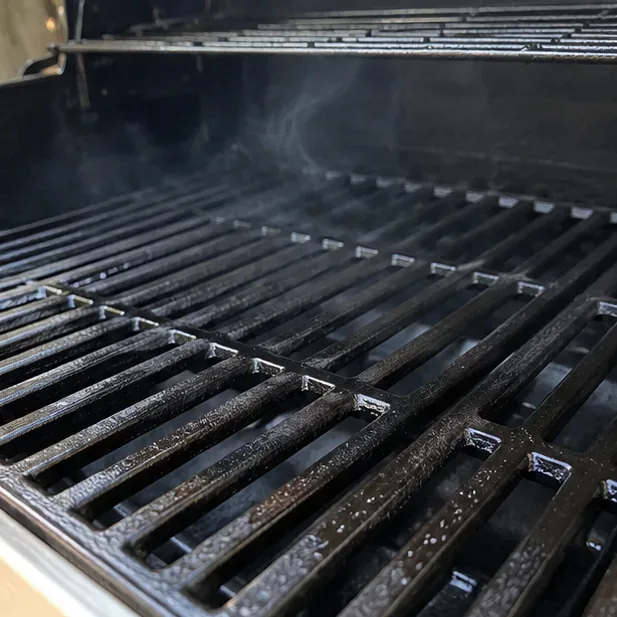
Some seasoning instructions use one heating cycle; others use two or more. If your manual calls for a second coat, keep it just as thin as the first. In Maya’s example, she turns the burners down or off as instructed, applies a second even coat safely, then completes the second 30-minute cycle required by the hypothetical manual-based procedure.
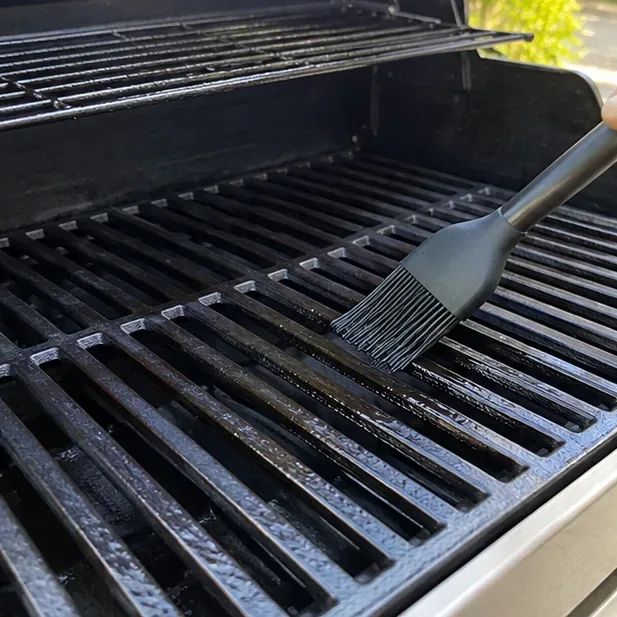
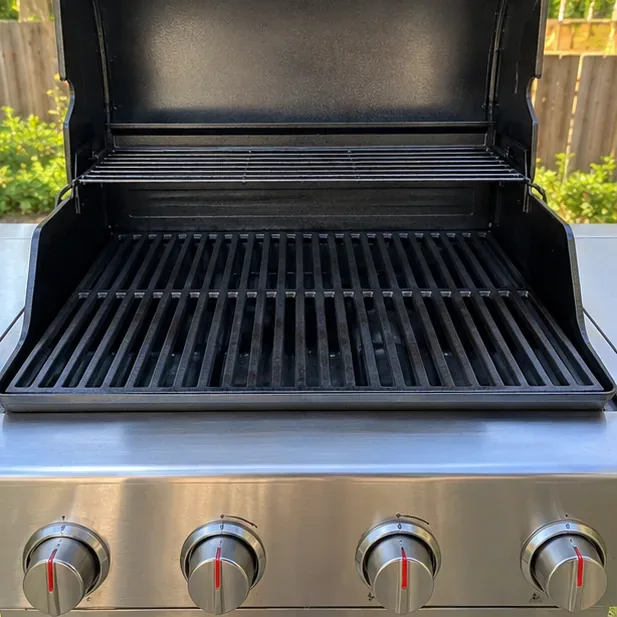
Turn off the burners and the gas supply as directed, then let the grill cool. A successful seasoning layer should look even rather than gummy, pooled, or patchy. Cast iron often darkens with use. If the surface feels sticky after cooling, too much oil may have been applied; the better fix is usually to clean away the excess and repeat the manufacturer-approved process with a thinner coat rather than adding more oil.
There is no universal schedule. Napoleon’s current Rogue instructions say every three to four uses for its cast-iron grids. Char-Broil recommends frequent seasoning for certain cast-iron and stainless-steel grates, including a light coat after use. Weber, by contrast, says its newer porcelain-enameled cast-iron grates do not need seasoning at all. Use the maintenance interval published for your model, and recheck the manual after a deep cleaning or rust removal because those events may require re-seasoning.
For a cast-iron grate that is meant to be seasoned, you are looking for an even, dry-looking, darker surface with no visible pools of oil. The grate should not feel tacky after it has fully cooled. More importantly, there should be no fresh orange rust. Food release usually improves as a correctly maintained cast-iron surface develops, but seasoning is not a guarantee that every food will be nonstick; lean proteins, sugary marinades, insufficient preheating, and moving food too early can still cause sticking.
In the illustrative scenario, Maya is finished only when the manual’s full heating cycle is complete, the grill is cool, and the grates have an even finish. She does not add extra coats just because darker looks “more seasoned.” The useful endpoint is a thin, stable protective layer that matches the manufacturer’s care instructions.
Guidance was checked on September 12, 2026. Because grill designs and care instructions can change, use these sources to confirm the procedure for your exact product:
The main takeaway is straightforward: season only the grate material your manufacturer tells you to season, keep the oil layer thin, heat it using the published temperature and timing for your grill, and keep cast iron dry between uses. That approach gives you a repeatable process without risking a coated finish or relying on a temperature borrowed from a different grill.
How to Use Google Lens on Chromebook lets you scan objects, translate text, and solve problems directly from your device. Follow these steps to get started quickly.
Learn how to clean a lululemon yoga mat using current care guidance: wipe gently, avoid soaking and bleach, dry fully, and store out of sunlight.
Learn how to remove hot glue from fabric using cooling, gentle scraping, and cautious alcohol treatment, with fabric-safety checks for delicate materials.
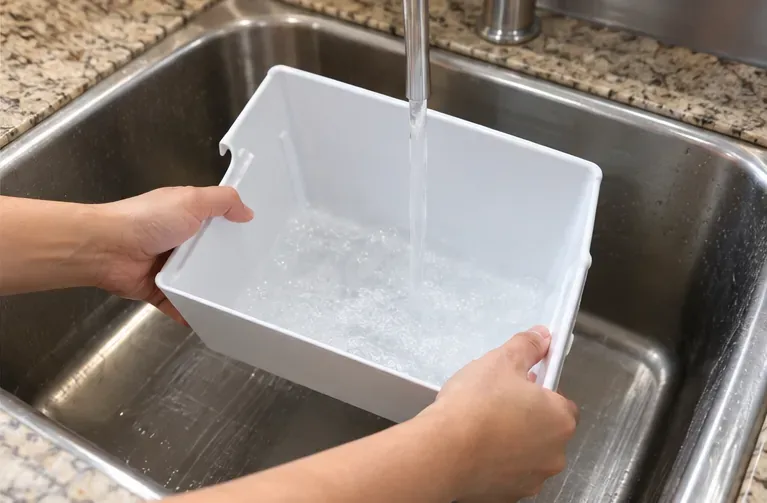
Learn how to clean a freezer ice maker safely, remove stale ice and residue, wash and dry the bin, and know when deeper cleaning or service is needed.
Learn how to season gas grill grates safely, when seasoning is actually needed, and how cast iron, stainless, and porcelain grates differ.
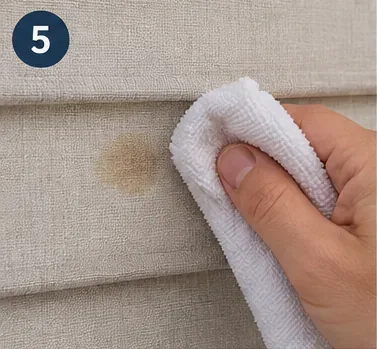
Learn how to clean fabric blinds safely: identify the material, remove dust, spot-clean stains, avoid damage, air-dry correctly, and know when to call a pro.
Learn how to clean an Ooni pizza stone safely with dry brushing, high-heat burn-off, and flipping—plus what to avoid and how to know it is clean enough.
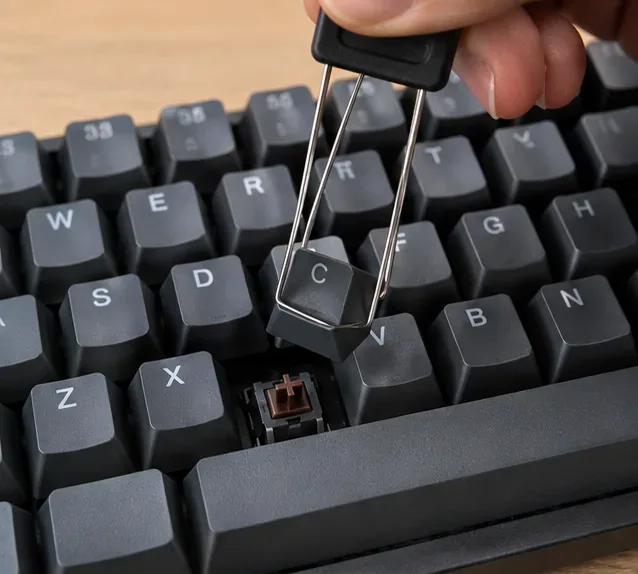
Learn how to clean a mechanical keyboard safely, from removing keycaps and dust to washing compatible caps, drying, reassembly, and testing.
Learn how to remove hardened wax from clothes safely: harden, scrape, transfer with low heat, pretreat residue, wash by the care label, and air-dry.
Clean a removable retainer at least daily, rinse it whenever you remove it, and use a deeper manufacturer-approved clean about weekly. Learn what changes the schedule.